
Illustrated Portrait in Watercolor
A course by Ana SantosPainter and illustrator
A course by Ana Santos, Painter and illustrator

Learn to combine traditional techniques and digital retouching with Photoshop
Learn to combine traditional techniques and digital retouching with Photoshop In this course, illustrator and artist Ana Santos will teach you the technique she uses to create her wonderful illustrated watercolor portraits, step by step. Ana enjoys the immediacy of watercolors, the spontaneity of results, and how easy it is to mix it with other materials or for mixed techniques.
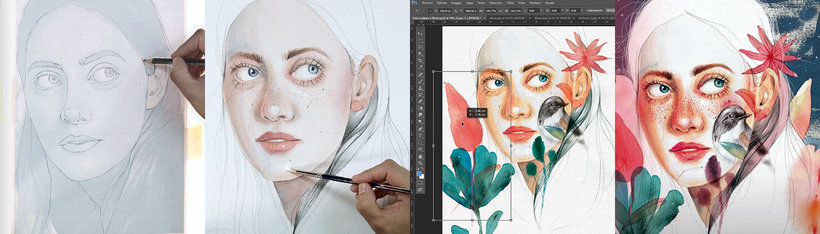
In this course, discover her methodology, both analog and digital, which she usually combines in her compositions. Using a photograph as the starting point, she will teach you to immortalize expressive looks, melancholic gestures, and how to add organic or imaginative motifs to enrich your design and give it an original look.
This course is complementary to Experimental Watercolor Techniques for Beginners, also by Ana Santos, in which you can learn to paint with watercolors from scratch and that mistakes can sometimes be the perfect ally.
What will you learn in this online course?
21 lessons & 20 downloads
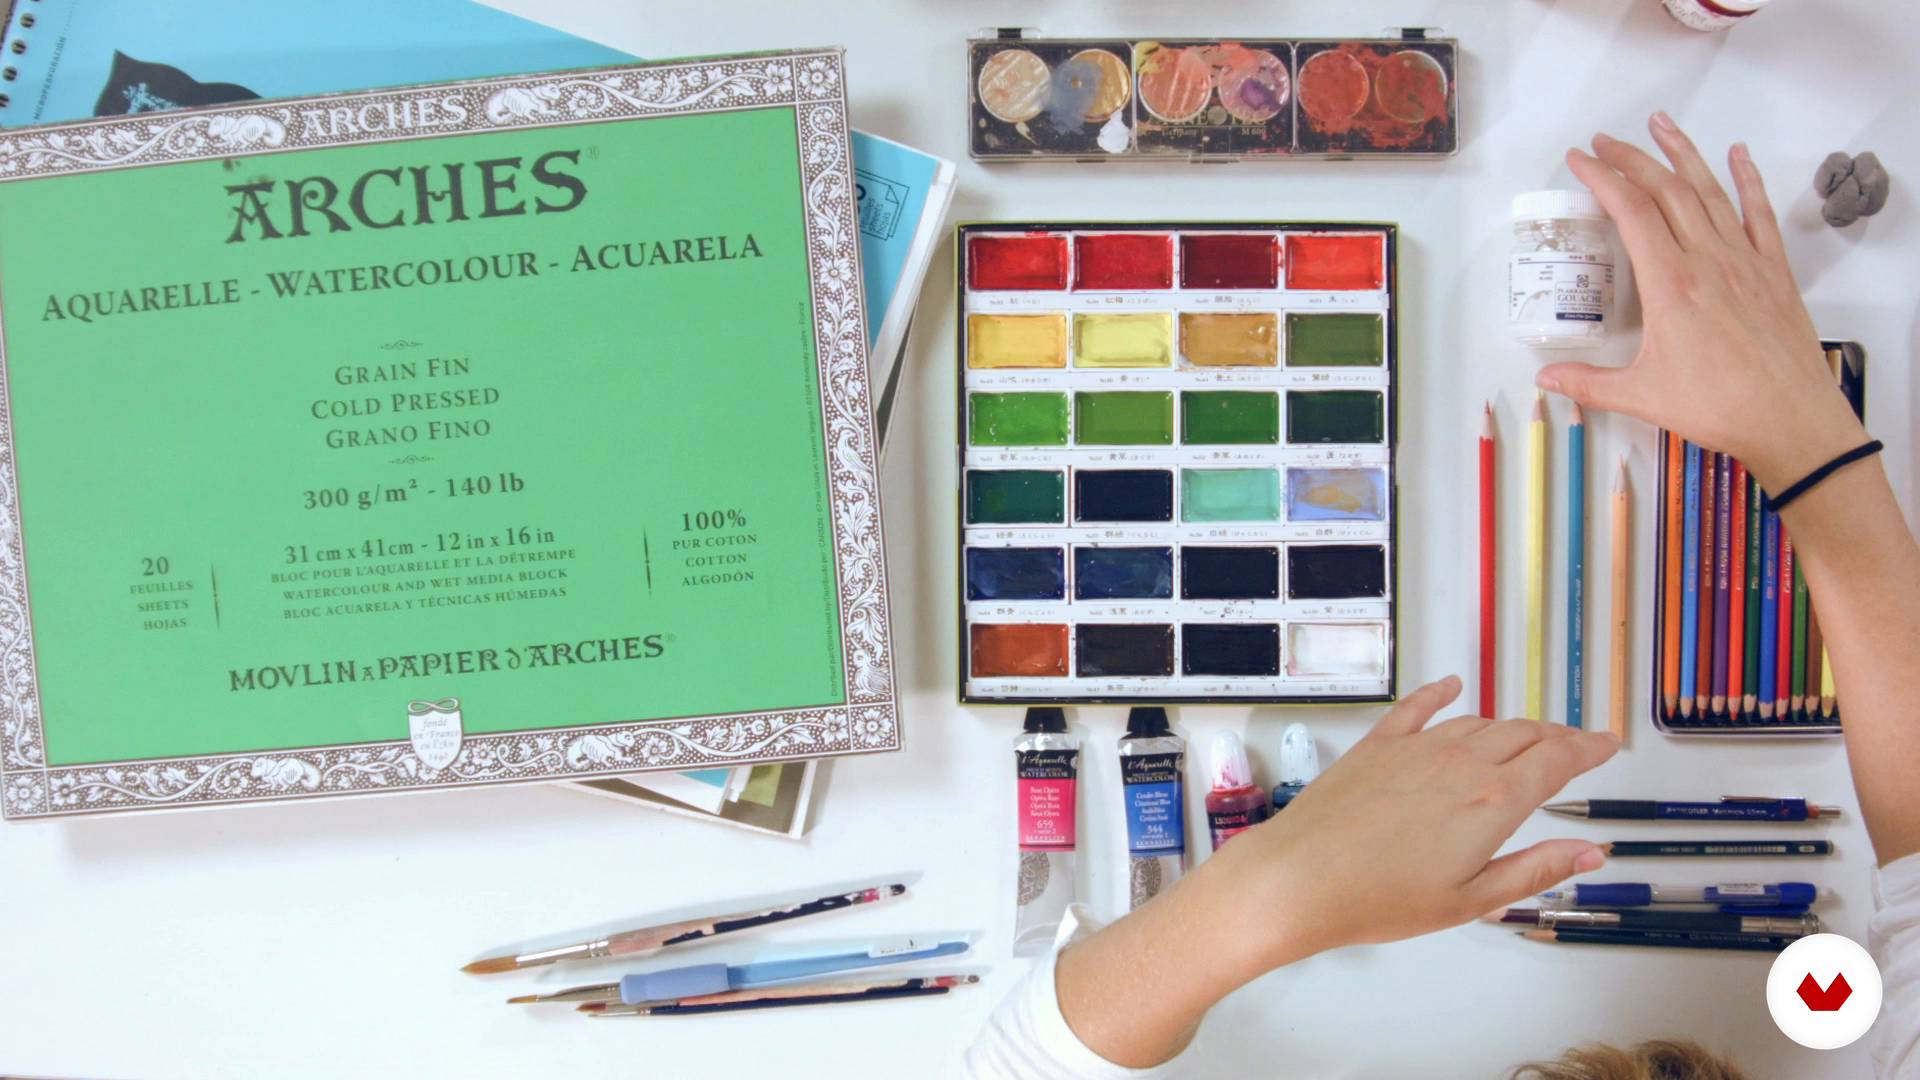
Materials
9 minutes, 29 seconds
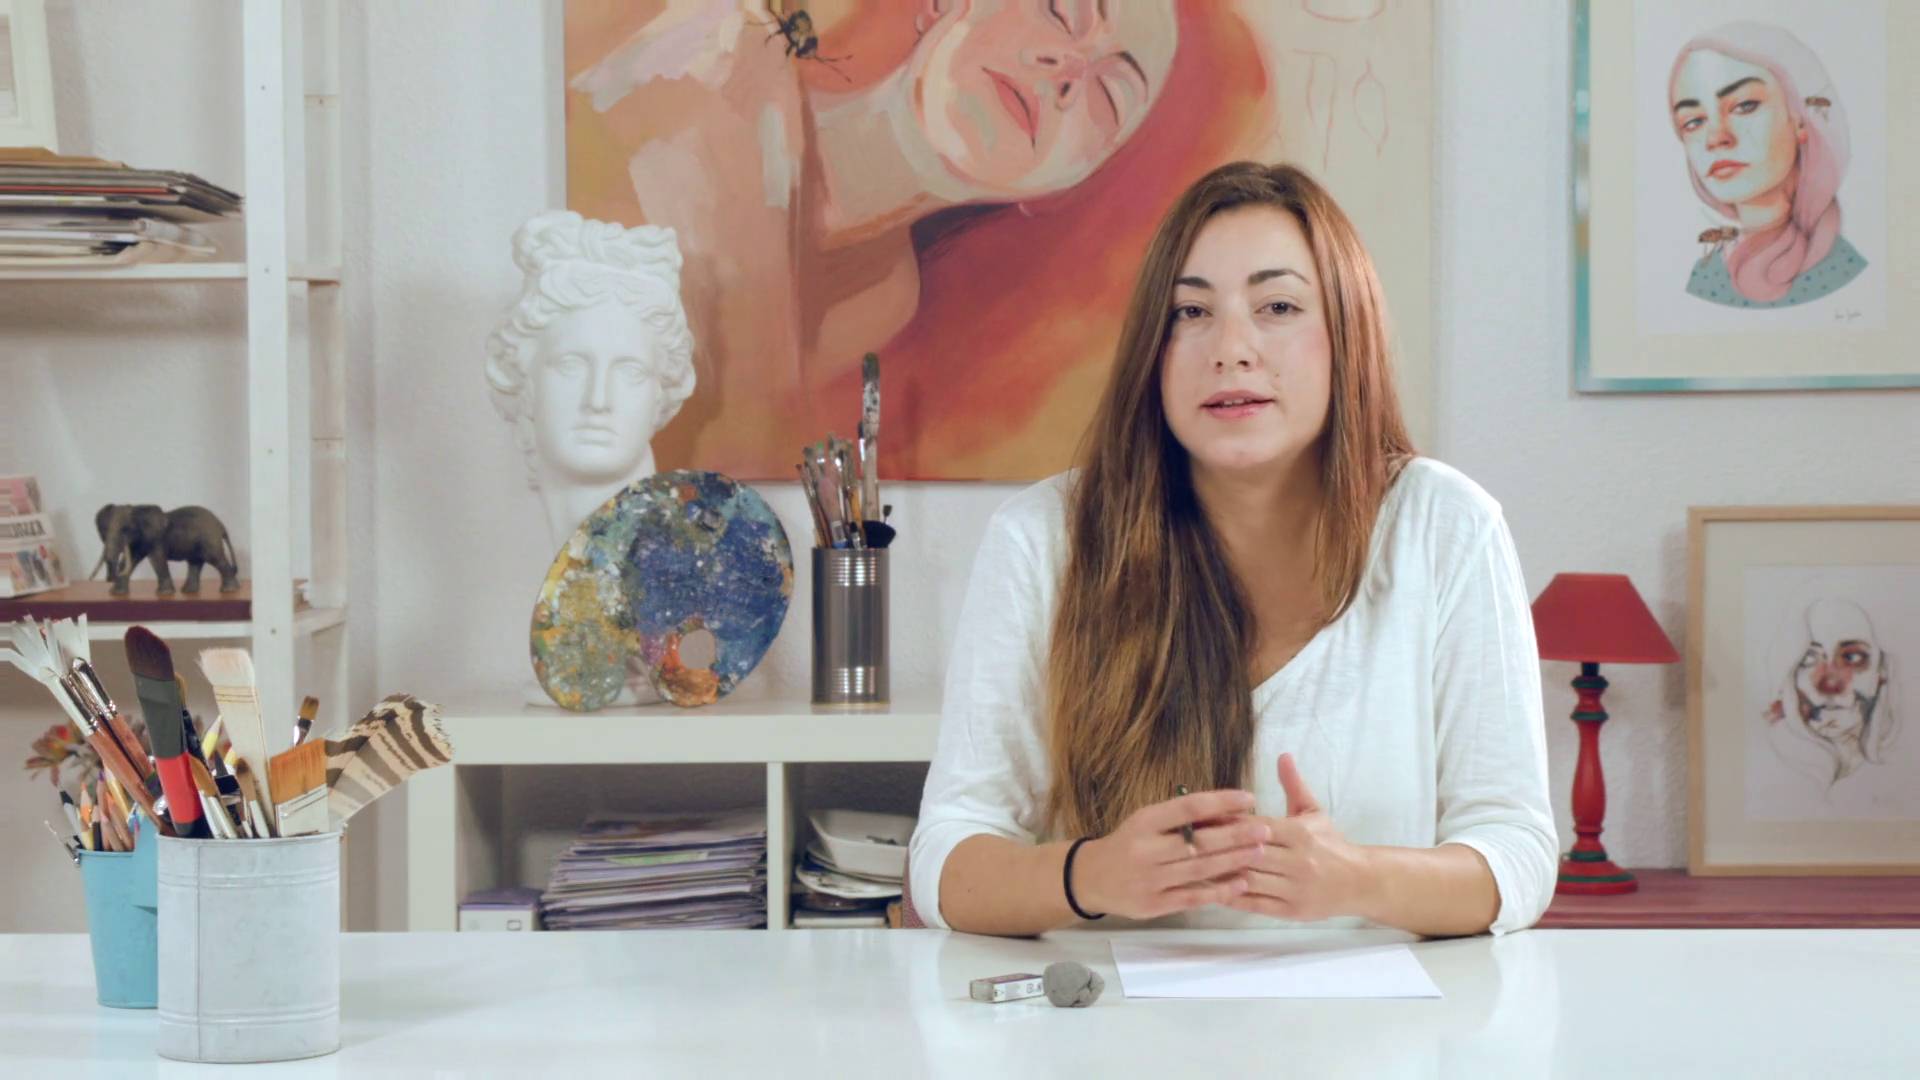
Framing and proportion concepts
12 minutes, 16 seconds
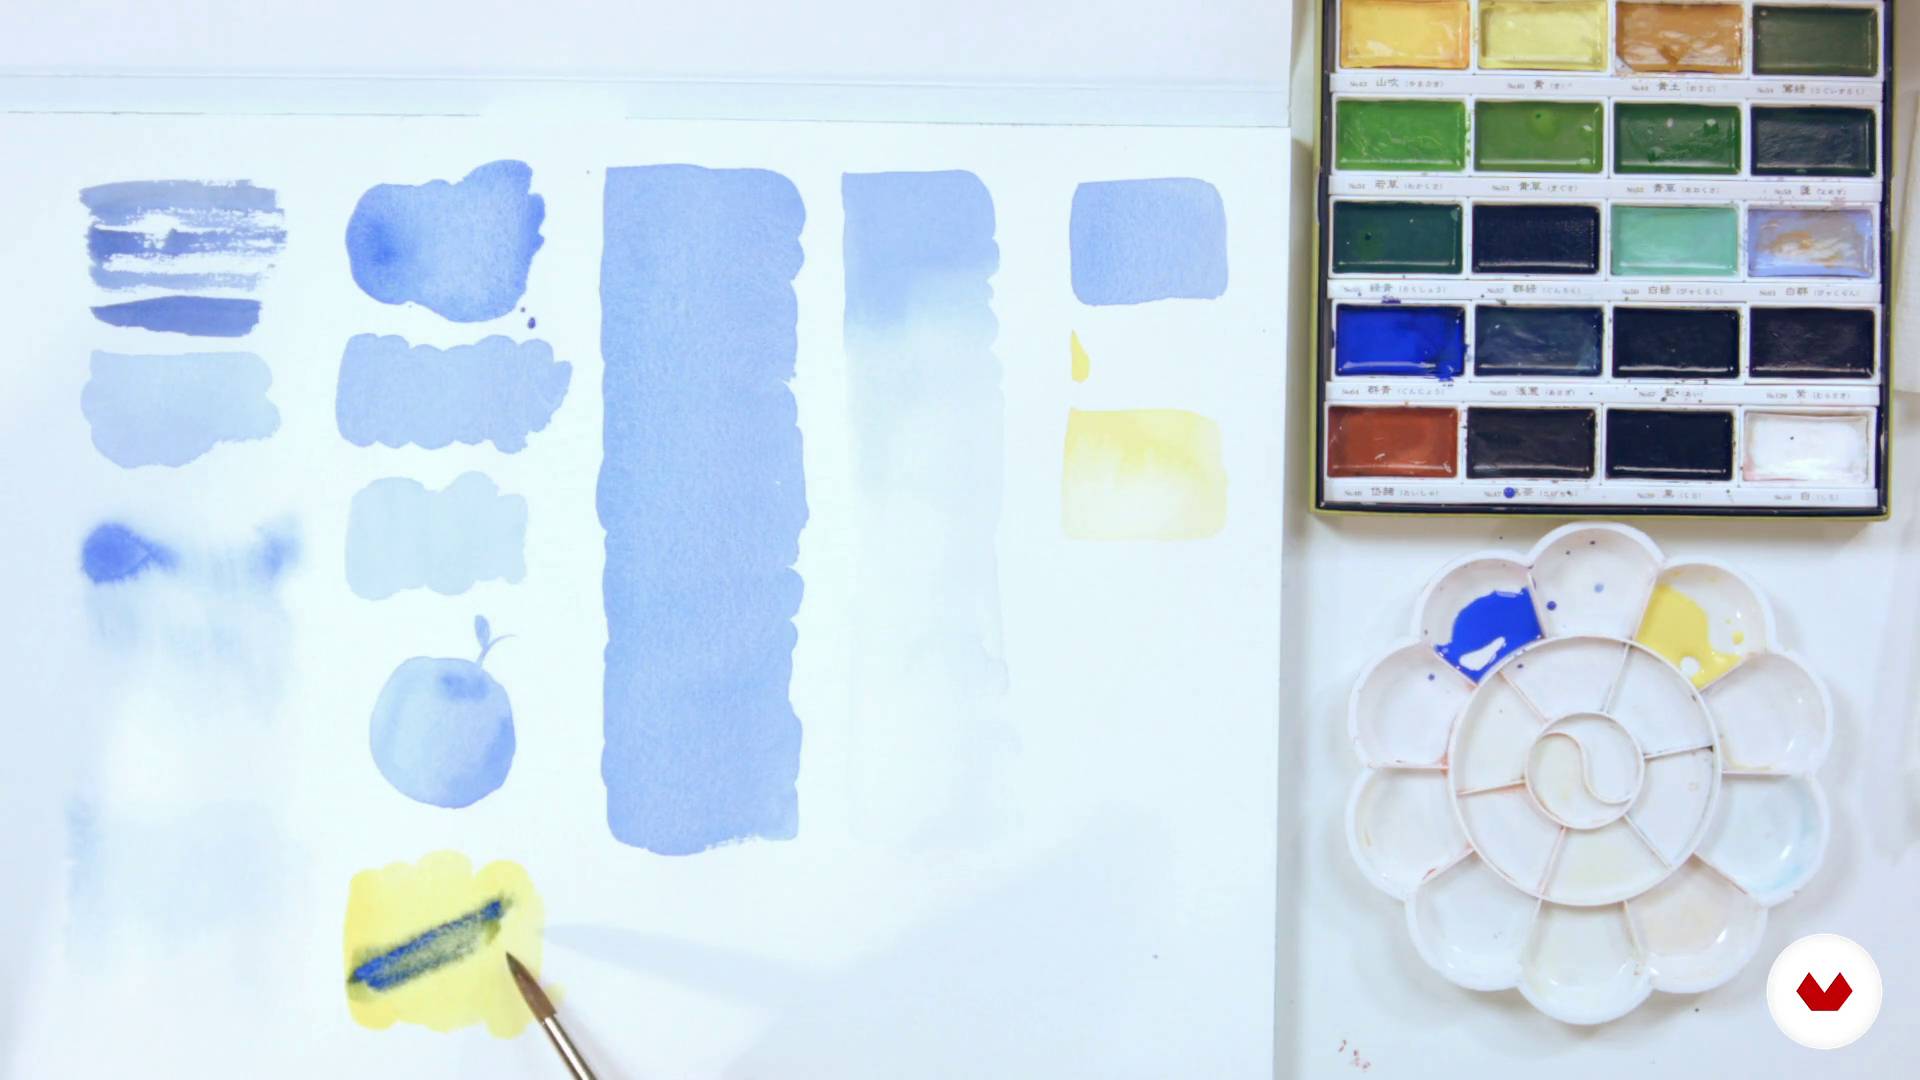
Basic watercolor techniques
16 minutes, 48 seconds
Let's start our portrait I
14 minutes, 17 seconds
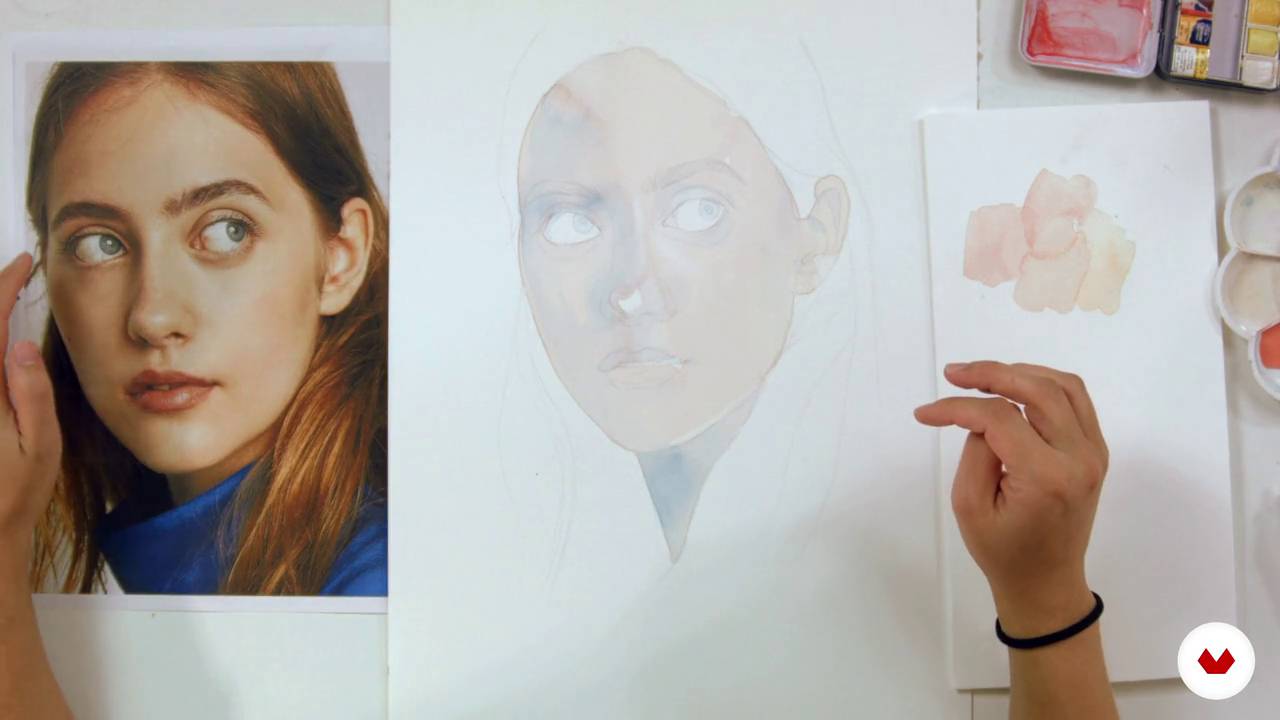
Let's start our portrait II
14 minutes, 55 seconds
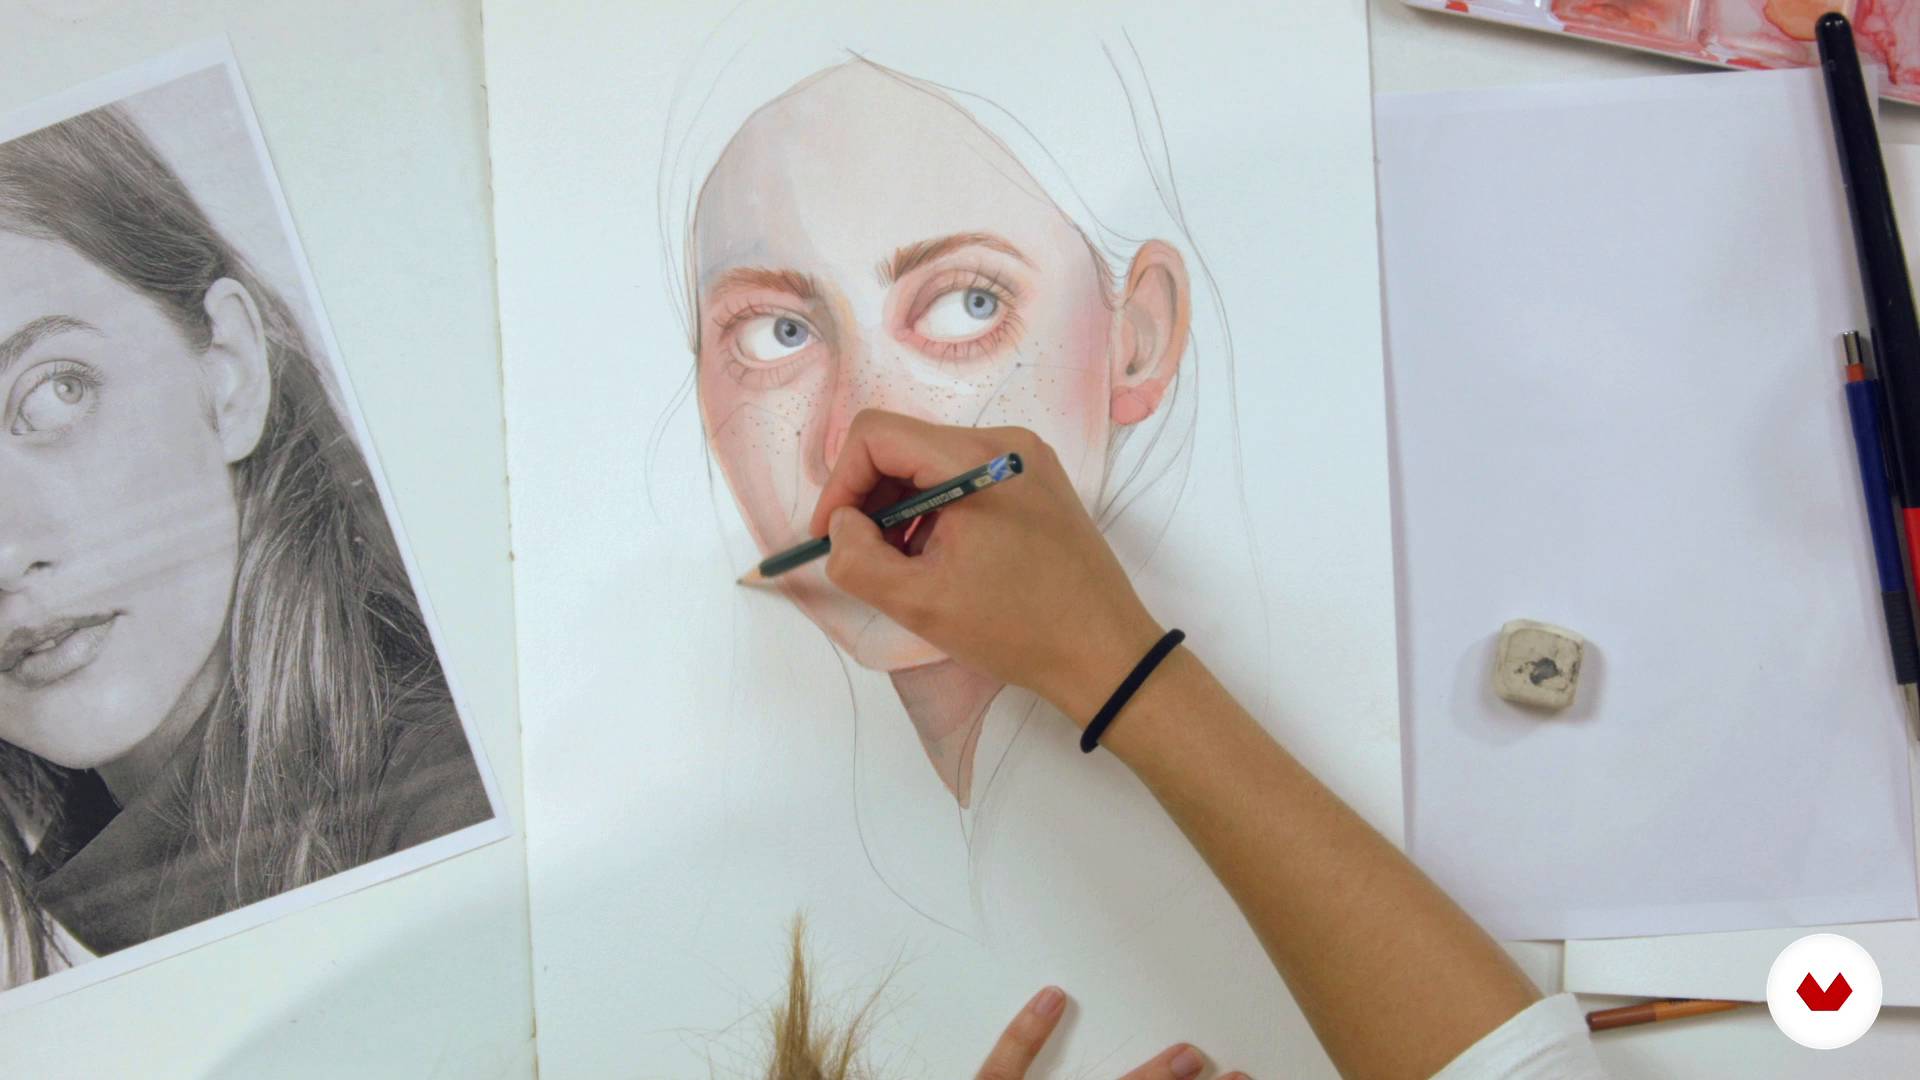
Dry technique II
12 minutes, 7 seconds
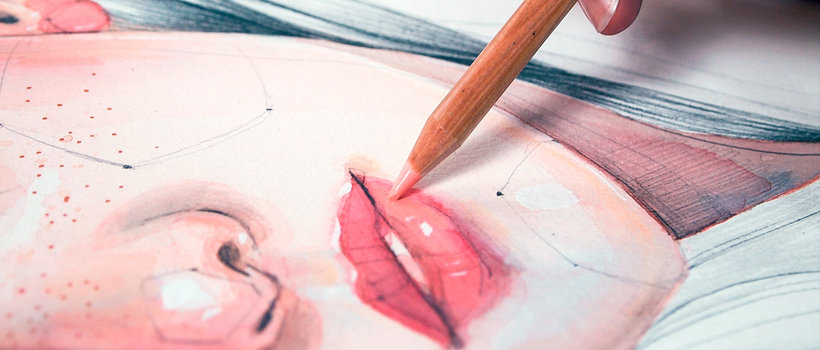
Textures to enrich the portrait
10 minutes, 52 seconds
What's included in this course?
Start by getting to know Ana Santos' work and her commercial projects, but above all, her personal work. Plus, she'll tell you how she got into the world of illustration and show you some of her influences.
Then you'll learn to create a mood board, which will help you to collect the visual inspiration for your projects. She'll also tell you about the materials you need to immerse yourself in the world of watercolor illustration.
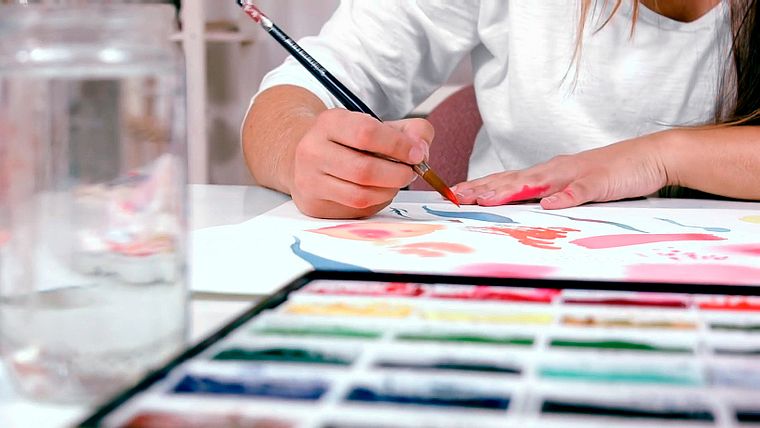
Ana will teach and guide you through exercises related to the concepts of scale and proportion when drawing. Learn basic watercolor techniques like wet on wet, dry on dry, gouache, and more.
To make your illustrated watercolor portrait, you'll use a photograph as your starting point. Trace and draw to start applying the first layers of watercolor and continue applying new layers of paint to add volume.
Once the watercolor is dry, you'll use dry techniques like colored pencils, graphite, markers, and more. Ana will give you some tips and tricks to highlight the important details with a hint of light.
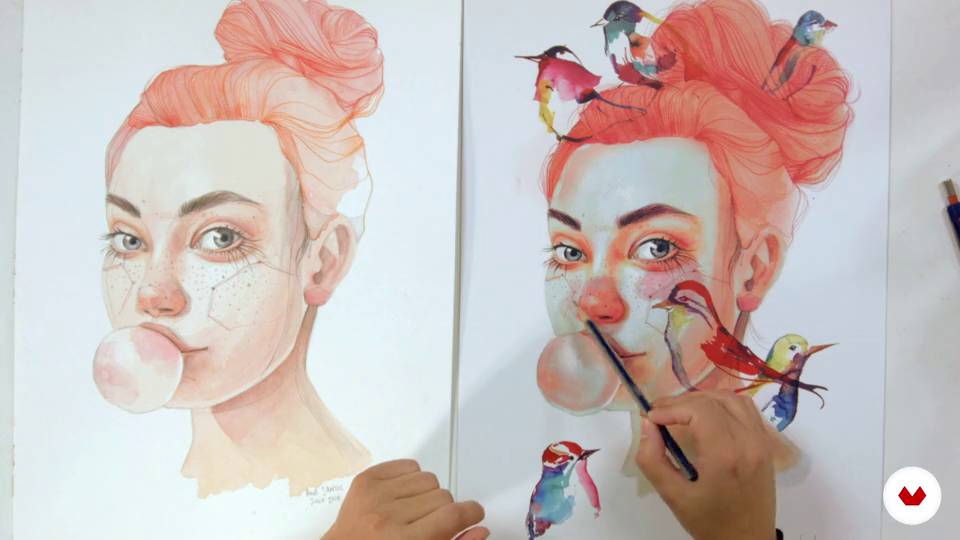
You'll learn to use watercolors to create textures and create organic motifs that will add a special touch and enrich your illustrations. Ana also suggests choosing a co-star for your illustrated portrait and explains how to integrate it into your design.
Finally, you'll import all the elements to Photoshop, where you'll make the final composition and add the finishing touches.
What is this course's project?
Create an illustrated portrait combining an analog watercolor process with digital methods to add the finishing touches.
Projects by course students


Who is this online course for?
Artists, illustrators, designers, and art lovers in general looking for new ways to create illustrated portraits combining mixed techniques.
Requirements and materials
You'll need basic knowledge of Adobe Photoshop and knowledge of drawing will also be helpful, although not essential, as you'll use a photograph to create your illustrated portrait in this project.
Regarding materials, for the analog part of the course, you'll need watercolor paper of different grades, brushes of various sizes, watercolors, white paint, graphite, colored pencils, a pencil sharpener, and an eraser. For the digital process, you'll use a computer, a scanner, and work with a graphics tablet ideally.
Reviews
- 1 month ago
Me encantó este curso
- 2 months ago
Eu adorei, fiz há uns 3 anos e seus ensinamentos me auxiliam até hoje!!
- 2 months ago
Muy bueno muy claro e interesante me ha ayudado a mejorar un montón Y disfrutando el proceso
- 4 months ago
Muito bom, bem didático
- 5 months ago
MUITO INTERESSANTE, DIDATICO!!!

Ana combines traditional and digital techniques and is an expert at capturing expressive looks, strong attitudes, and somber moods in her illustrations, which have appeared in publications from major publishers such as Penguin Random House, Editorial Planeta, and Roca Editorial.
Content
- U1
Introduction
- Introduction
- Influences
- U2
Materials and search
- Search for inspiration (mood board)
- Materials
- U3
Proportions and getting to know watercolors
- Framing and proportion concepts
- Basic watercolor techniques
- U4
Analog illustration process
- Let's start our portrait I
- Let's start our portrait II
- Let's start our portrait III
- Dry technique I
- Dry technique II
- Textures to enrich the portrait
- Other motifs I
- Other motifs II
- Another protagonist
- U5
Digital image process
- Scanning and composition I
- Scanning and composition II
- Digital Retouching I
- Digital Retouching II
- Digital Retouching III
- Exporting
- FP
Final project
- Illustrated portrait in watercolor
What to expect from a Domestika course
Learn at your own pace
Enjoy learning from home without a set schedule and with an easy-to-follow method. You set your own pace.
Learn from the best professionals
Learn valuable methods and techniques explained by top experts in the creative sector.
Meet expert teachers
Each expert teaches what they do best, with clear guidelines, true passion, and professional insight in every lesson.
Certificates
PLUSIf you're a Plus member, get a custom certificate signed by your teacher for every course. Share it on your portfolio, social media, or wherever you like.
Get front-row seats
Videos of the highest quality, so you don't miss a single detail. With unlimited access, you can watch them as many times as you need to perfect your technique.
Share knowledge and ideas
Ask questions, request feedback, or offer solutions. Share your learning experience with other students in the community who are as passionate about creativity as you are.
Connect with a global creative community
The community is home to millions of people from around the world who are curious and passionate about exploring and expressing their creativity.
Watch professionally produced courses
Domestika curates its teacher roster and produces every course in-house to ensure a high-quality online learning experience.
FAQs
You’ll learn how to create illustrated watercolor portraits by blending traditional and digital methods—from sketching and proportion building to adding textures, organic patterns, Photoshop retouching, and final composition.
This is an intermediate-level course, perfect for those who already have basic drawing or watercolor skills and want to deepen their knowledge of mixed techniques and digital workflows.
You’ll need watercolor paper, brushes in various sizes, watercolors (either pans or liquid), pencils, mechanical pencils, erasers, white gouache, watercolor pencils, a scanner or camera, and access to Photoshop.
You’ll start by creating the portrait traditionally with watercolor and dry materials, then digitize it to do retouching, color adjustments, composition tweaks, and add extra details in Photoshop.
You’ll learn about layout and proportion, gradients, wet-on-wet techniques, layering, color mixing for skin tones, error correction, plus how to use gouache and mixed media for fine details.
You’ll be taught how to divide the face into axes, correctly place eyes, nose, mouth, and ears, and build the head using geometric shapes to ensure realistic yet creative proportions.
Although the main focus is on female portraits, the techniques you learn can be applied to any style of illustrated portrait.