Specialization

Specialization in Family Photography: Capturing Unique Bonds and Moments

Master natural light techniques to create original portraits and emotive atmospheres, enhancing your family photography skills

Specialization · 6 modules

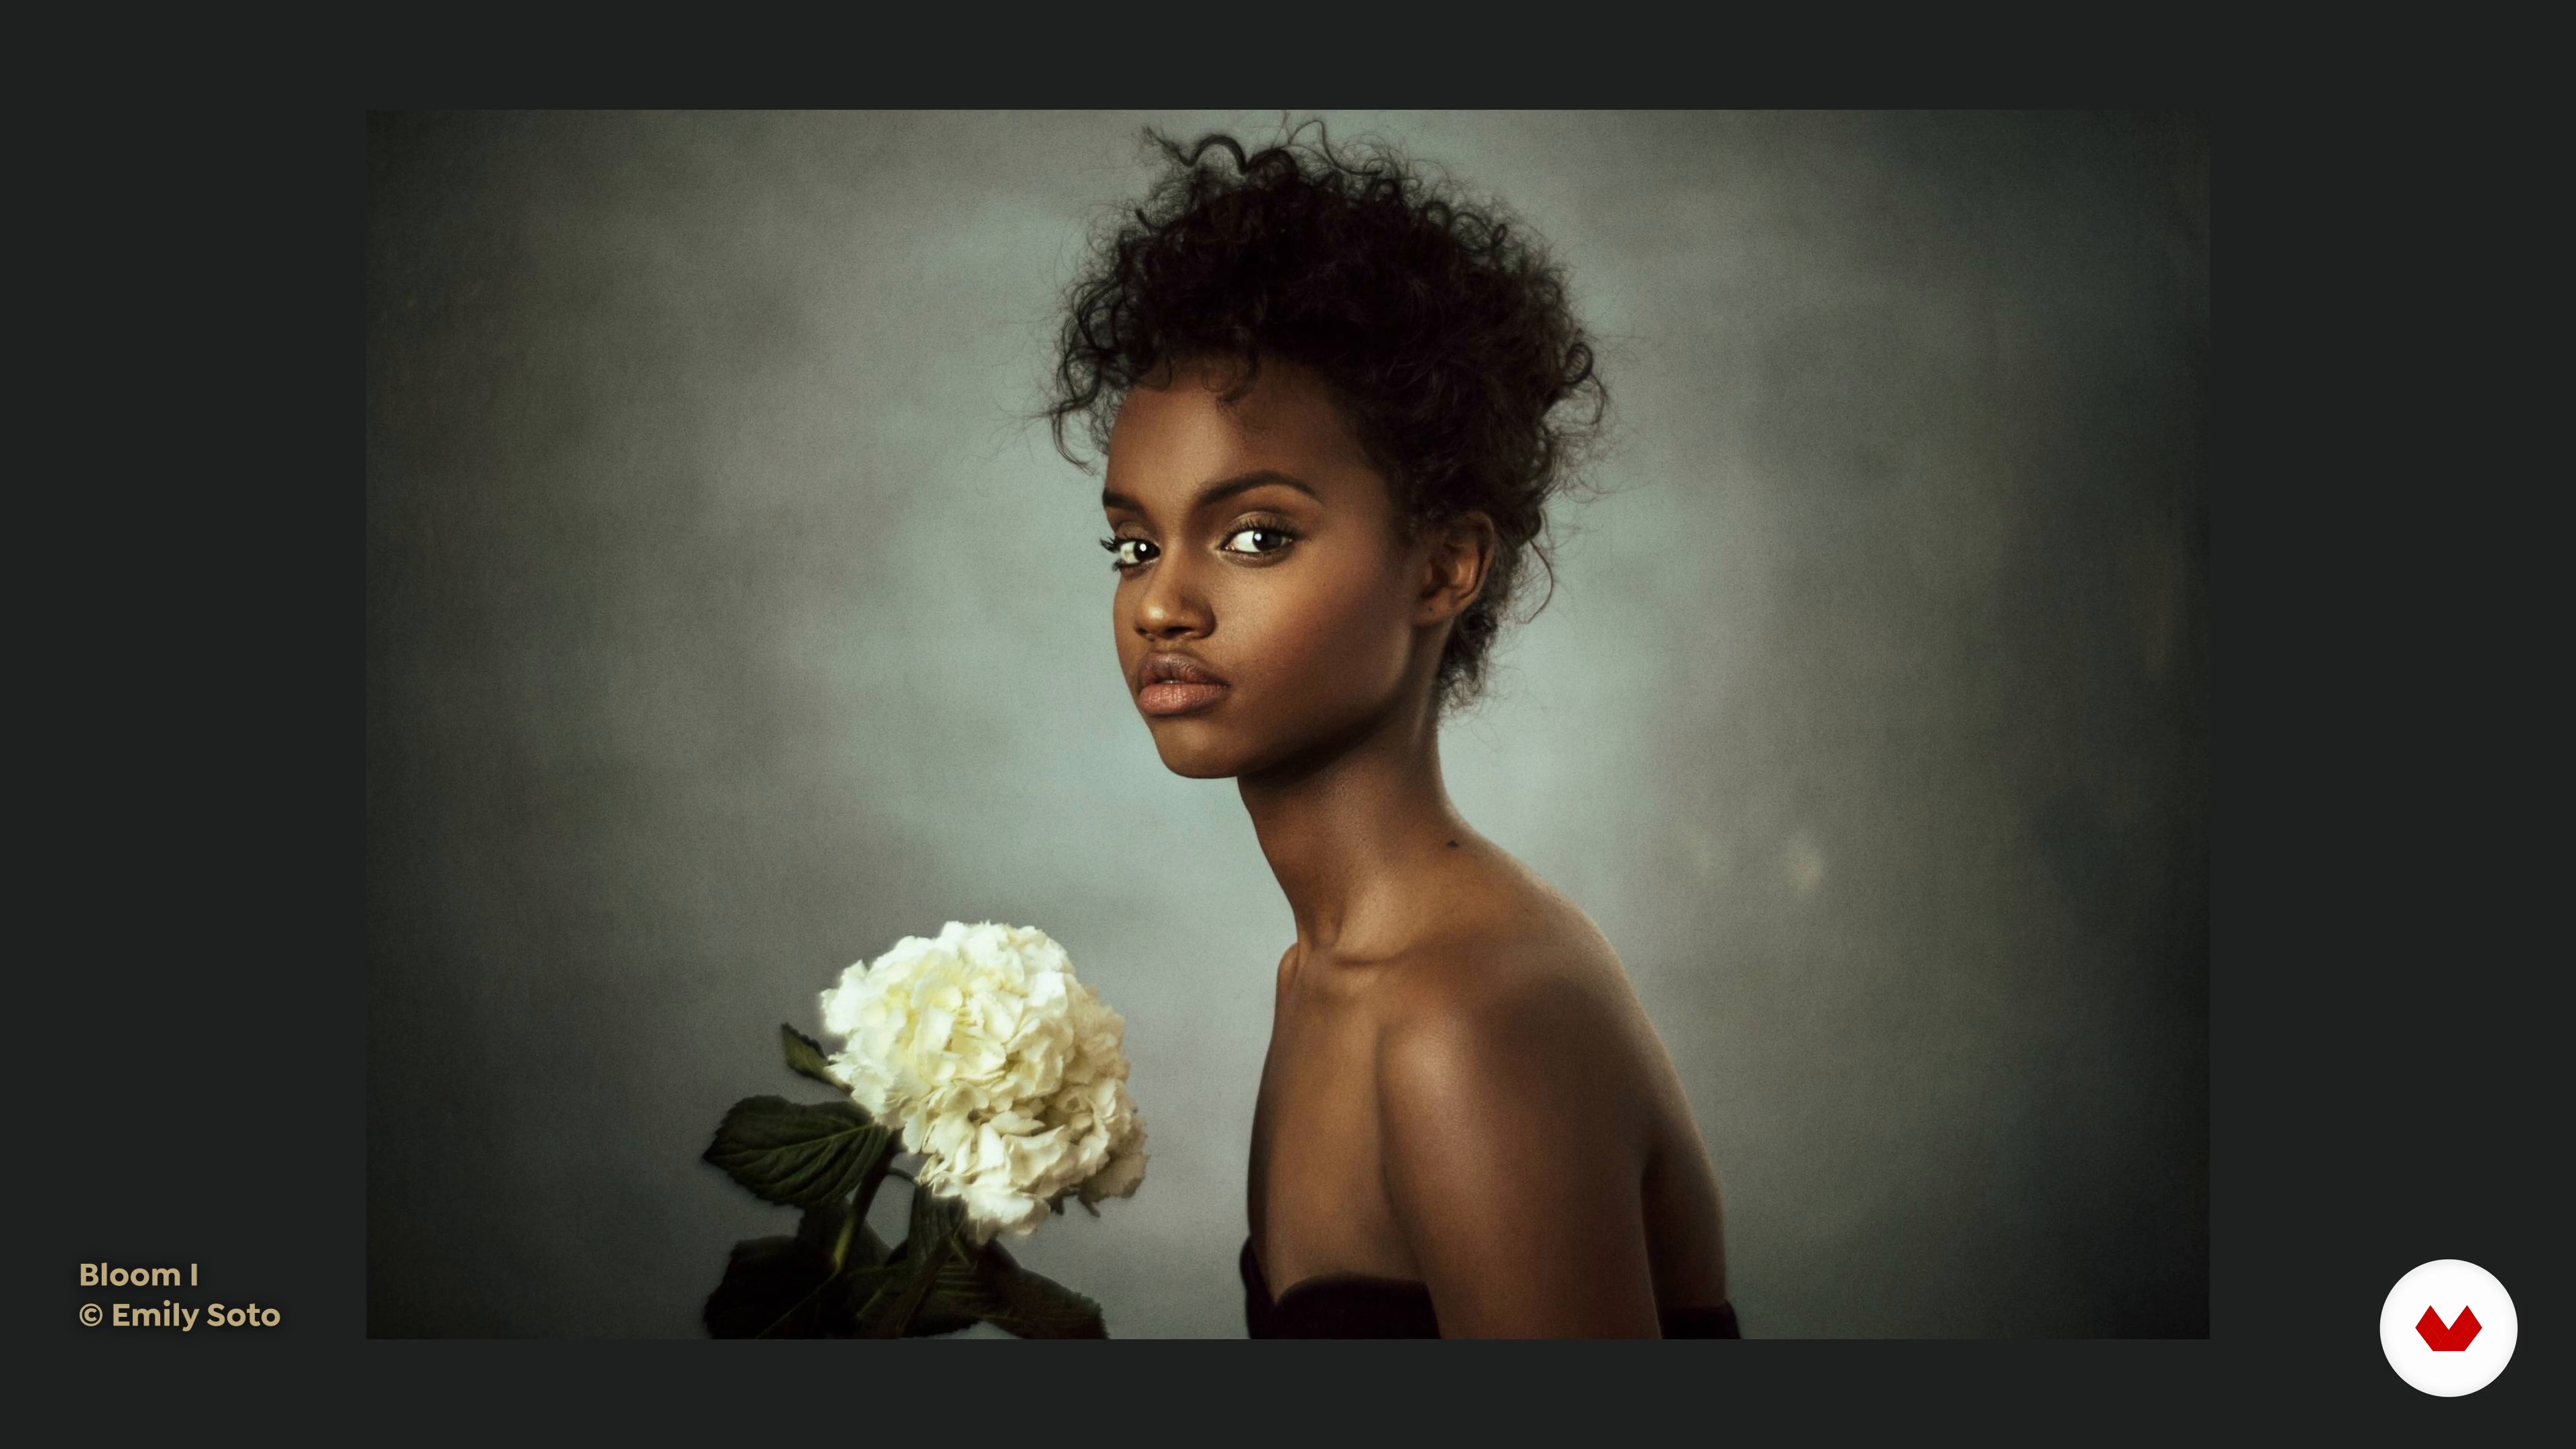
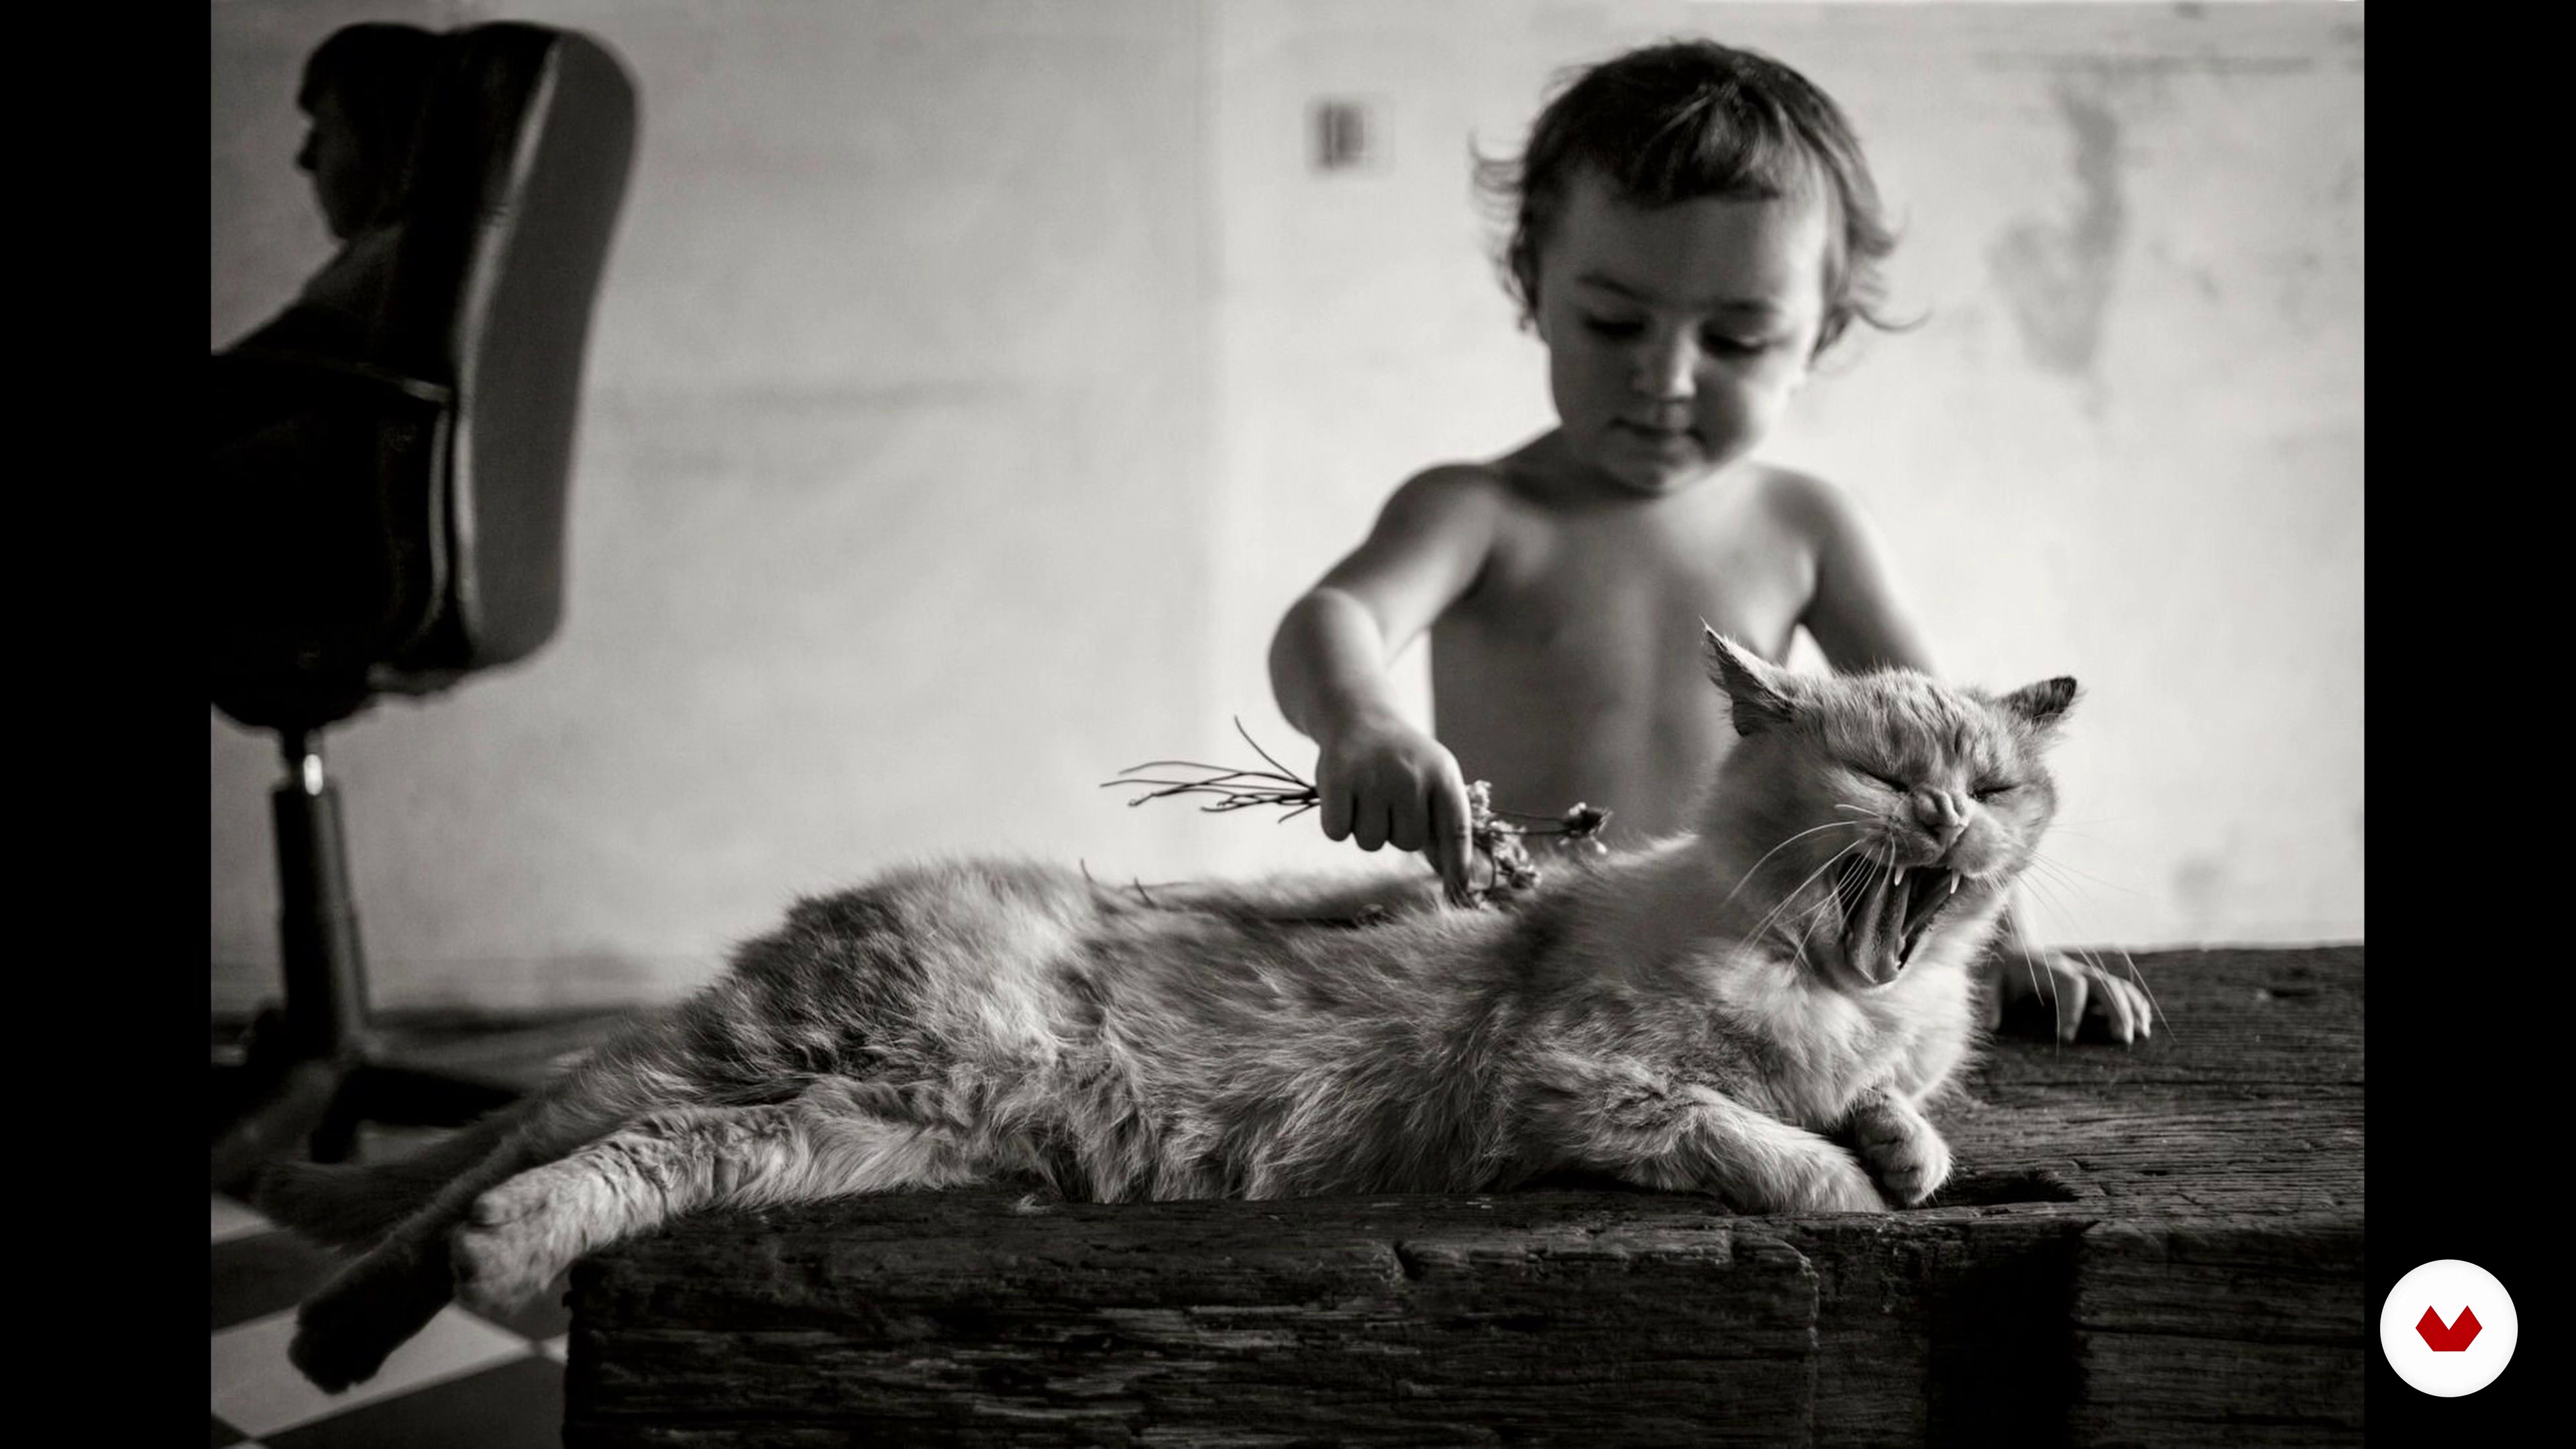
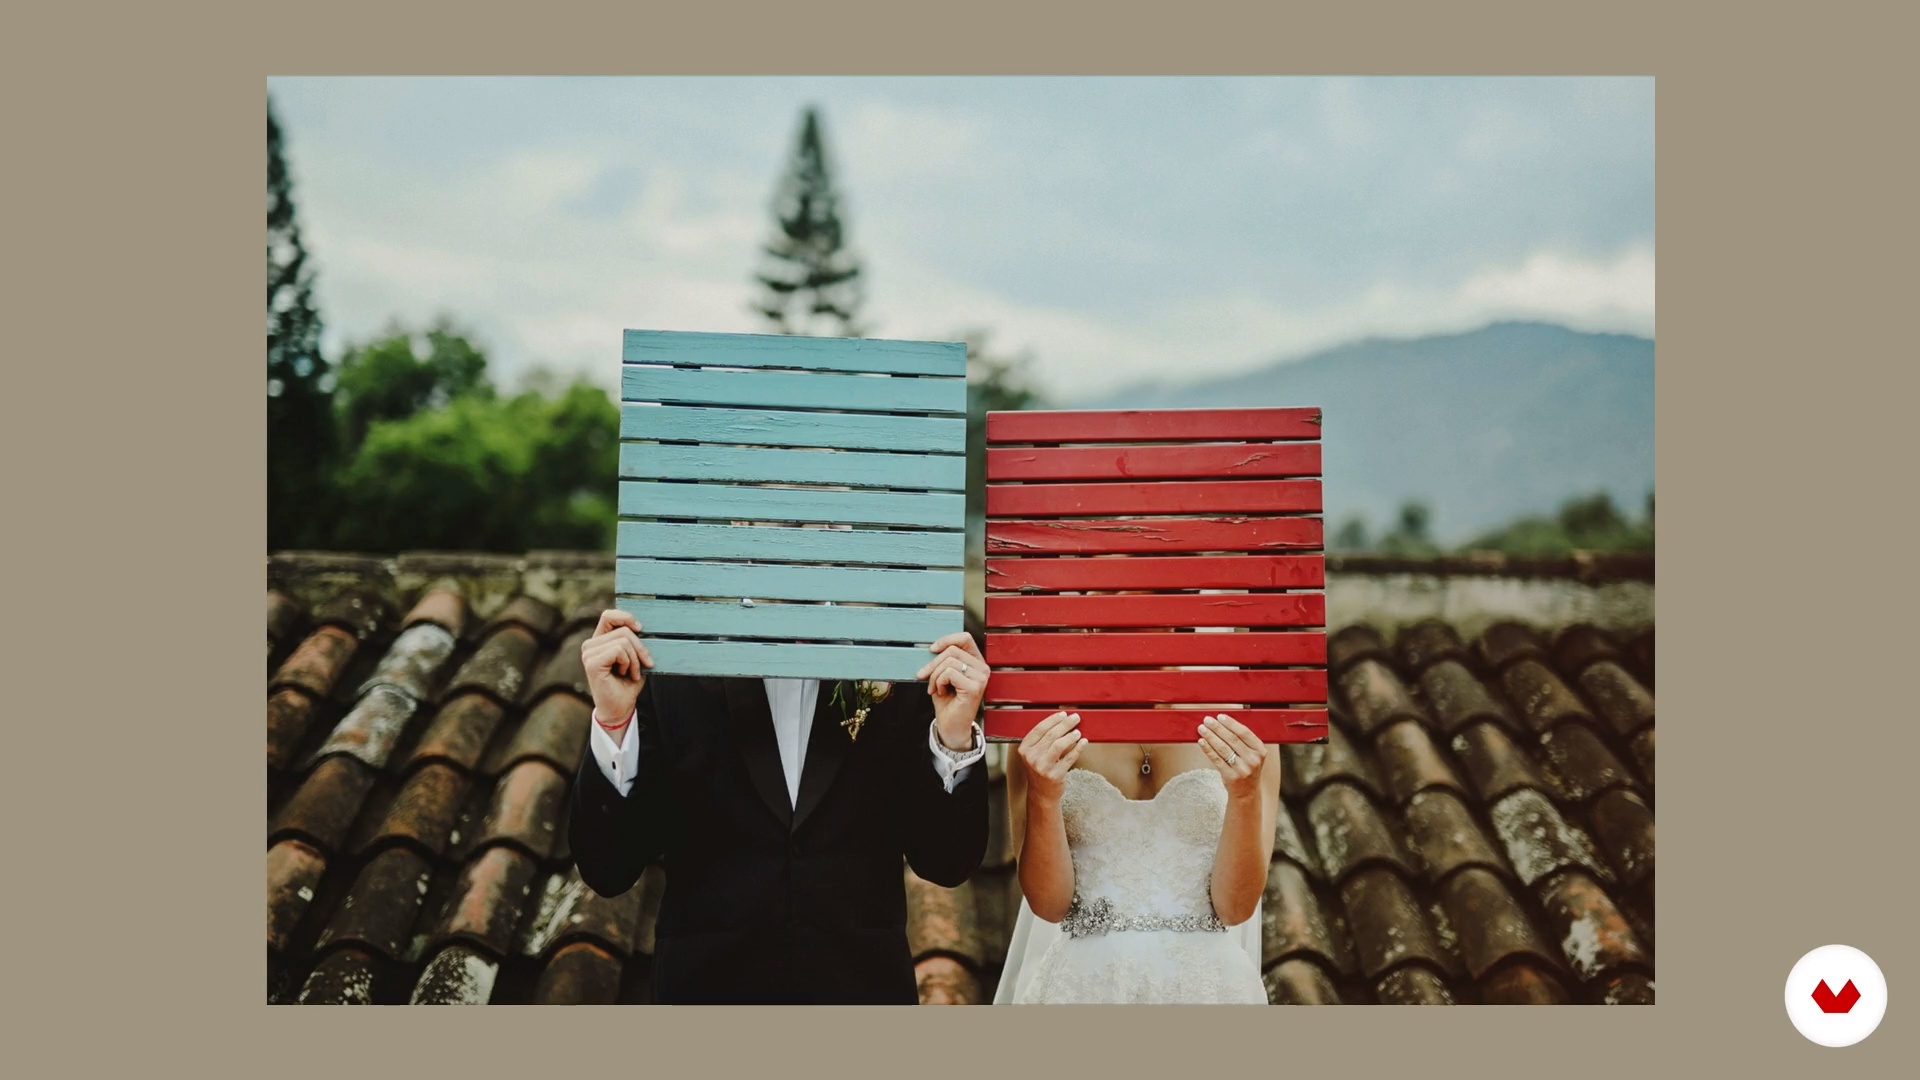
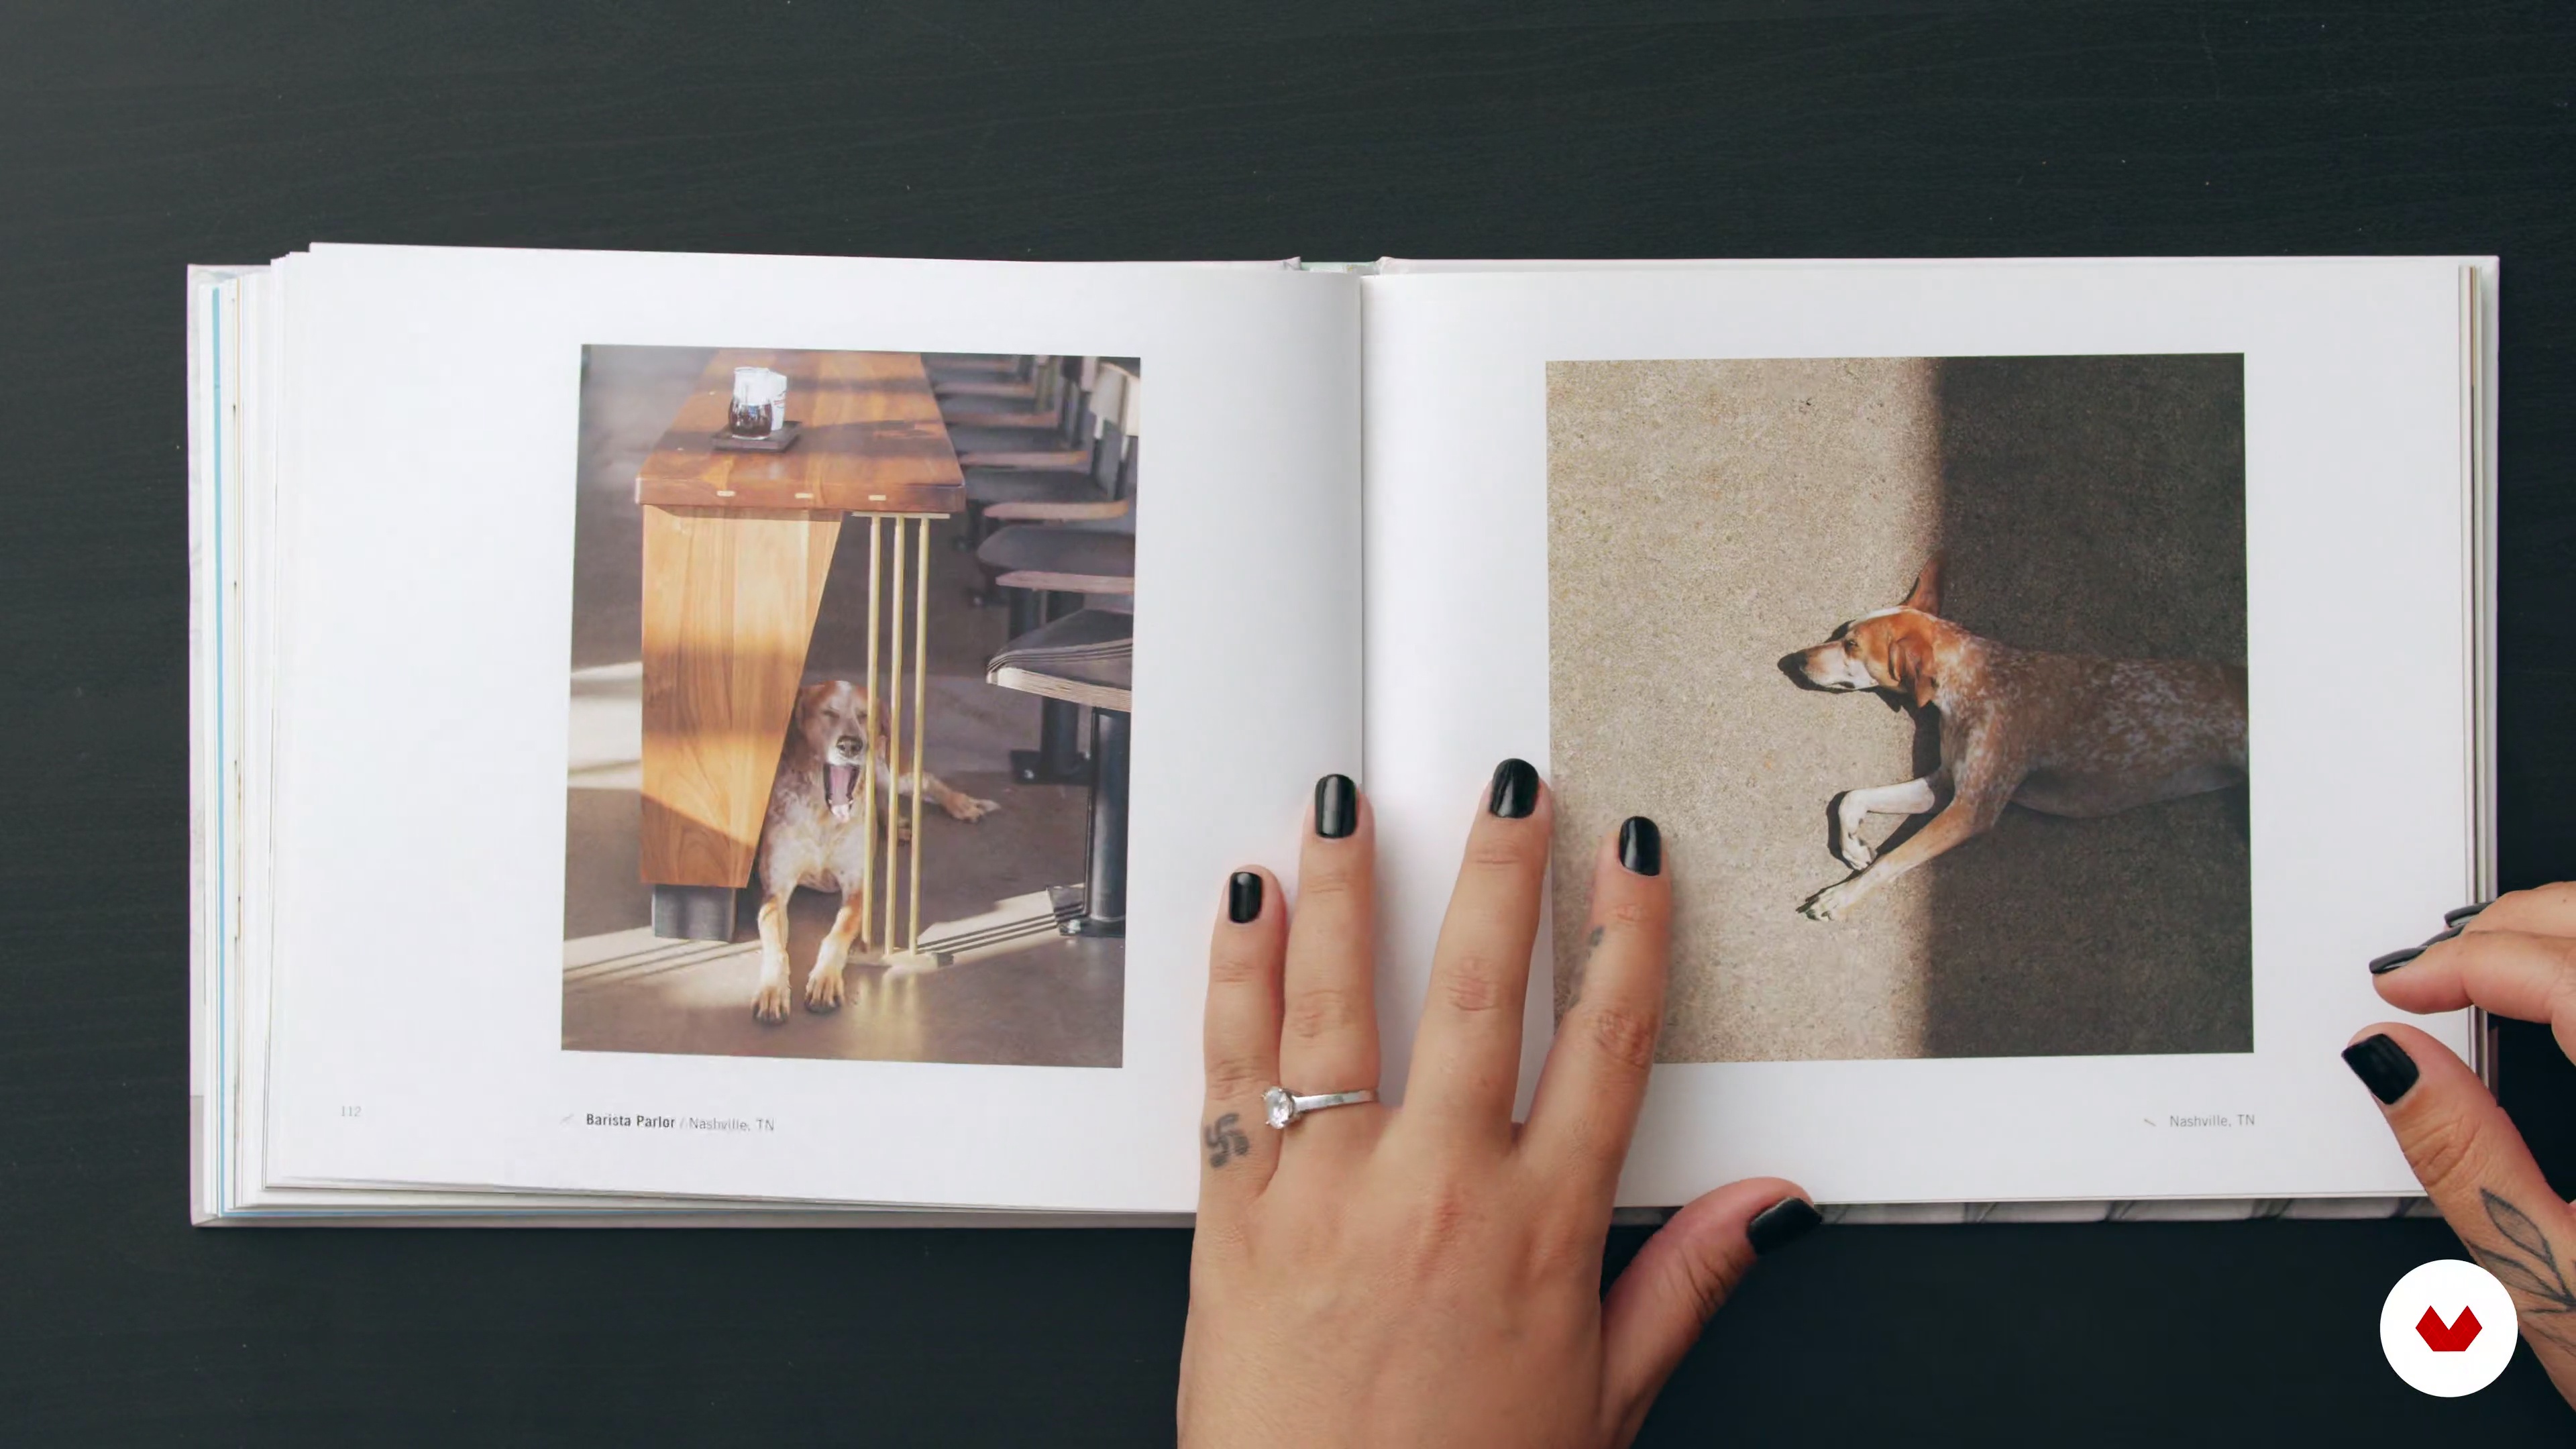
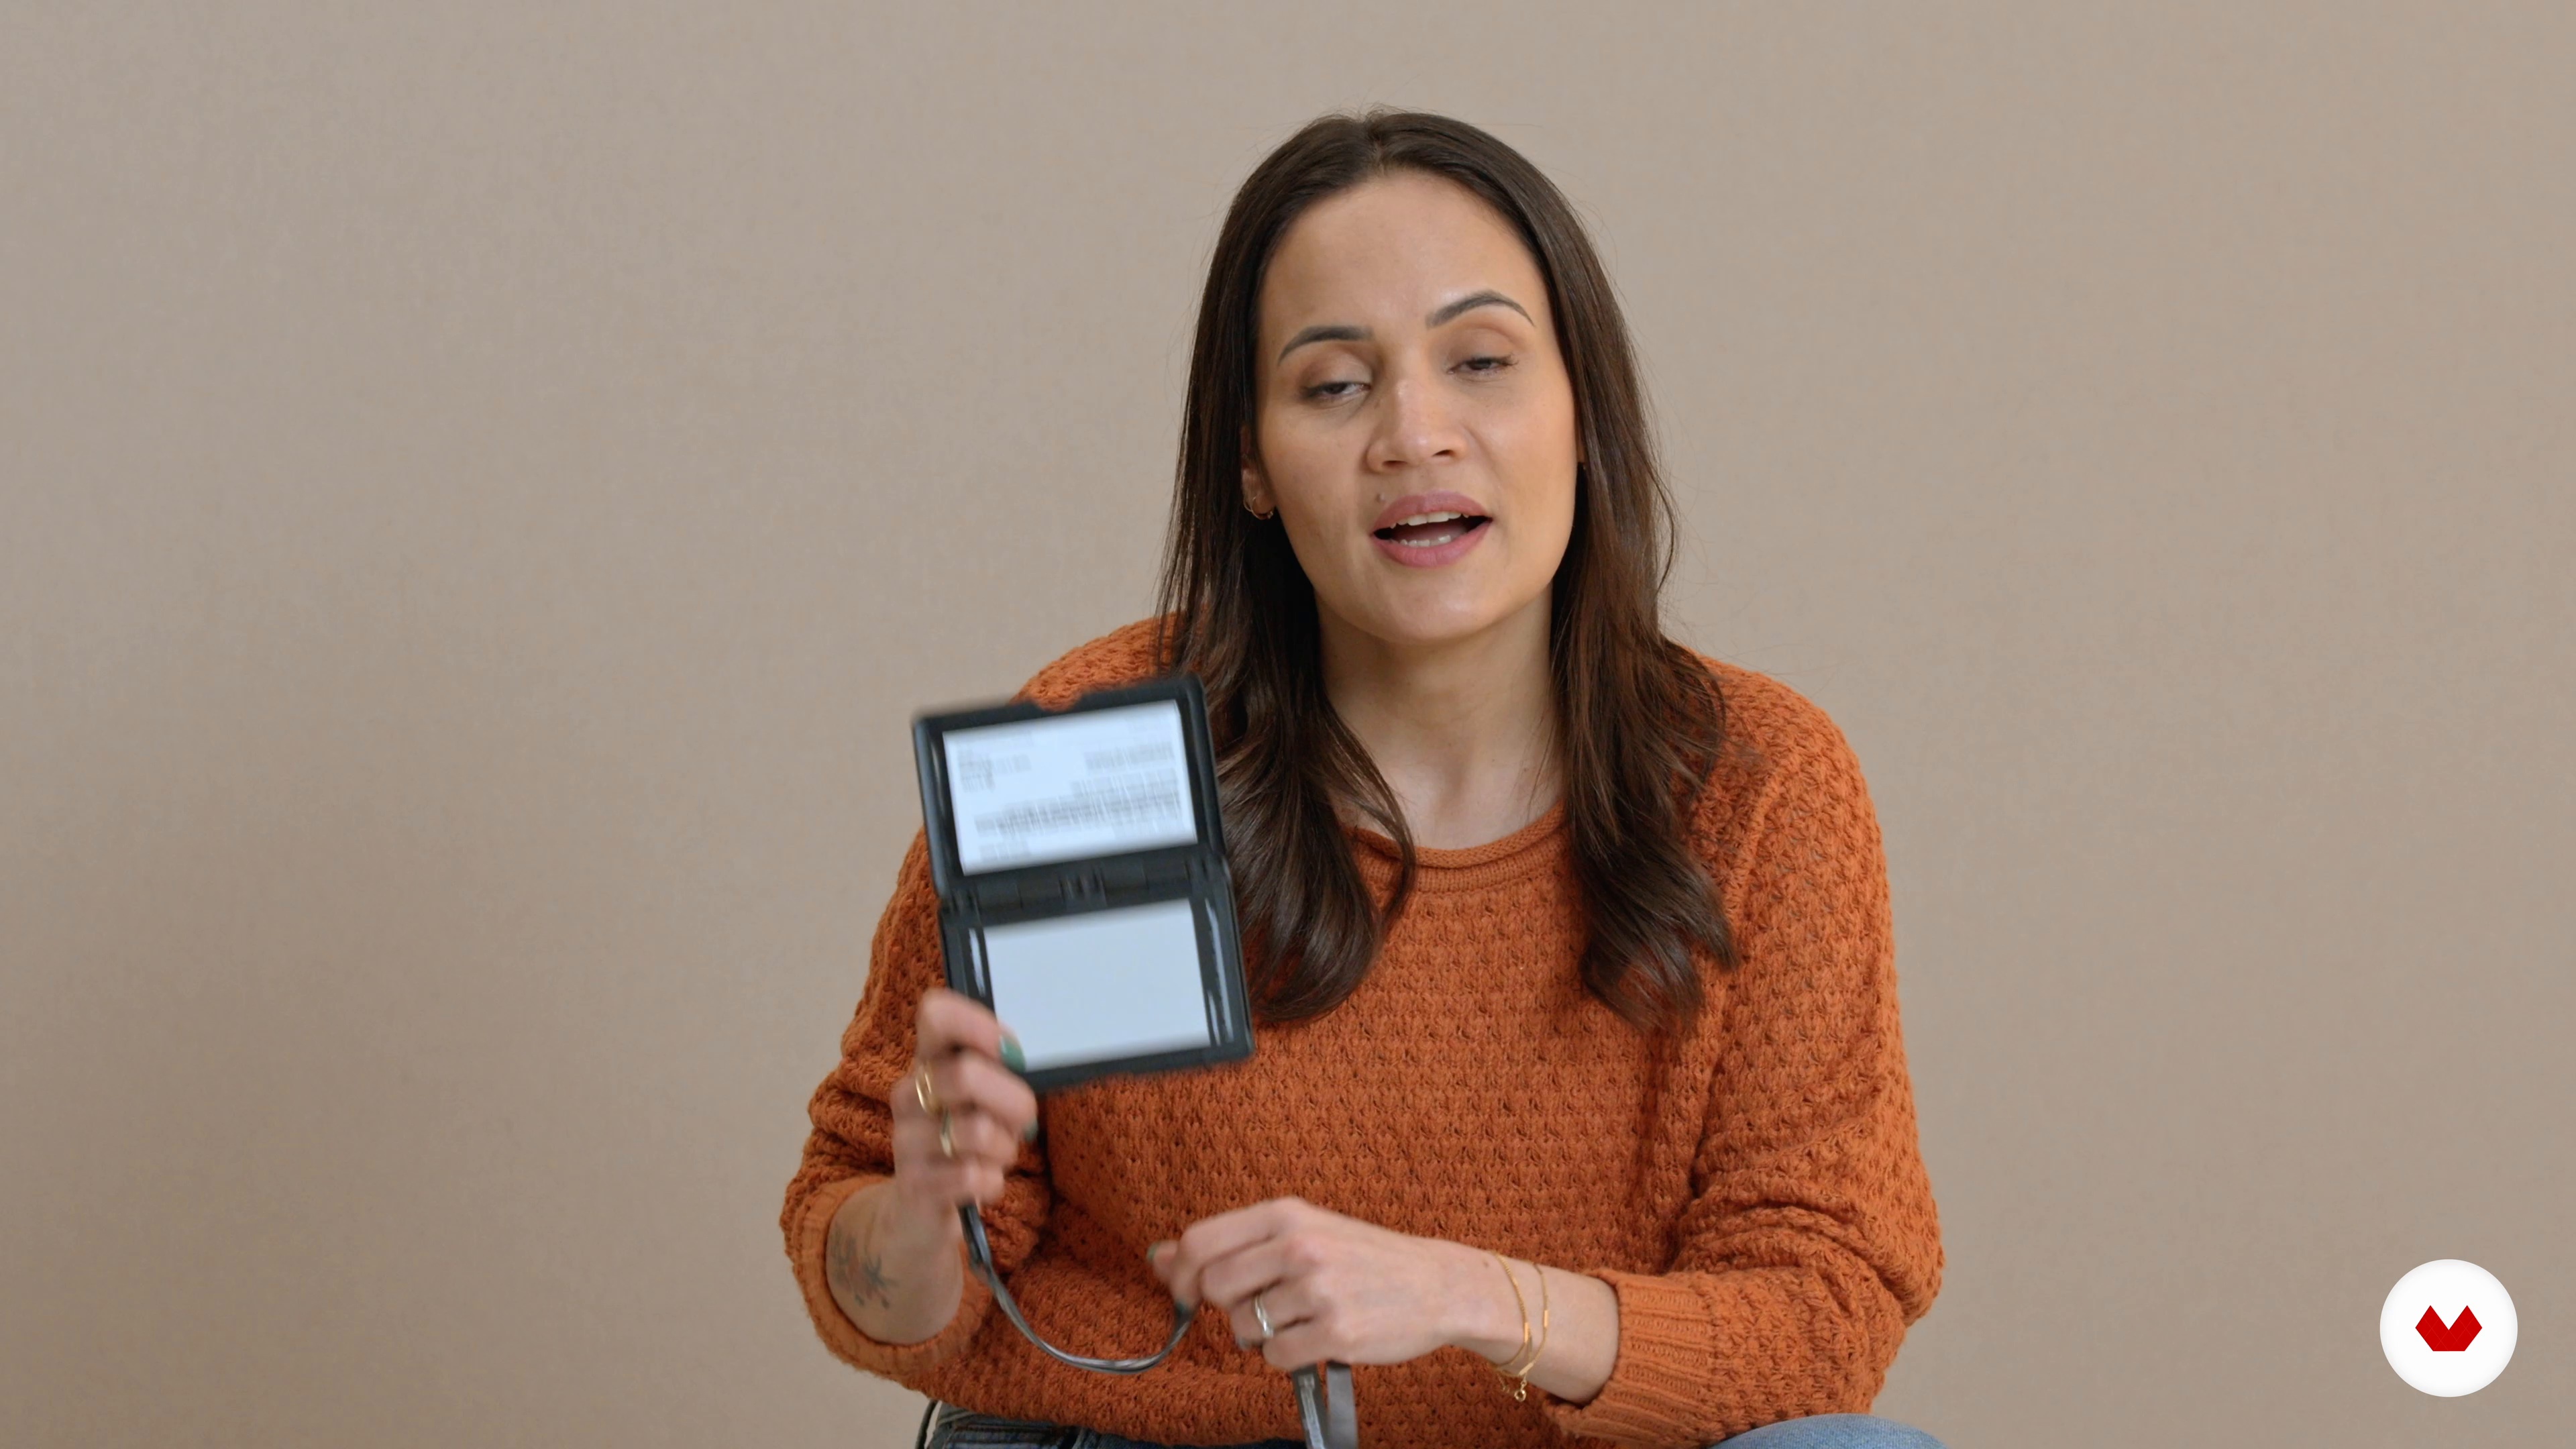
Dive into the world of family photography and discover the art of capturing genuine connections and stories that last a lifetime. This specialization guides you through the journey of documenting family milestones, from weddings to newborns and even pets. With the expertise of Danny Bittencourt, Grazi Ventura, Citlalli Rico, Lidi Lima-Conlon, and MESTIZAA, you'll master the techniques of using natural light to create emotive and authentic images. Learn to compose visually appealing shots and develop a personal style that reflects the unique dynamics of each family you photograph.

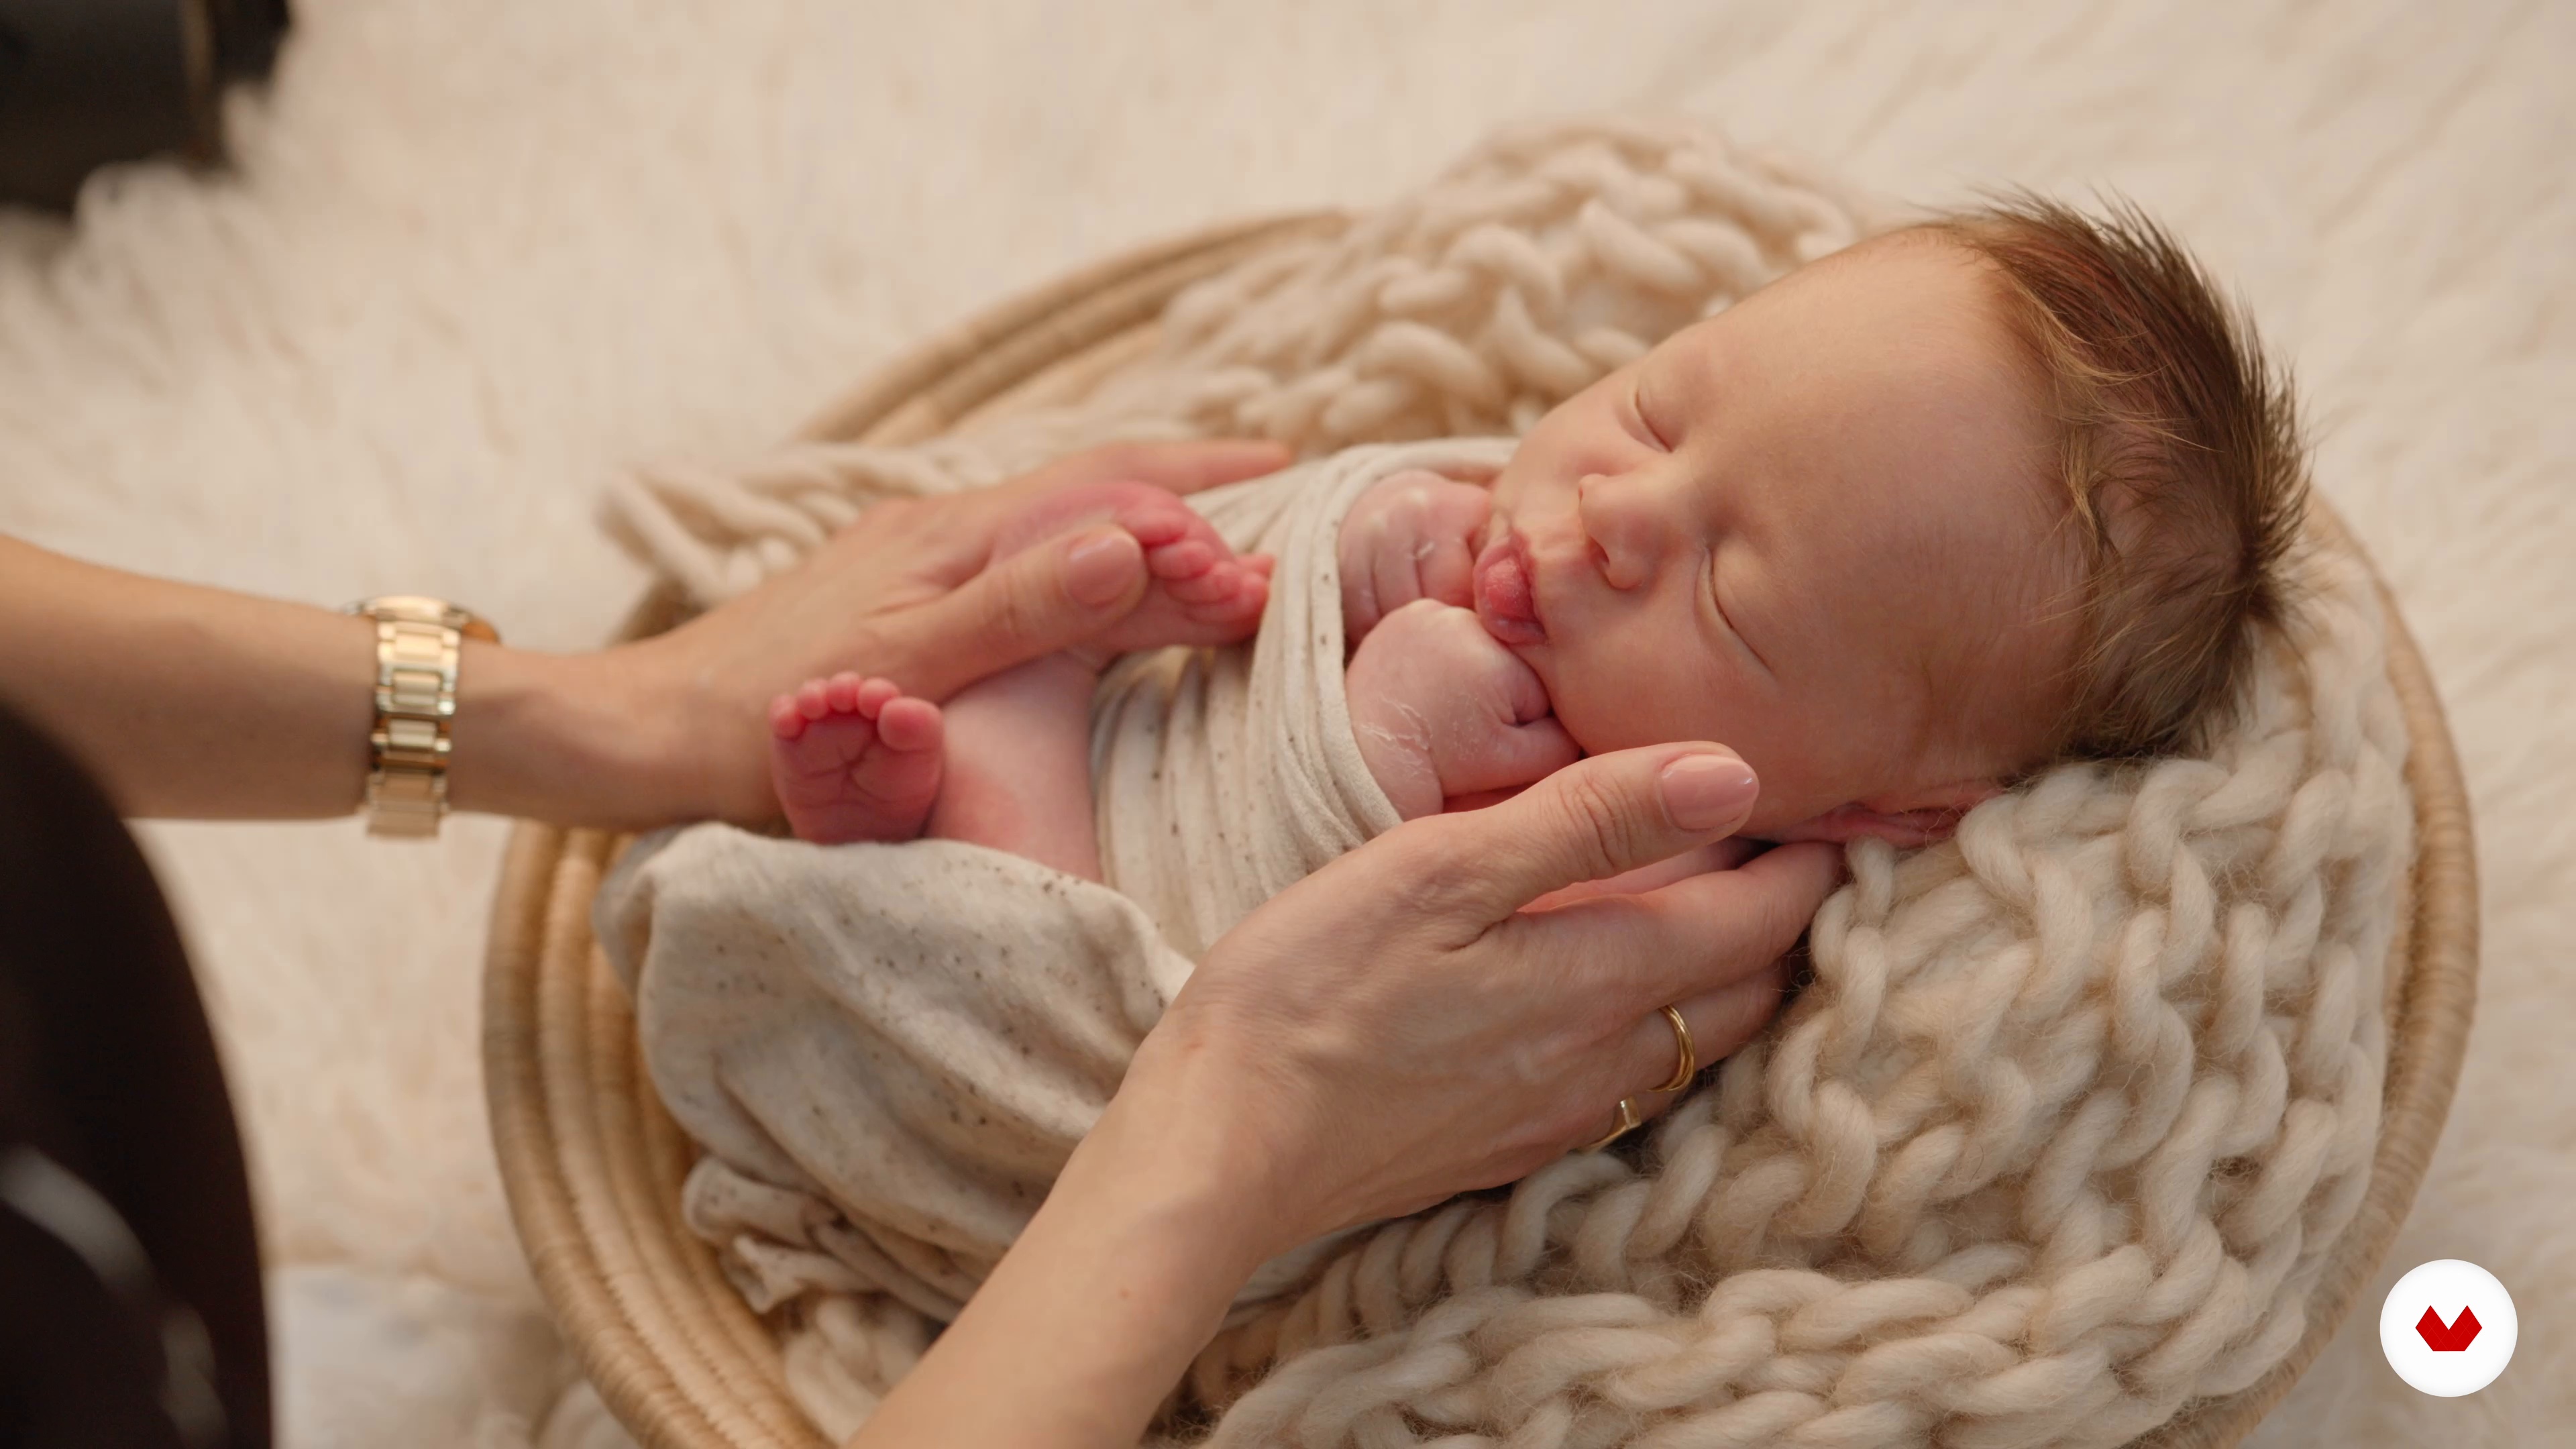
The program covers everything from directing multigenerational groups and capturing intimate wedding moments to documenting the delicate first weeks of a newborn's life. It also explores the growing trend of including pets as cherished family members in photography sessions. As you progress, you'll hone your skills in managing various subjects and emotions, crafting a cohesive narrative across different family stages. Ideal for those seeking to expand their photography portfolio, this comprehensive program equips you with the knowledge and confidence to tell compelling stories through your lens.

Read more ↓

What will you learn in this specialization?
A total of 6 modules and 68 lessons
A total of 10h 55m of vídeo lessons
Taught by 5 selected expert teachers
image
1
Introduction
Explore the heart of family photography as a practice of connection, memory, and truth. You'll reflect on how photography can preserve fleeting moments and authentic bonds, while learning to observe life gently, letting stories unfold with minimal interference.
1m
image
1
Influences | Danny Bittencourt
In this class, I'm going to present my biggest influences, the ones that mainly inspire me when it comes to lighting, atmosphere and attitude.
5m
image
2
Influences | Grazi Ventura
As the name says, there are certain people and jobs that influence and inspire us. They pass through us in a special way, so that we process it internally and generate something new for the world. They serve as nutrition and oxygen for our art. In this class I will talk a little about the jobs and people that help to feed my creative process.
3m
image
3
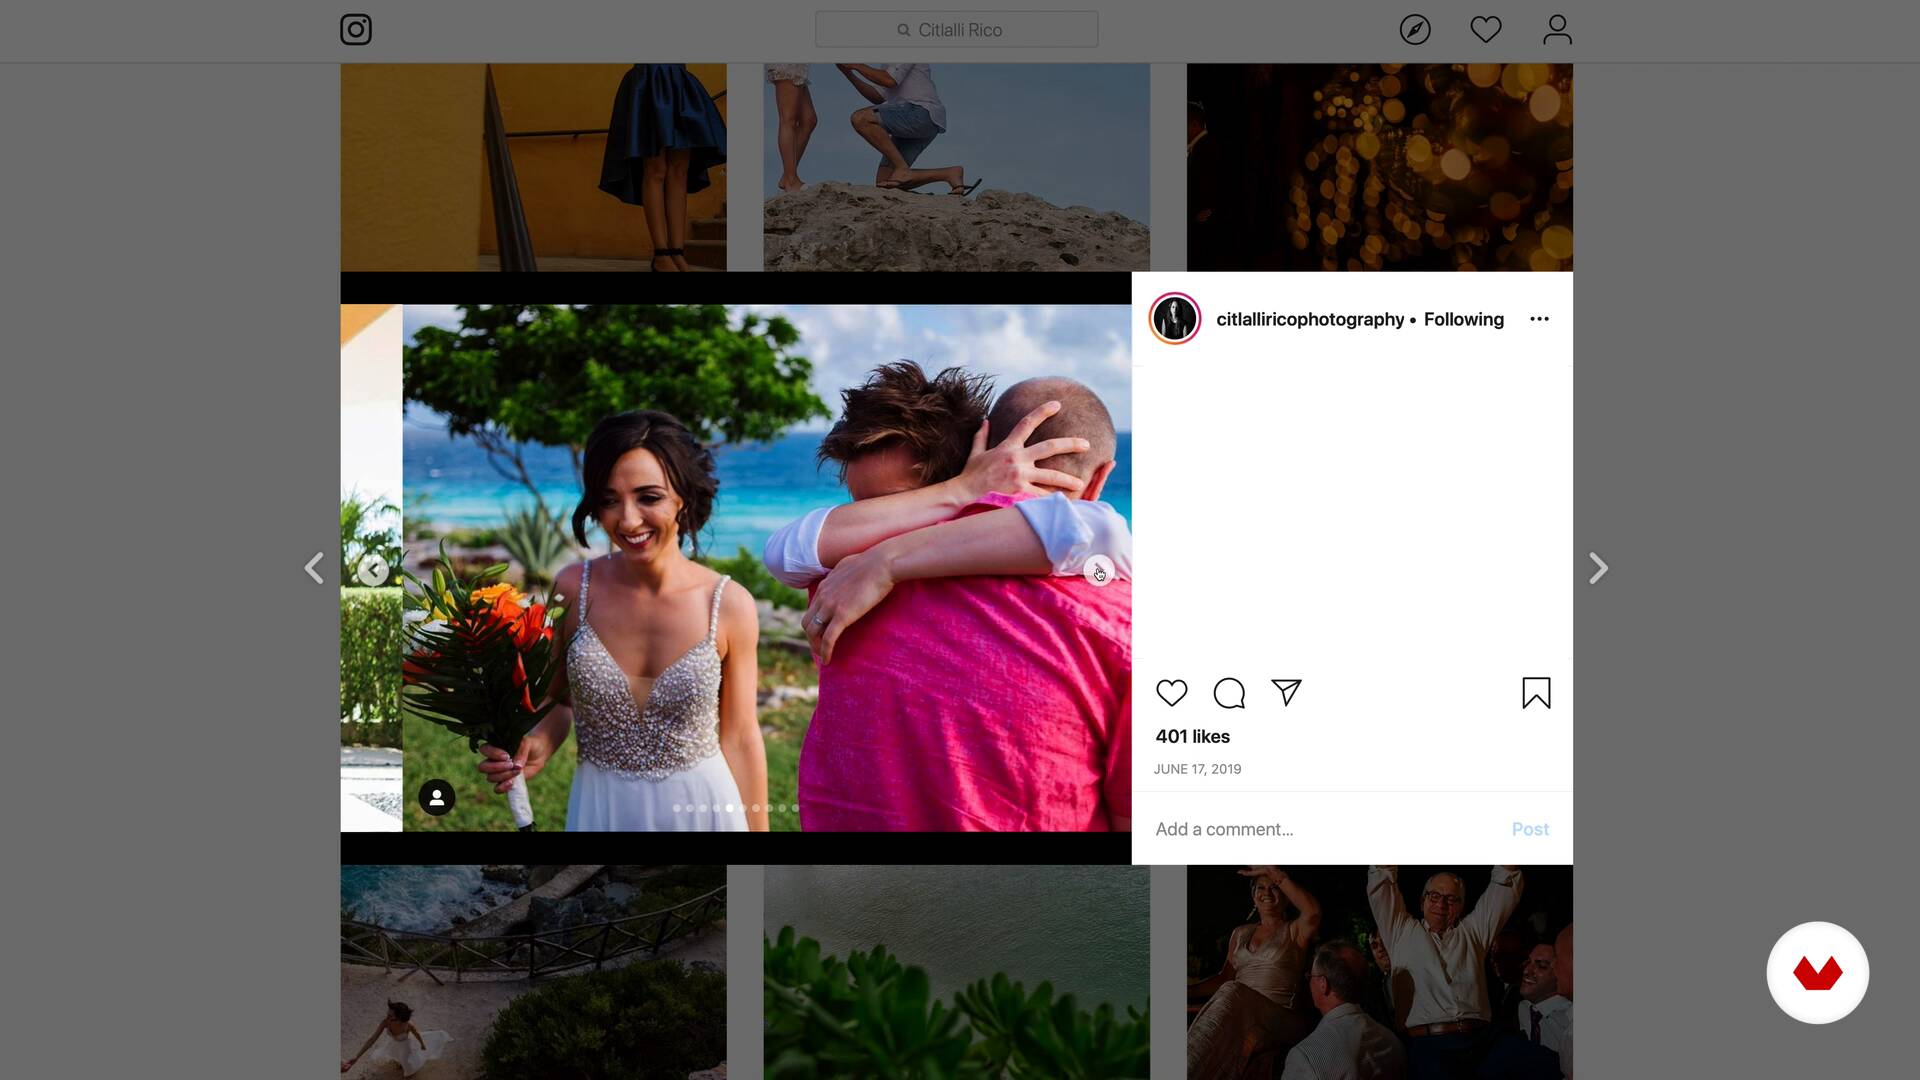
Influences | Citlalli Rico
I will show you the work of five photographers who not only like me a lot but have been a great influence on my style when portraying, it is also related to the subject.
10m
image
4
Influences | Lidi Lima-Conlon
Now I want to share with you my influences and what inspired me to get into baby photography.
3m
image
5
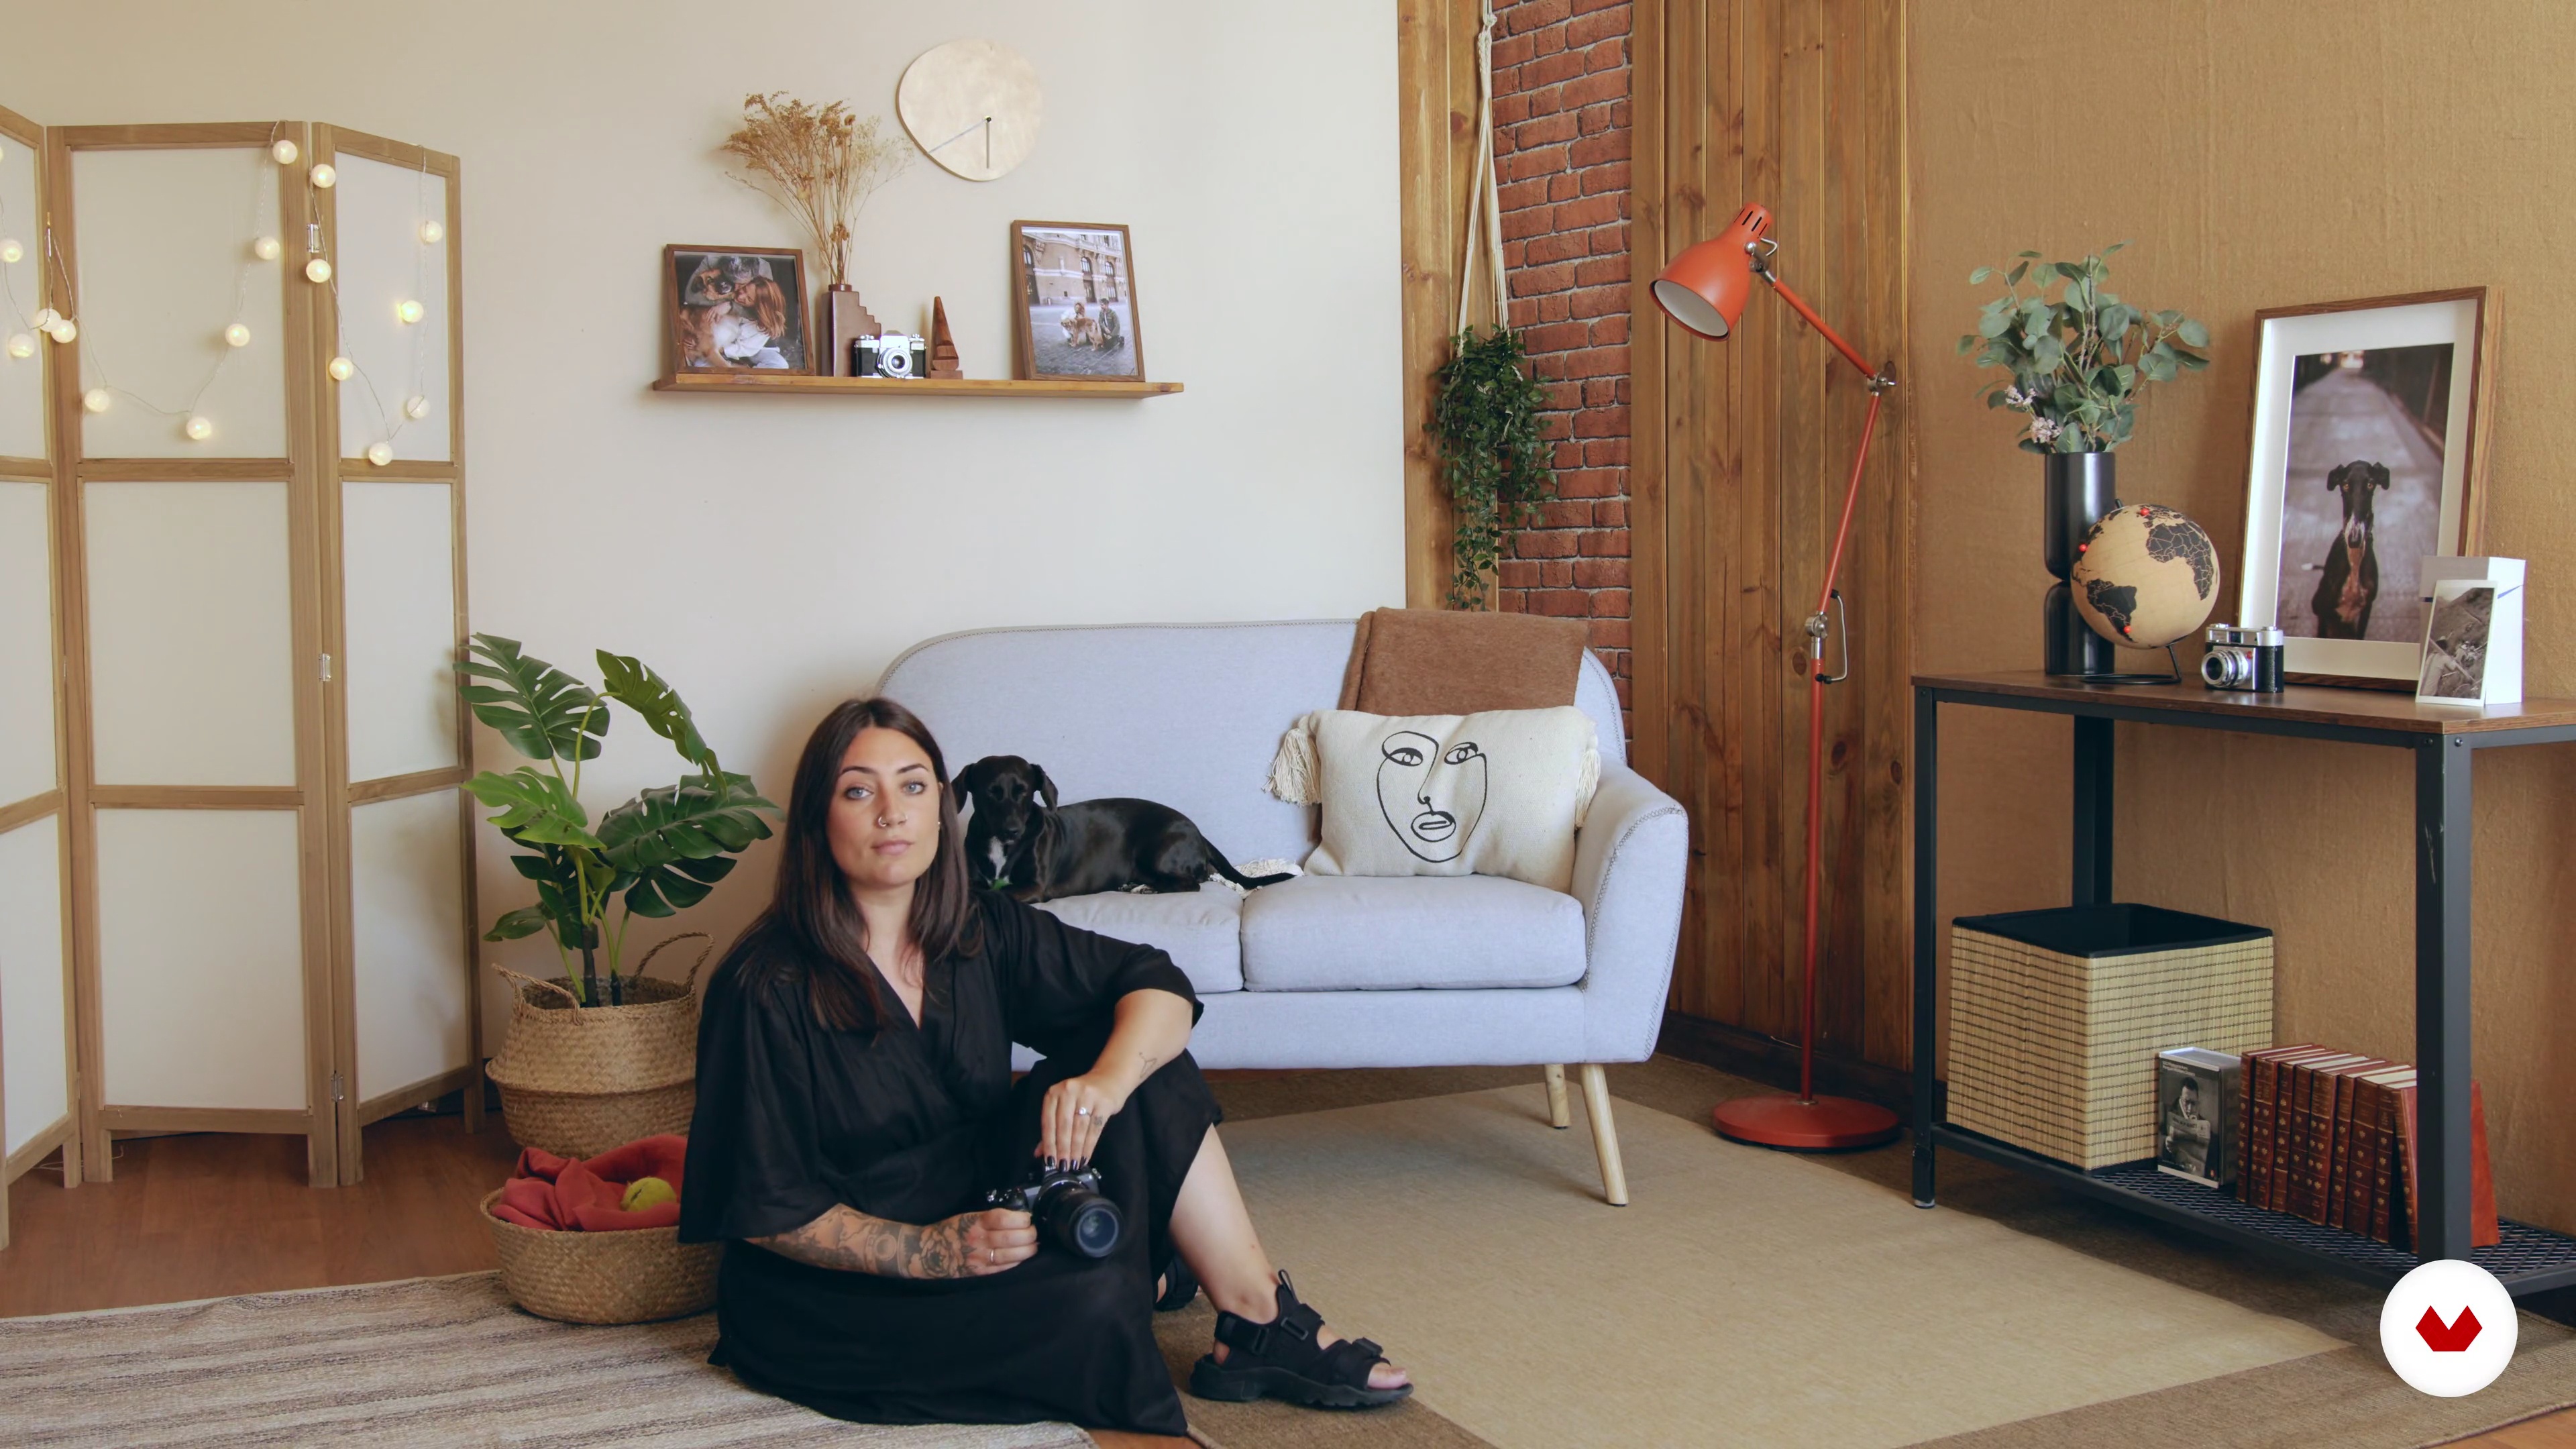
Influences | Maider Sierra (Mestizaa)
I have different influences that I love and would like to talk to you about: Elias Weiss Friedman, photographer for The Dogist, was the first canine photographer I met when I started all this. Thanks to him I seriously believed that one day I too could work as a dog photographer and he became my biggest reference. It was not his style that got me hooked on him, in fact, you can see that they are quite simple photos as far as composition and editing are concerned. Theron Humphrey and Maddie are the stars of This Wild Idea. I discovered them thanks to their book Maddie on the things and I completely fell in love with the lifestyle they projected through their photos. His trips, his house, his car ... everything went from being normal to extraordinary thanks to both. Like Theron Humphrey, Andrew Knapp is a great reference in showing his life with his dogs Momo and Boo. His books a lo Where's Wally? are part of my dog book collection and I turn to them when I'm looking for inspiration, especially when I'm traveling and trying to portray landscapes in which my dogs appear.
5m
image
3
What is a narrative?
In this class, I will explain my perspective on narrative and atmosphere, as this notion will be the basis of all our construction.
10m
image
4
Identification and meaning
Making meaningful images gives purpose to our production. In this class, I'll show you how to identify and deepen the narrative of your photos.
7m
image
5
Lighting
Natural window lighting is a powerful compositional tool. Here you will see how to explore and build atmospheres using this light source.
12m
image
6
Planning and routing
For a more conscious production, in this class we will work on some processes of planning and scripting our ideas.
19m
image
7
Stock list
Still as part of the preparation for the shoot itself, I will now show you the ten actions that we should design before shooting.
14m
image
8
Preparation
Now let's get ready to actually shoot. I'll show you everything that needs to be thought and organized before shooting.
9m
image
9
Execution
In this class, you will follow my shooting and you will also see all the changes that inevitably happen during practice.
11m
image
10
Image curation
In this class, we will see the criteria that we can use to select the images we took during shooting to create the narrative we want.
13m
image
11
Creative Editing and Finishing 1
Now let's see how to use editing to enhance and deepen the construction of the atmosphere that we developed in this course.
16m
image
12
Creative Editing and Finishing 2
In the second part of this lesson, I'll show you how to use the editing of the first image as a basis for the others, creating a visual unit.
17m
image
13
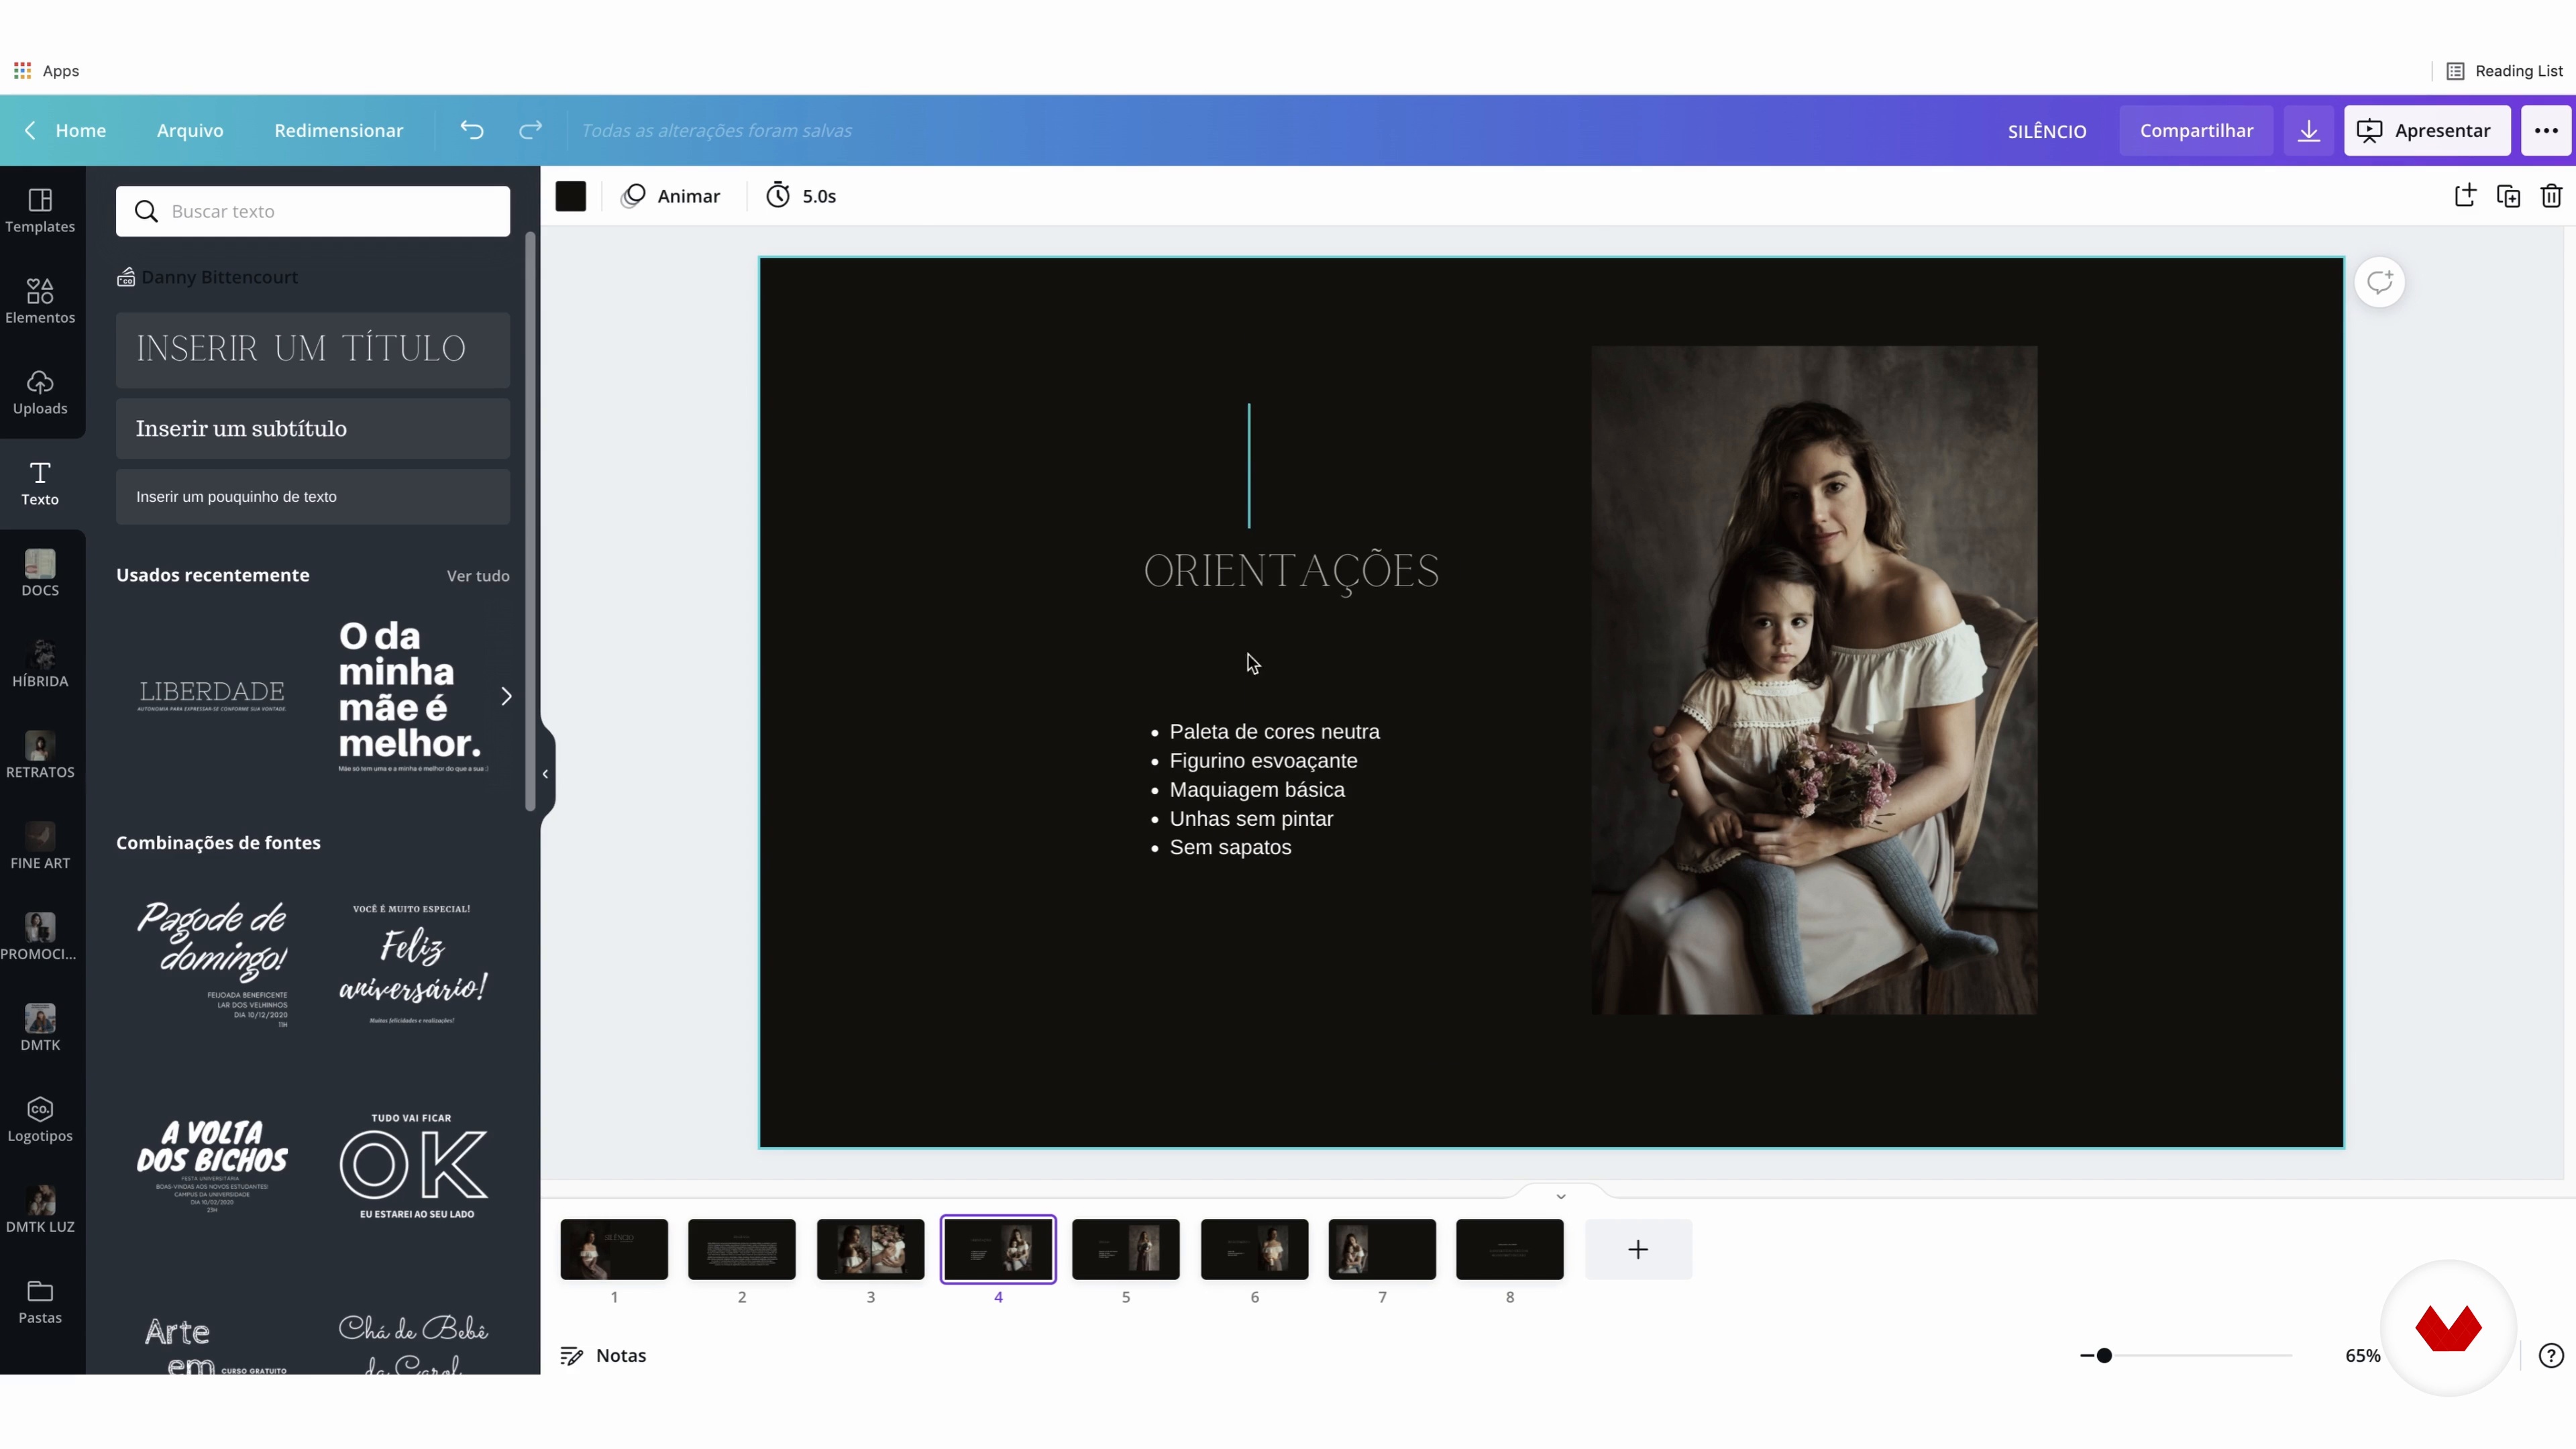
Portfolio construction
To be able to direct the material you produced in this course, in this class we will learn how to build a portfolio to present your photos to the world.
20m
image
4
Customer contact
How do you contact the client, address their expectations about photography, tell them why this work is so important, how does it impact their future? How does this work, how will we interact and what will it receive in the end? Find out everything about this important part of the job and what is the beginning of your relationship with the family.
1m
image
5
Investigation
Why is conversation and research about each family member so important? Come and learn how a deeper understanding of the relationships between family members can make all the difference for a more impactful delivery of your work.
2m
image
6
6 tips
With the time and experience I have listed some super precious and very practical tips that can help in the day to day of your work. I organized six of them here exclusively for you and I hope they will become useful for your process as well. Enjoy!
2m
image
7
Photographic equipment
I'm going to talk here about the equipment needed for a family documentary photography session to happen without any problems. Ask your most technical questions and learn about the important peculiarities of this work.
1m
image
8
Photographic technique
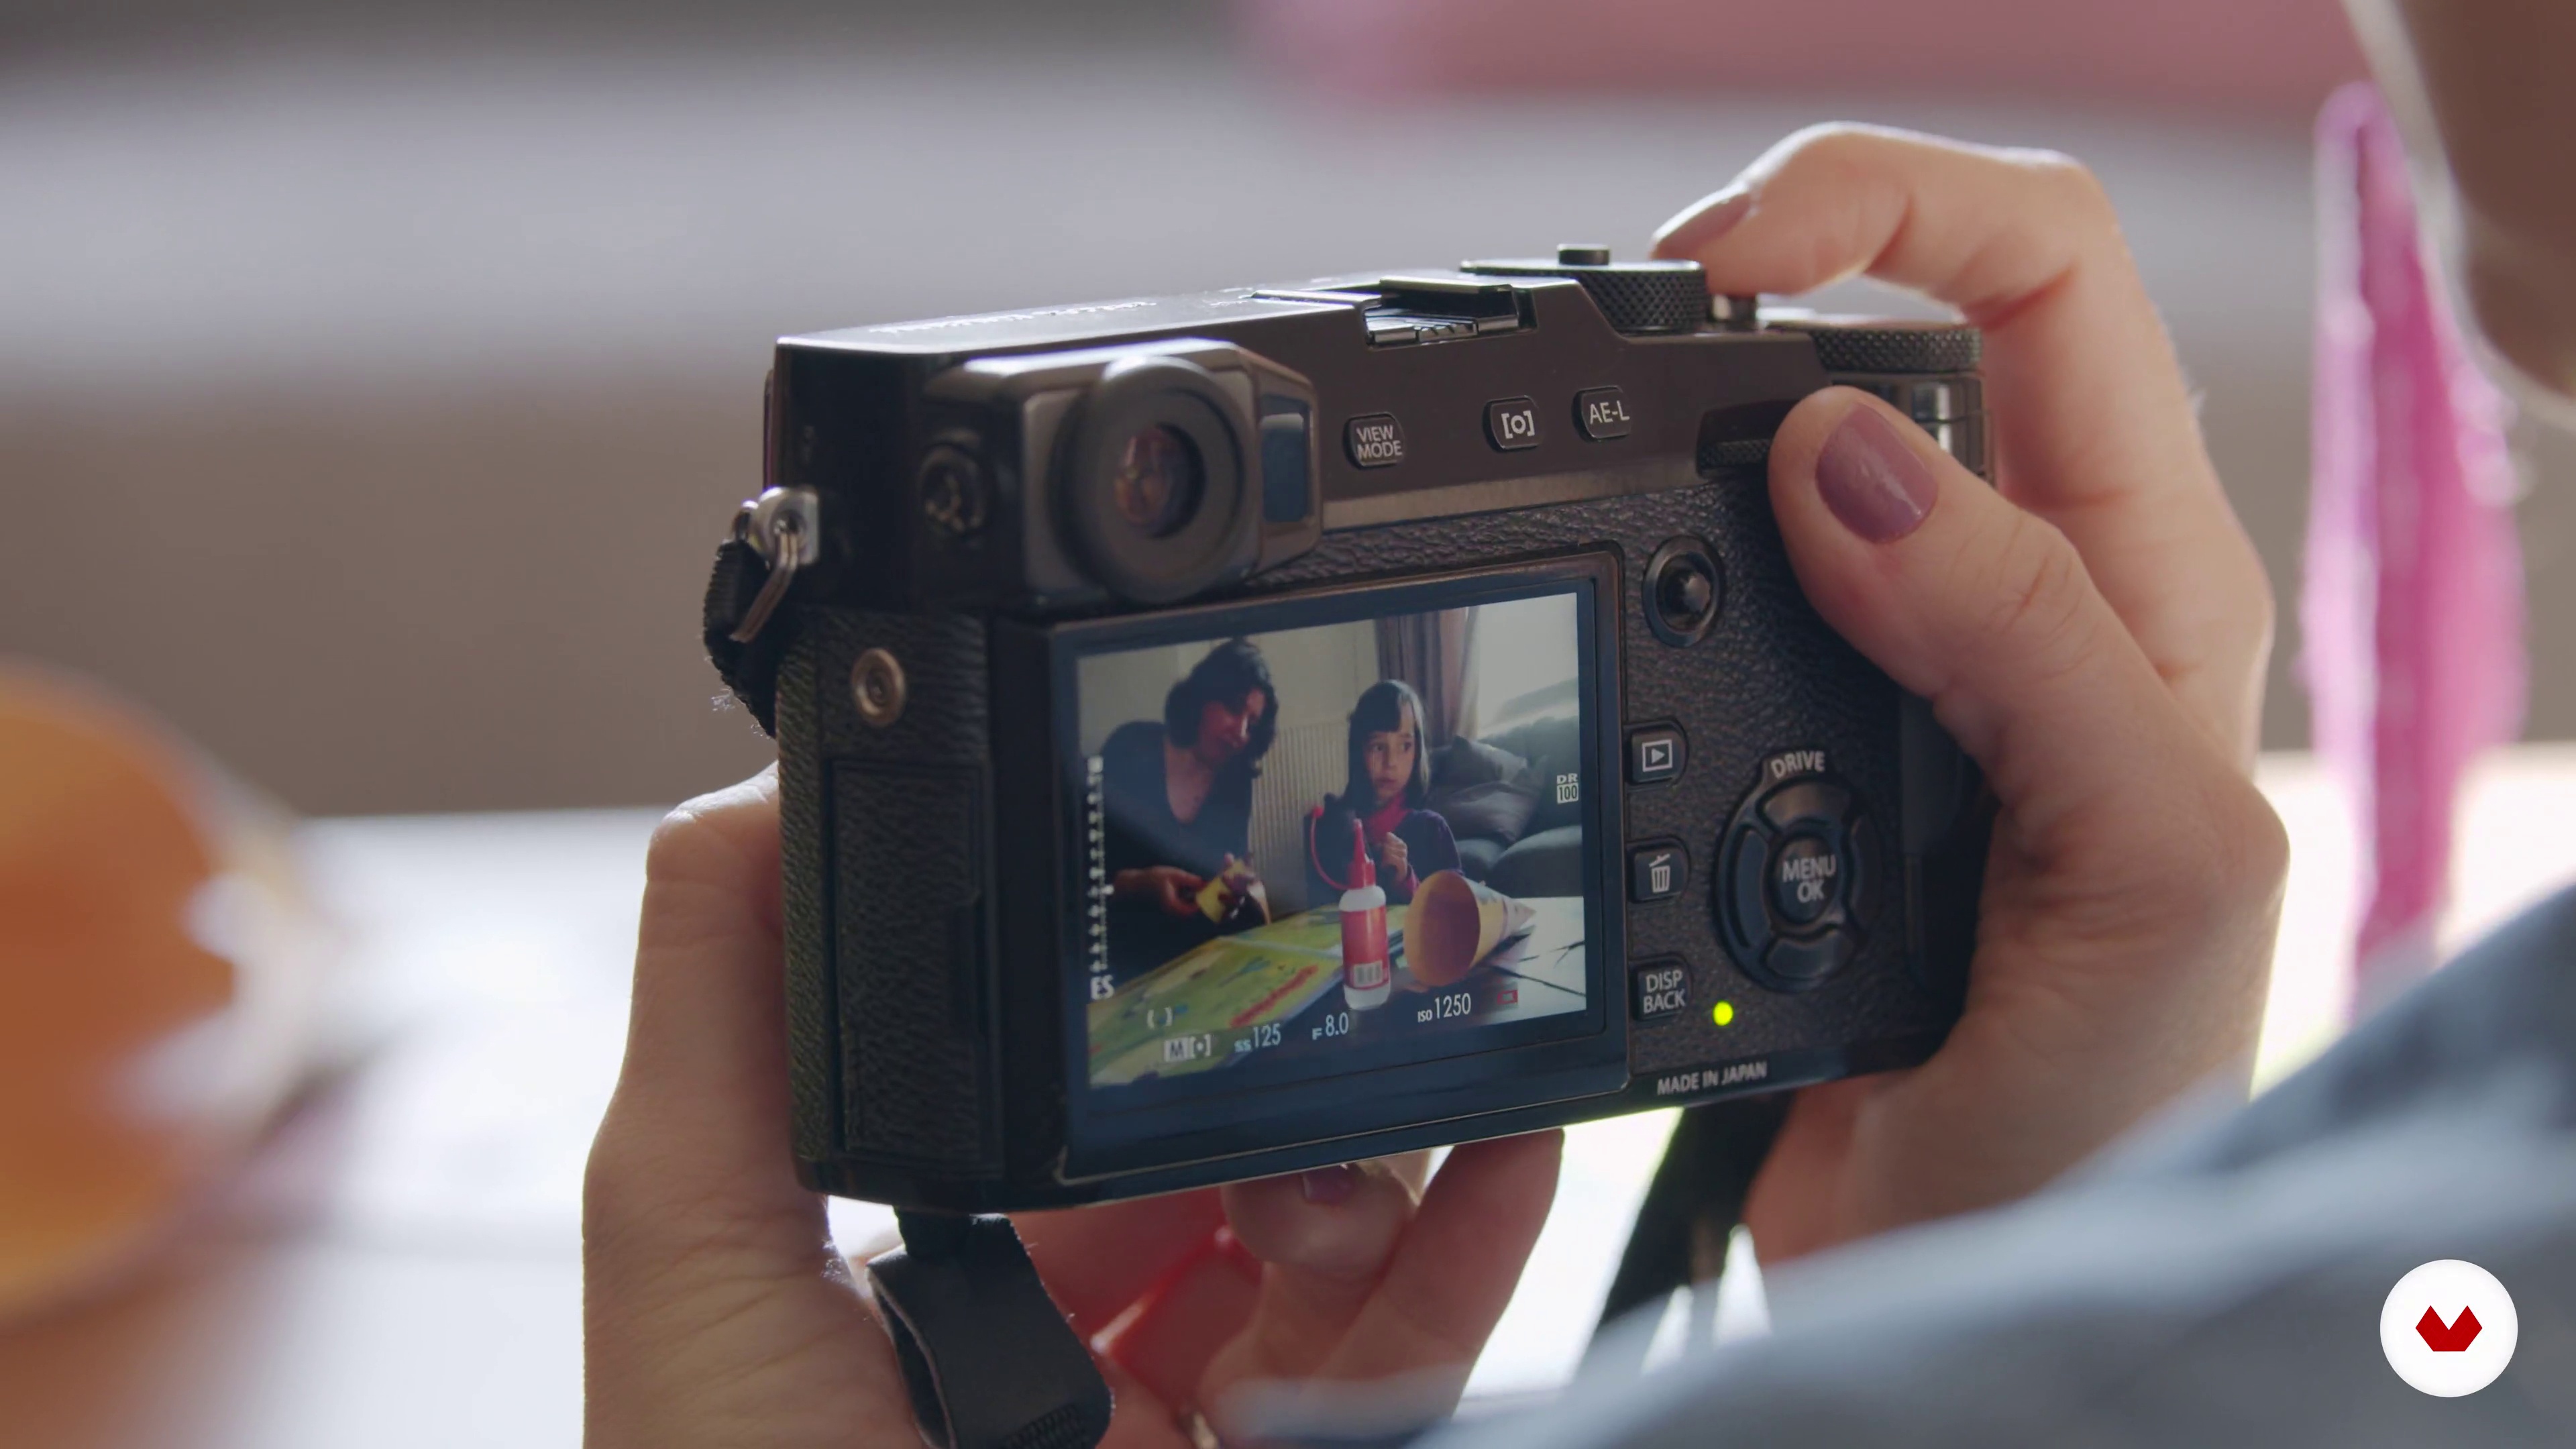
Photographing is a profession that mixes art with technique. The technique allows you to expand your art to higher levels and thus differentiate yourself from the competition. Learn important techniques in this class that will allow you to go beyond the basics.
3m
image
9
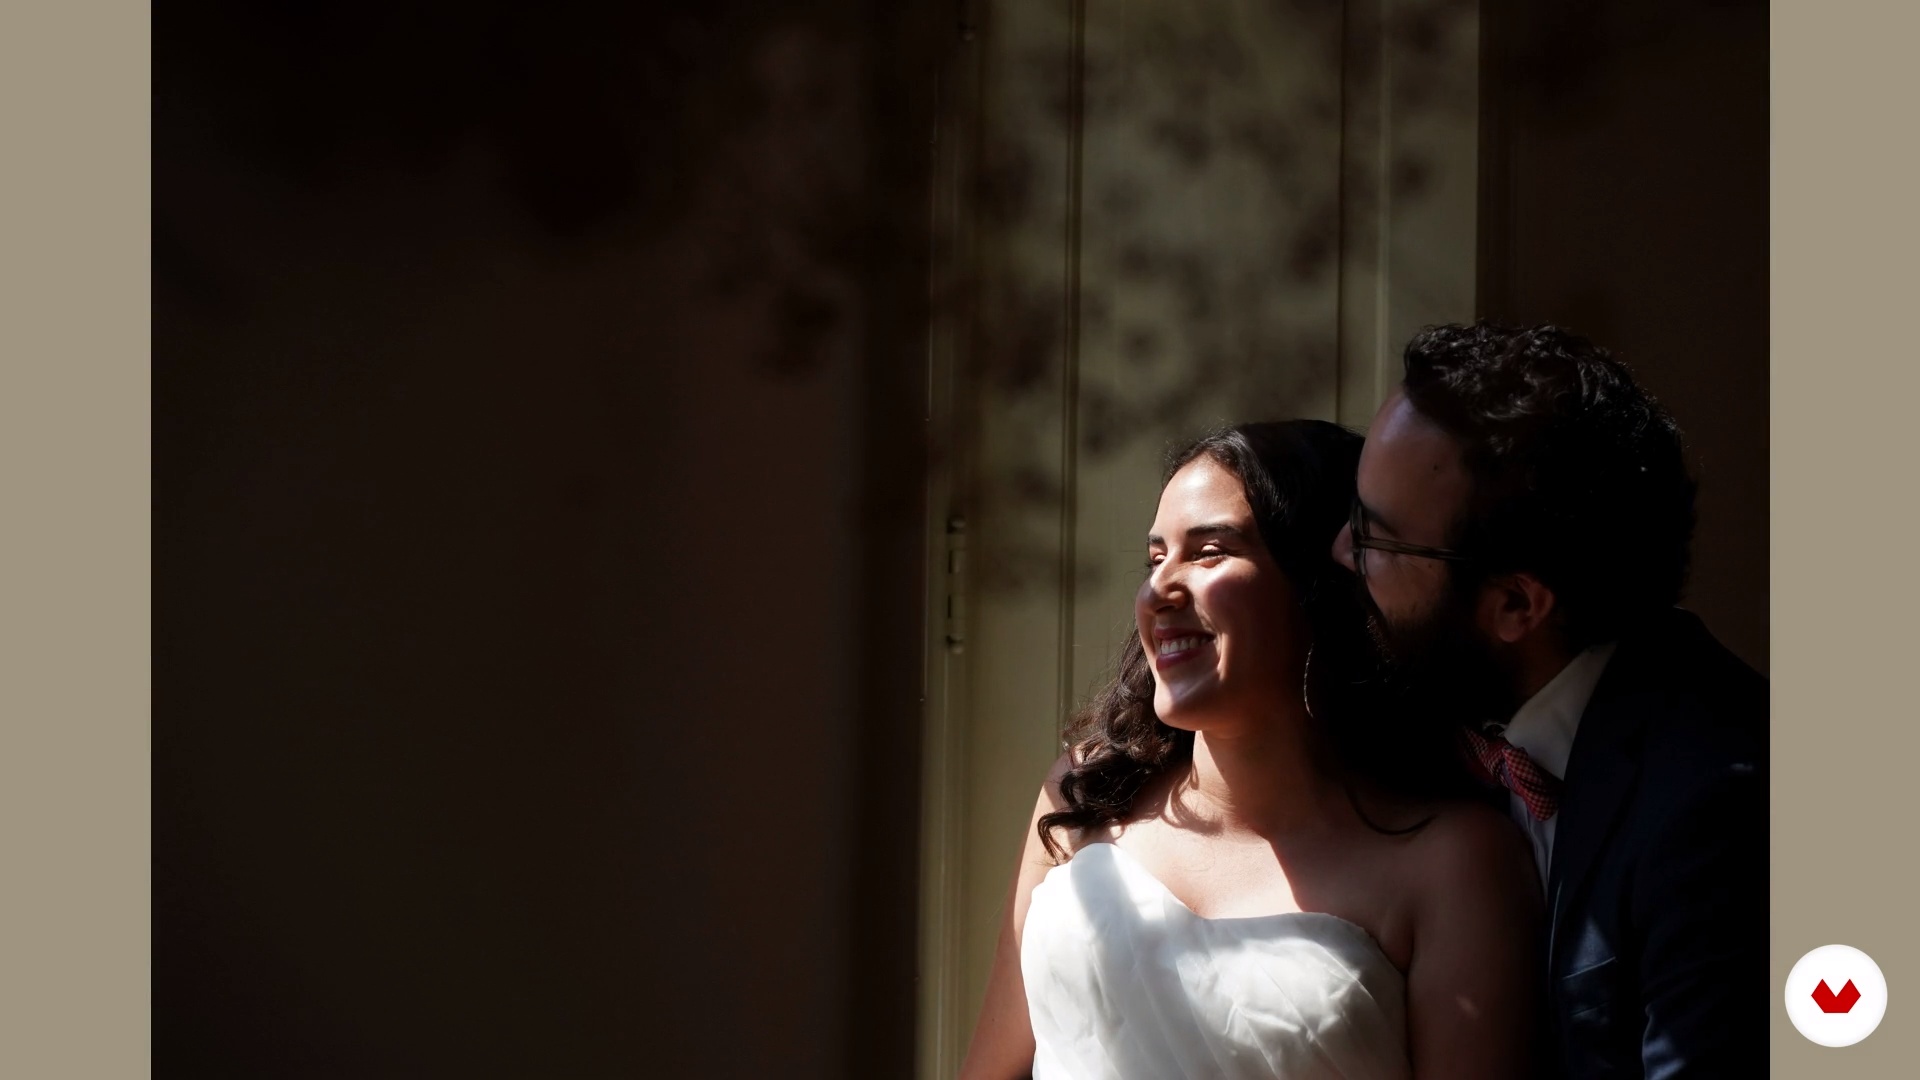
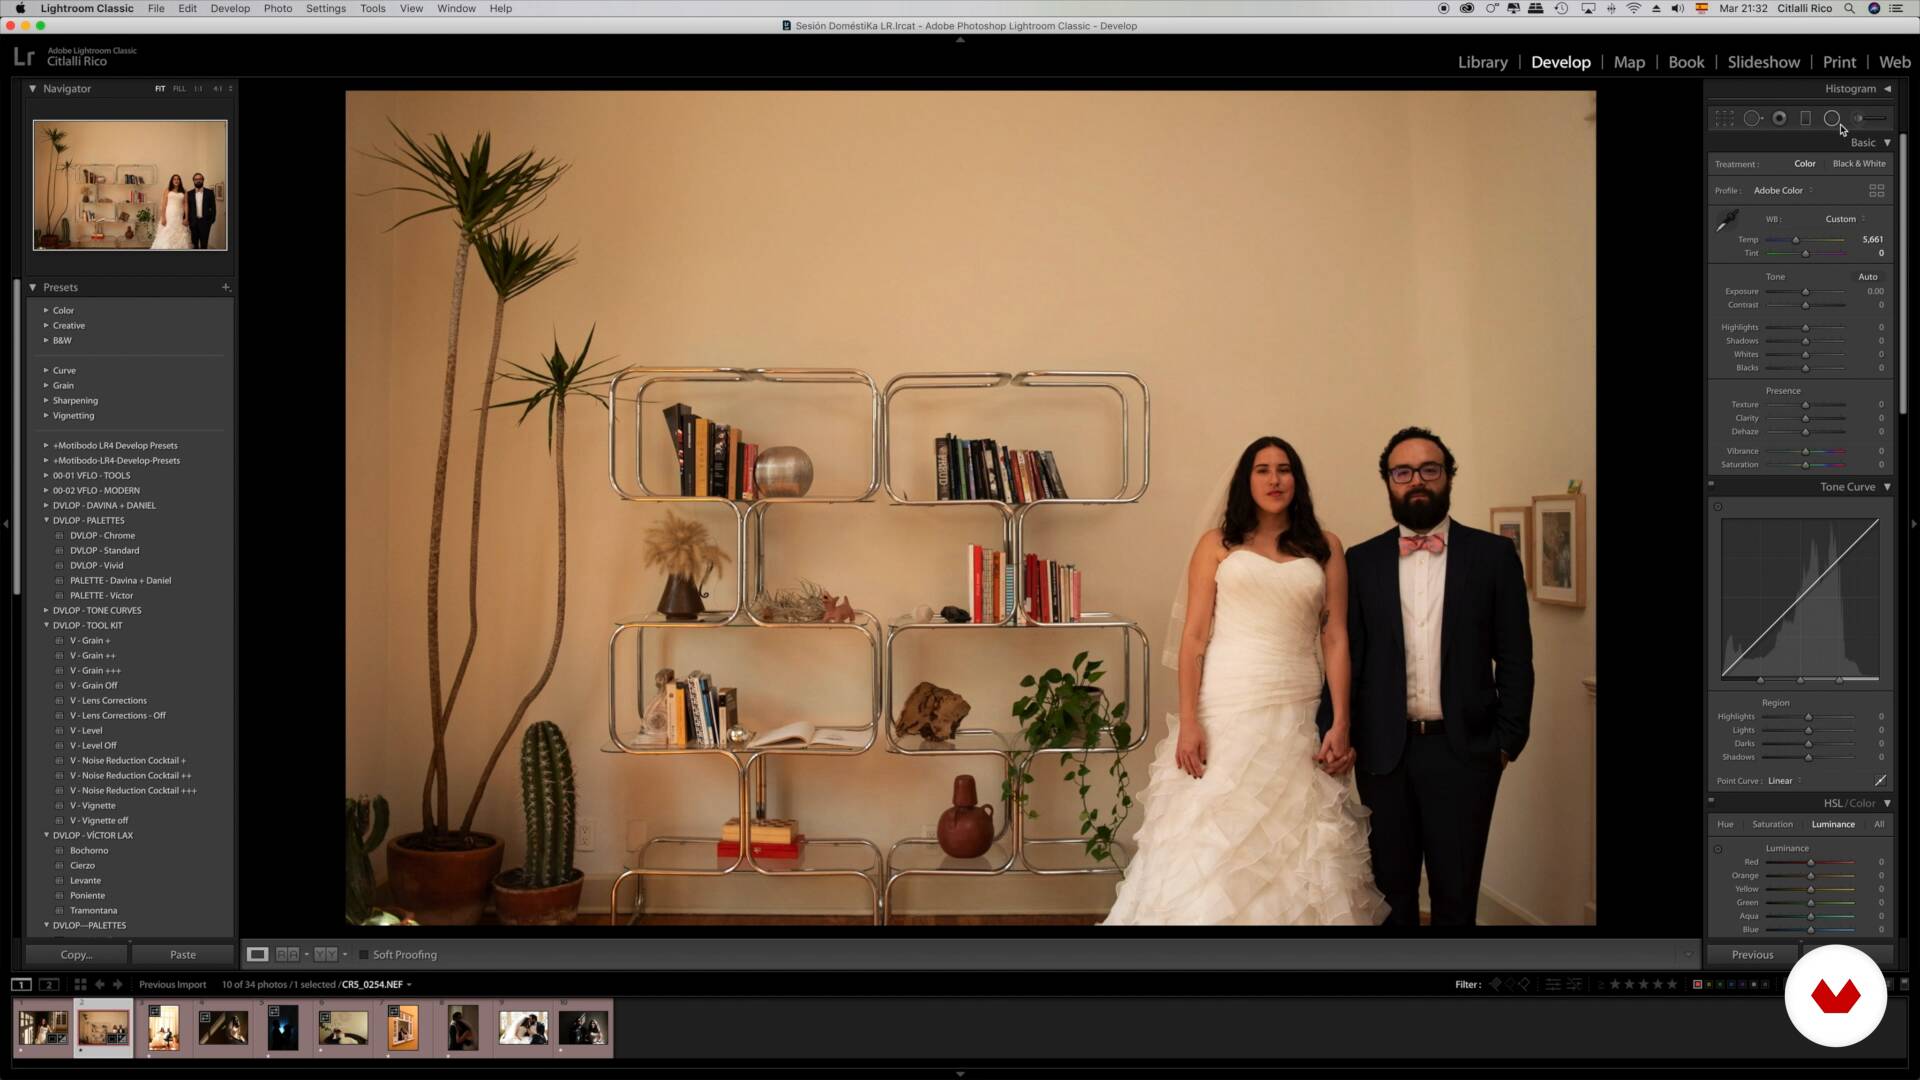
The moment of the click
How to behave on the day of the session? What are the rules, limits and attitudes that we can adopt so that everything goes in a natural way and provides nice and spontaneous moments? See in this class what I do so that the photographs we seek can happen.
7m
image
10
Frustrations and surprises
Family documentary photography has the peculiarity that we cannot control anything. So, many times we mentally project photos and situations that end up not happening. On the other hand, many other surprises arise during the work. I will cover in this class how to deal with these moments and make the most of them.
2m
image
11
Analysis of photographic material and backup management
What are the important first steps to take when you arrive with work at home? How to download, import, backup and start editing so much photo? See in this class the step by step of each one of these stages of the work.
12m
image
12
Final image selection and retouching
In a family documentary photography session the volume of images can be (and usually is) huge! Learn in this class about a workflow that can greatly increase your productivity. Follow the steps in the sequence and see how your working time will be much more accurate and productive.
10m
image
13
Final delivery formats
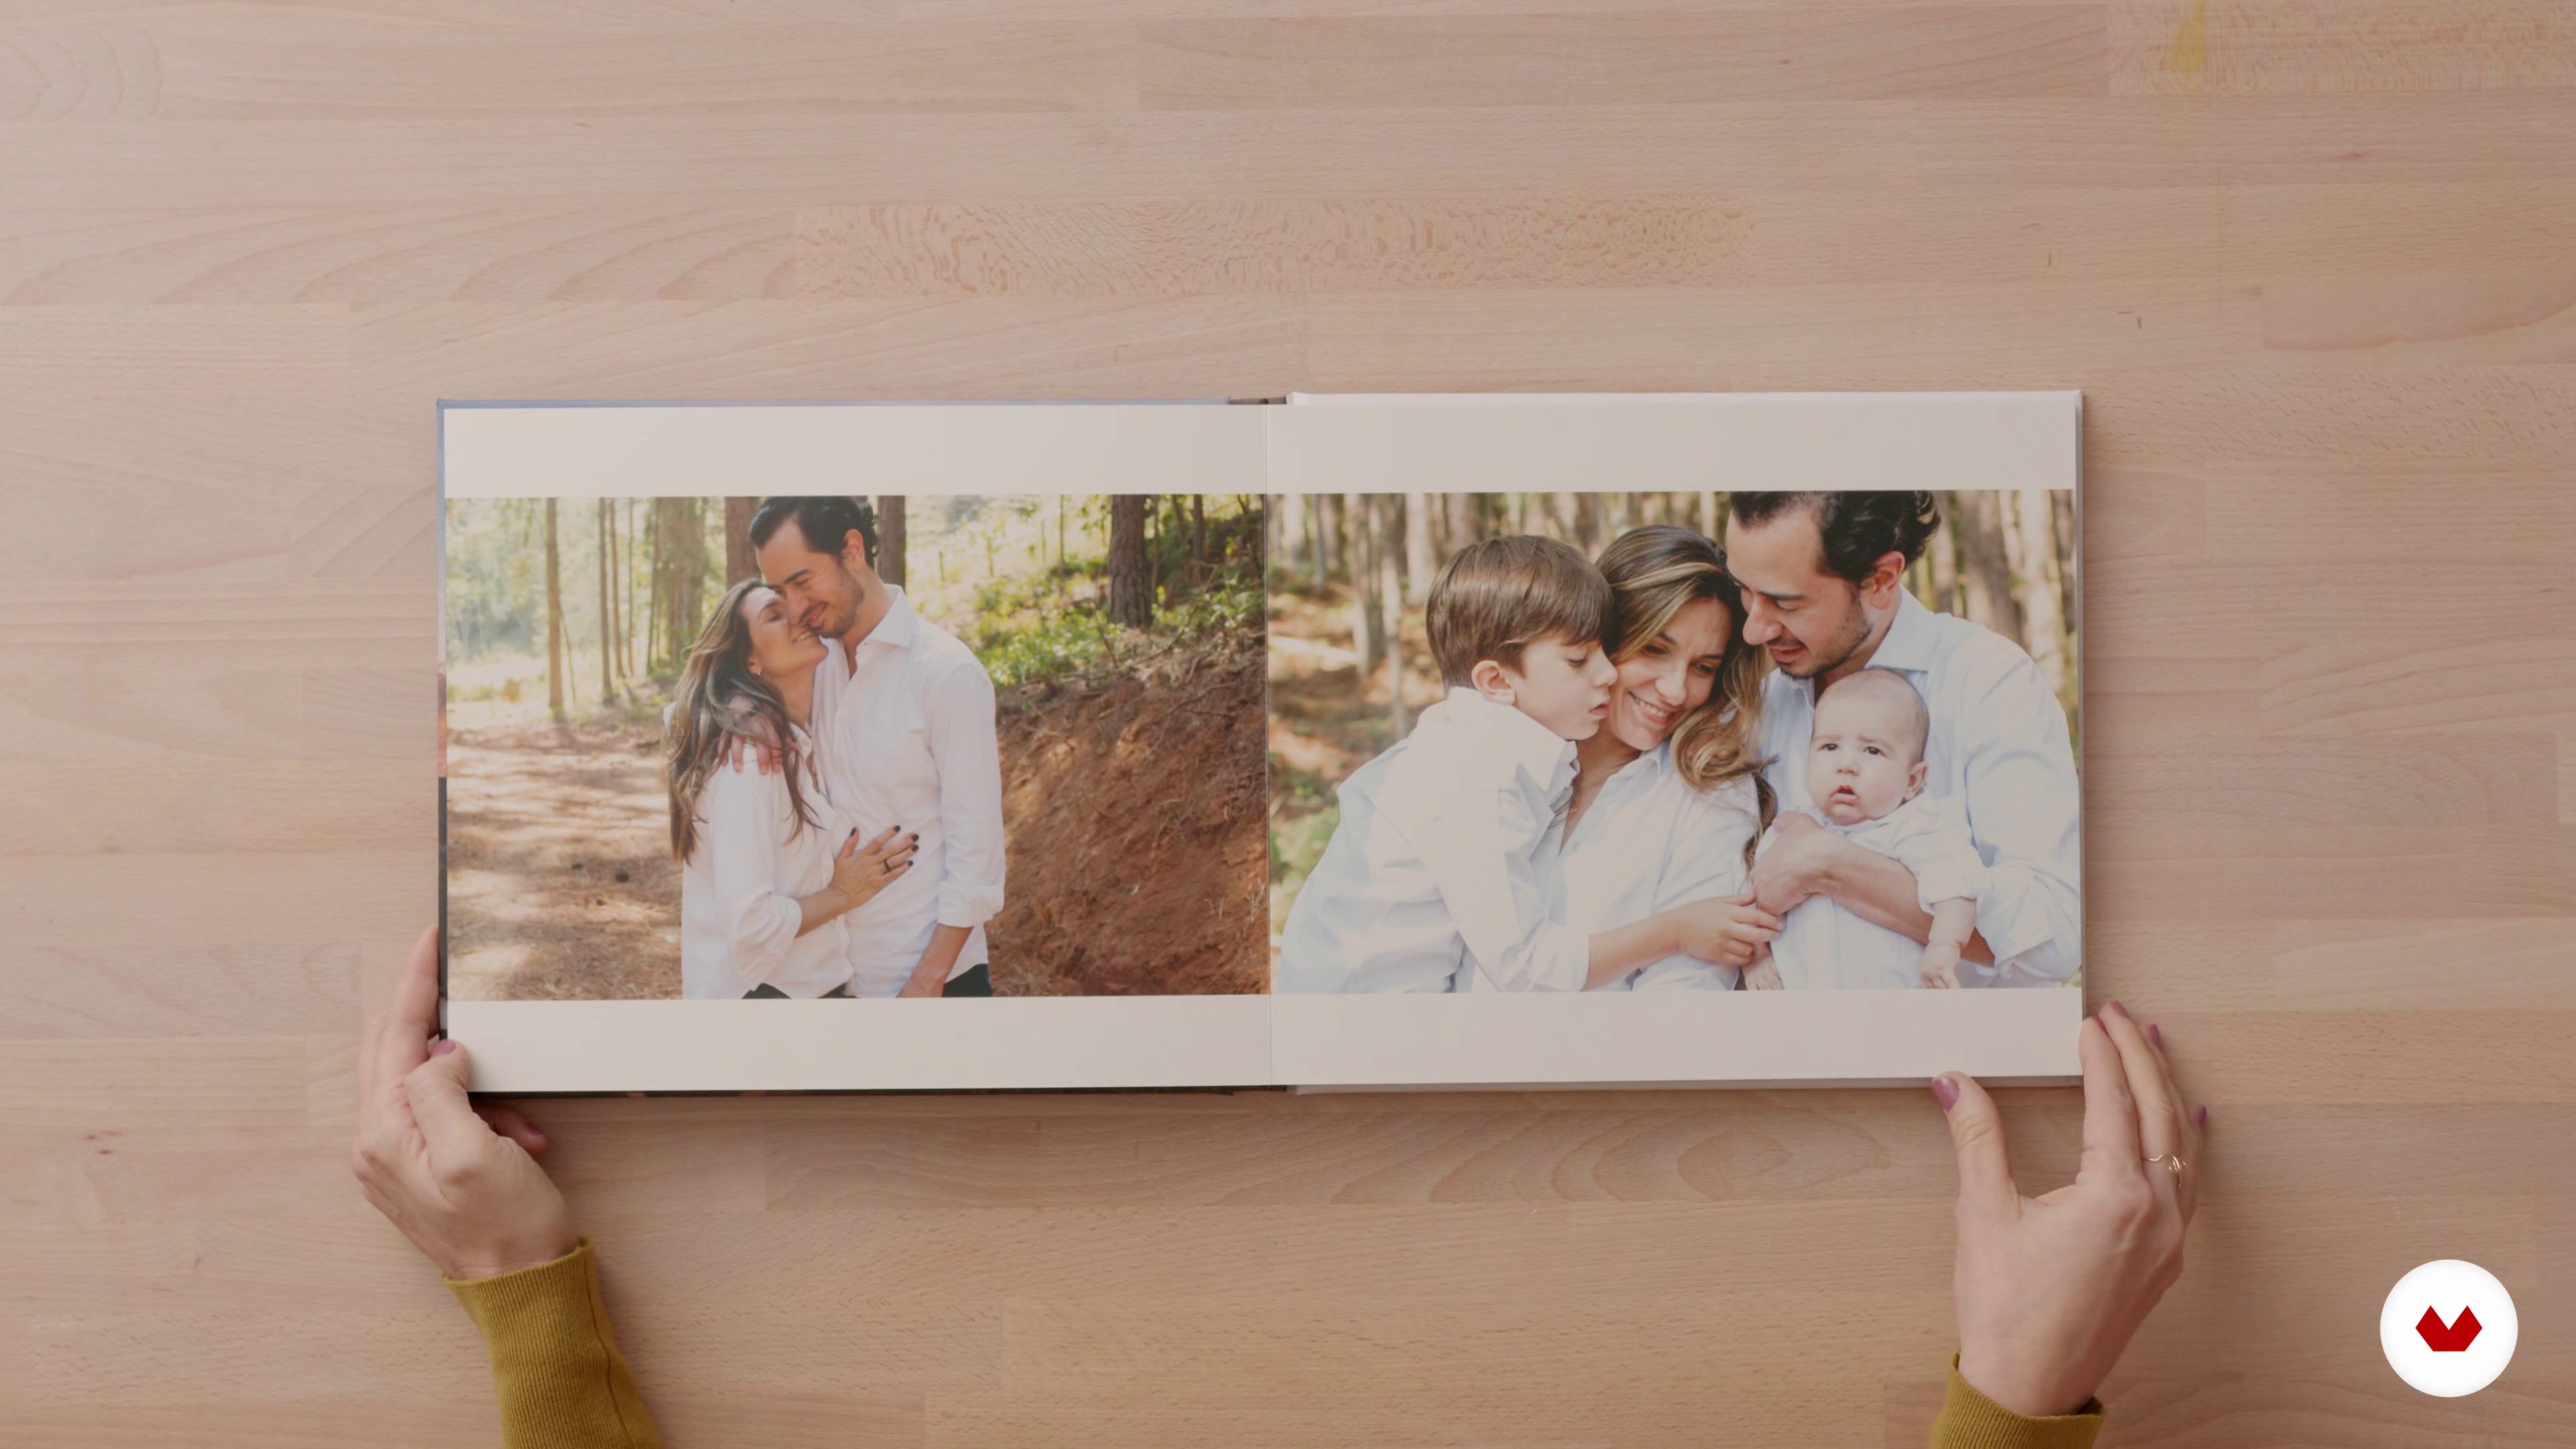
The delivery of your work is as important as the quality and power of your images. It says a lot about the care and importance you put in what you do. Understand in this class how she can value your work even more.
11m
image
4
The reality of couples wedding sessions
I will give you a brief explanation of how weddings work, what are the ideal times and why we have little time to carry out all our ideas and those of the couple.
5m
image
5
How to connect and obtain information from our clients
It is time for you to know the bases of the information we need from the couple: previous interview and questionnaires to determine connection and personalities. We can ask them for photos that they like and inspire, or personal photos that they like how they look.
8m
image
6
Mood board
It is essential to know what your customers are looking for and an mood board is of great help for this. In it, they can share inspirational images, color palette, and even ideas that have inspired them for photos. You always have to consider: the location, the personality, the history of the couple, the time of year, the weather and the accesses of the place where the event will be.
11m
image
7
Materials, basic camera settings and lenses
In this lesson, I will tell you about the tools we will need for the session and the basic camera settings to shoot in manual mode with the variables of ISO, aperture and speed of shooting. Also, you will know the function of different lenses when taking portraits at a wedding and what are my recommendations to facilitate the process.
13m
image
8
Light in portraits
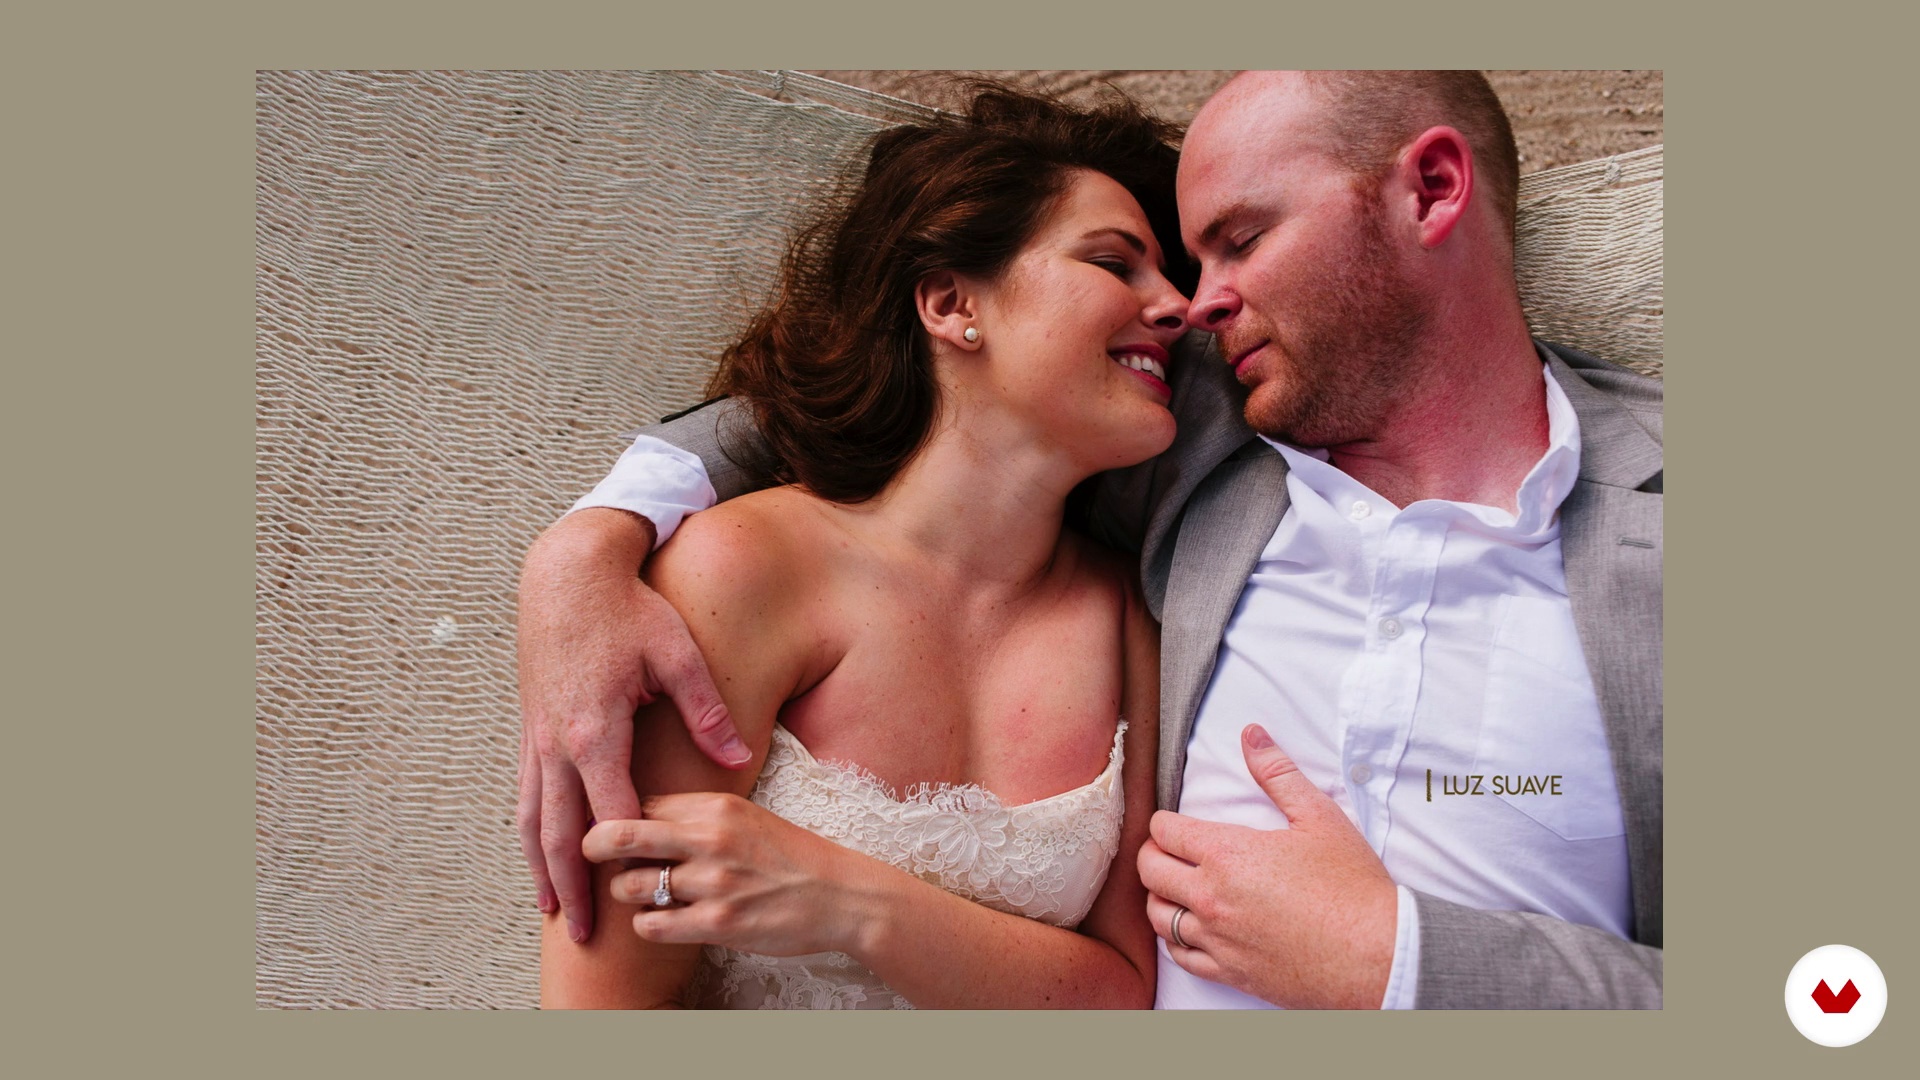
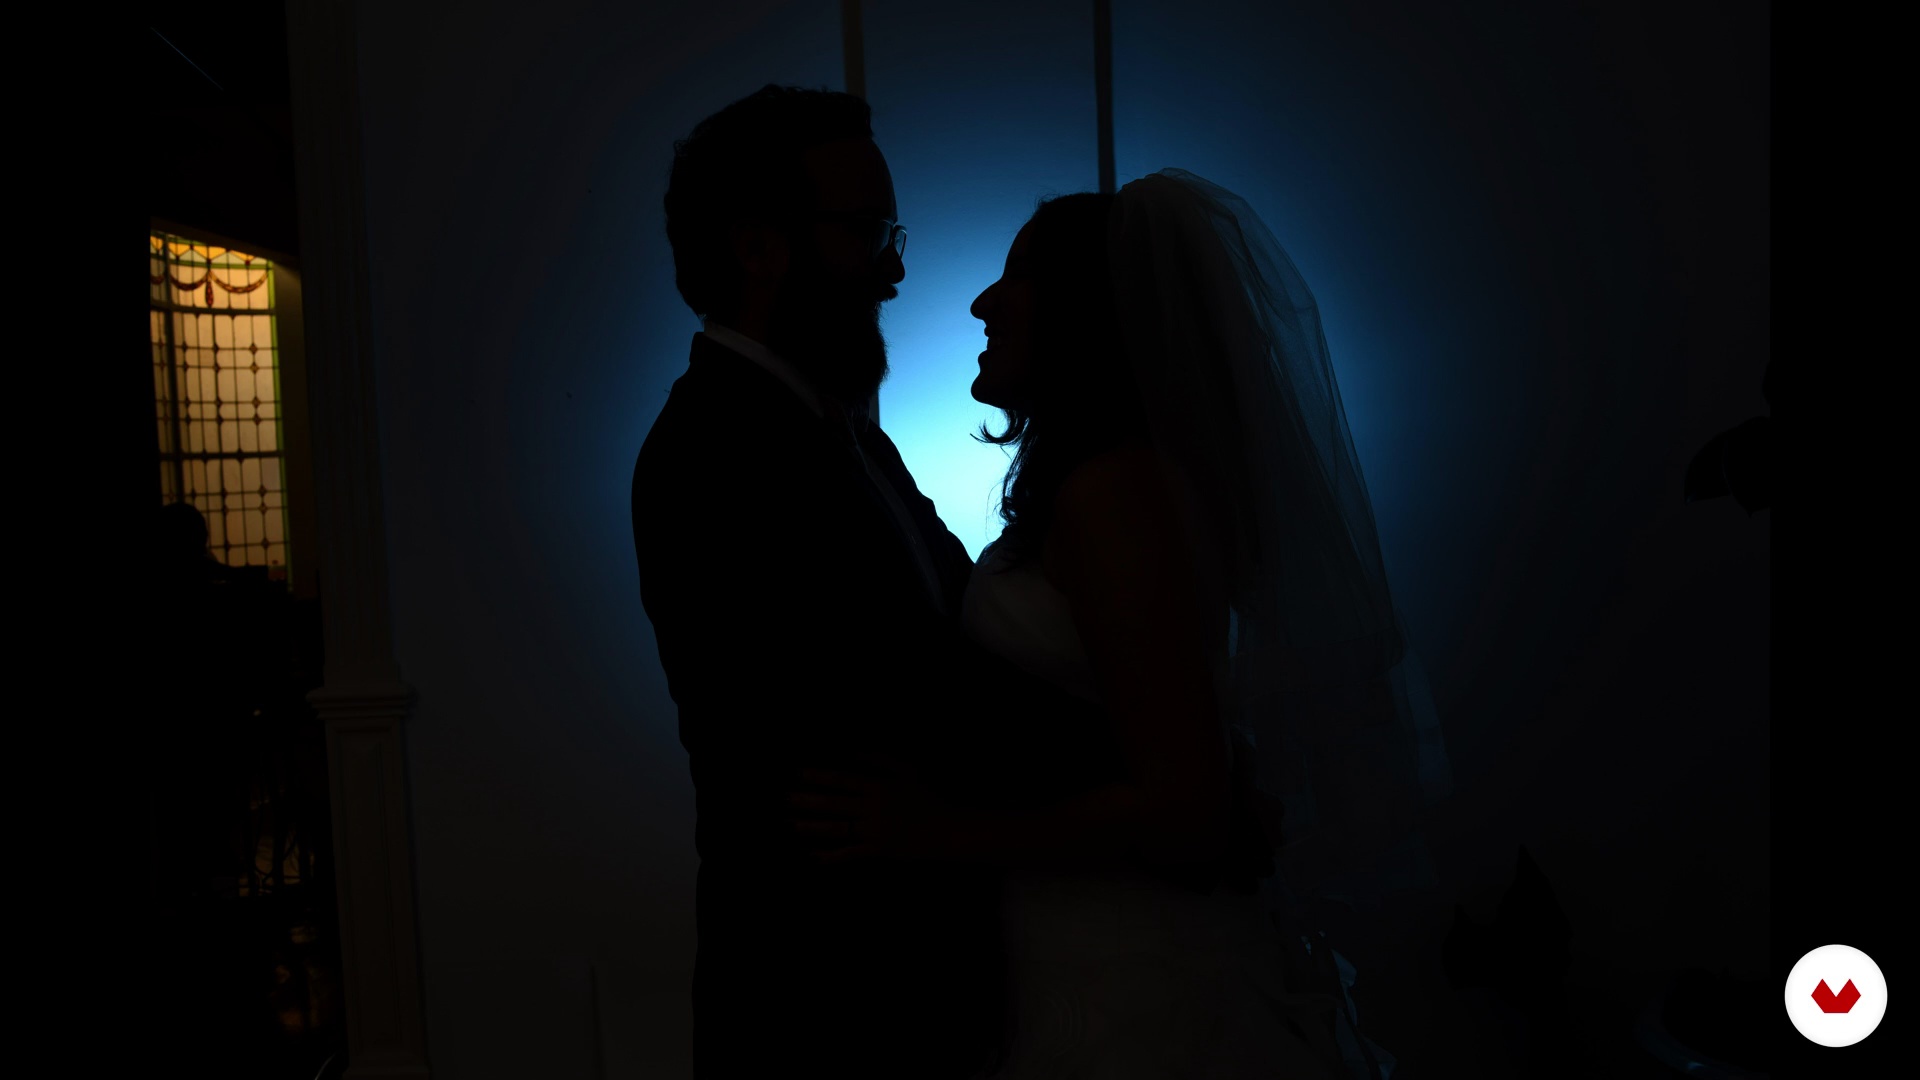
Now I will tell you about light, both natural and artificial, as well as the direction, quality and quality of the light that we normally work with when making portraits. You'll also see some examples of creative use in natural light.
11m
image
9
Use of artificial light
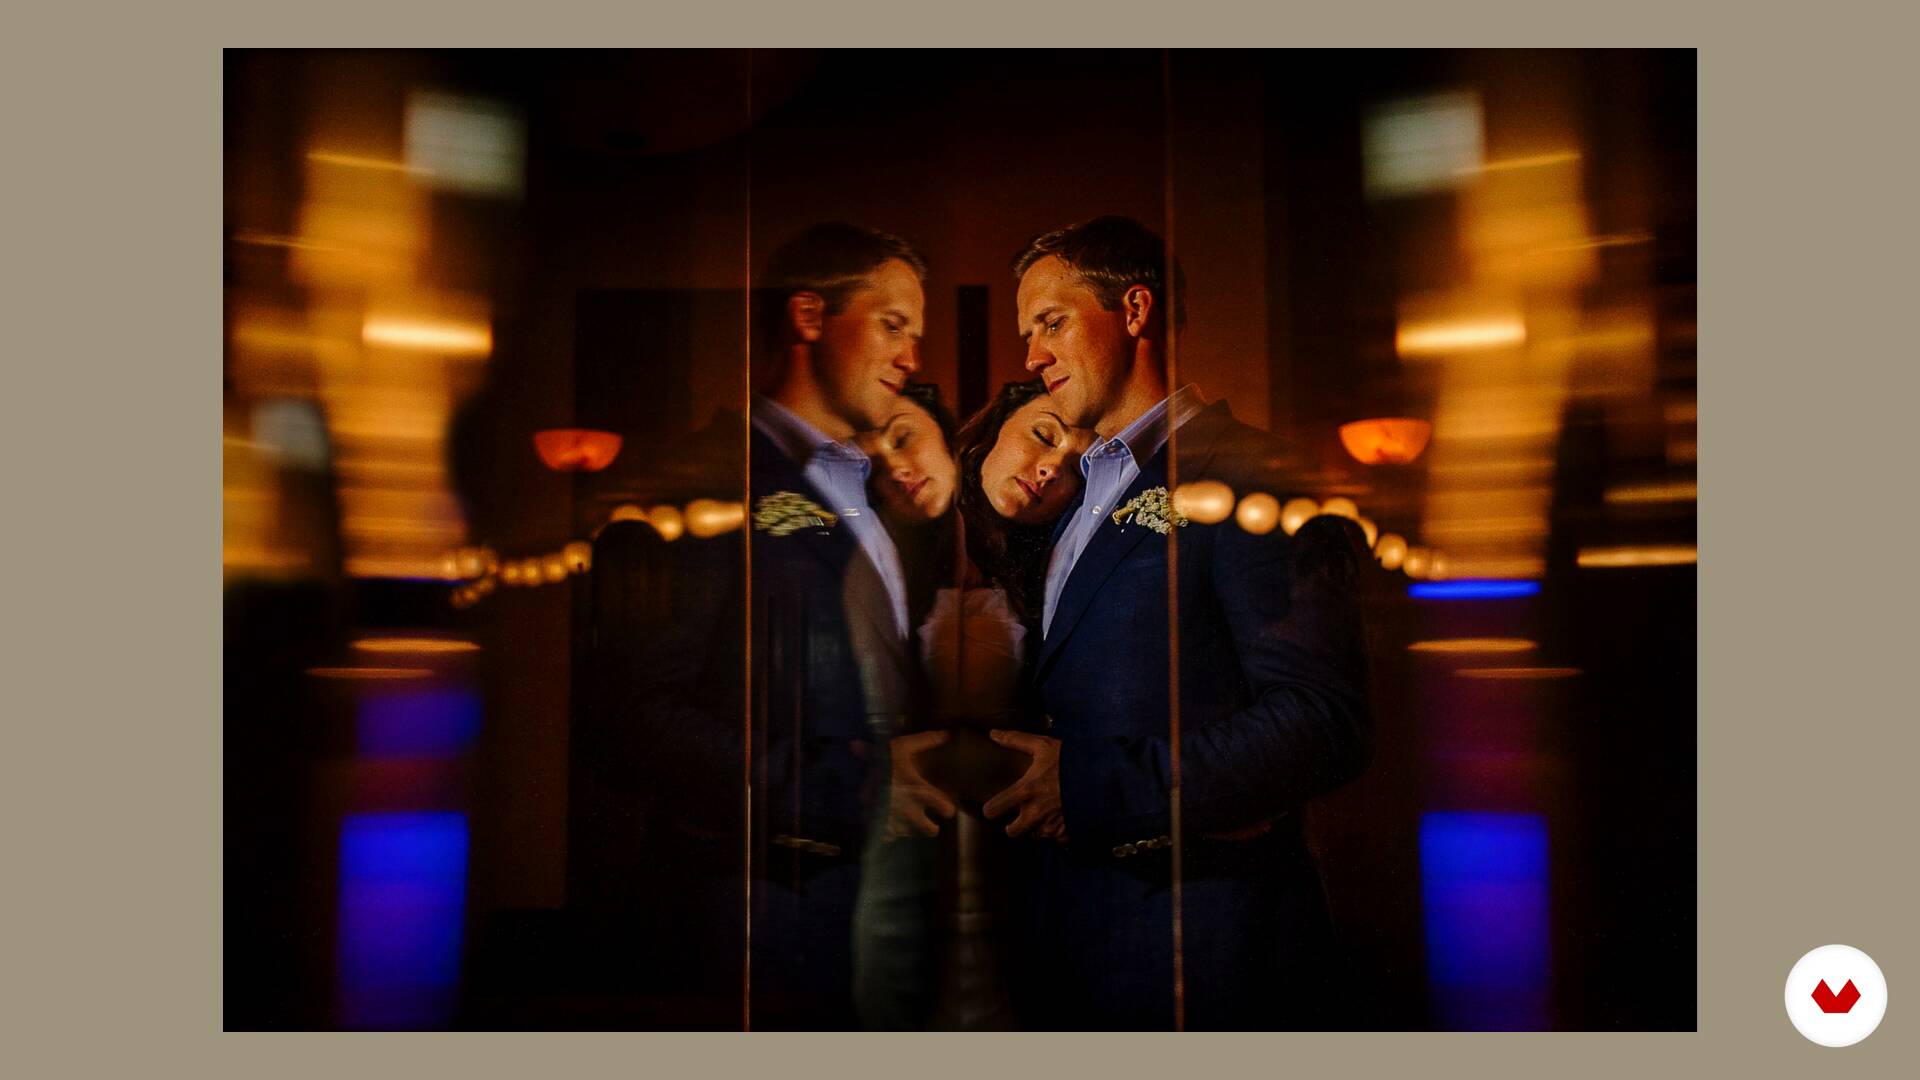
Through various examples, you will learn how I use artificial light in portraits to complement ambient light or natural light.
15m
image
10
Composition
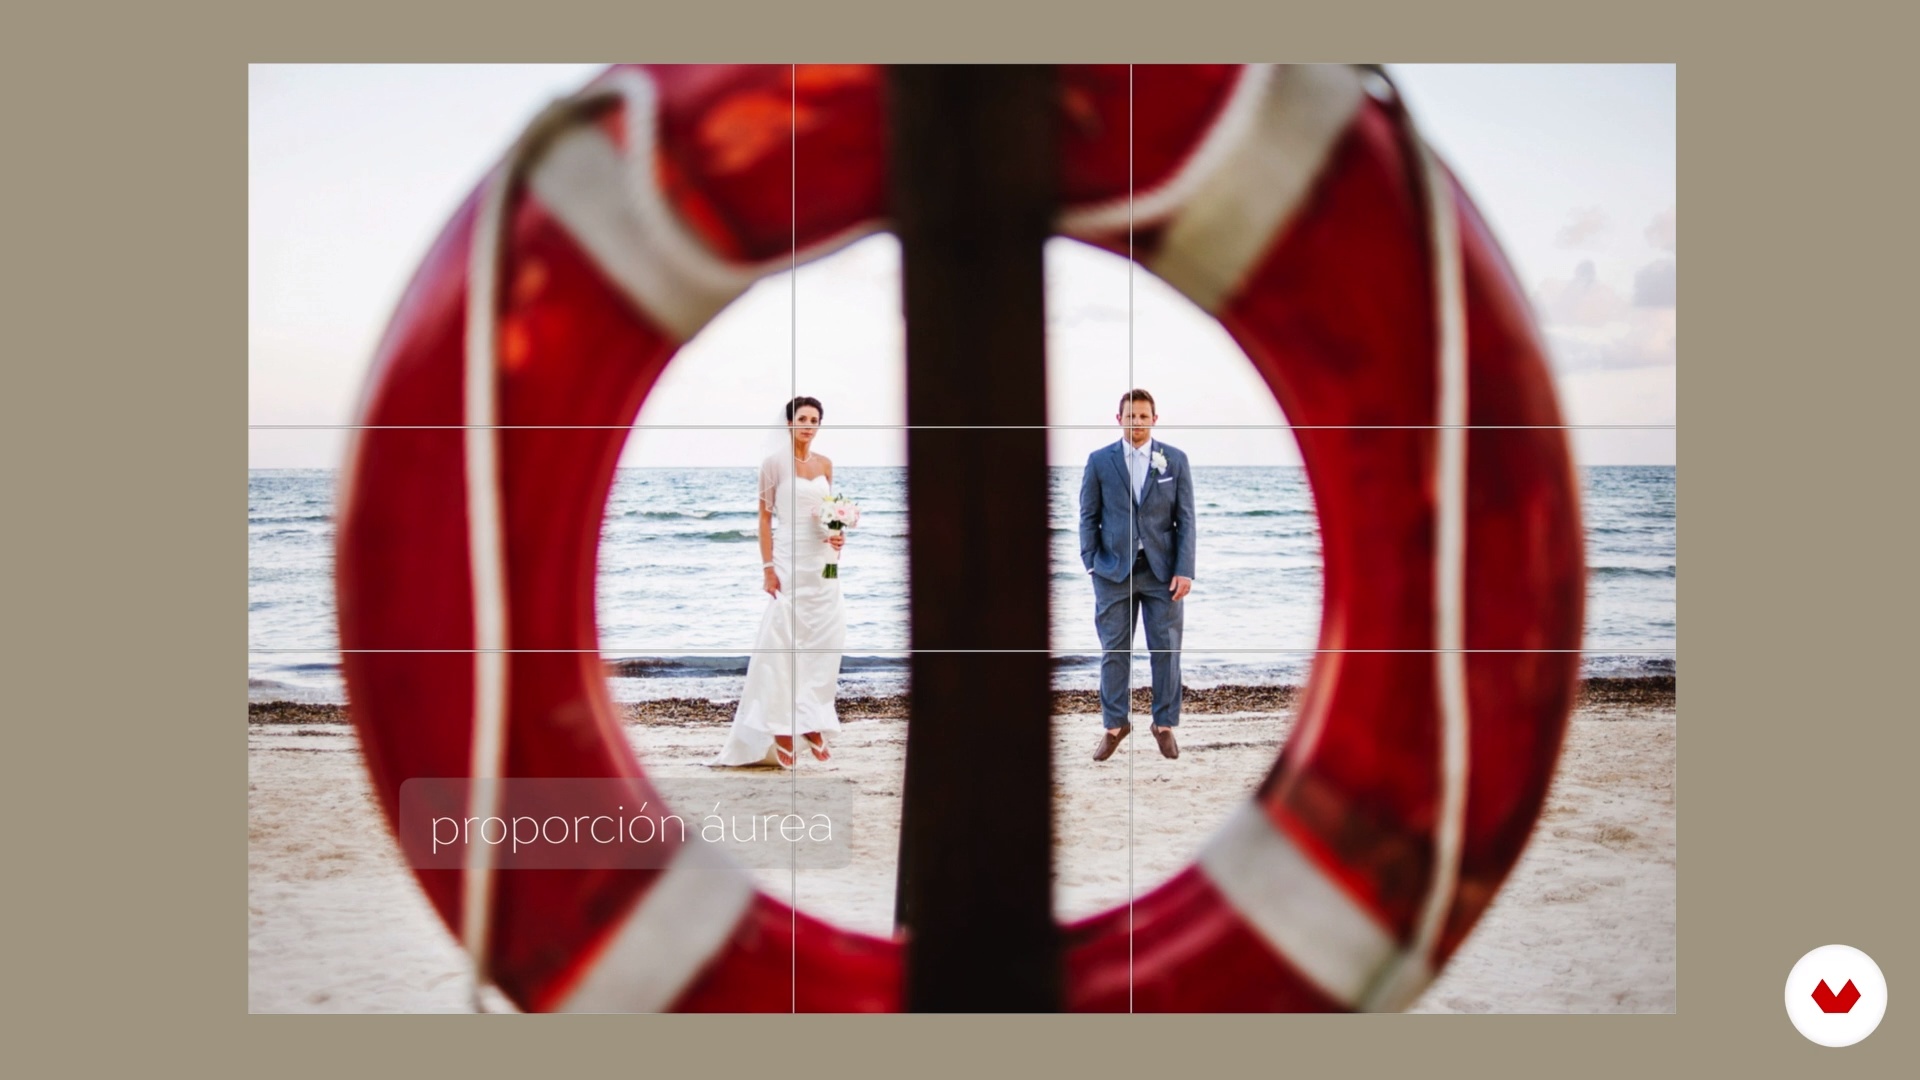
To close this Unit, we will review basic composition theory and examples of what we can do in the session with the resources at hand. I will also share with you some important composition rules that I use when capturing an image.
14m
image
11
Scouting on location
The time has come to work on location. Before starting, I will talk to you about how I do the recognition of the place and identification of the light and the possible frames to carry out the session.
3m
image
12
Shooting and direction of the couple
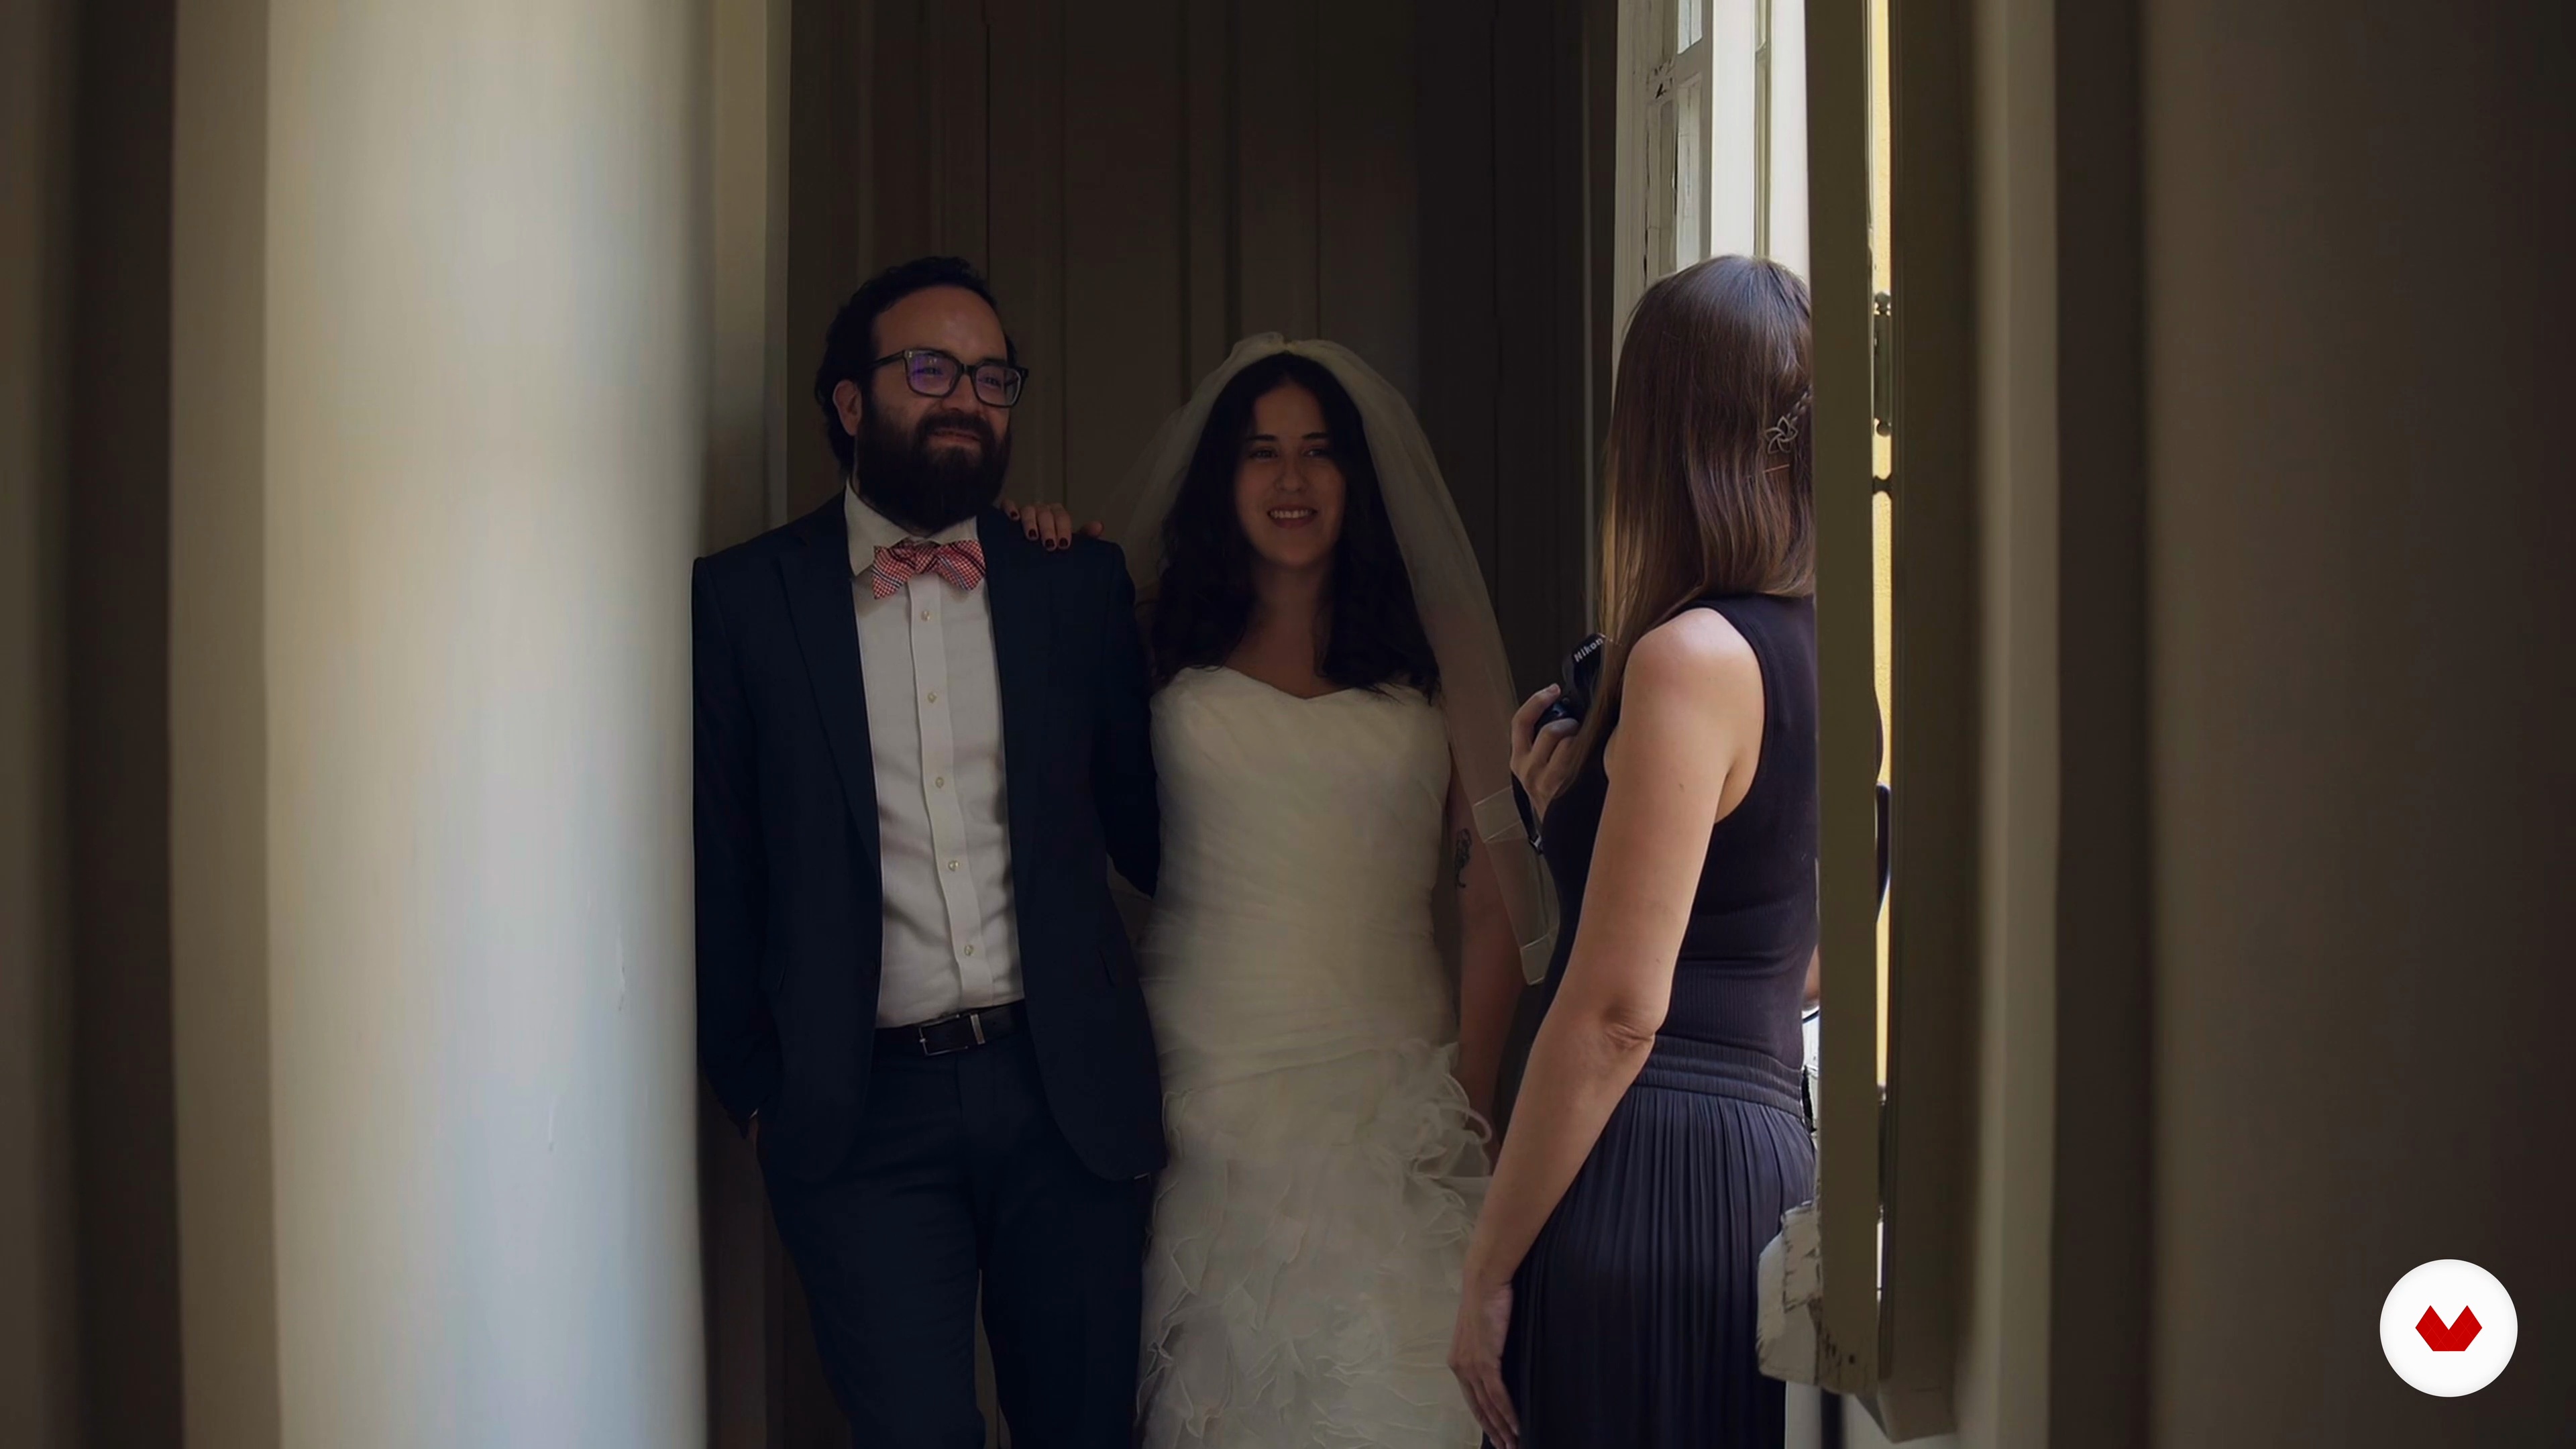
Now you will know how I develop the shooting and make different images in the same location with the resources that we have at hand, always keeping in mind all the ideas that I previously discussed with the couple.
16m
image
13
Shooting and direction of the couple (artificial light)
To finish the shooting, you will see how I use artificial light complementing the natural light of the location. It takes a little time to prepare the artificial light but you get unique results and generate more images for your clients.
10m
image
14
Selection of images
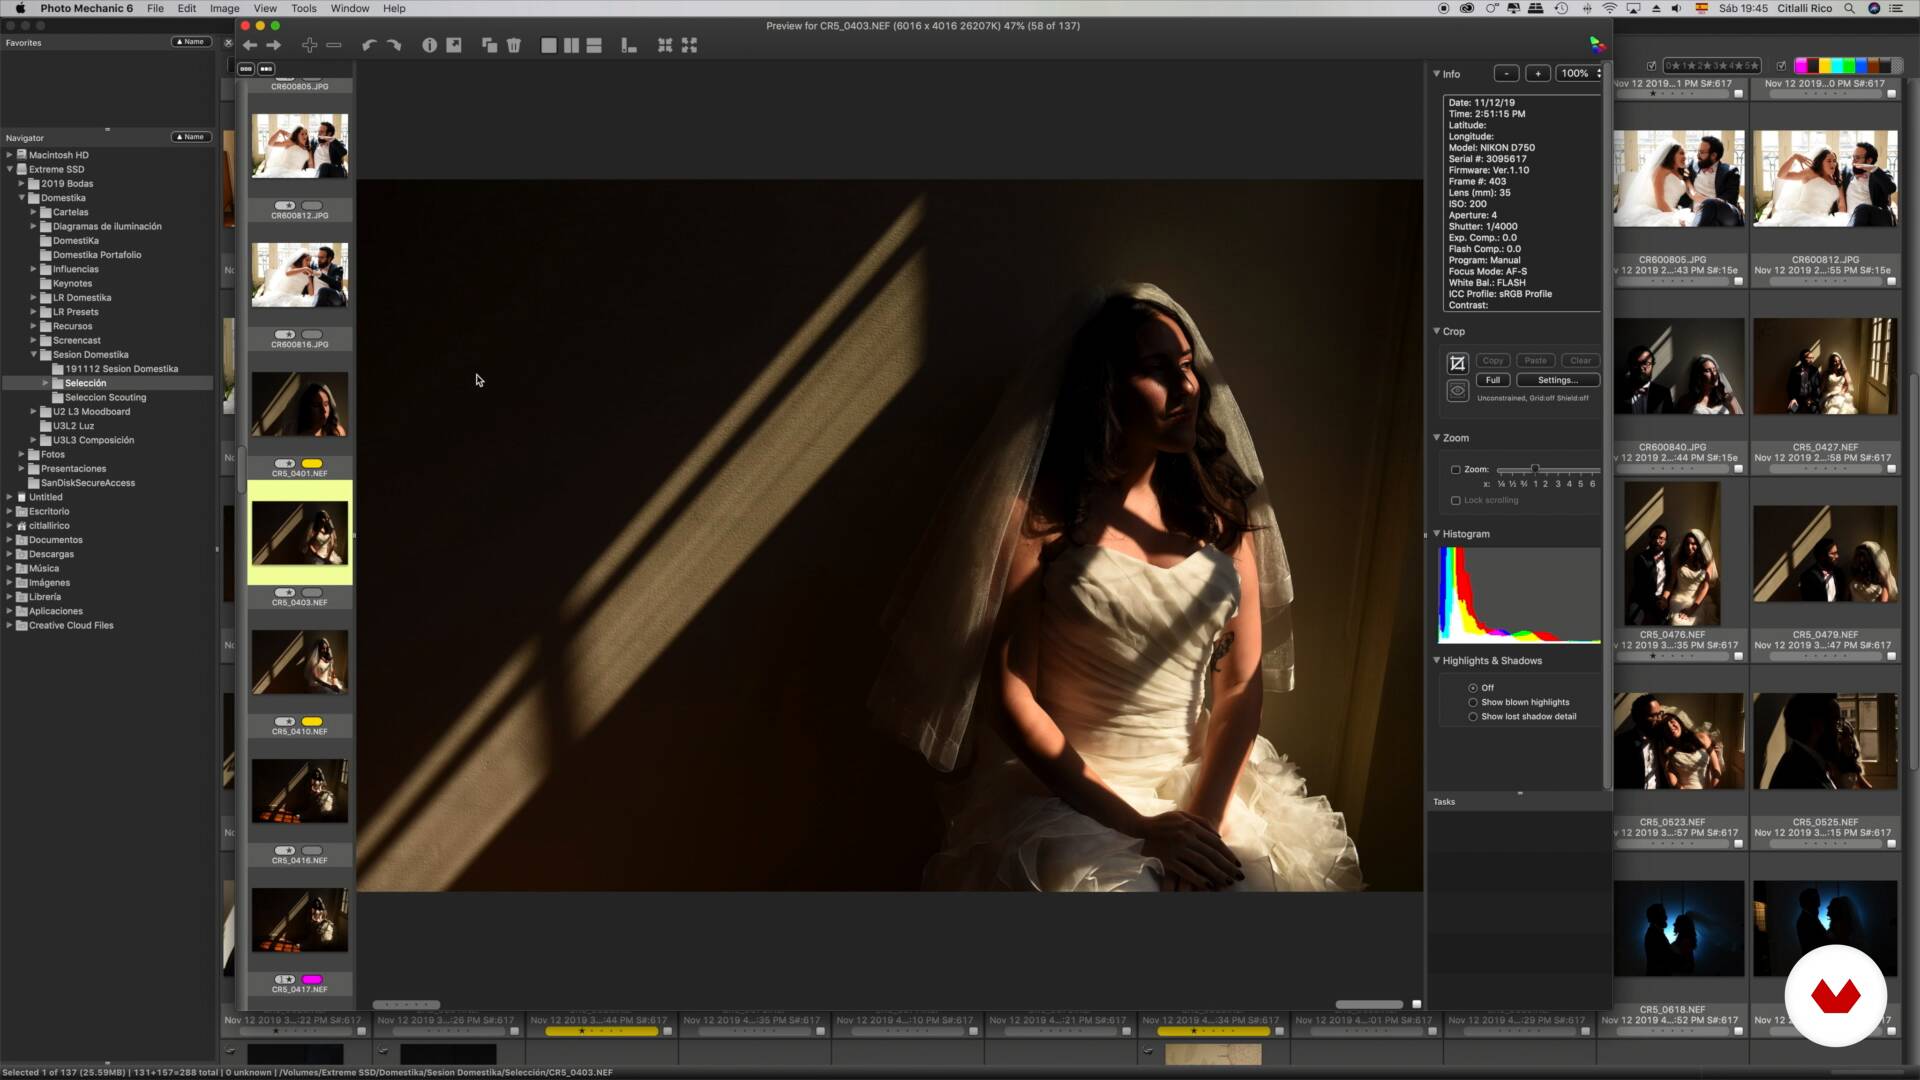
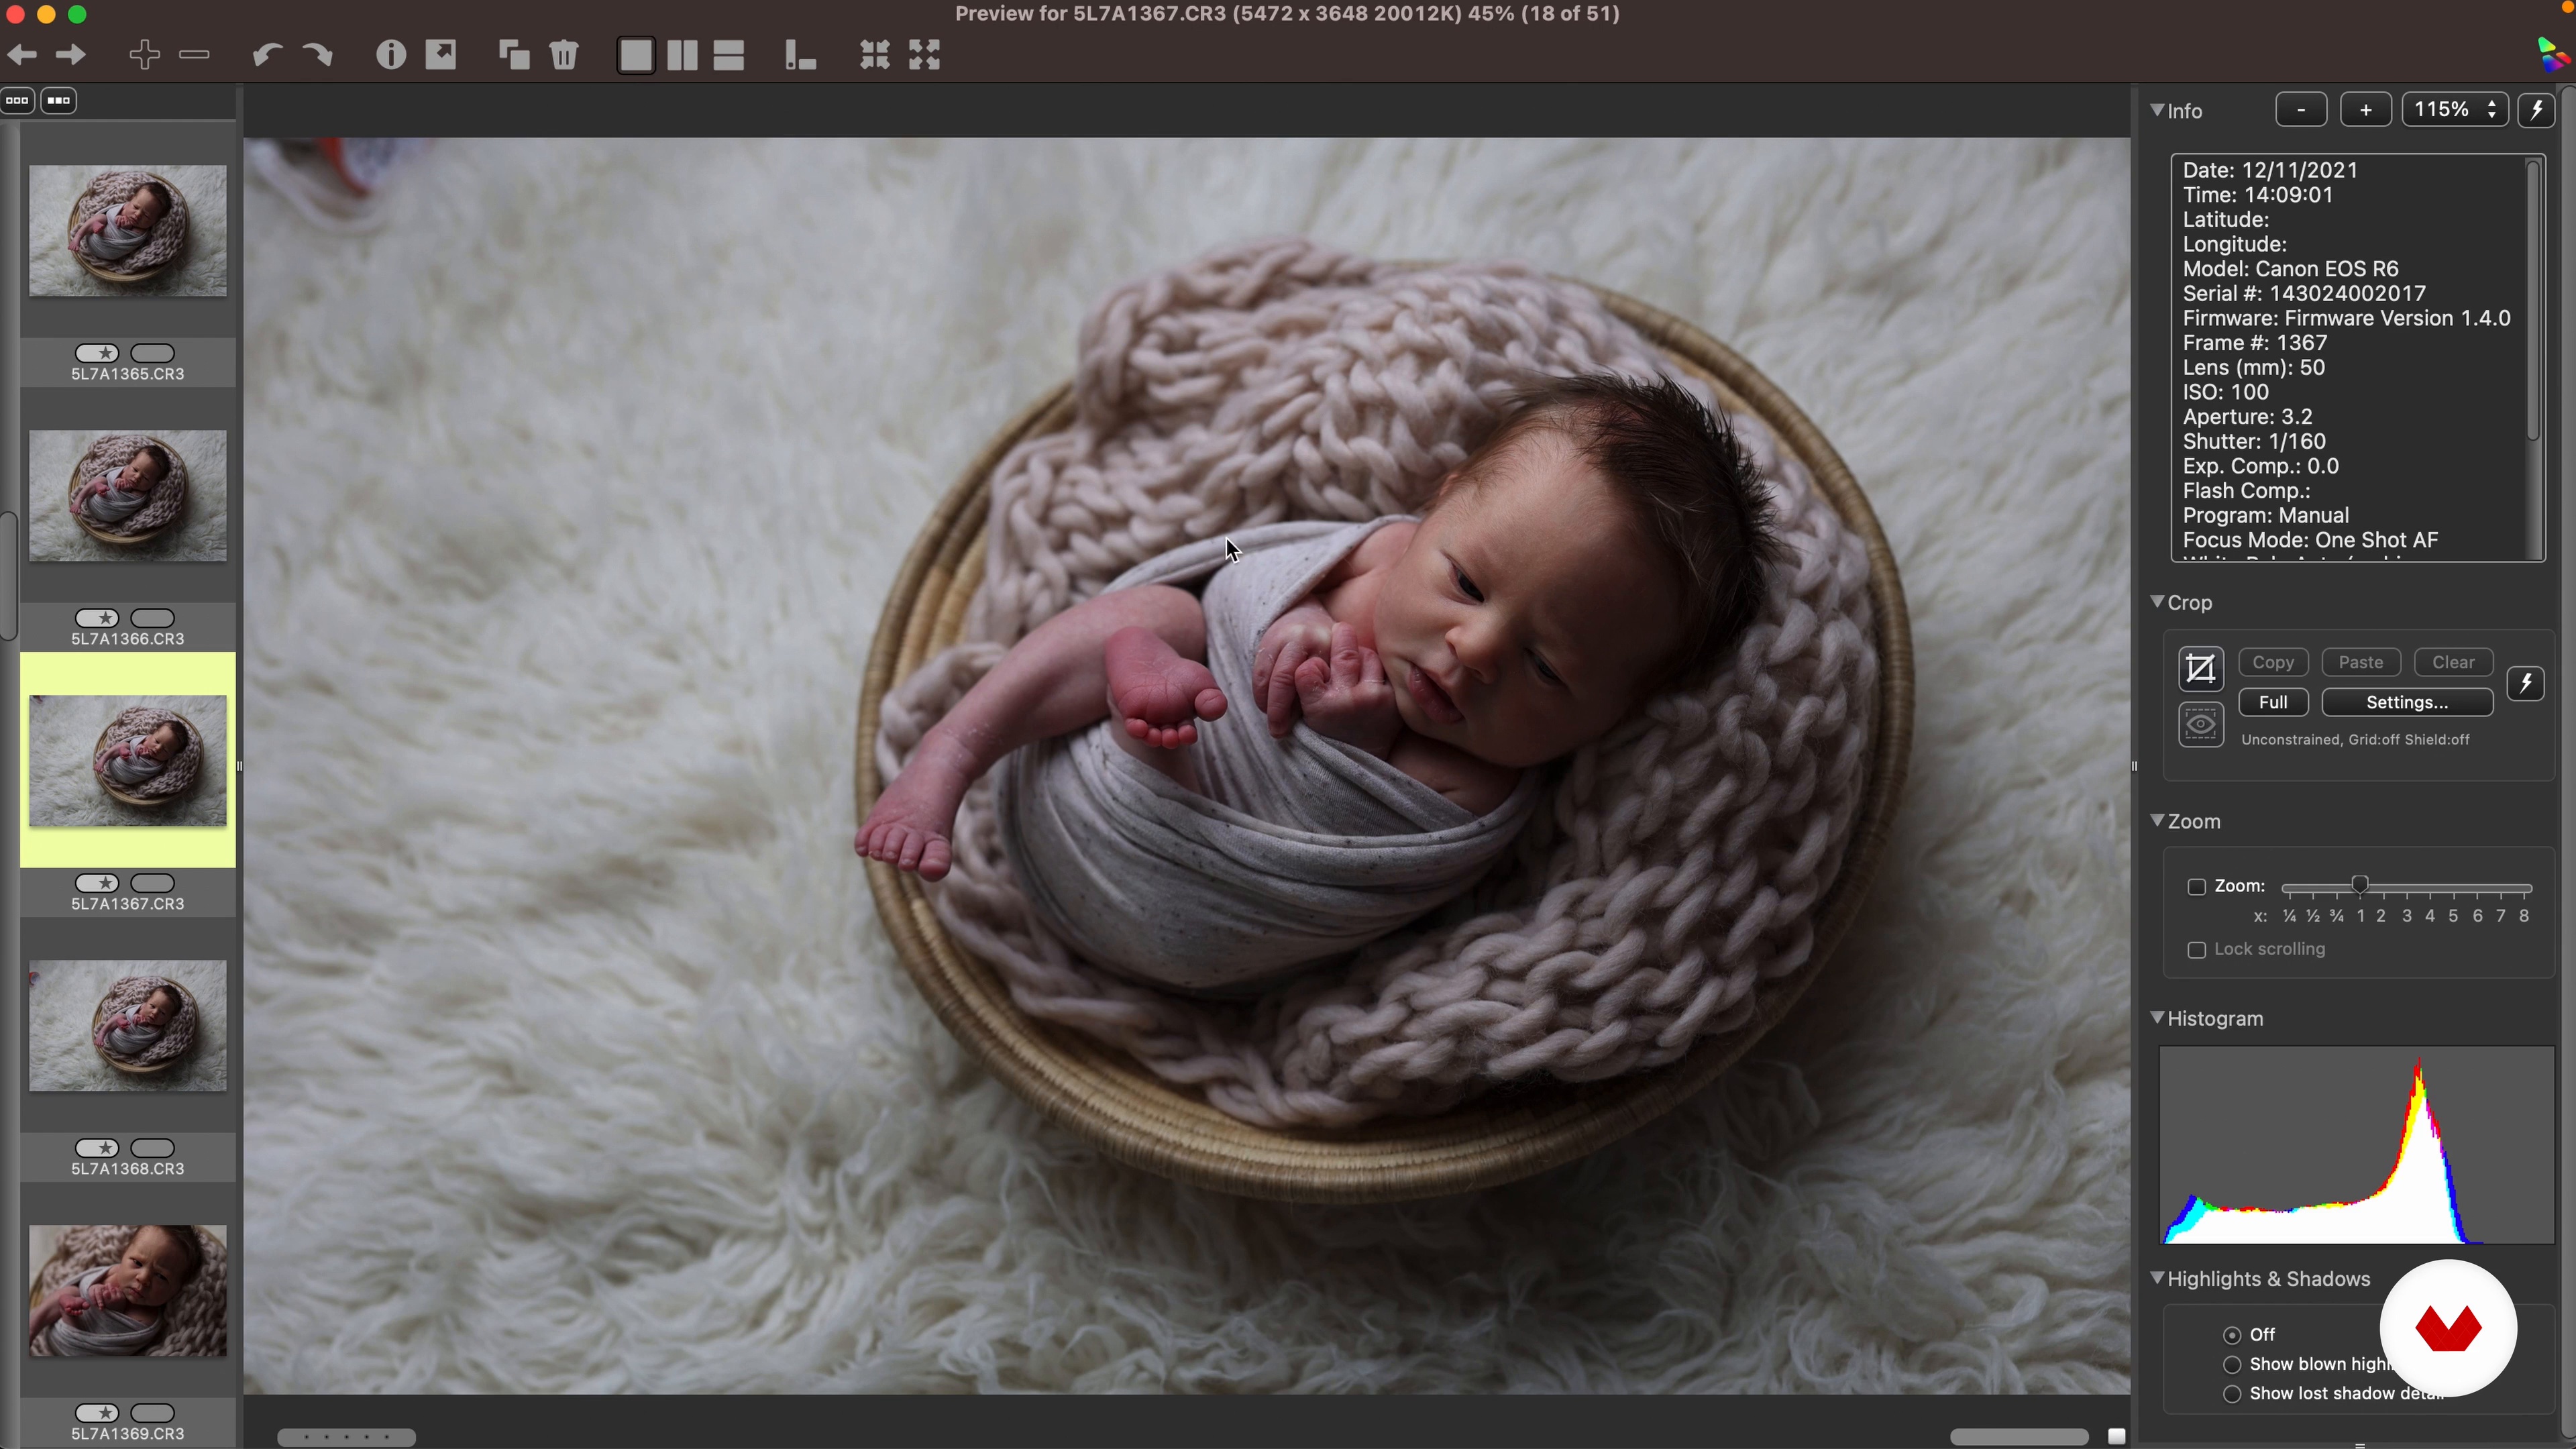
I will show you how to select the best images so as not to be repetitive and maintain a good quality standard, always based on light, composition and expressions or moments. To do this, I will use Photomechanic, a very friendly program to streamline this process.
17m
image
15
Revealed in Lightroom - Part 1
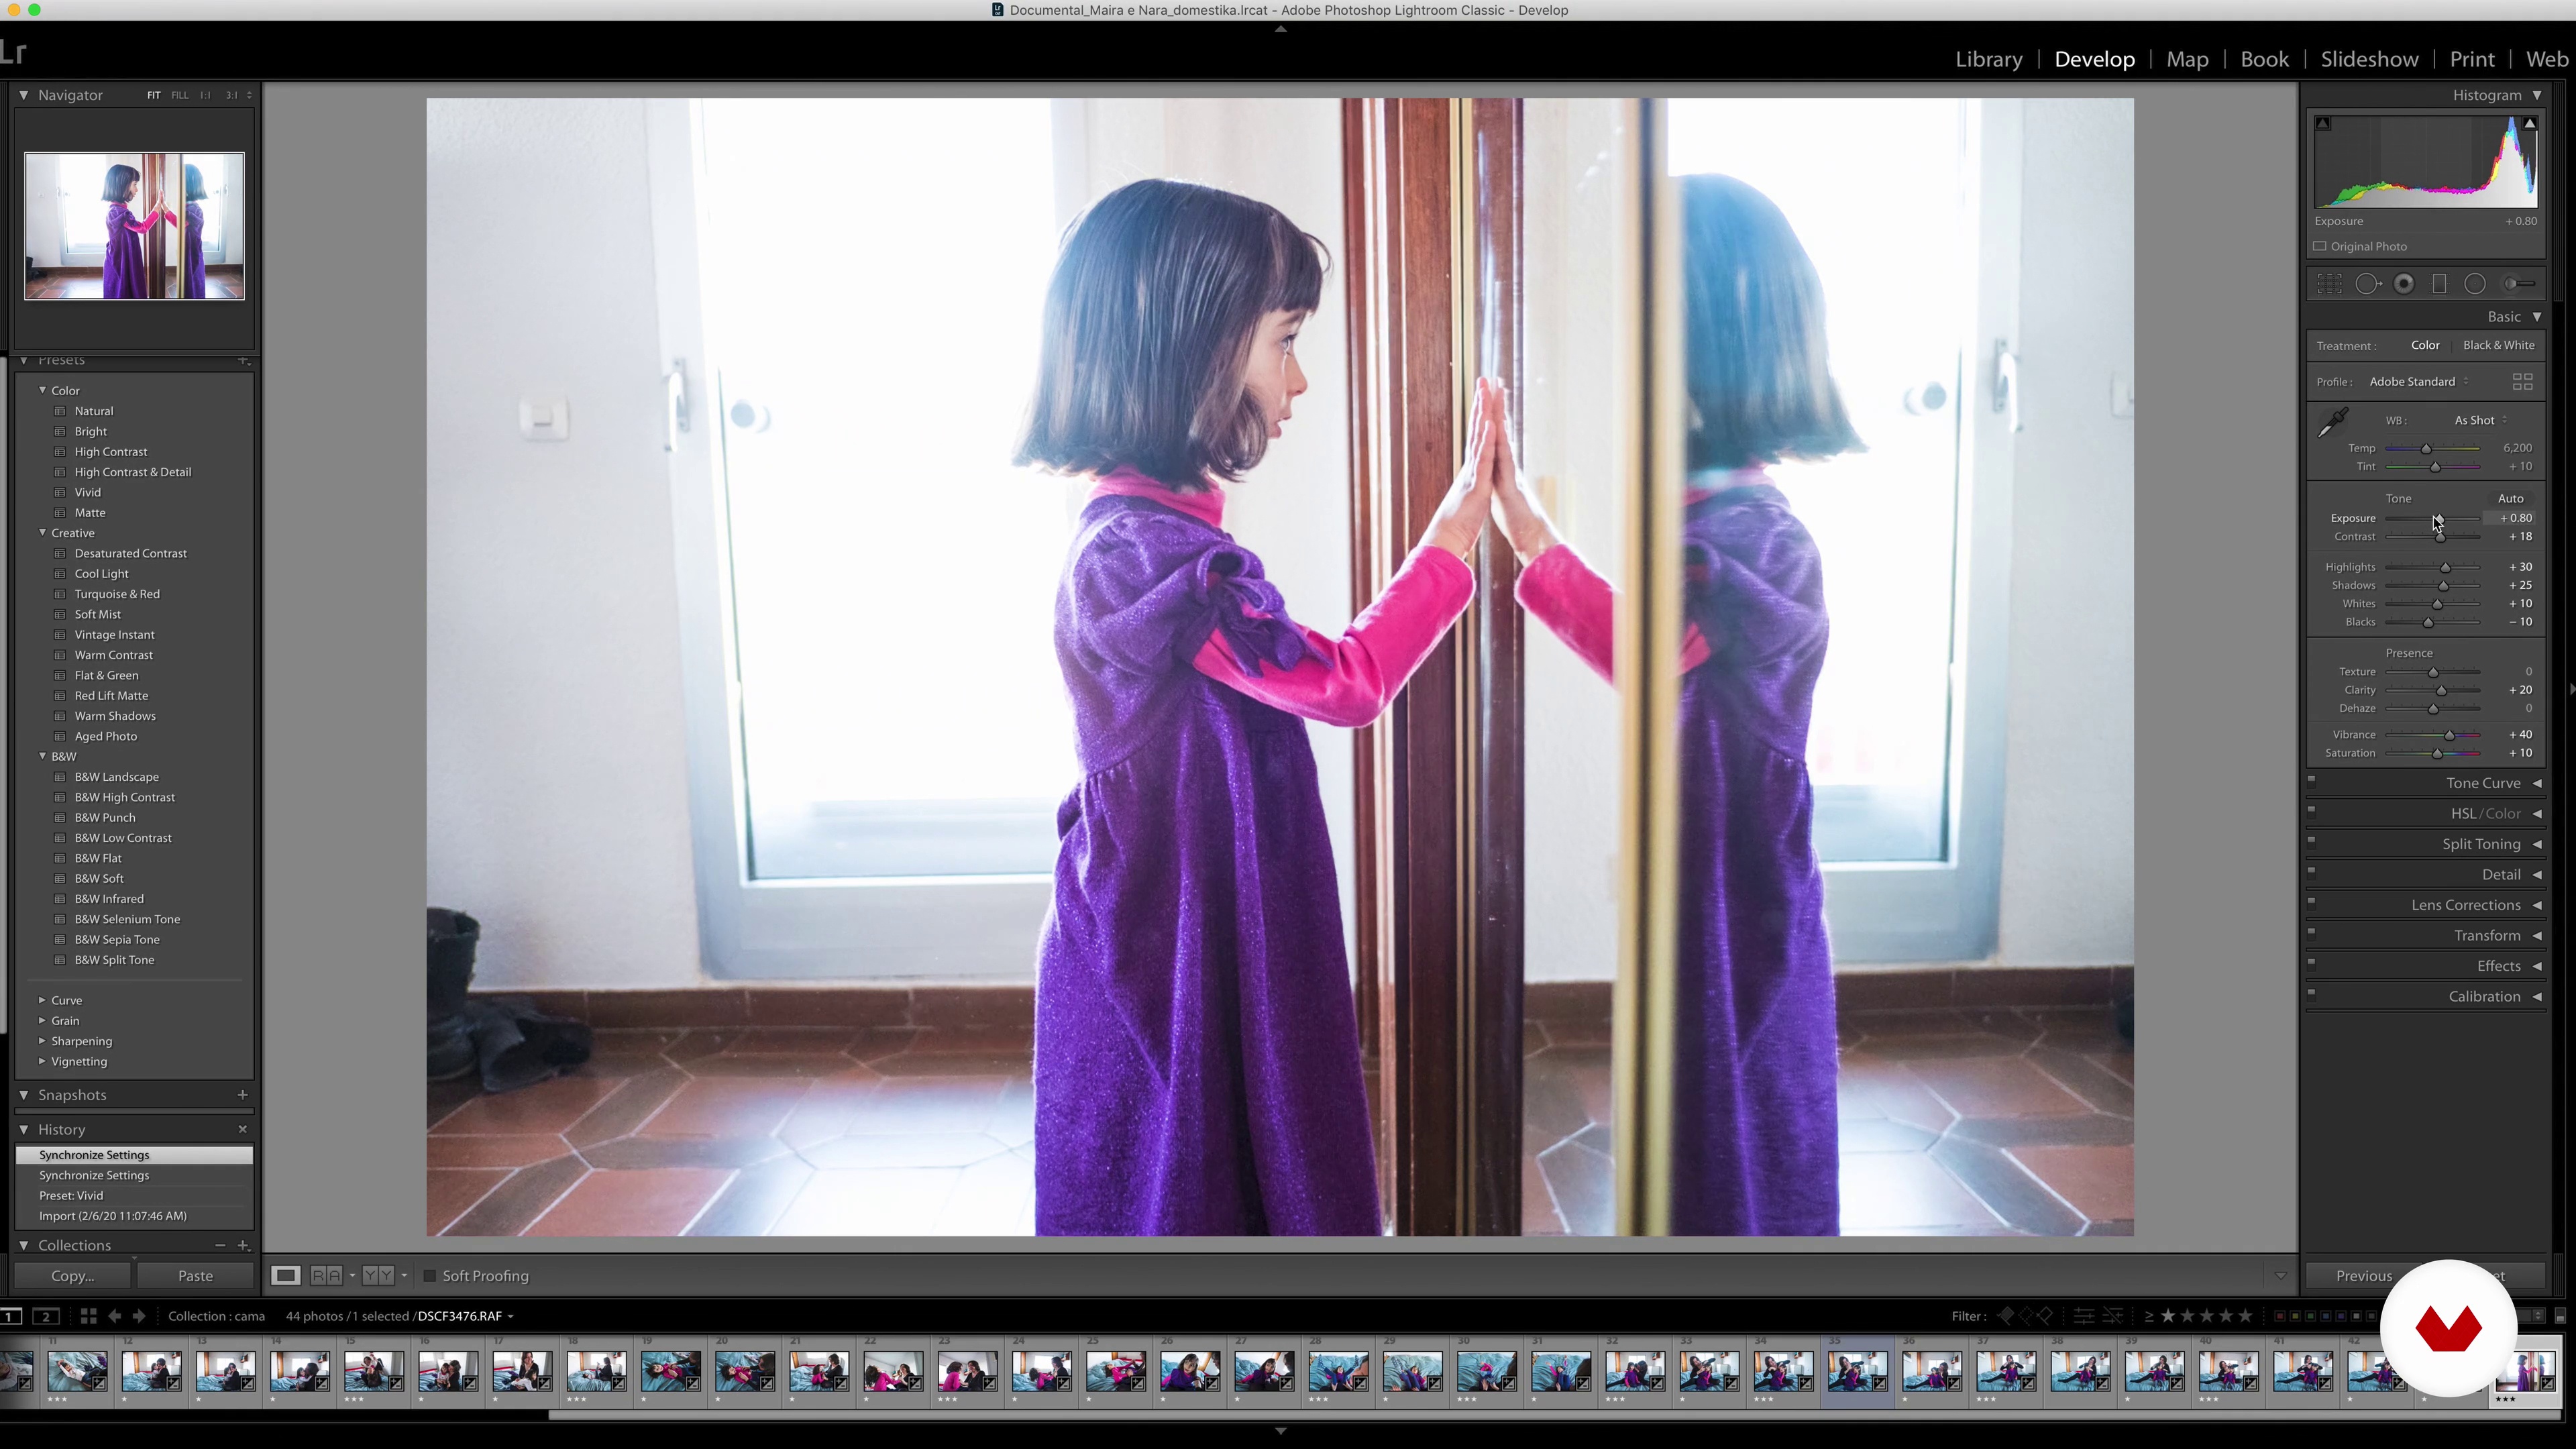
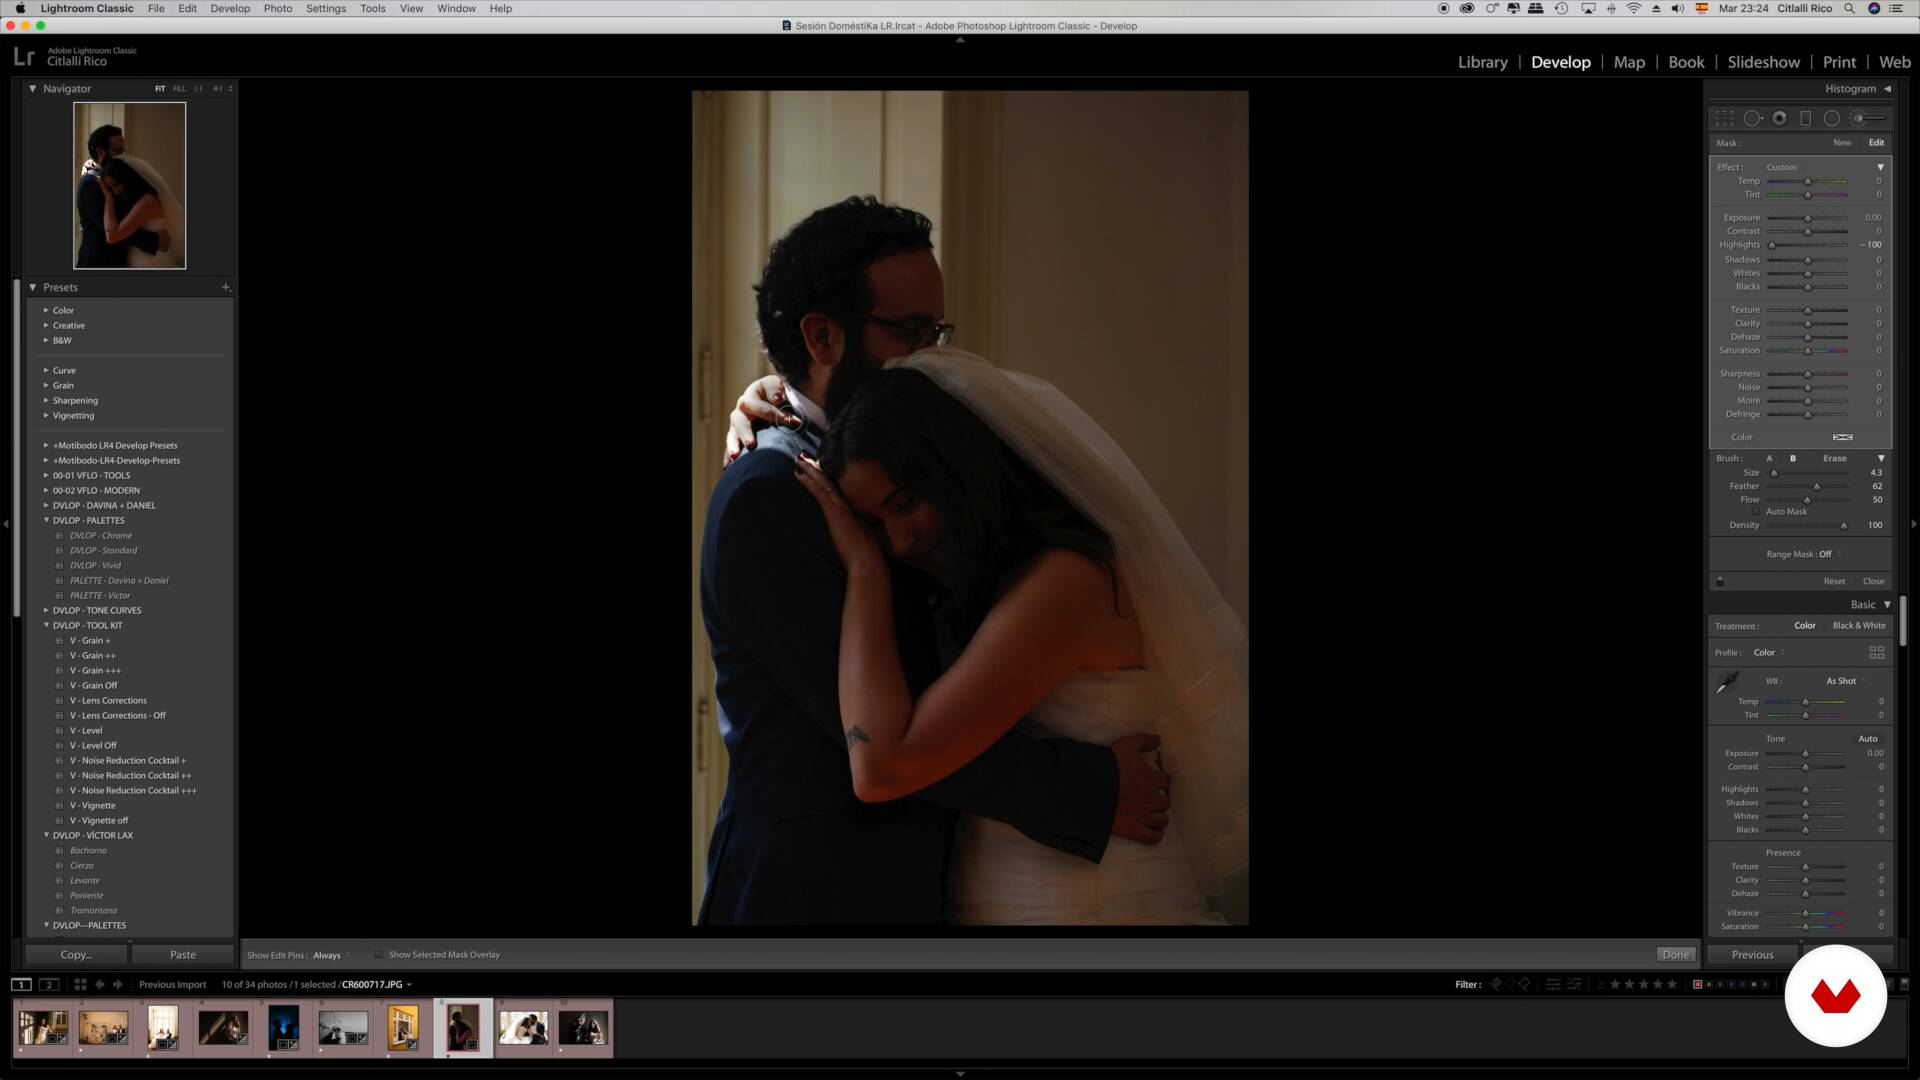
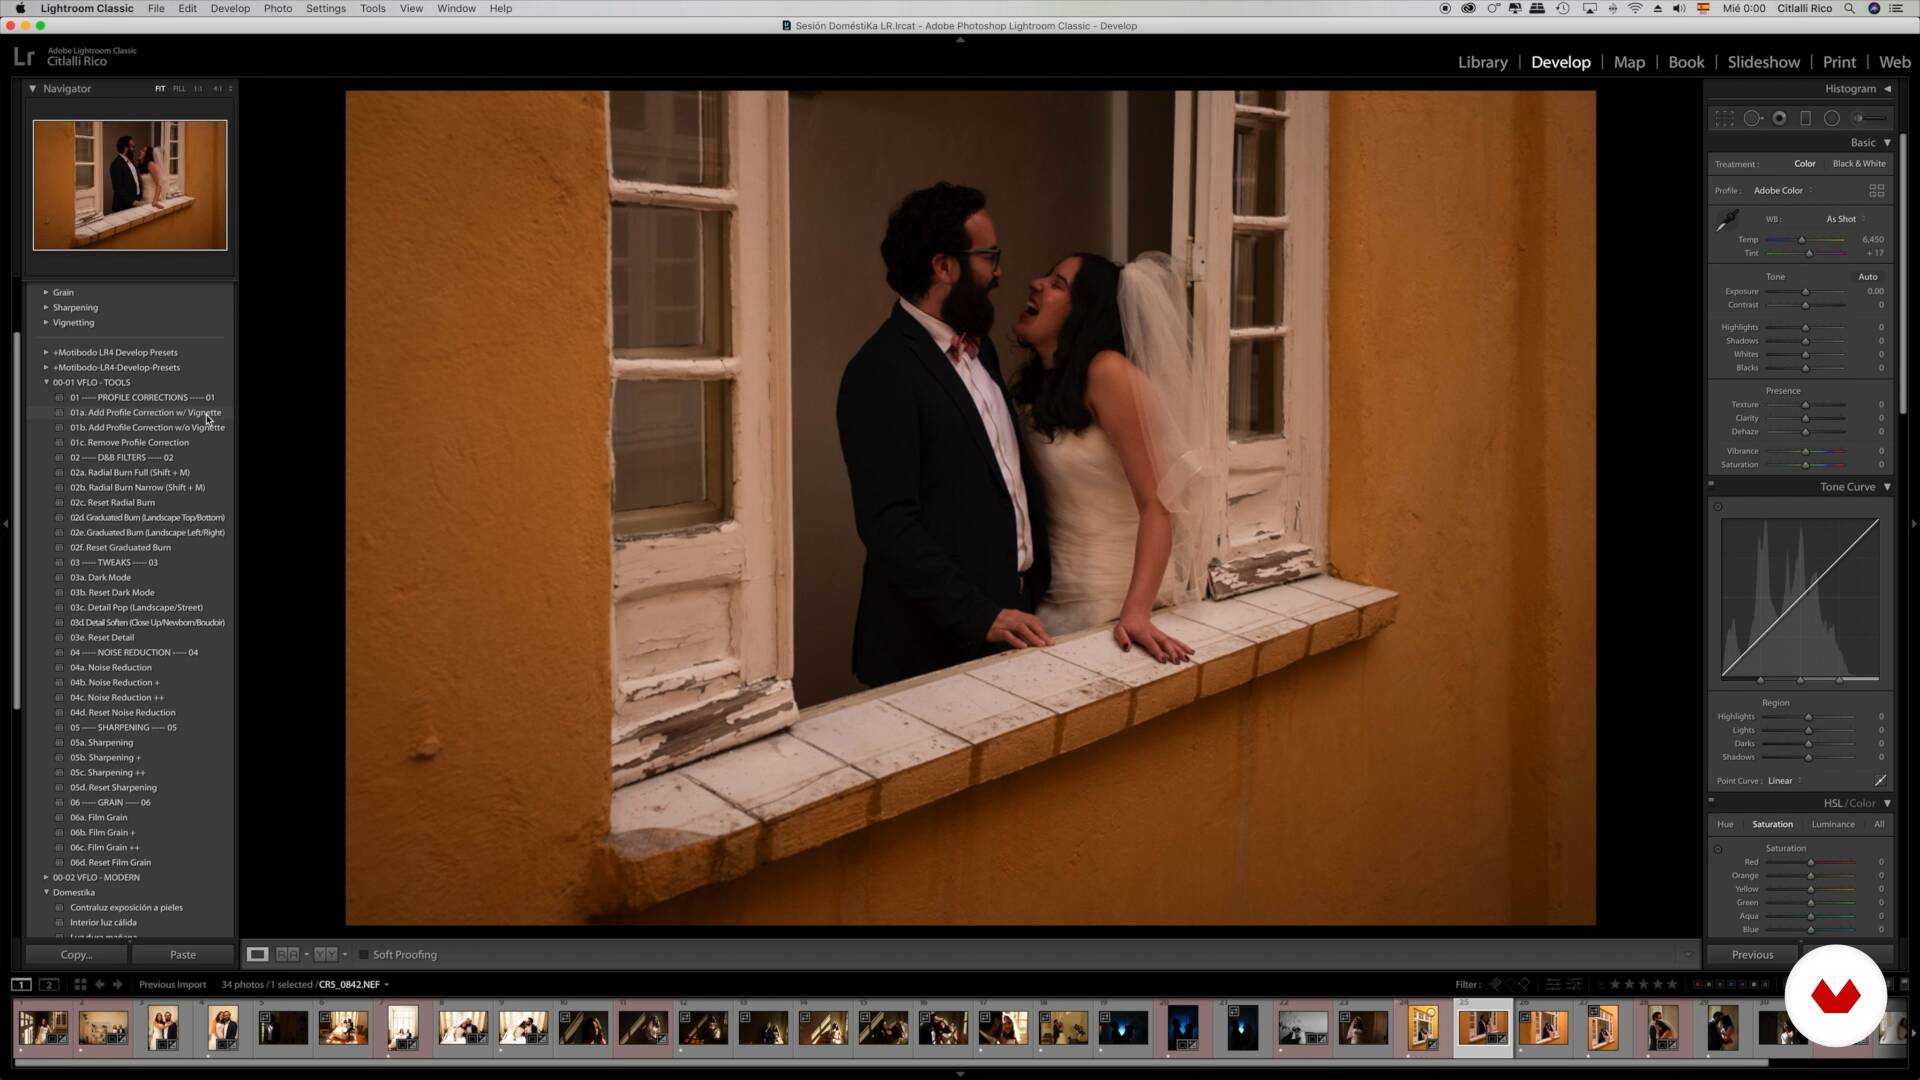
Once we select the final images, I will teach you the basic color adjustments so that you can develop a fast, consistent and effective post process.
13m
image
16
Revealed in Lightoom - Part 2
I will continue to show you my development process with the images I selected from the shooting.
10m
image
17
Work with presets and export options
To conclude, I will show you how to create and save your own presets and how to export your images for web or print, from Lightroom. It is important that you master this because it will be the way in which you will deliver the images to your clients.
12m
image
3
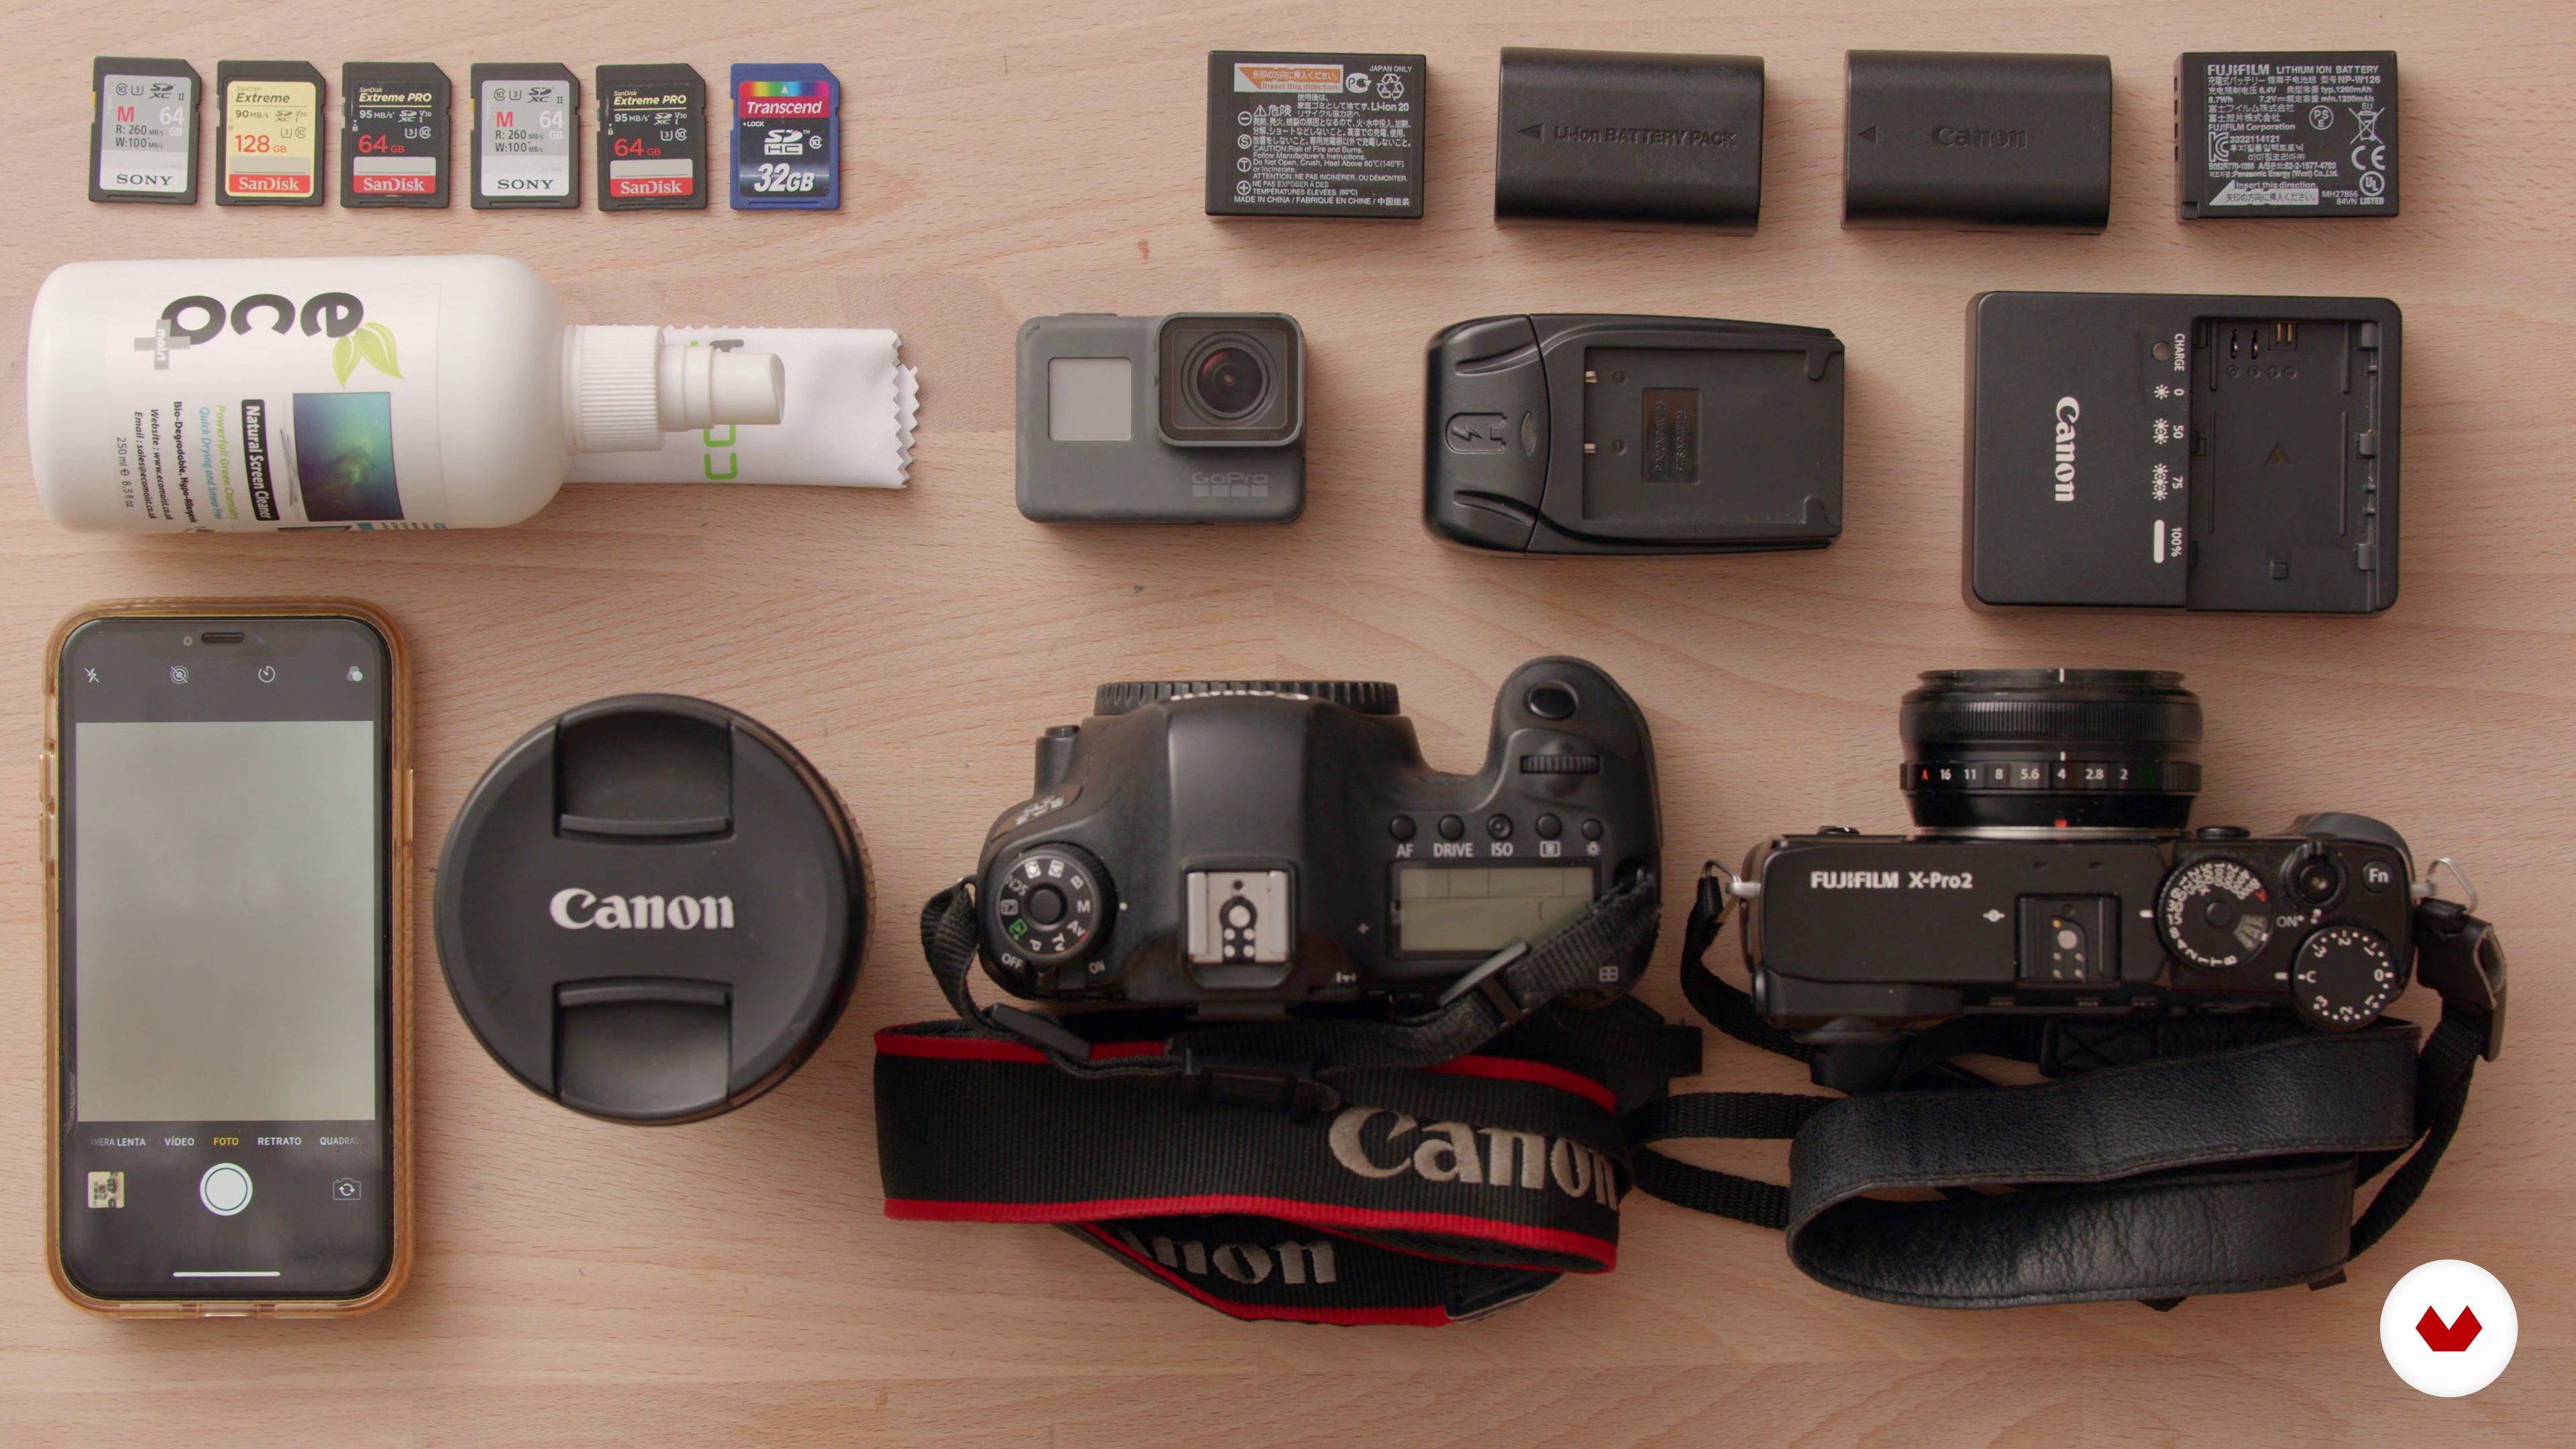
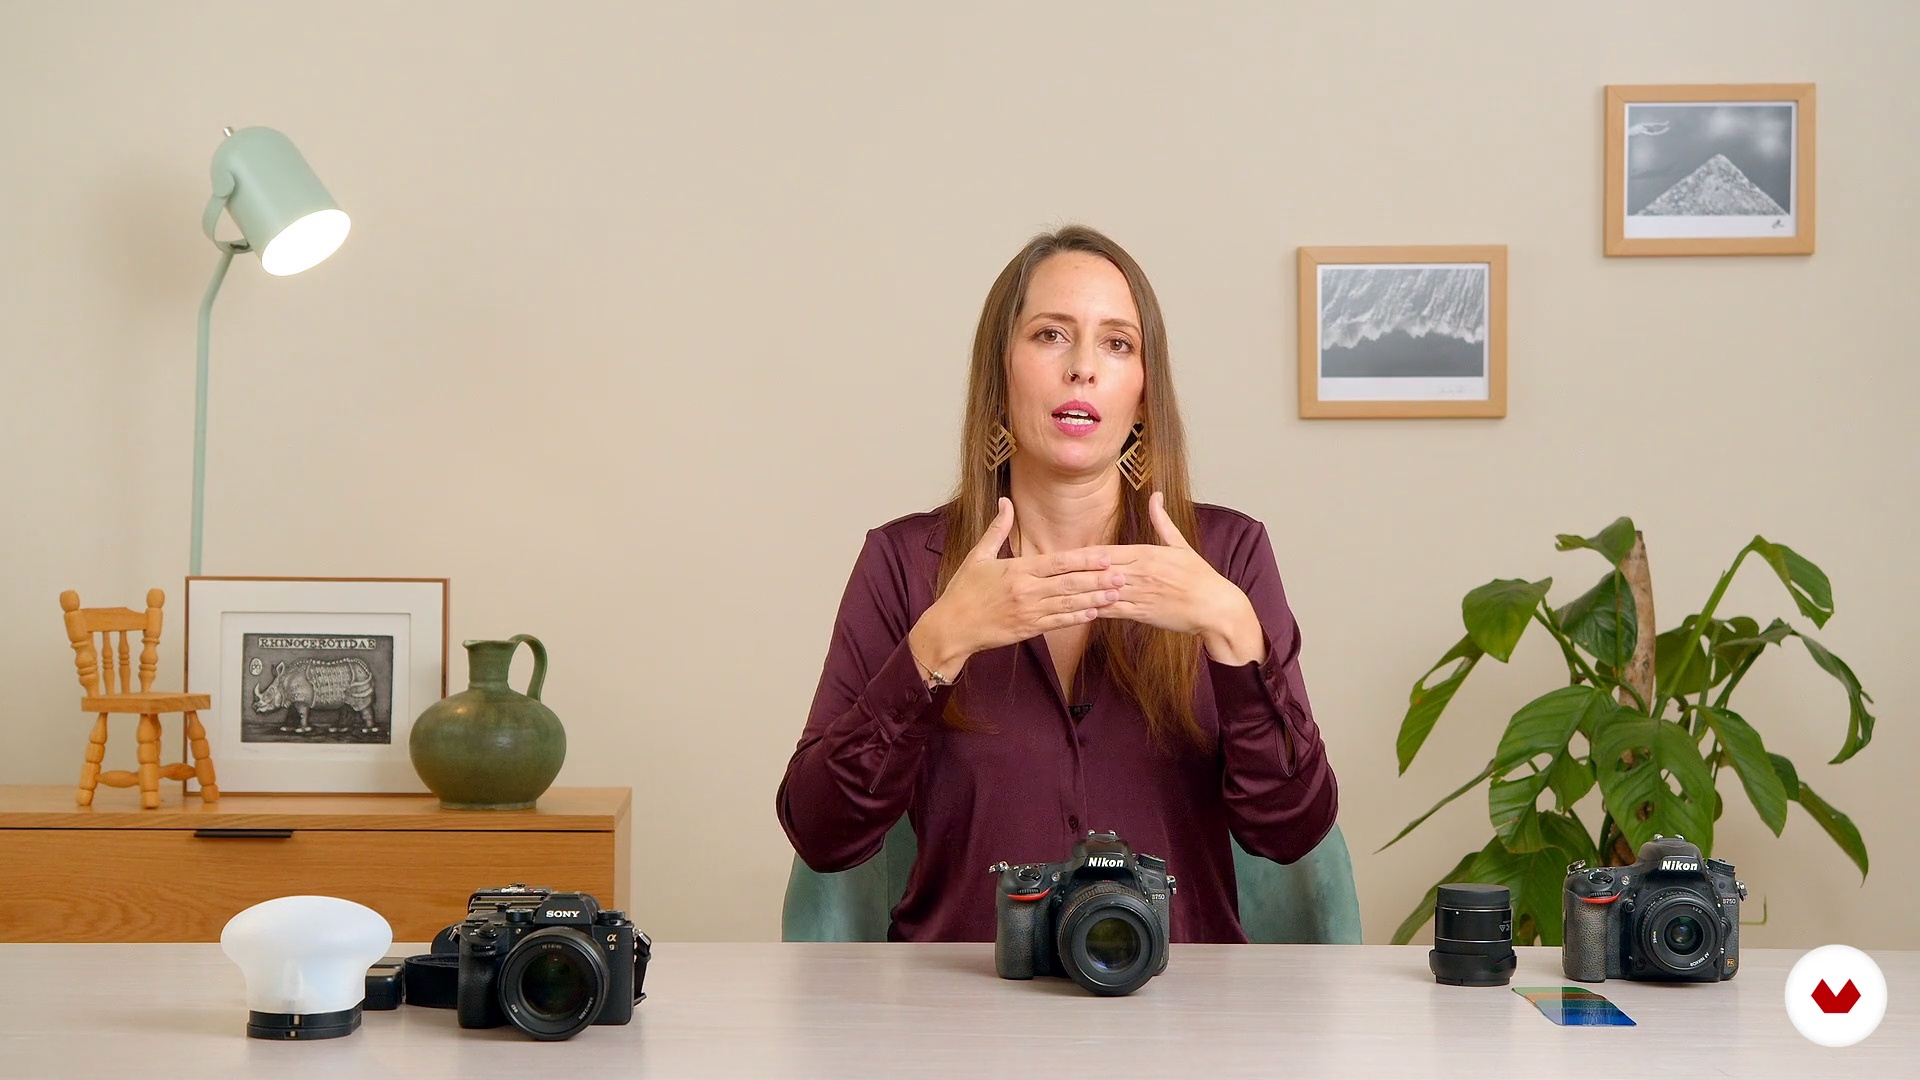
Equipment
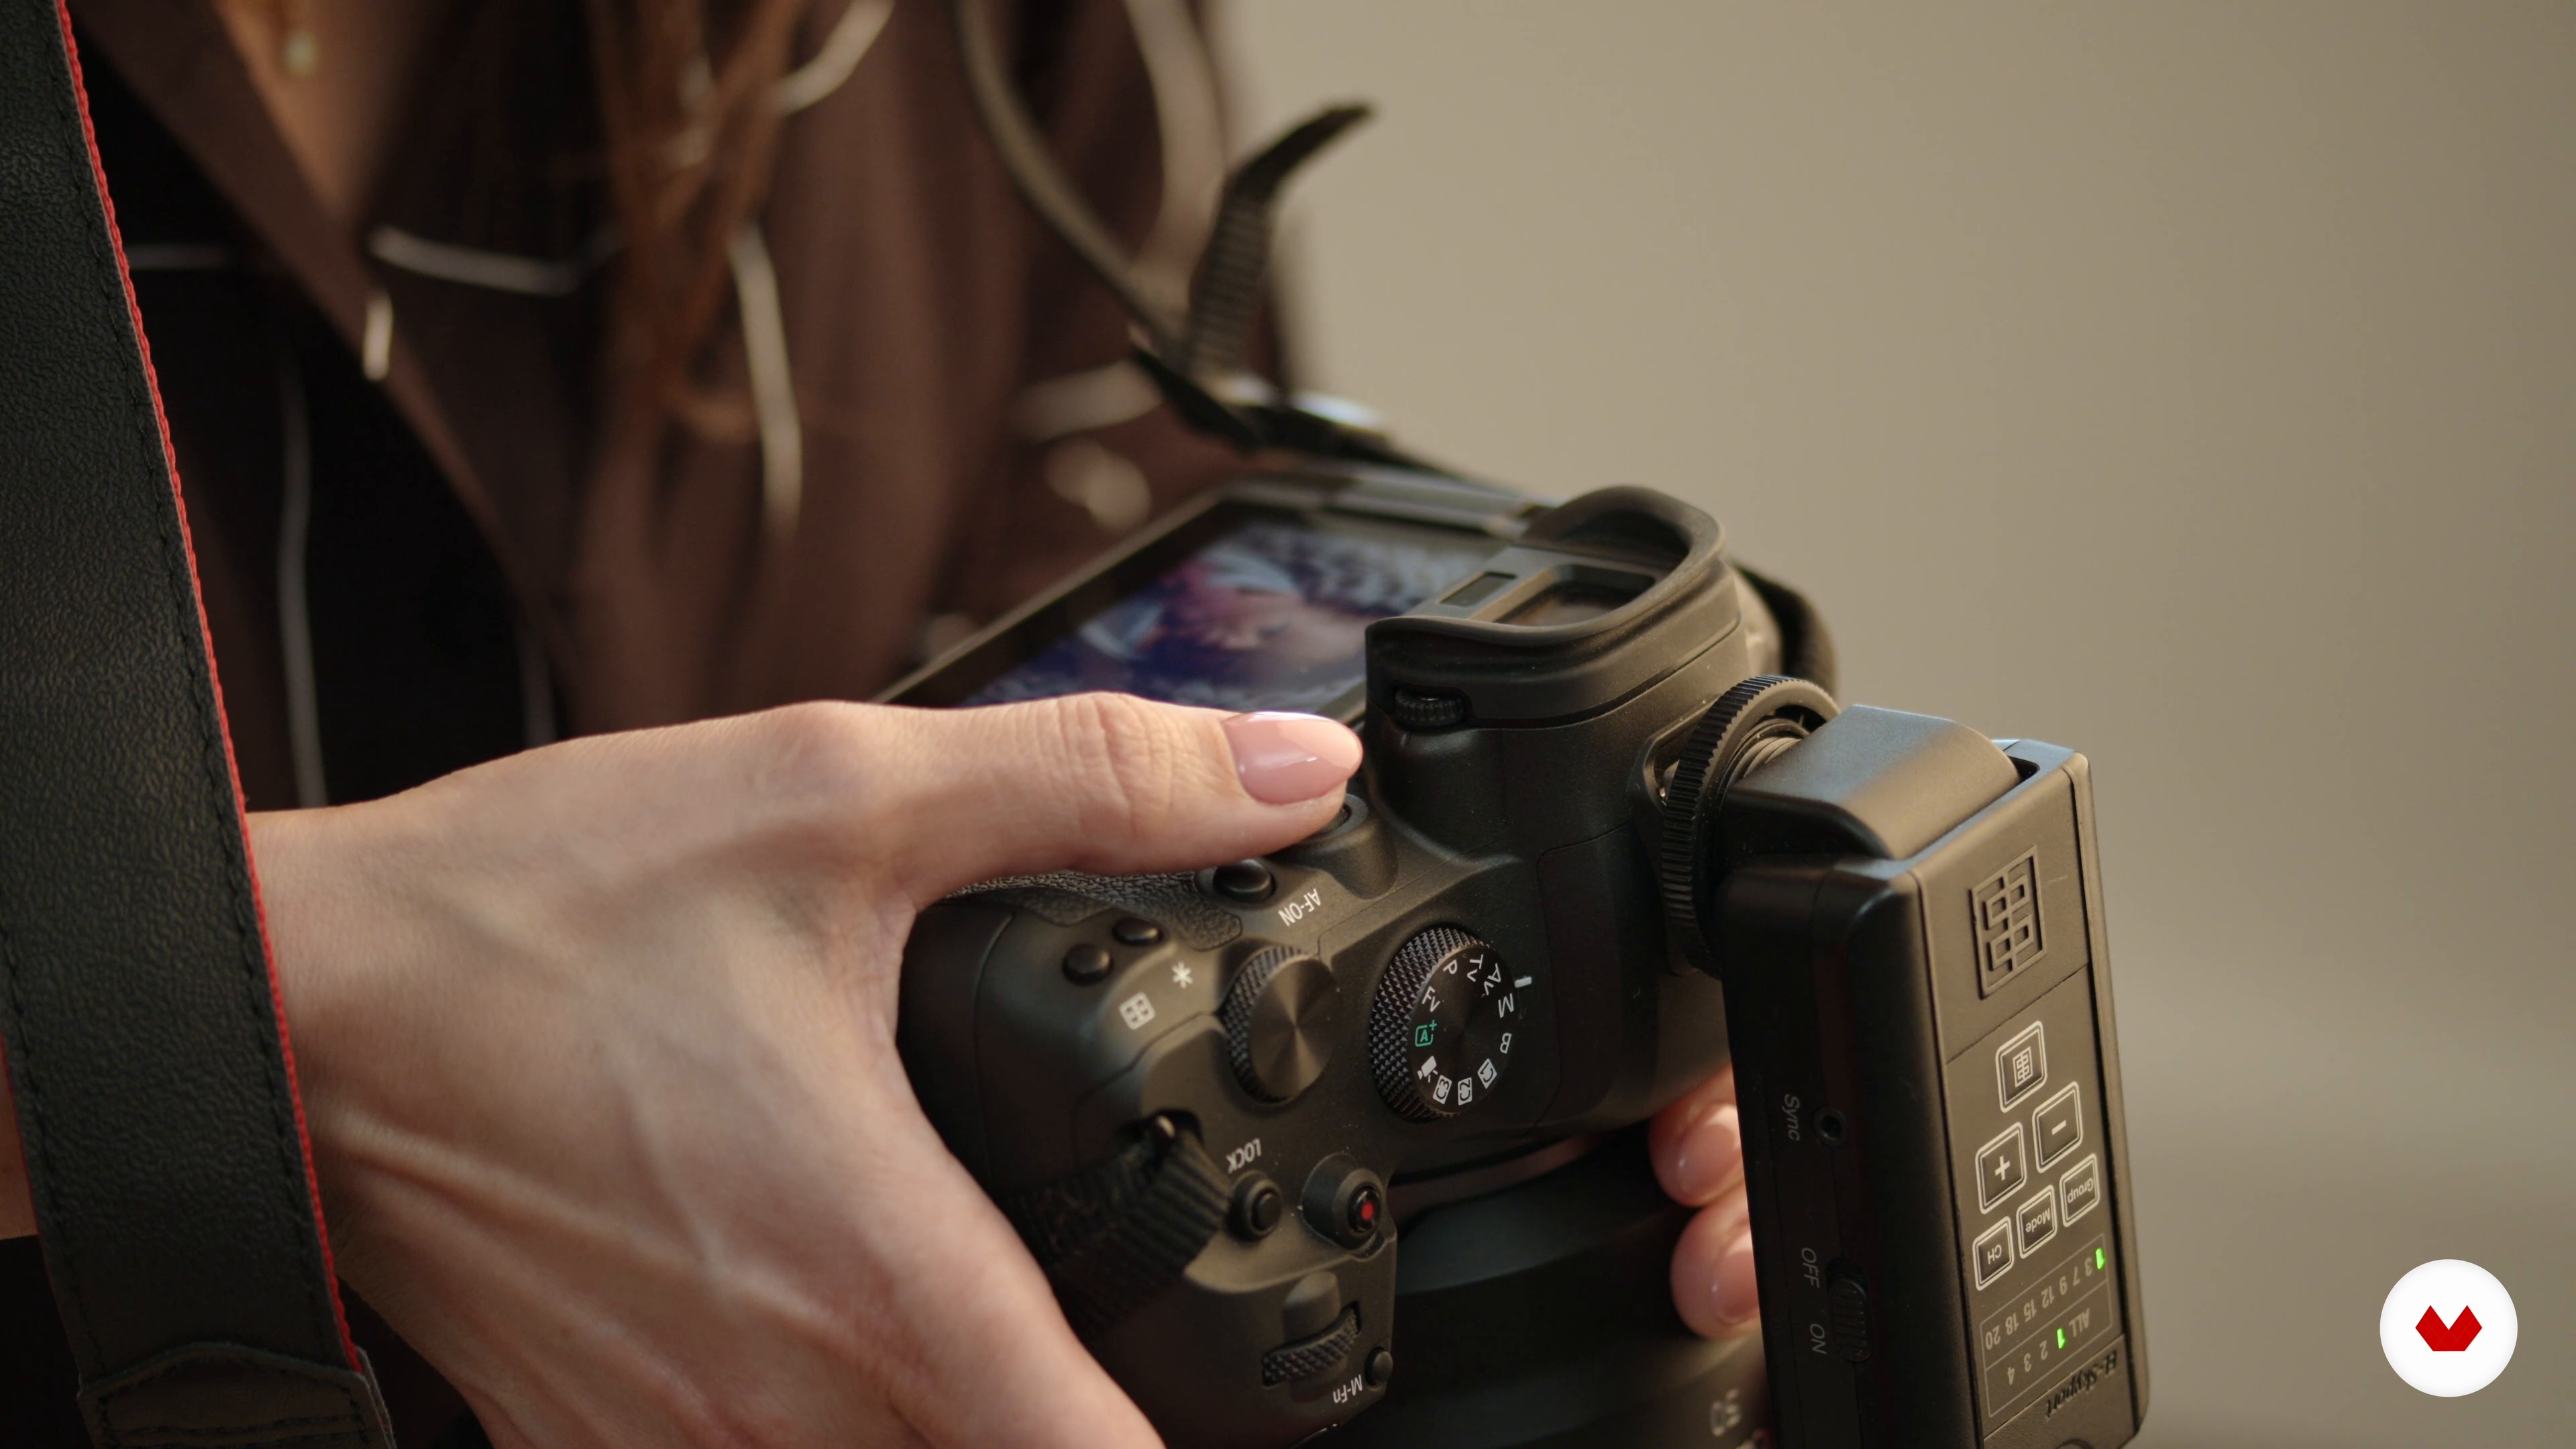
To begin, I am going to show you, and talk through, the equipment that I use for my photo sessions.
7m
image
4
Newborn Safety
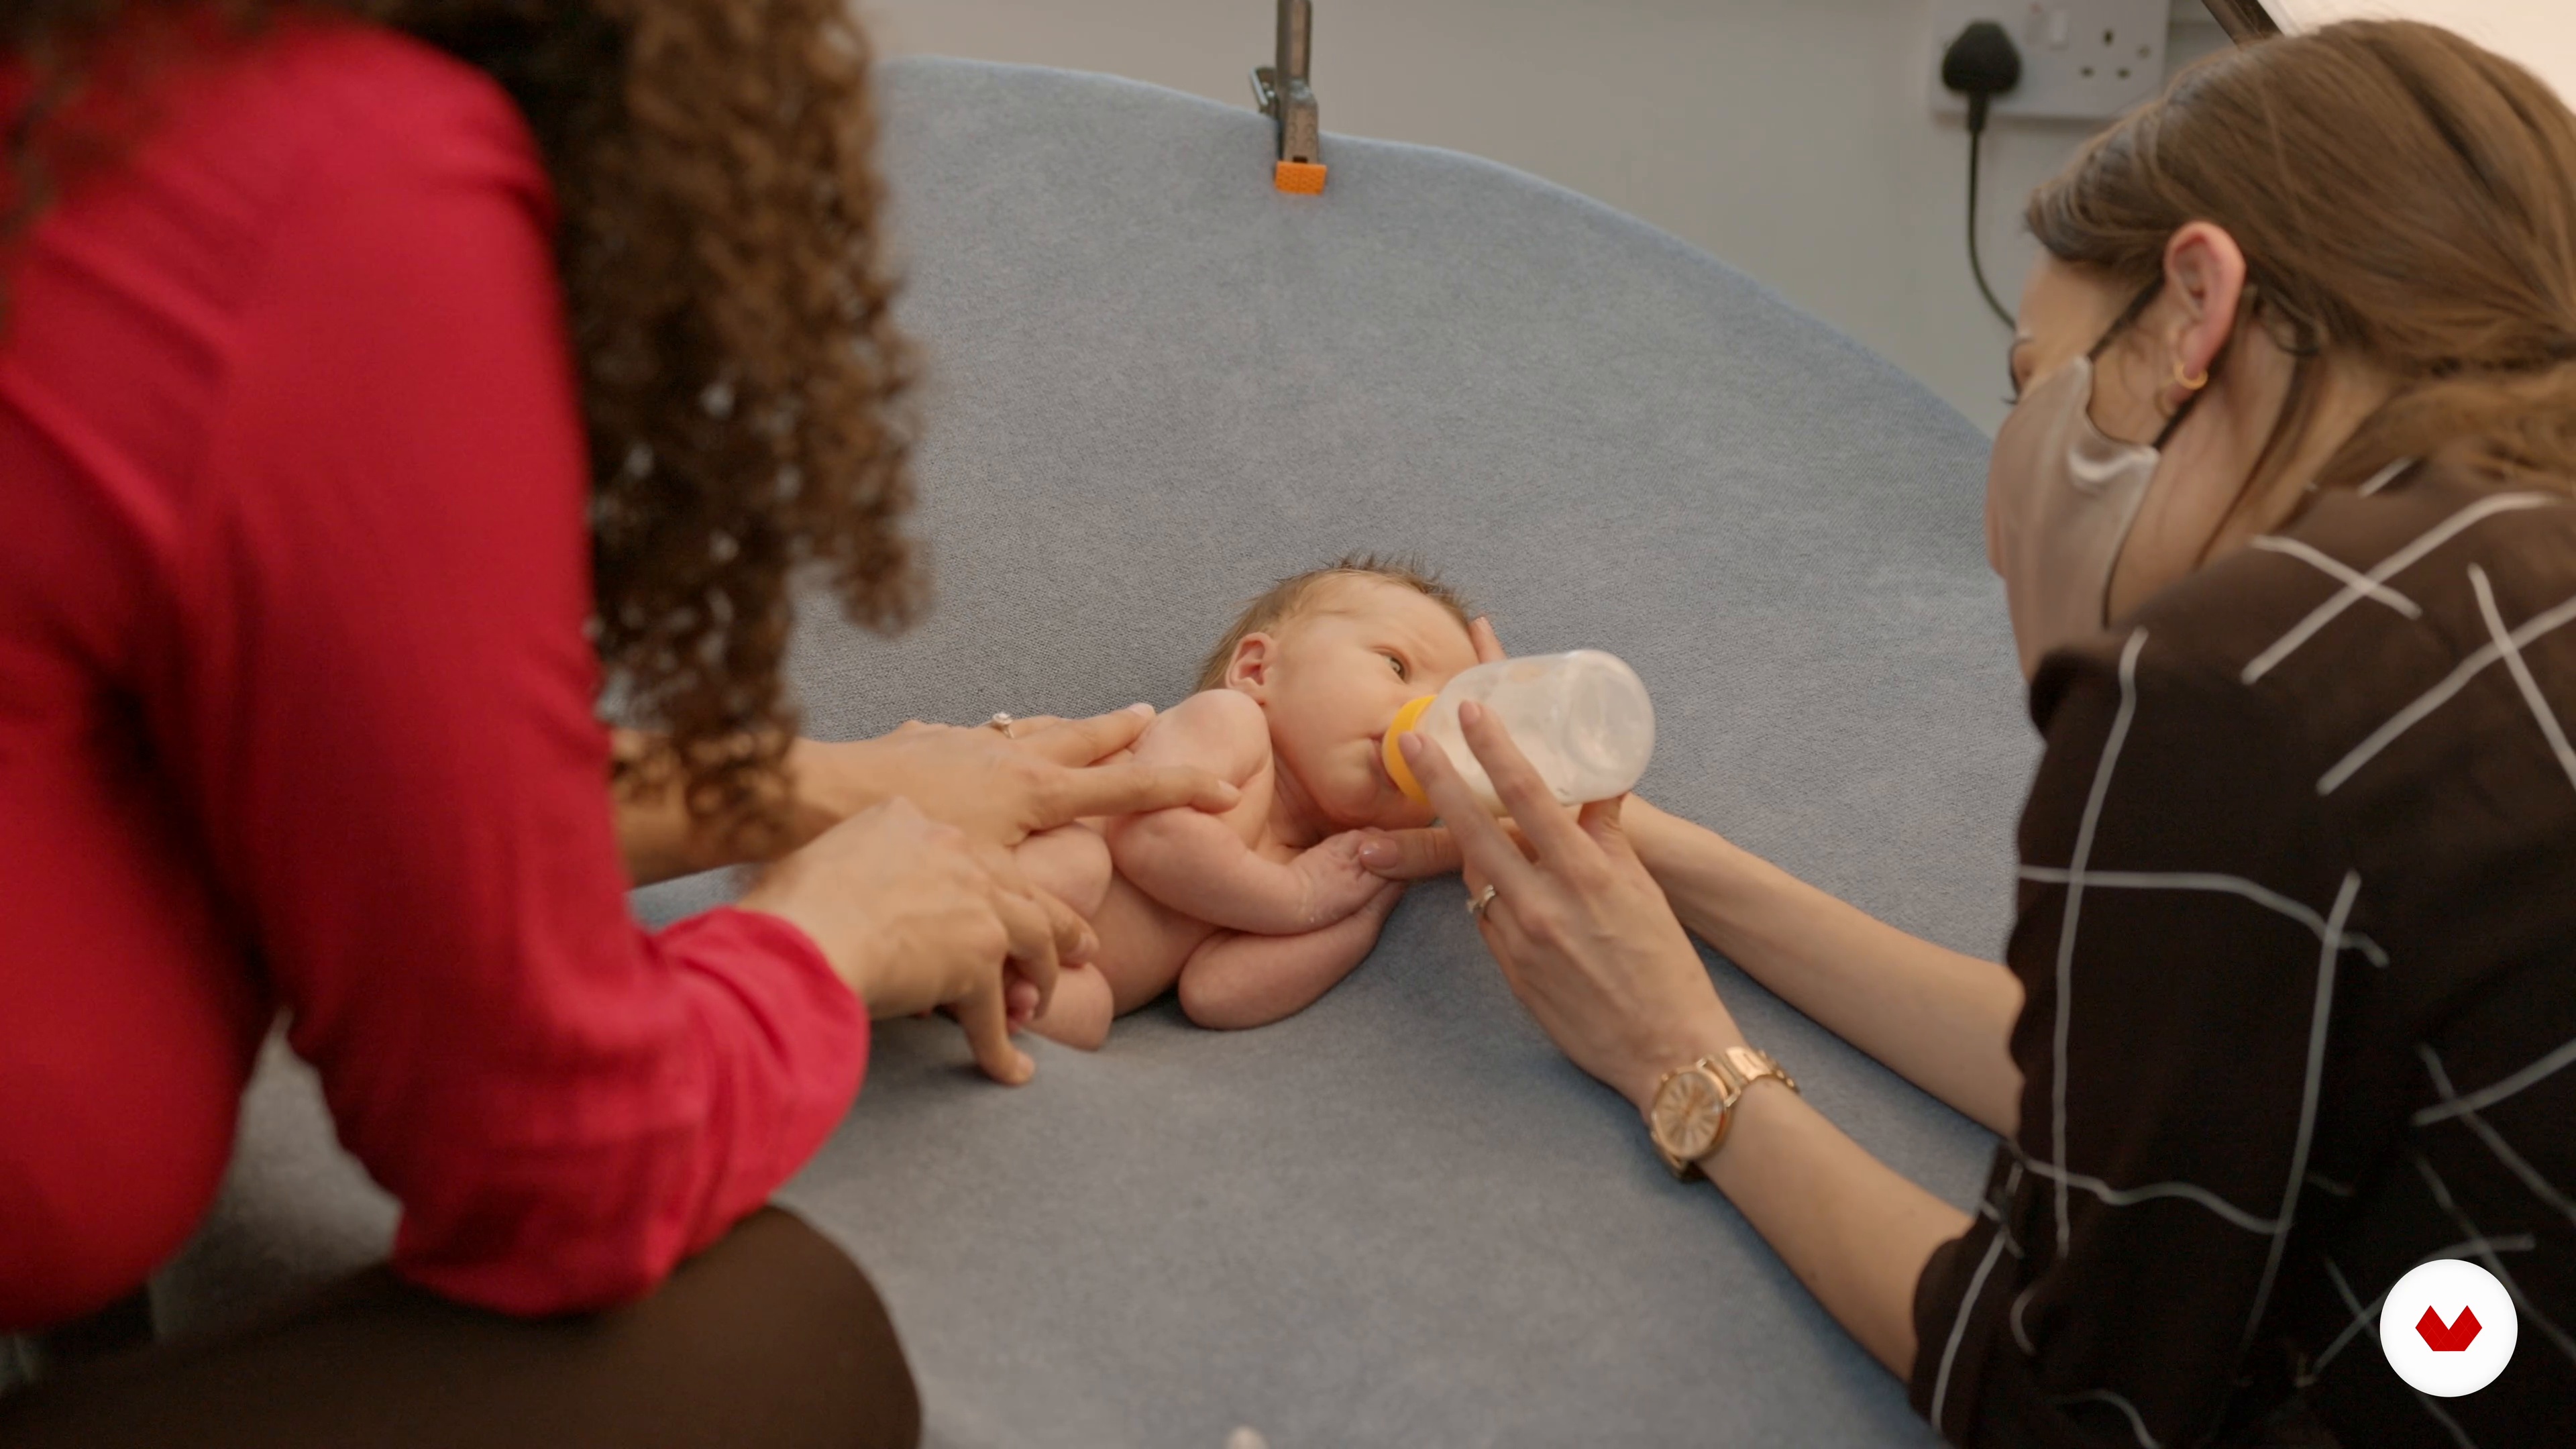
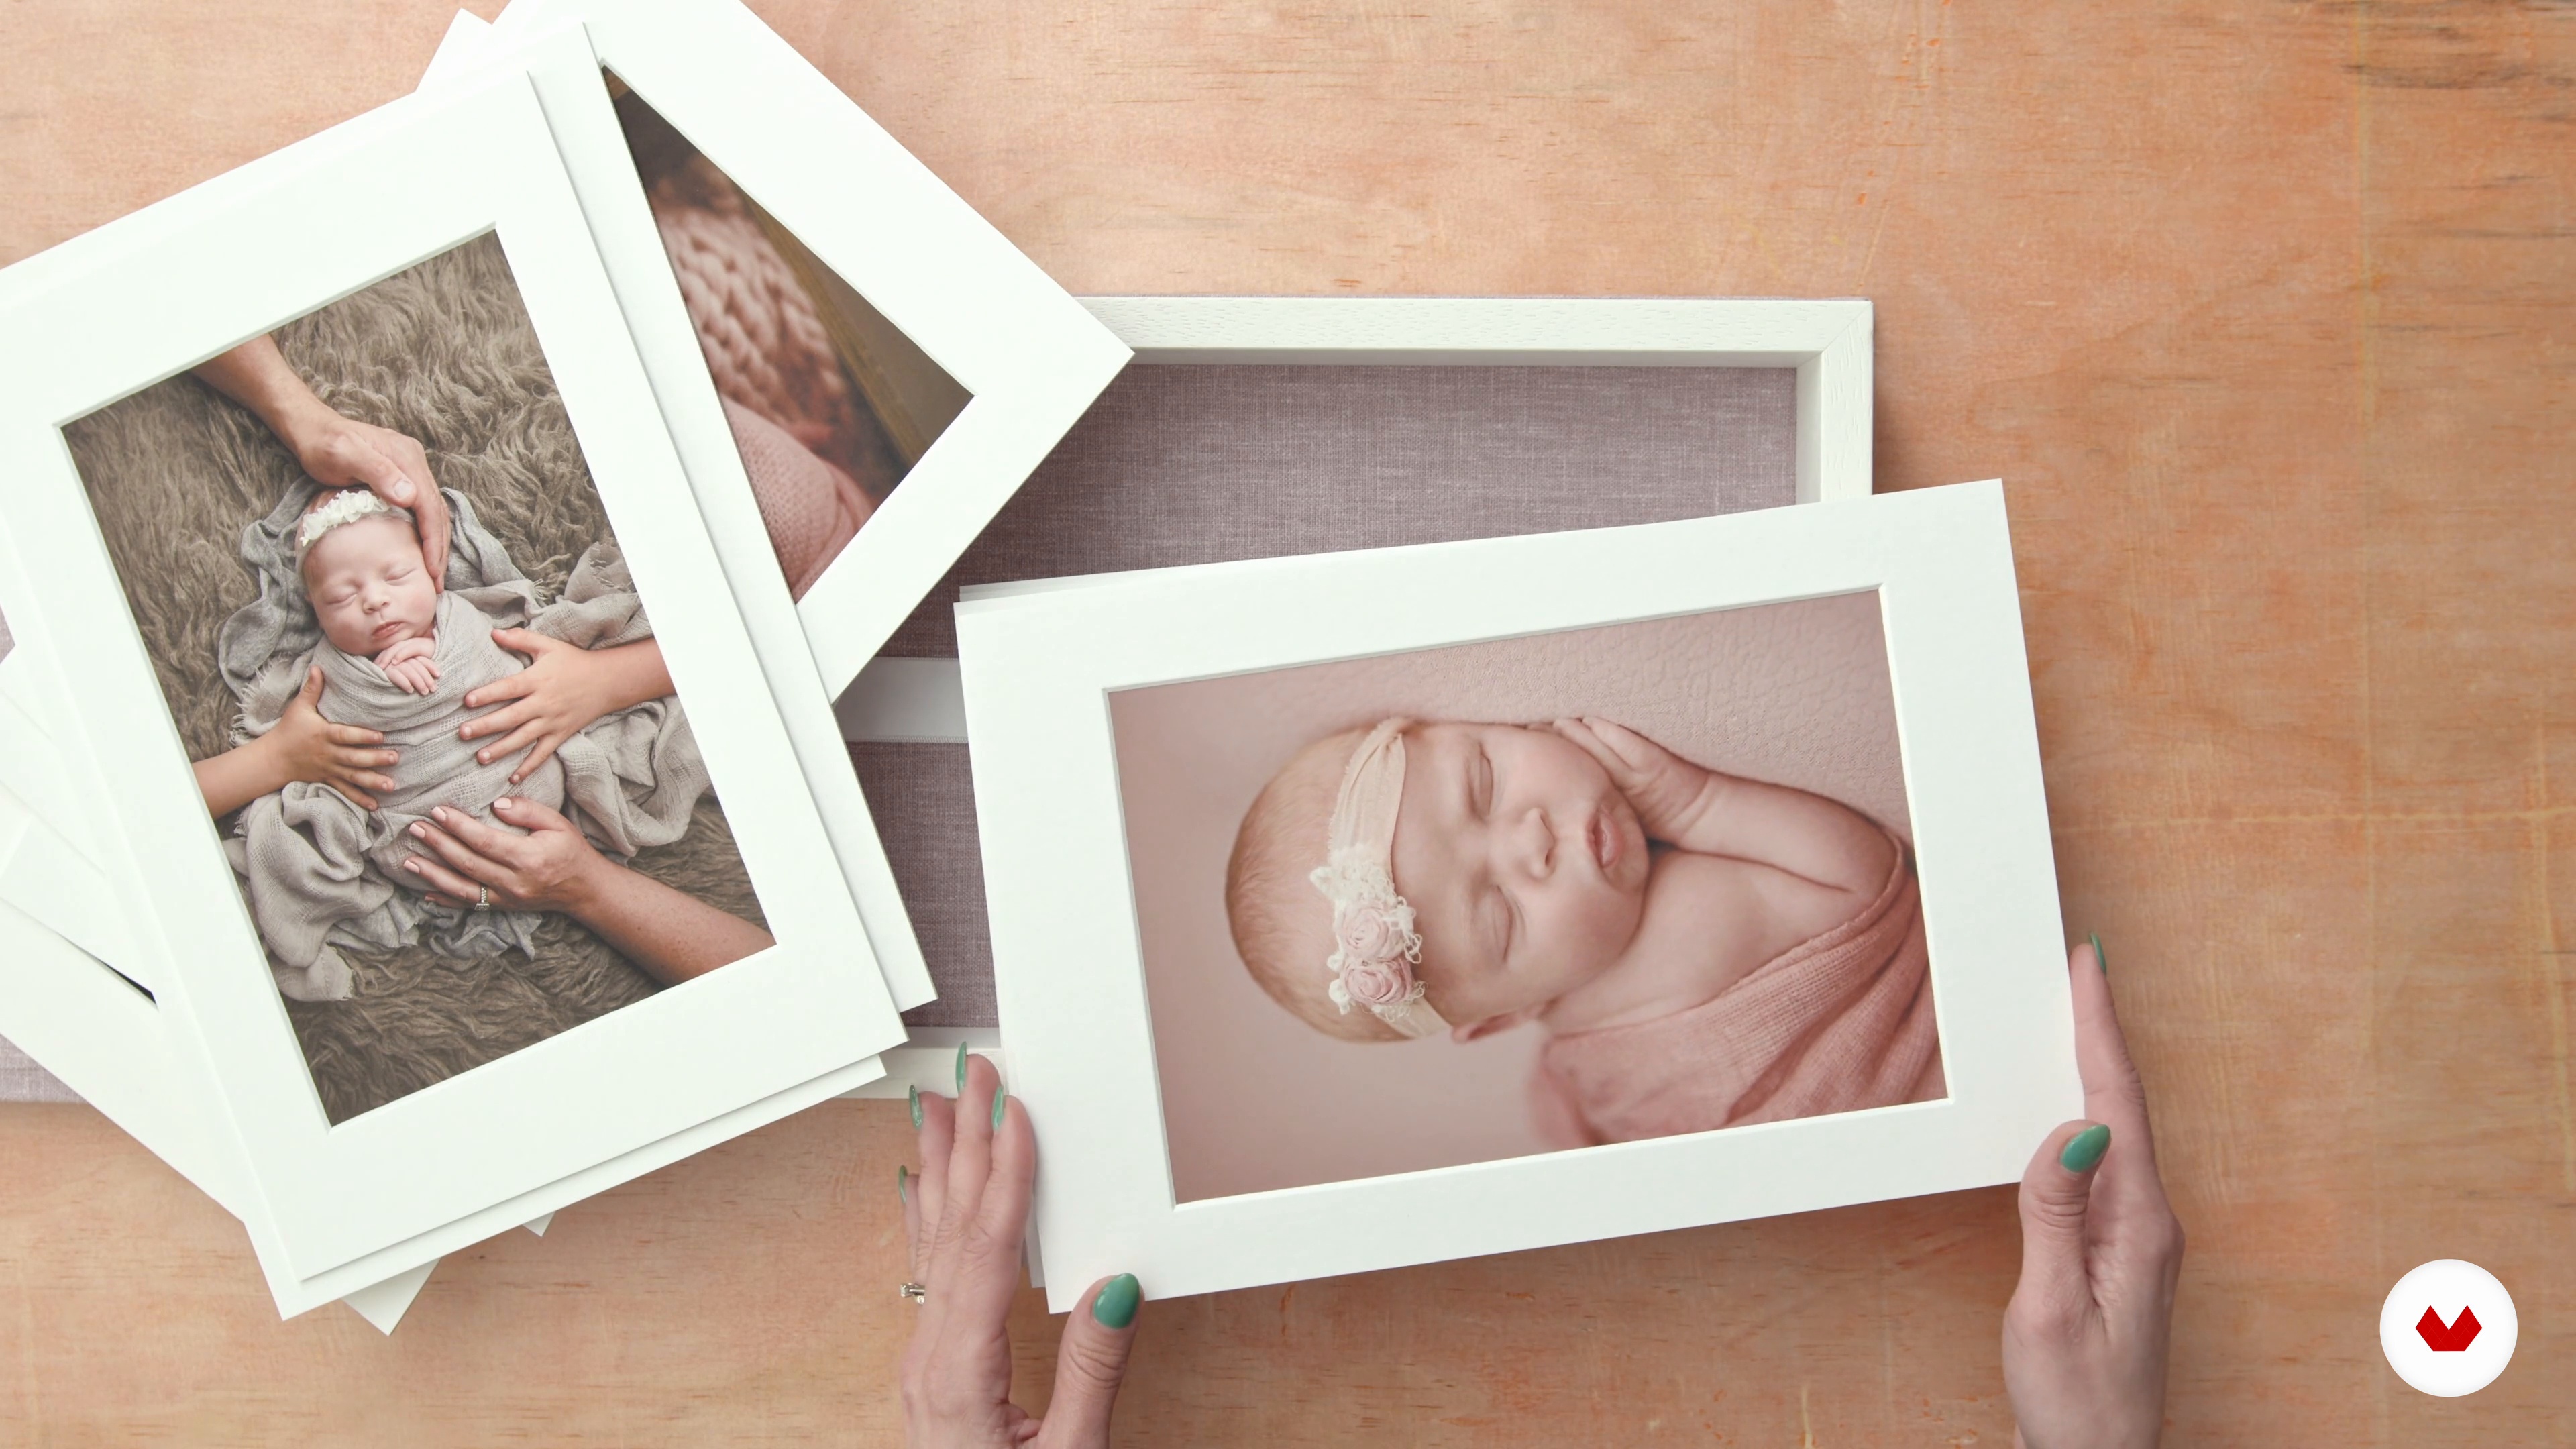
Newborn safety is by far my main concern when photographing a baby. You need to make sure the environment is appropriate, and the baby is ready for their photo session. In this lesson, I will talk about the most important aspects you should keep in mind to make sure the session is completely secure and comfortable for the baby.
3m
image
5
Getting Ready for a Newborn Shoot
Here, I'll share with you the most important things to consider when planning a newborn photo session.
3m
image
6
Wrapping Techniques
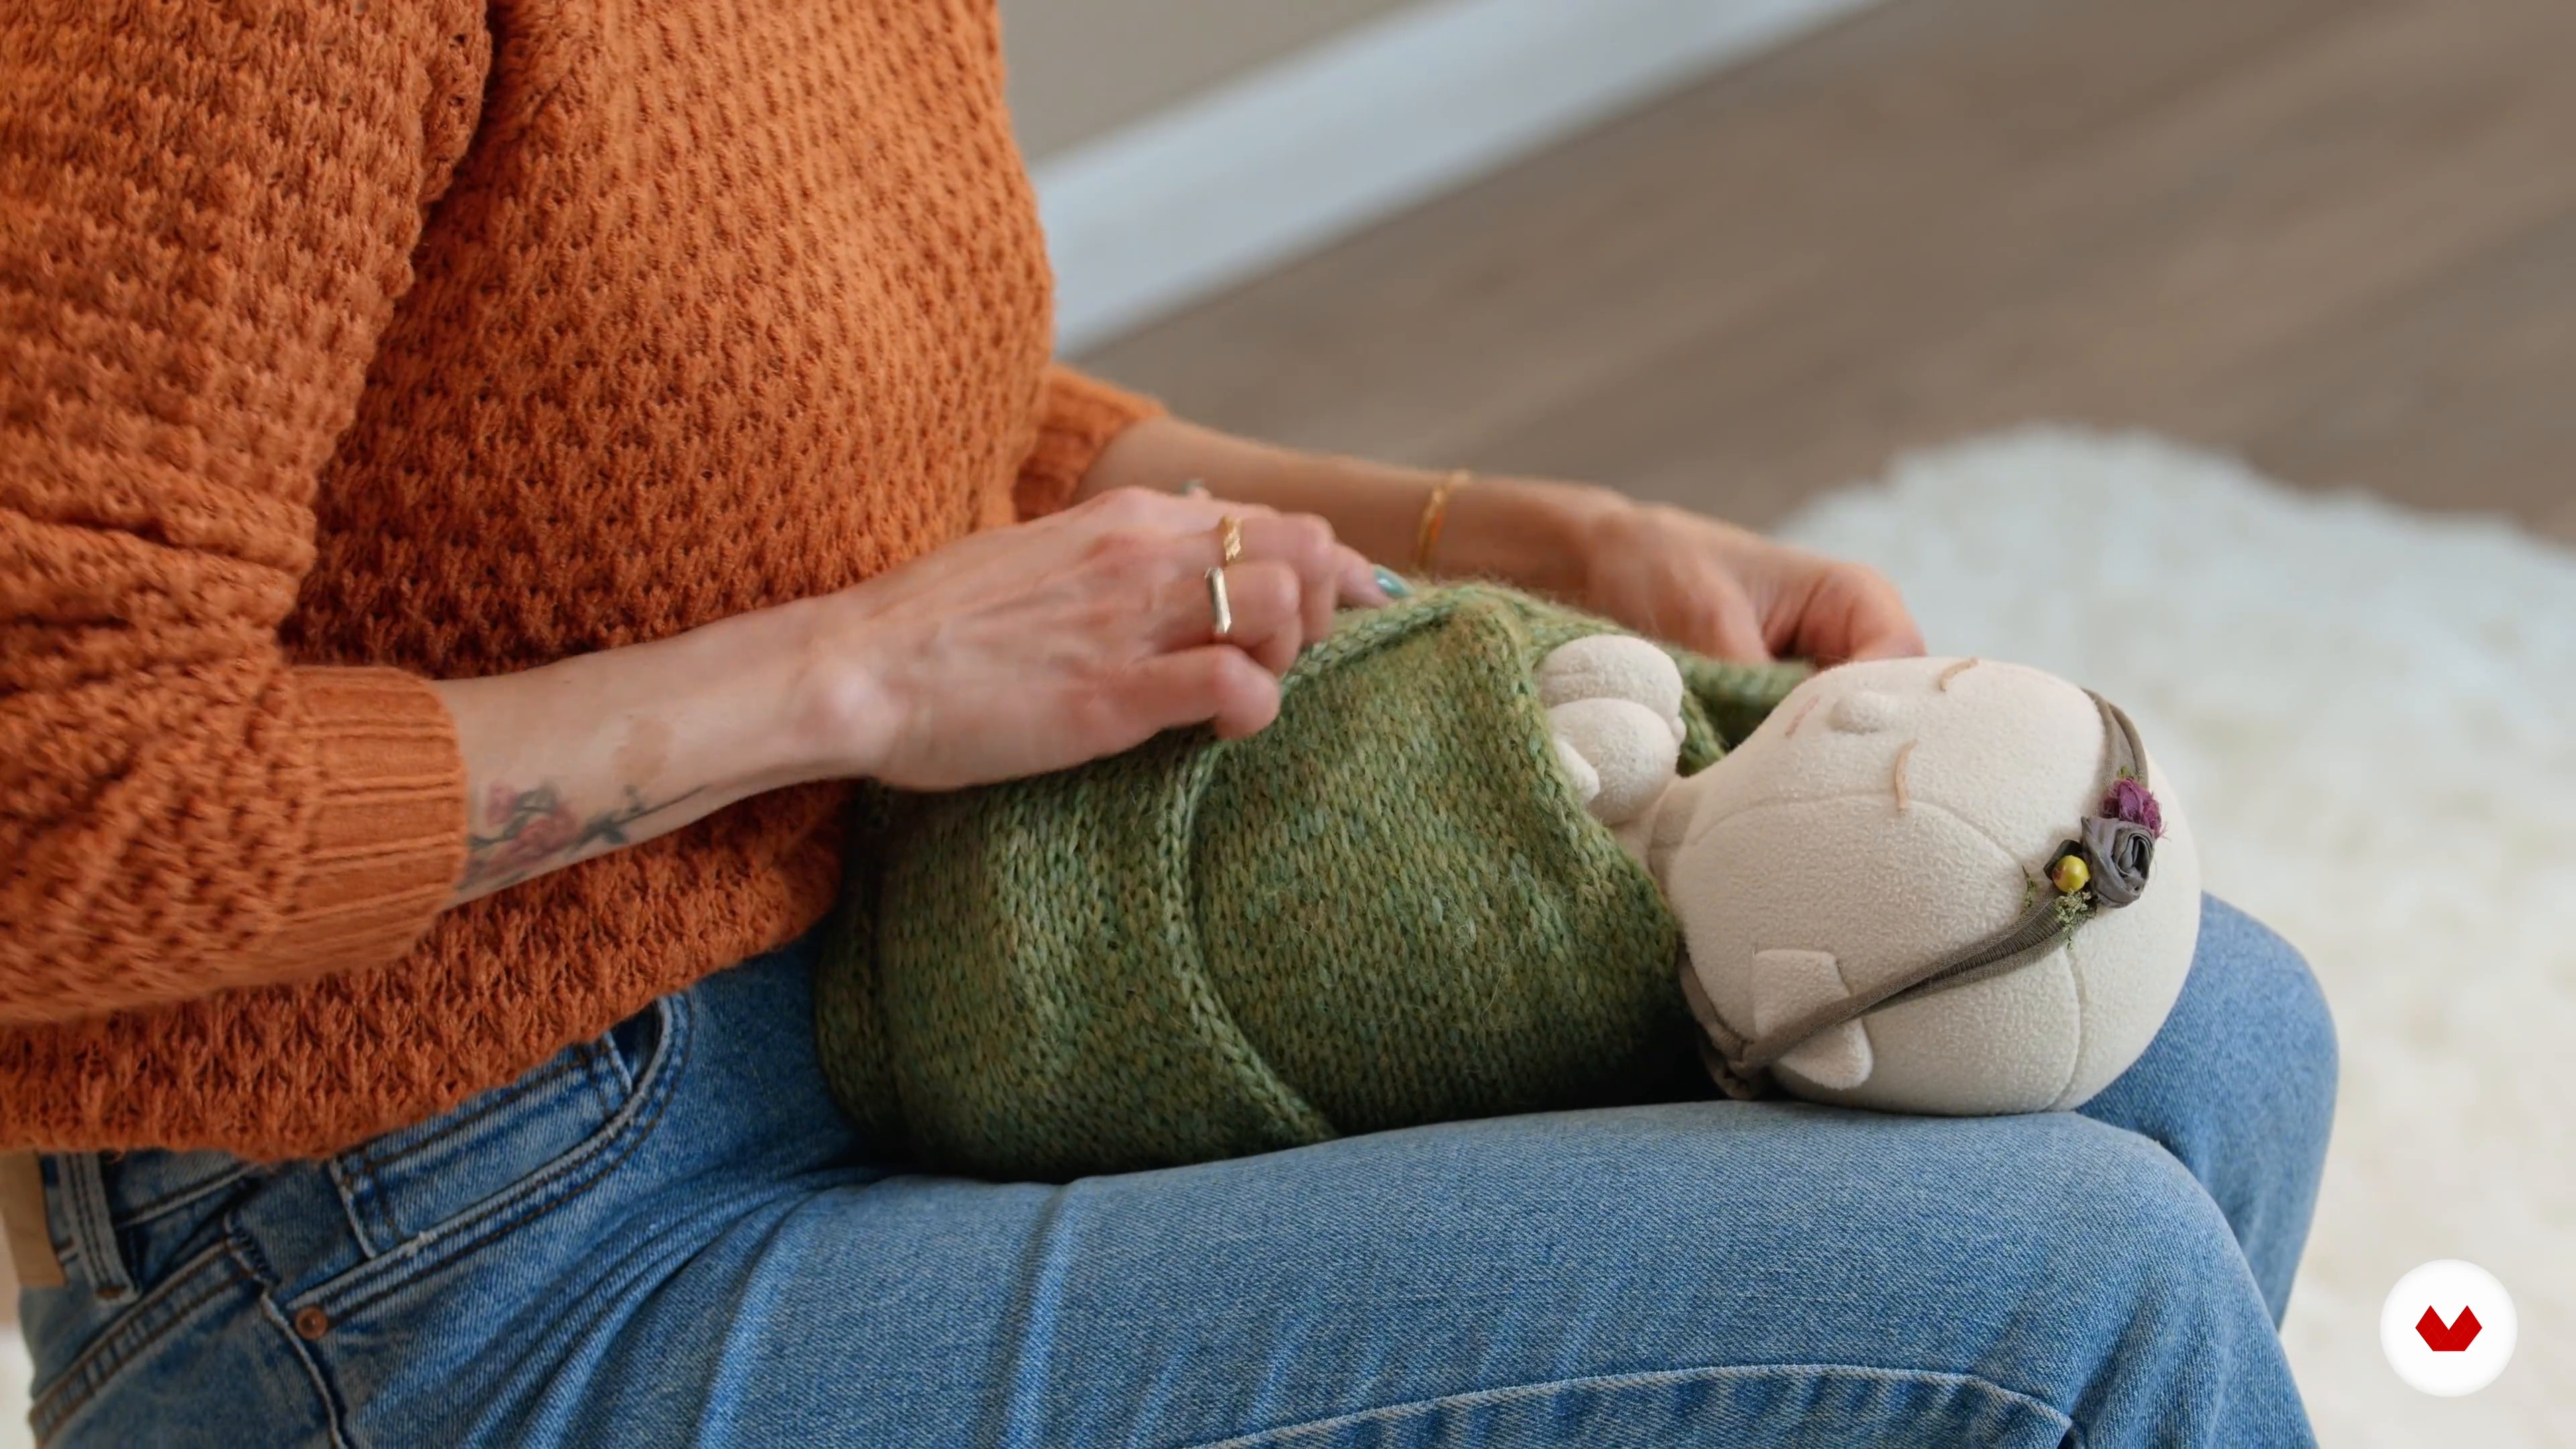
Next, I’ll show you some techniques for wrapping a baby. Knowing these in advance will make your work so much easier!
14m
image
7
Setting Up
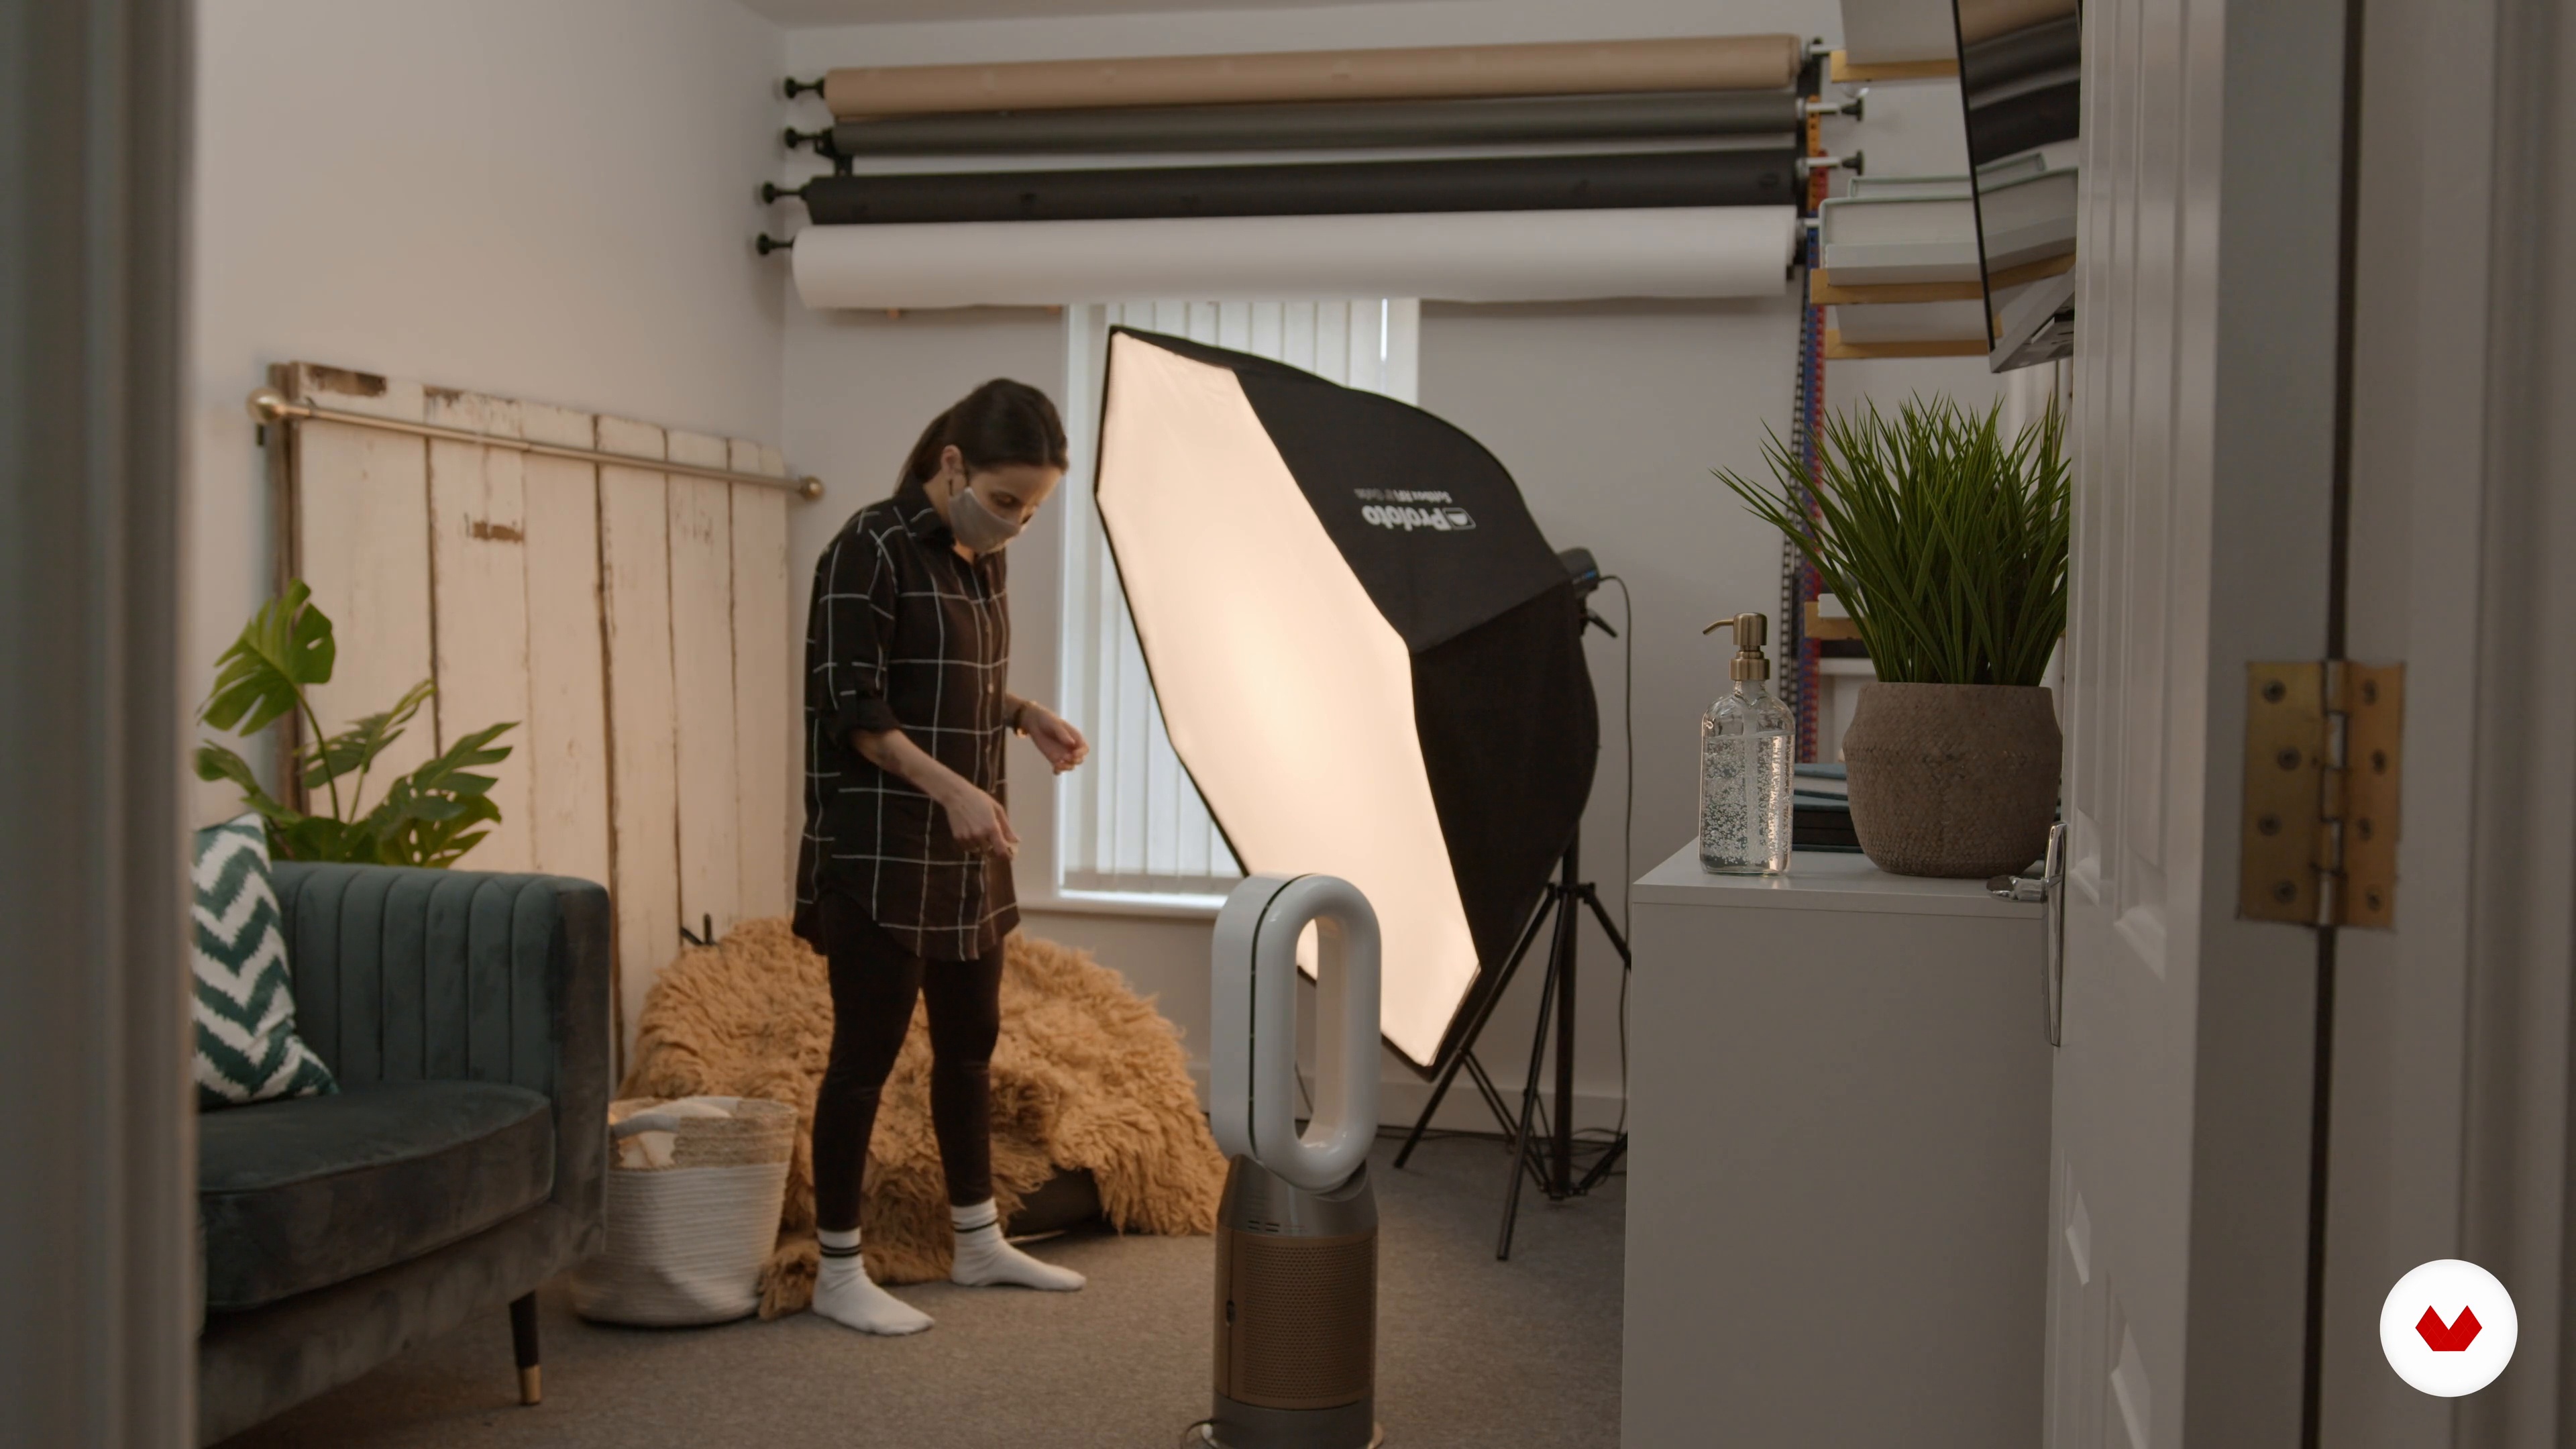
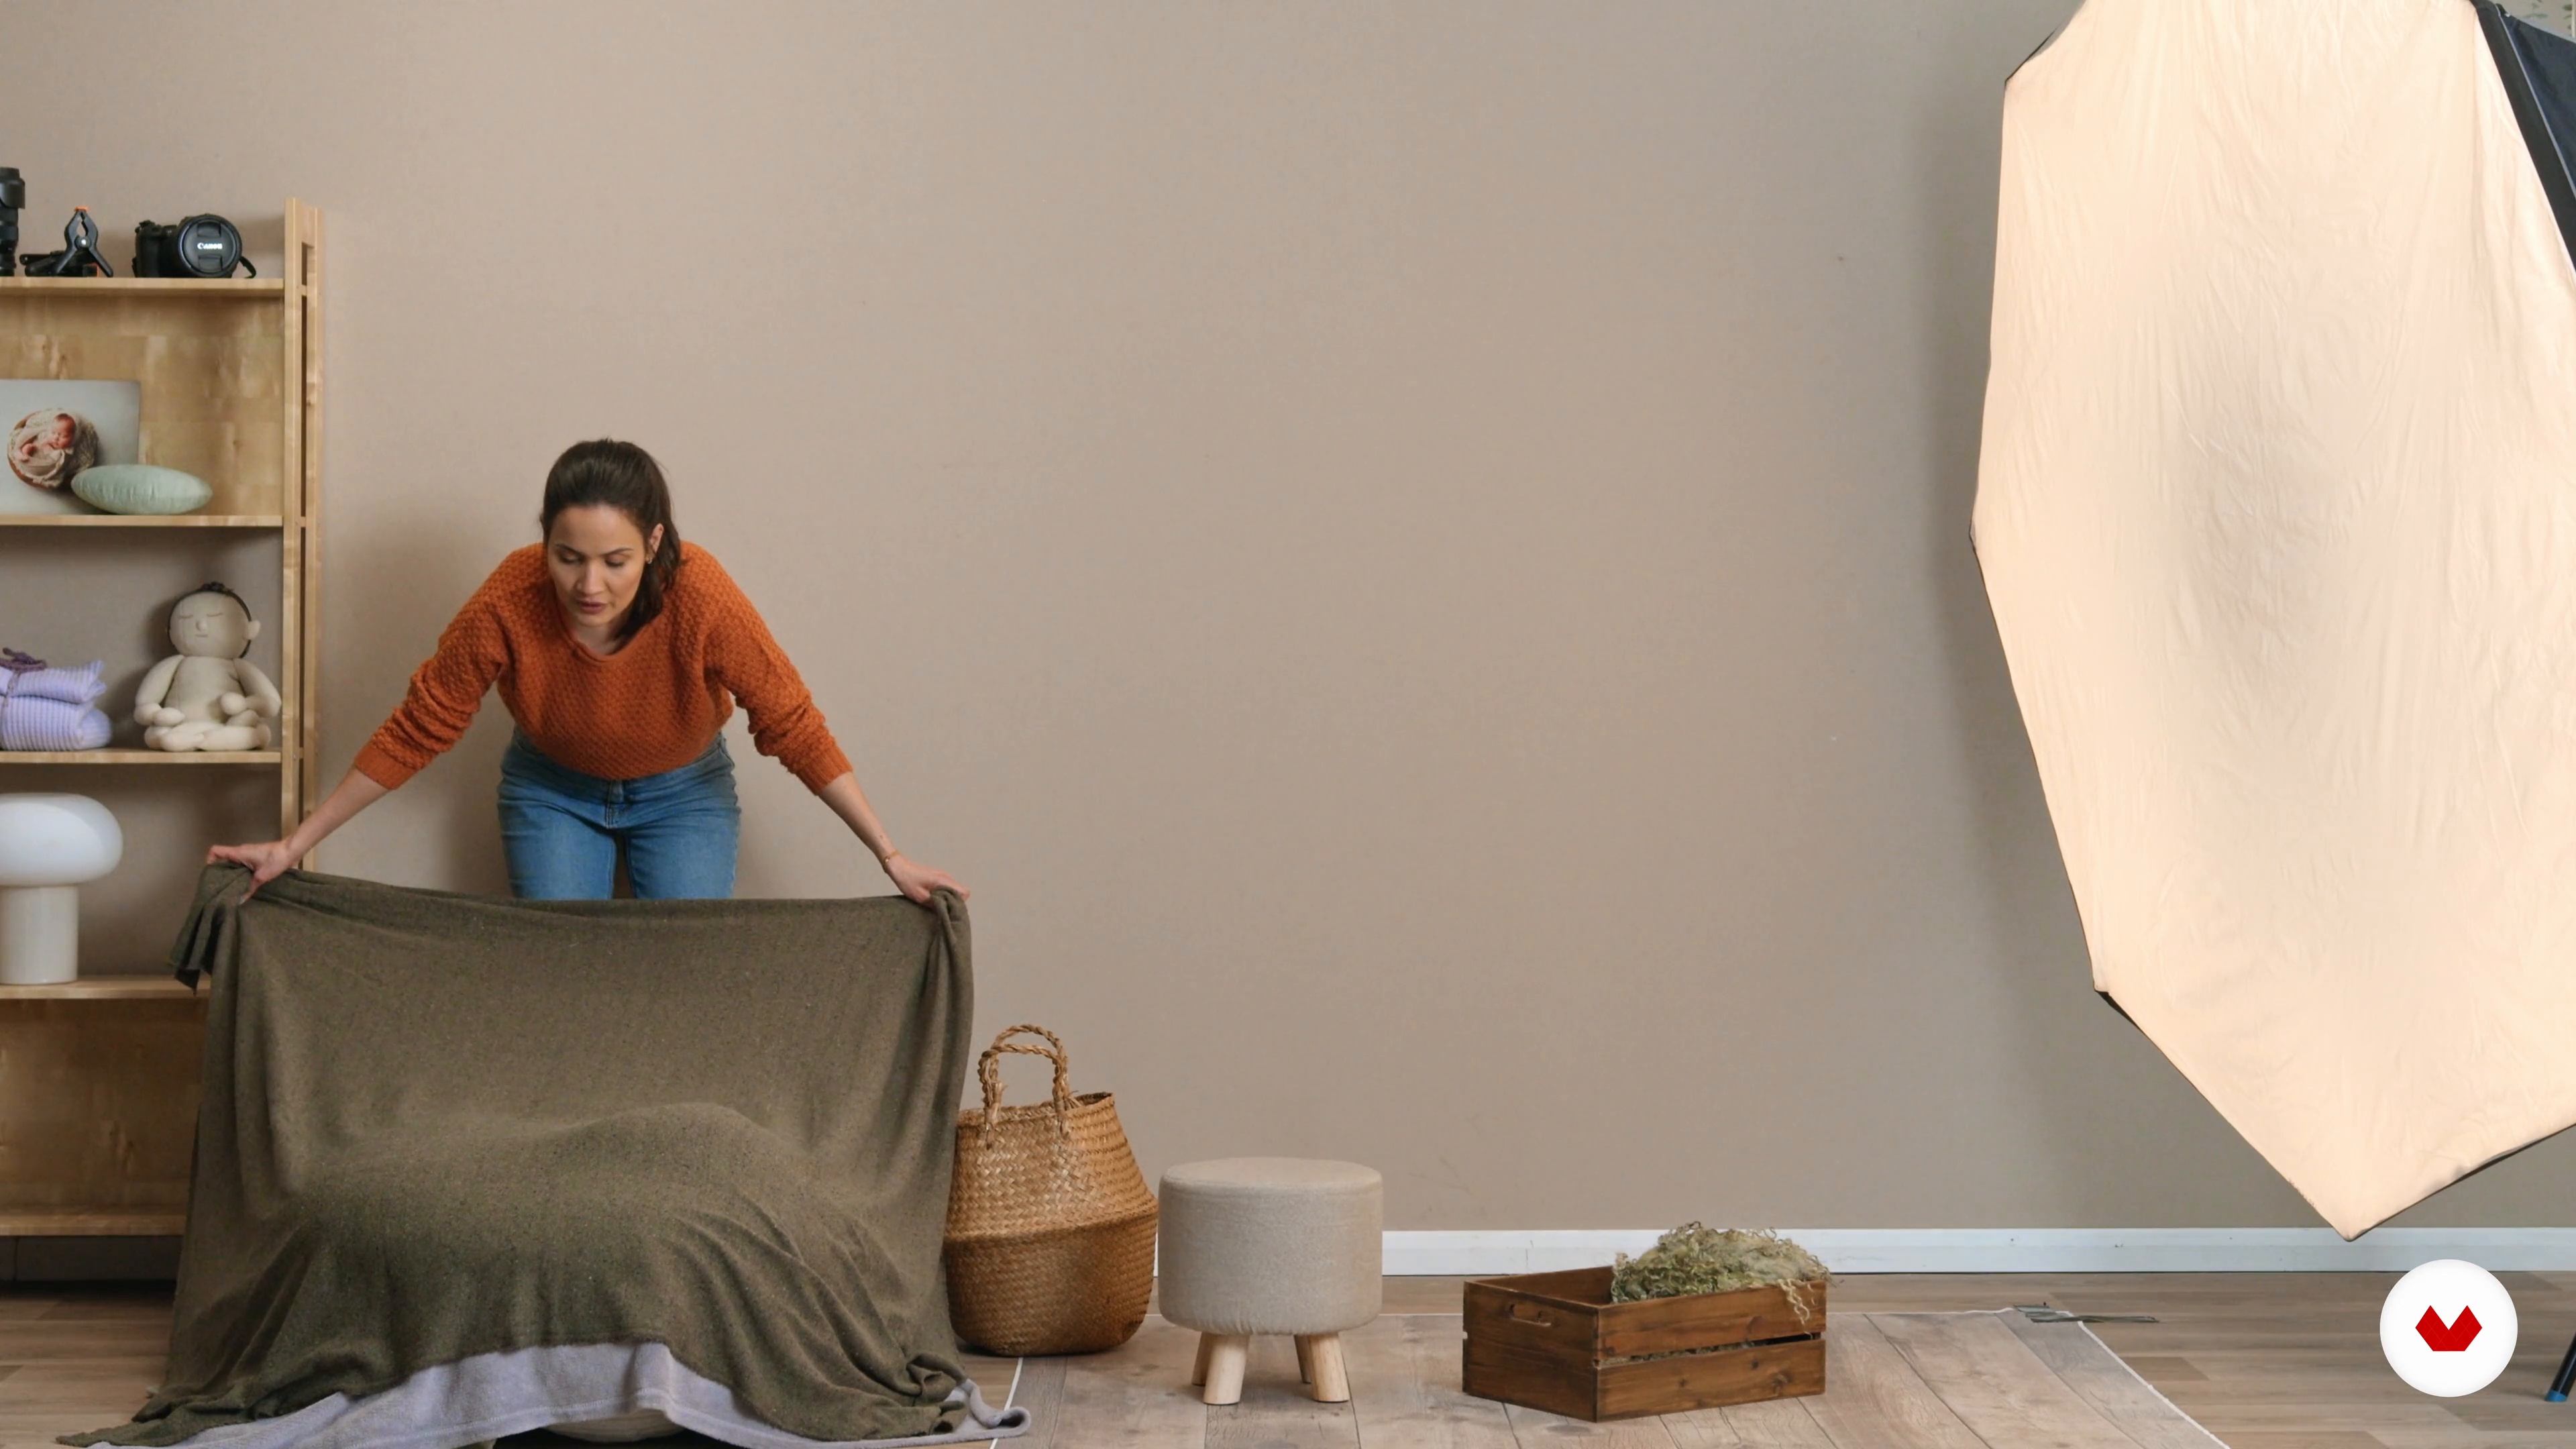
Finally, you'll learn how I style the set, set my props, and prepare everything before I start the photo session.
3m
image
8
Pose: Baby Fully Wrapped in a Prop
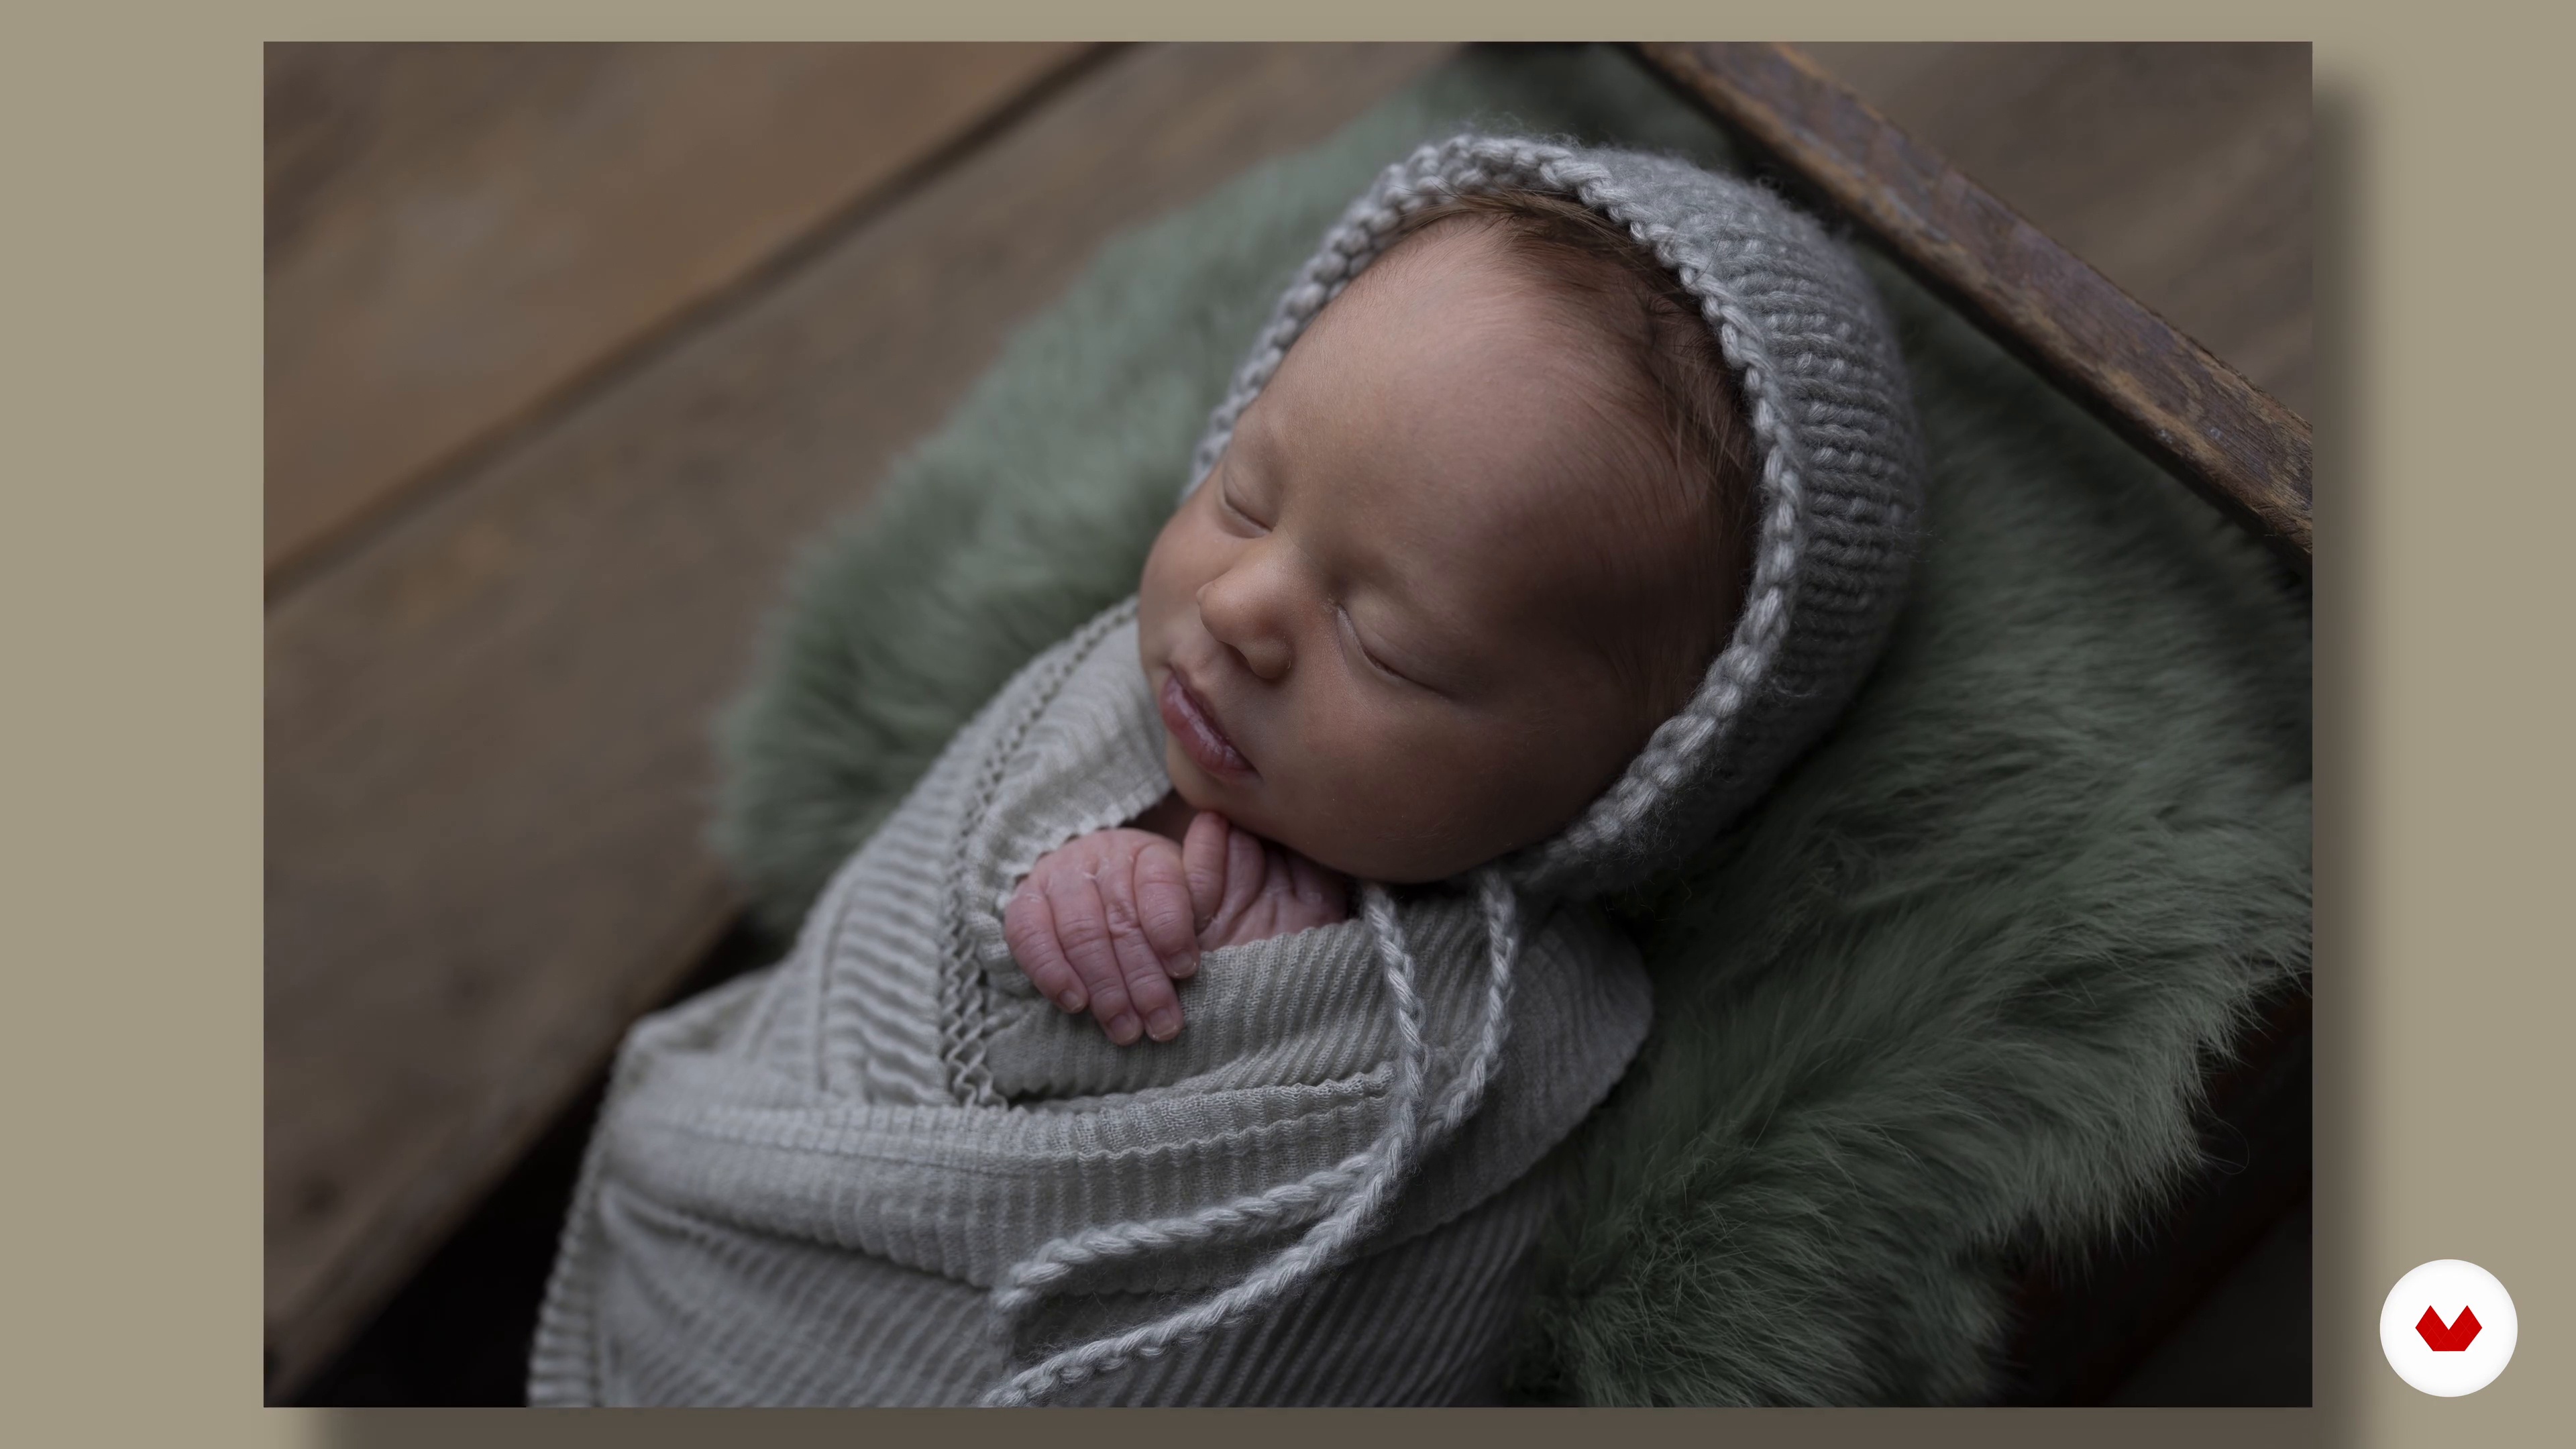
I am going to show you the first pose you can use, which will be the baby fully wrapped in a prop. This is the easiest and most comfortable way to photograph a baby!
5m
image
9
Pose: Baby Half Wrapped in a Prop
Now it's time for pose number two, which is the baby half wrapped in the prop. I'll share with you some tips and tricks to make the pose transition easier.
7m
image
10
Pose: Side Lying Pose on the Bean Bag
In this lesson, I'll teach you the last pose, side-lying on a bean bag. Next, you'll learn how to gently remove the base wrap from the last pose. Finally, I'll share with you which are the details that you need to take care of to create this pose perfectly.
8m
image
11
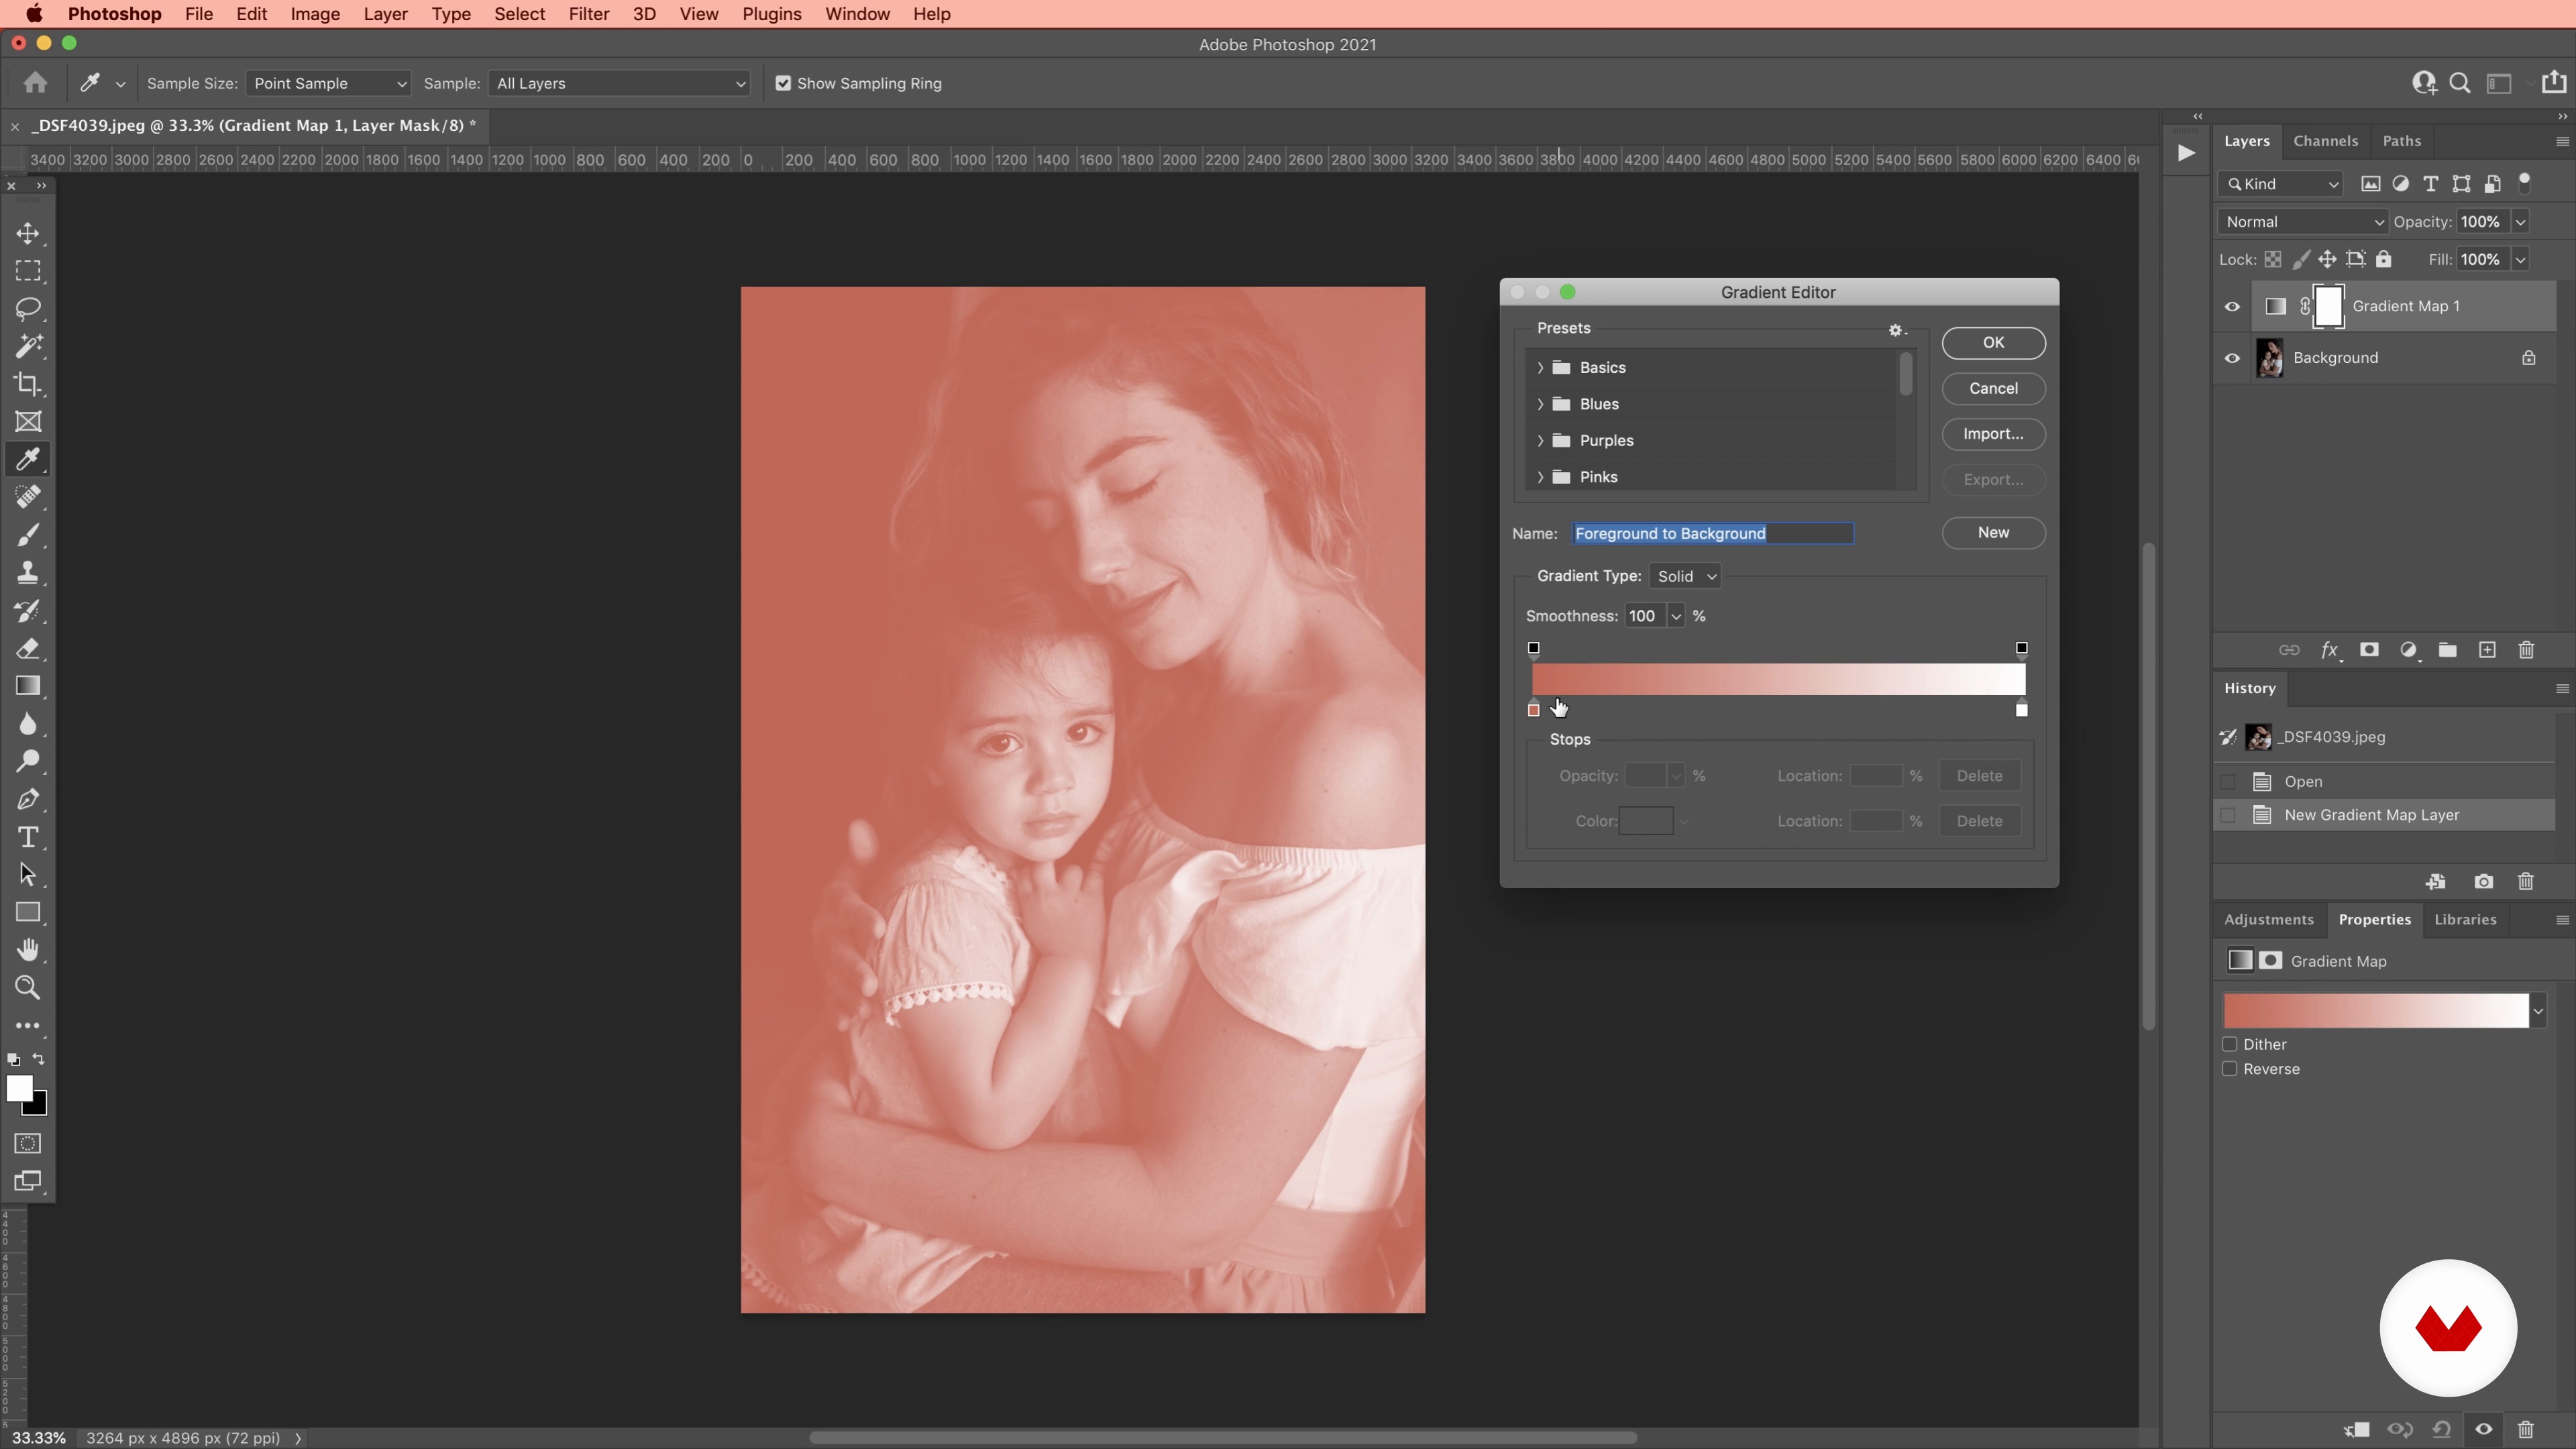
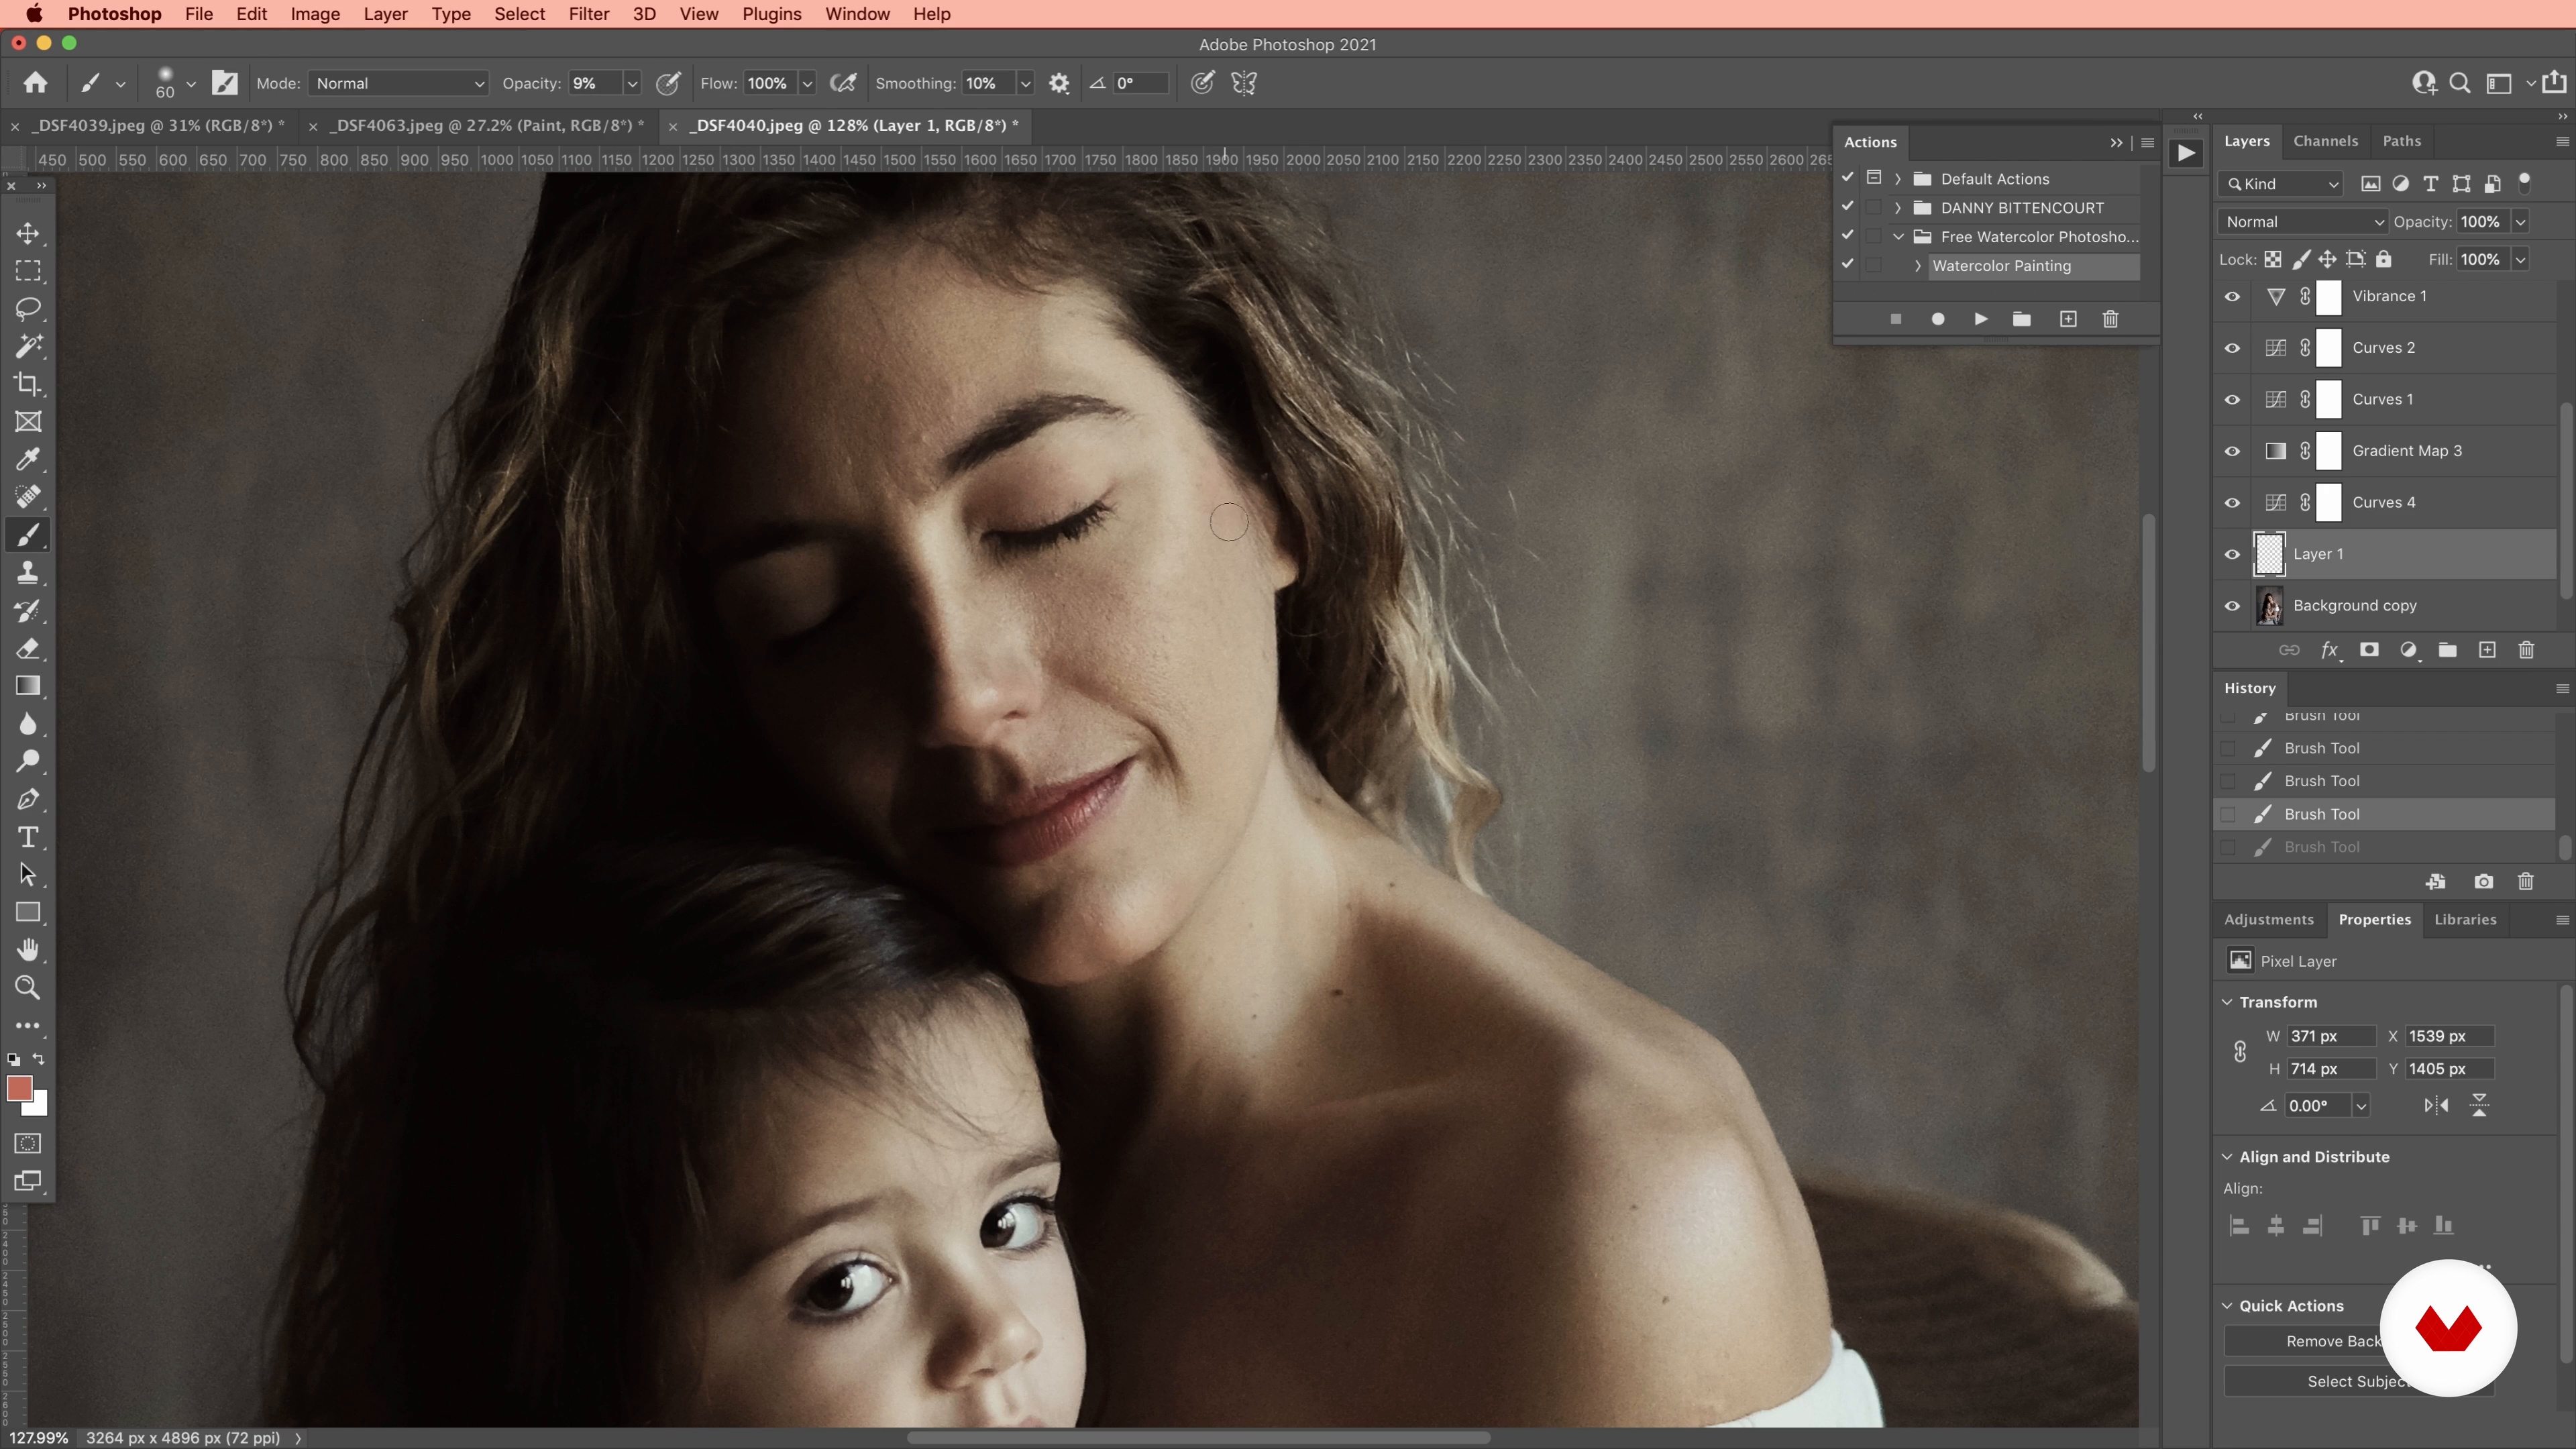
Culling and Getting Images in Photoshop
First things first, I am going to show you how I take the pictures from my photo session and look at them critically. You'll see how I choose my favorite pictures and how I create a variety in the final gallery. Next, you'll learn how to get into Photoshop your photos.
12m
image
12
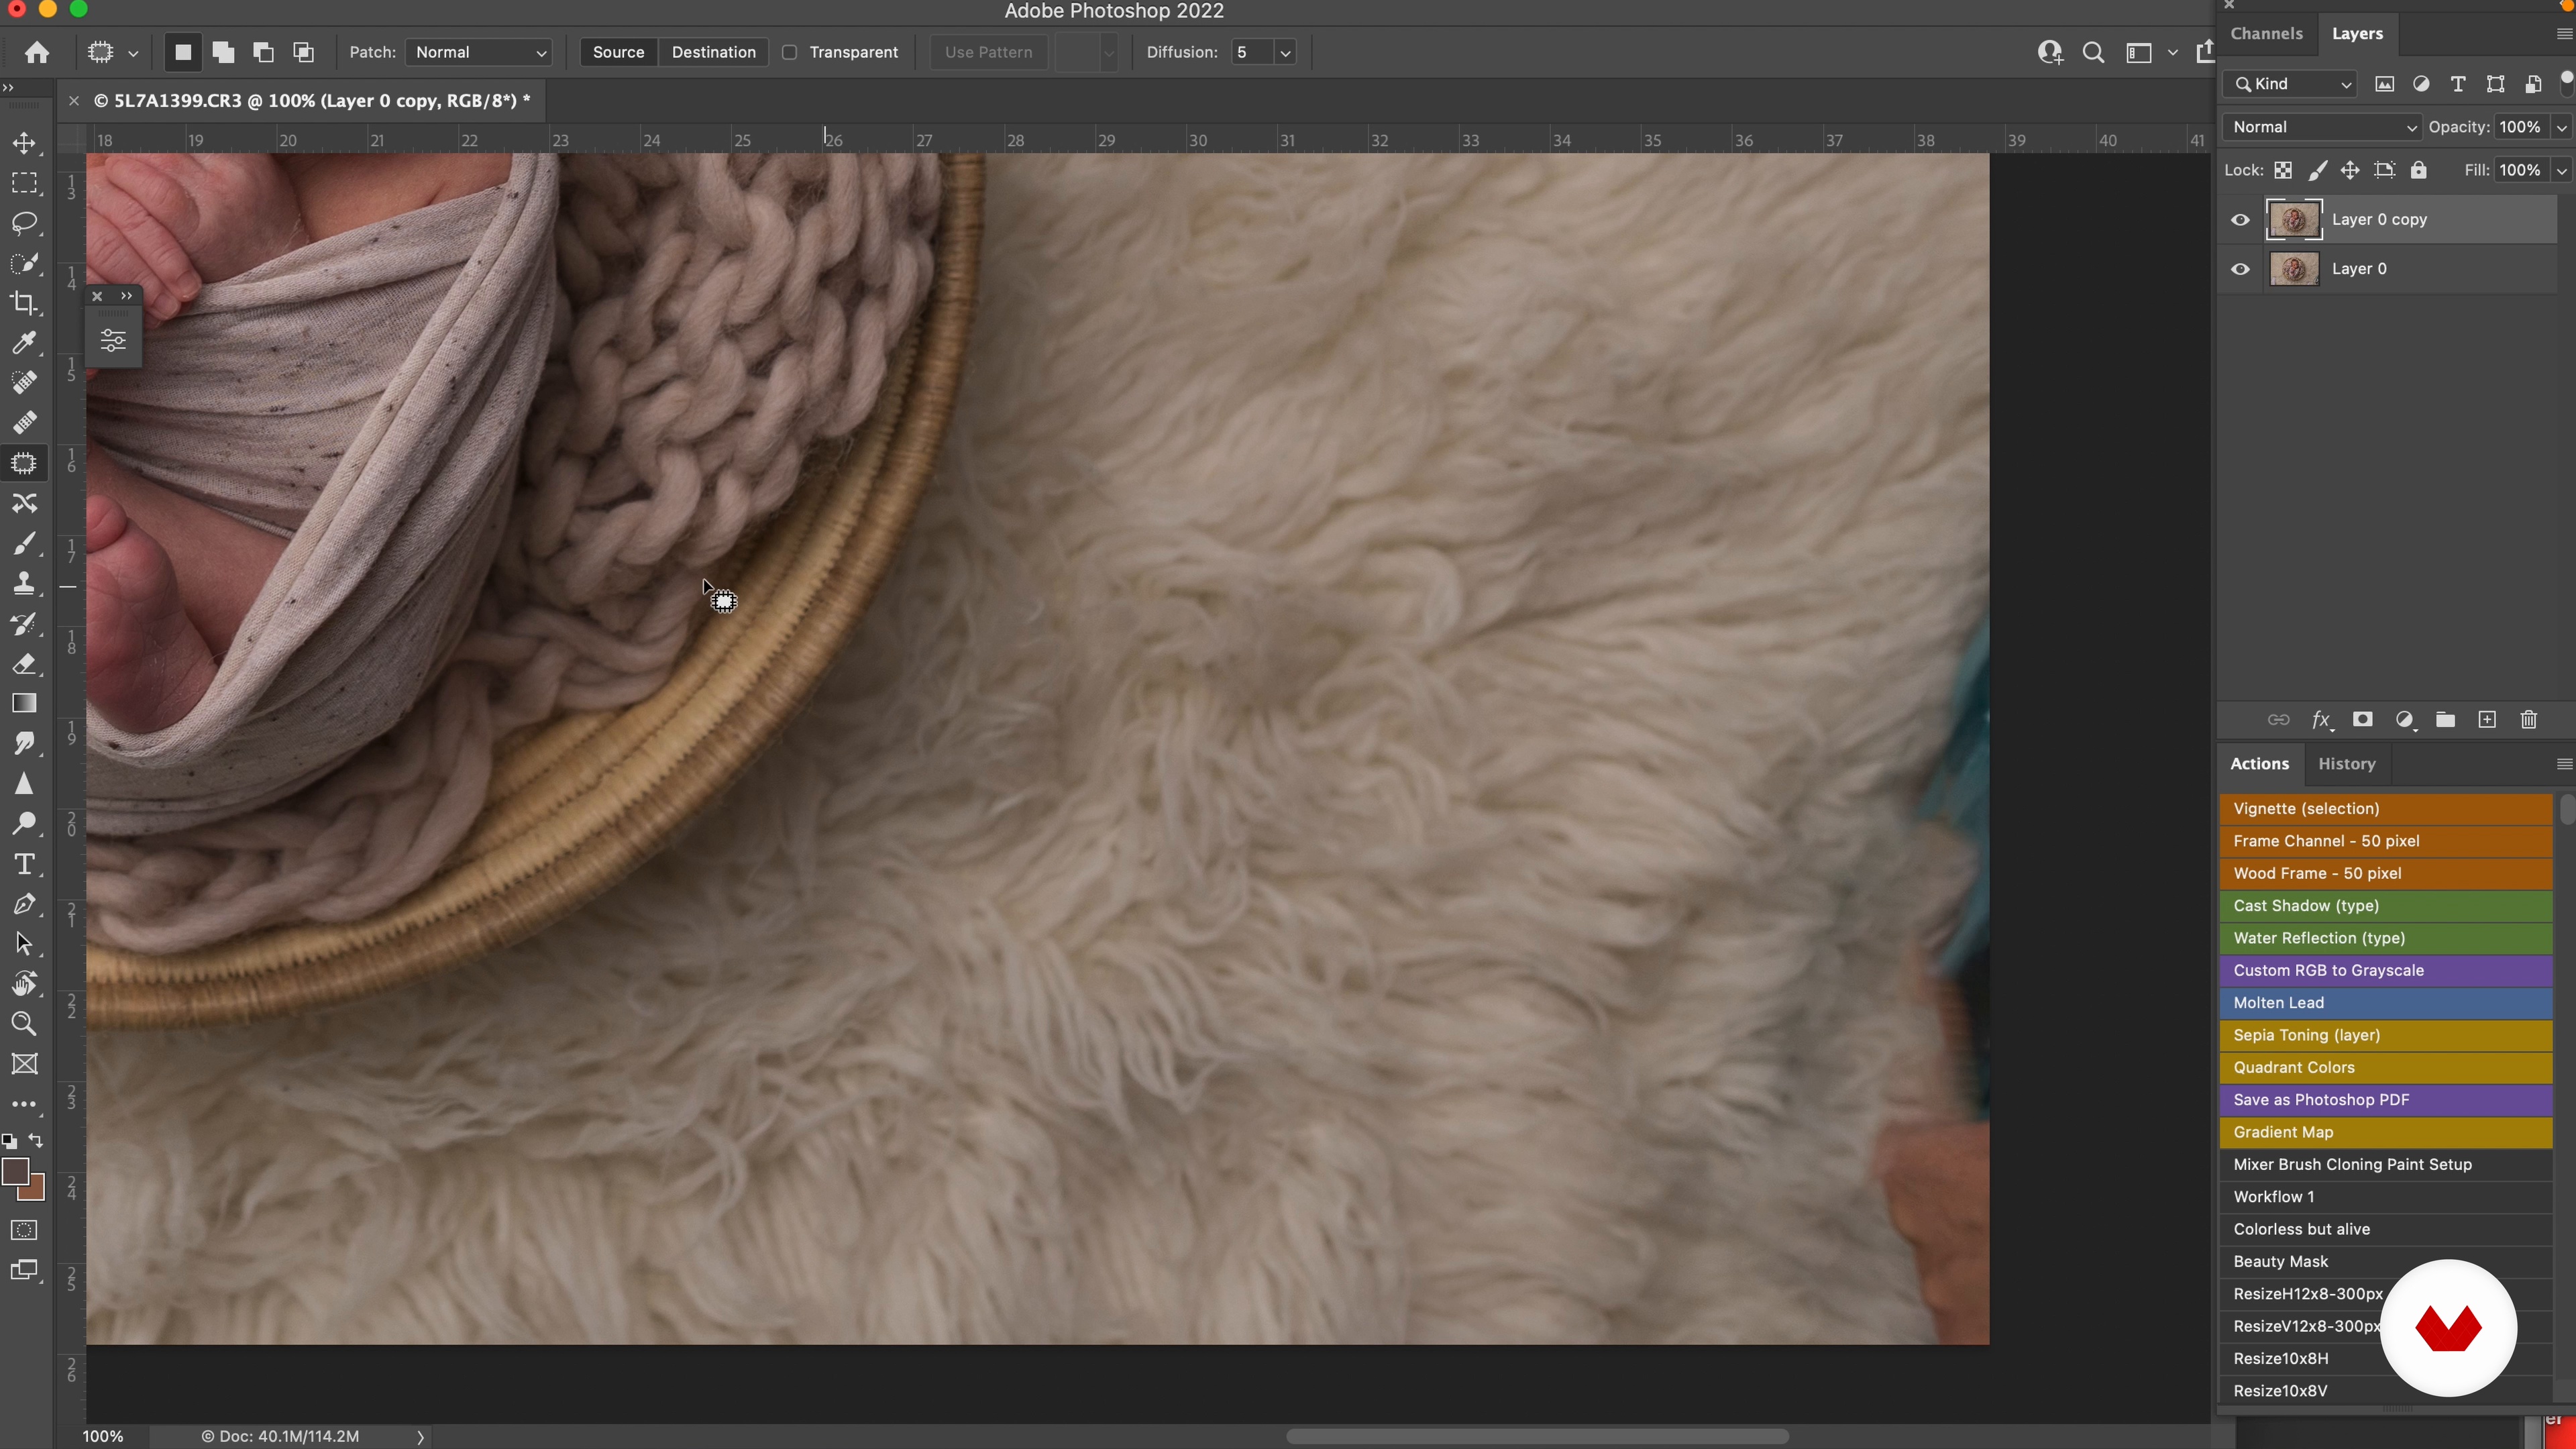
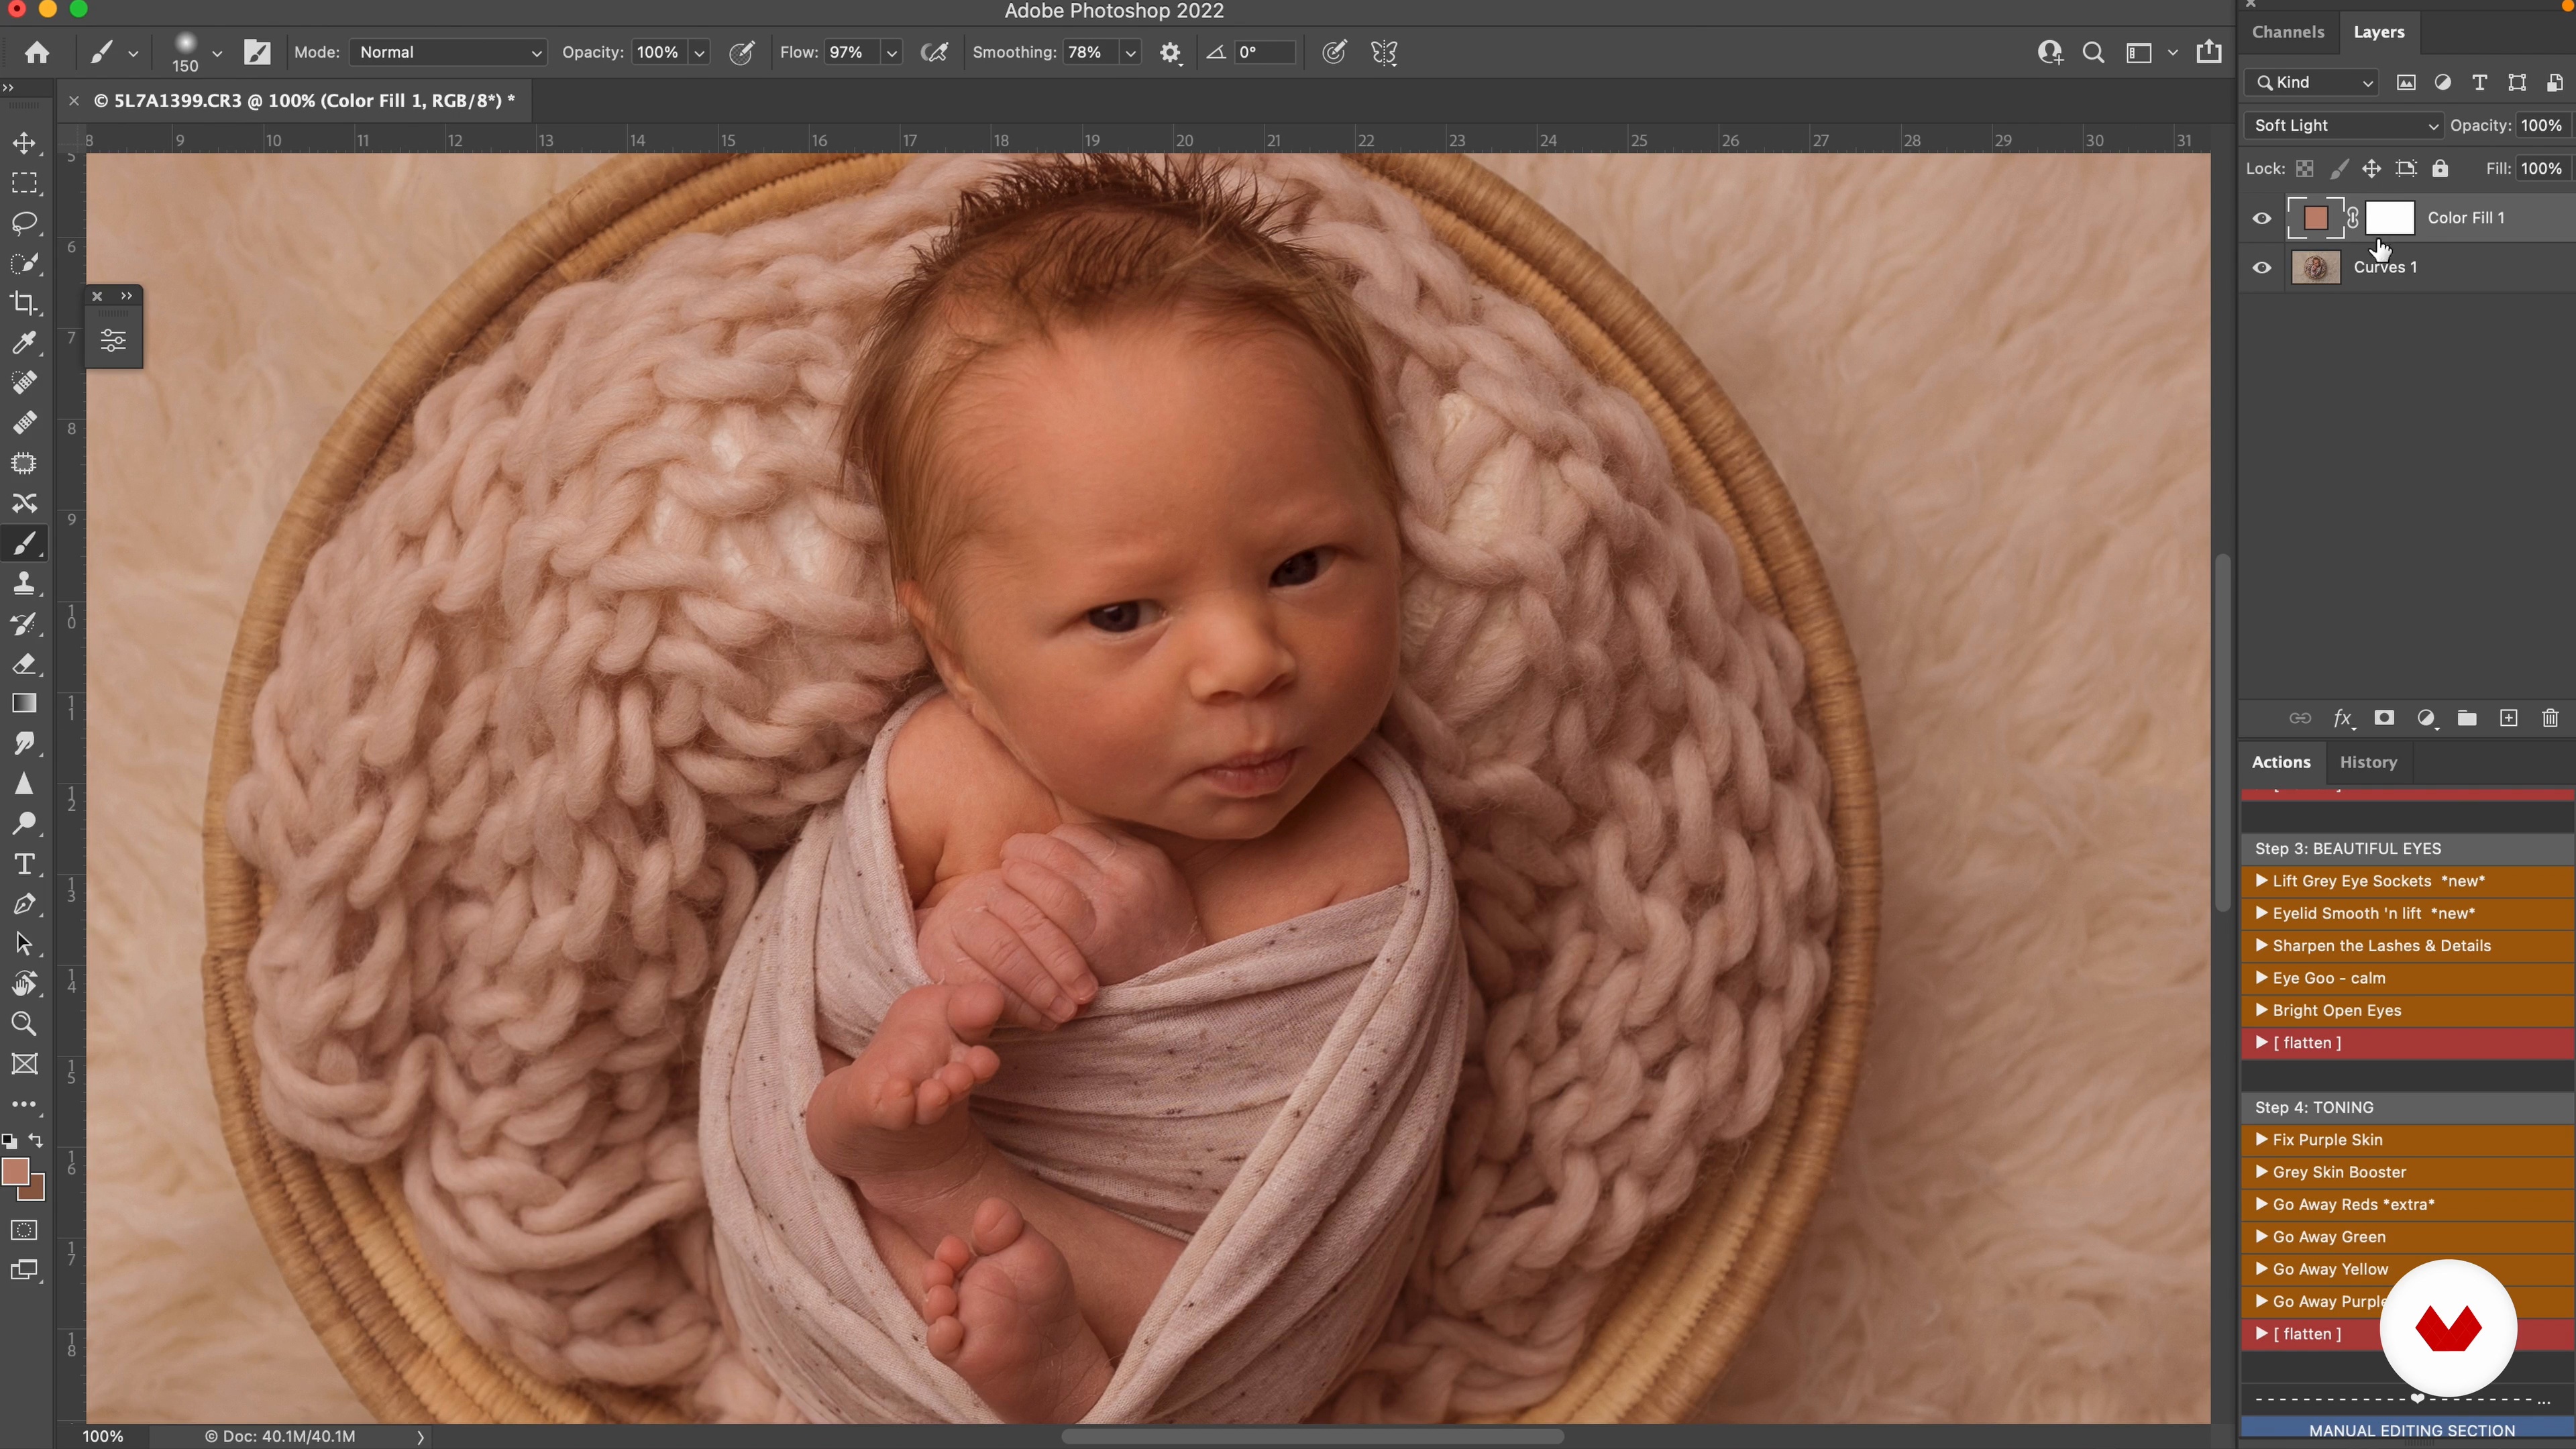
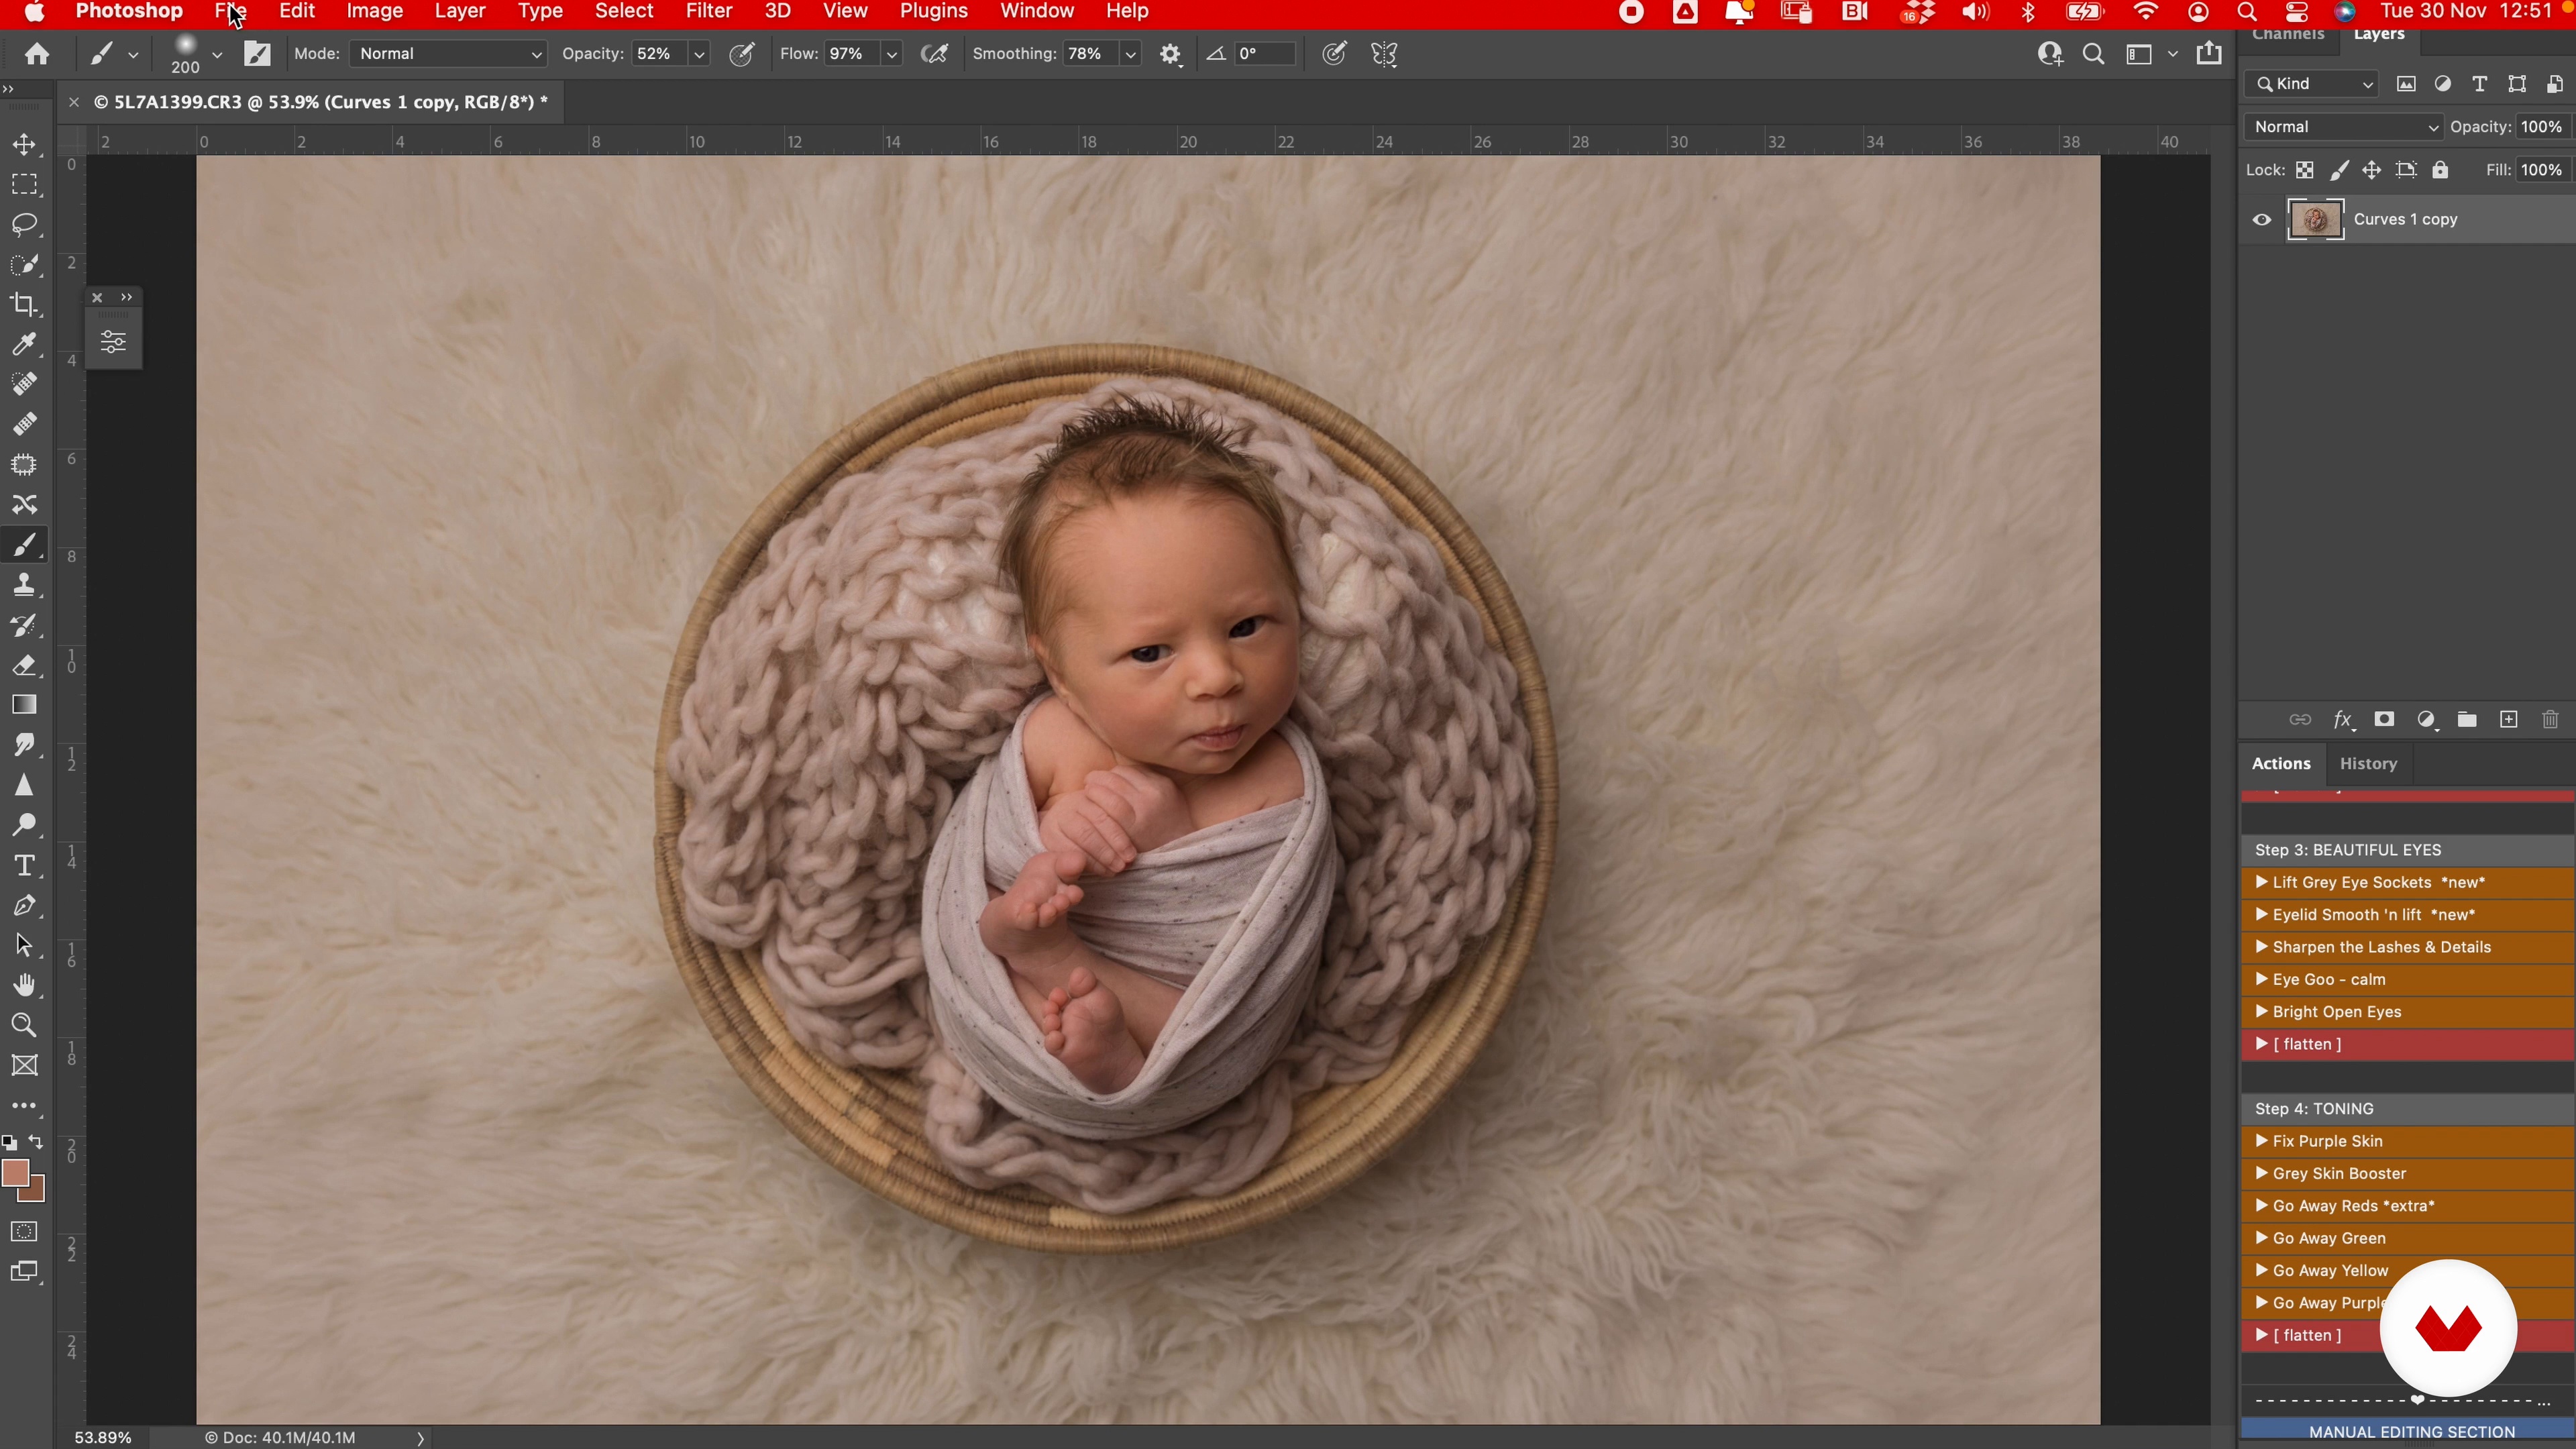
Editing: Background, Shapes and Skin Tones 1
Here, I will teach you how to start editing your images. First by working on the background and shapes.
18m
image
13
Editing: Background, Shapes and Skin Tones 2
During this second part of the lesson, I will show you how to edit the skin tones.
19m
image
14
Editing: Blemishes and Final Touches
Finally, you'll see how I retouch all blemishes and work on the final touches of each image.
13m
image
15
Sharing Your Work with Clients
For me, the work of a photographer is not finished until our images are shared and presented in a way that our clients will actually enjoy them for years to come. Therefore, I'm going to you my favorite ways to present the images to my clients.
6m
image
16
Instagram
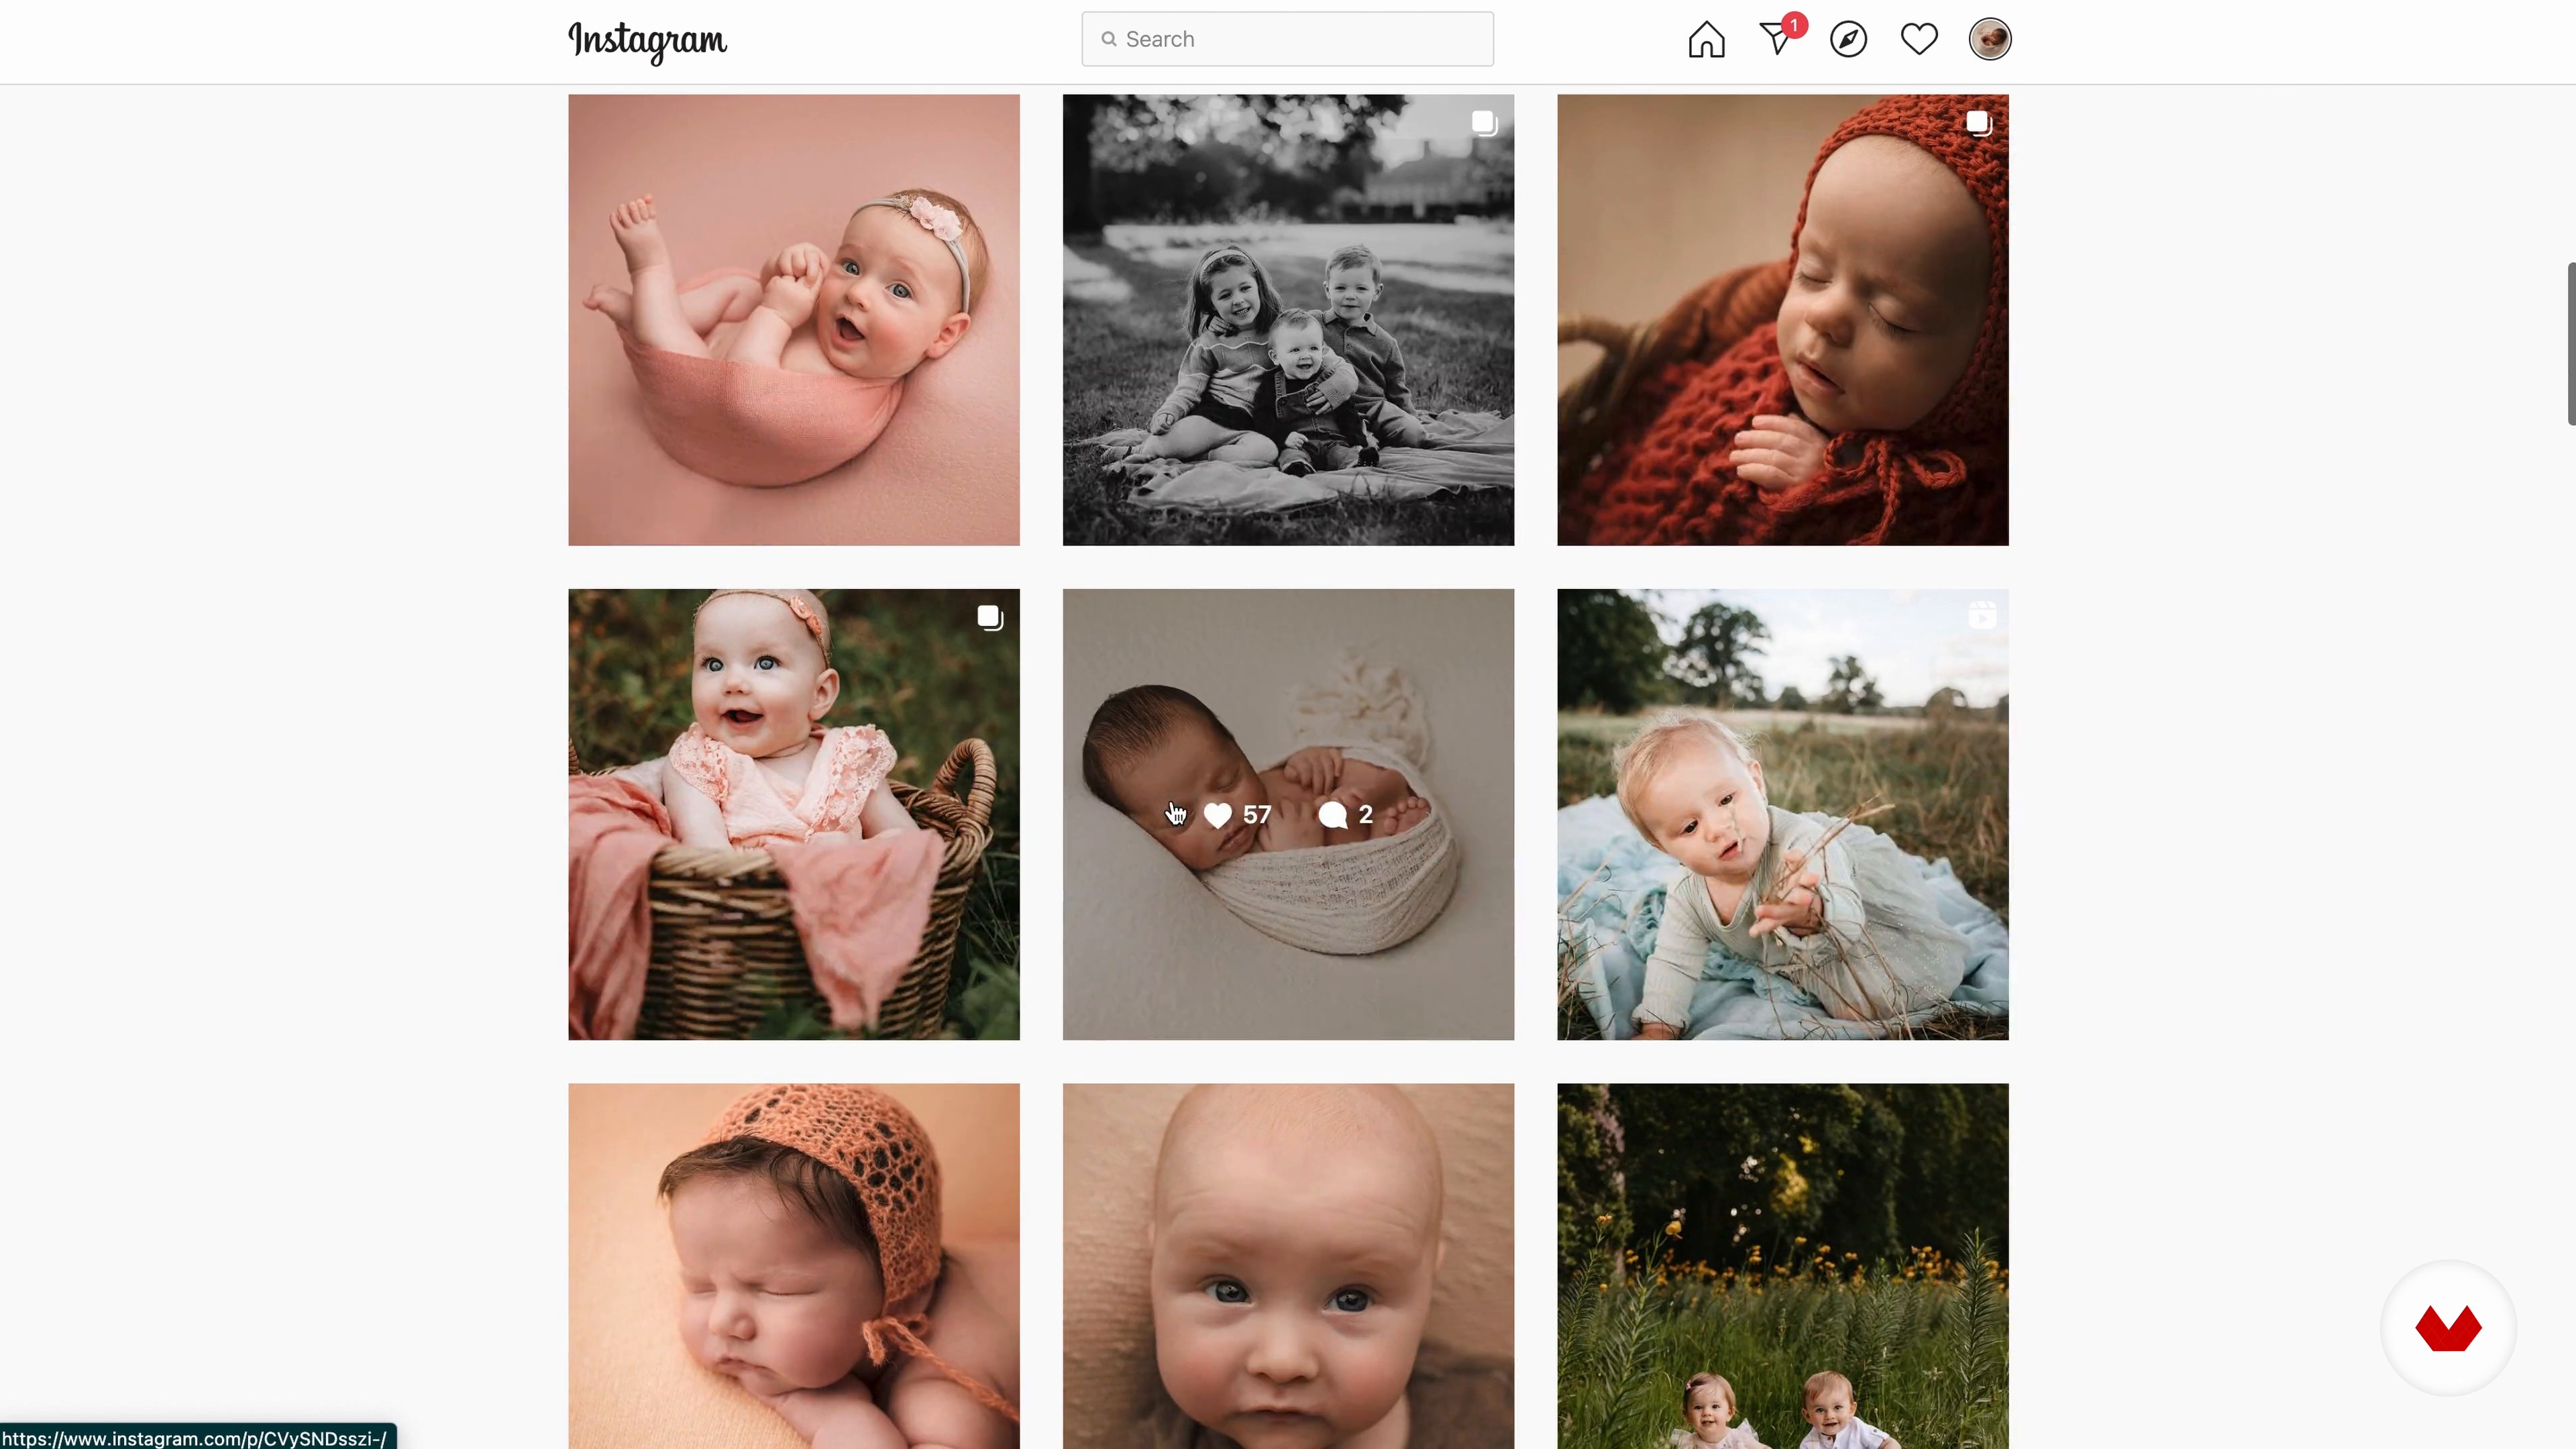
Nowadays, Instagram is a great way to get yourself out there! Here, I’ll give you tips on how to share your work on Instagram and increase the chances of getting inquiries on the platform.
6m
image
4
How to work with dogs
The first thing we have to bear in mind when working with dogs is that they do not understand what is happening, we cannot guide them as we would with people, since they can reach points of stress or overwhelm in which the session will have to end for the sake of the dog. So our best ally will be patience, above any technique, trick or advice. Patience has to be our philosopher's stone.
4m
image
5
Choose a style
Choosing, although a priori may seem somewhat negative due to the limitations it entails, in the long run it will make our photos have a very specific style that will draw more attention to those who see them. It will help us to work faster mentally, we will locate better and we will achieve a homogeneous style.
14m
image
6
Mood board or inspiration
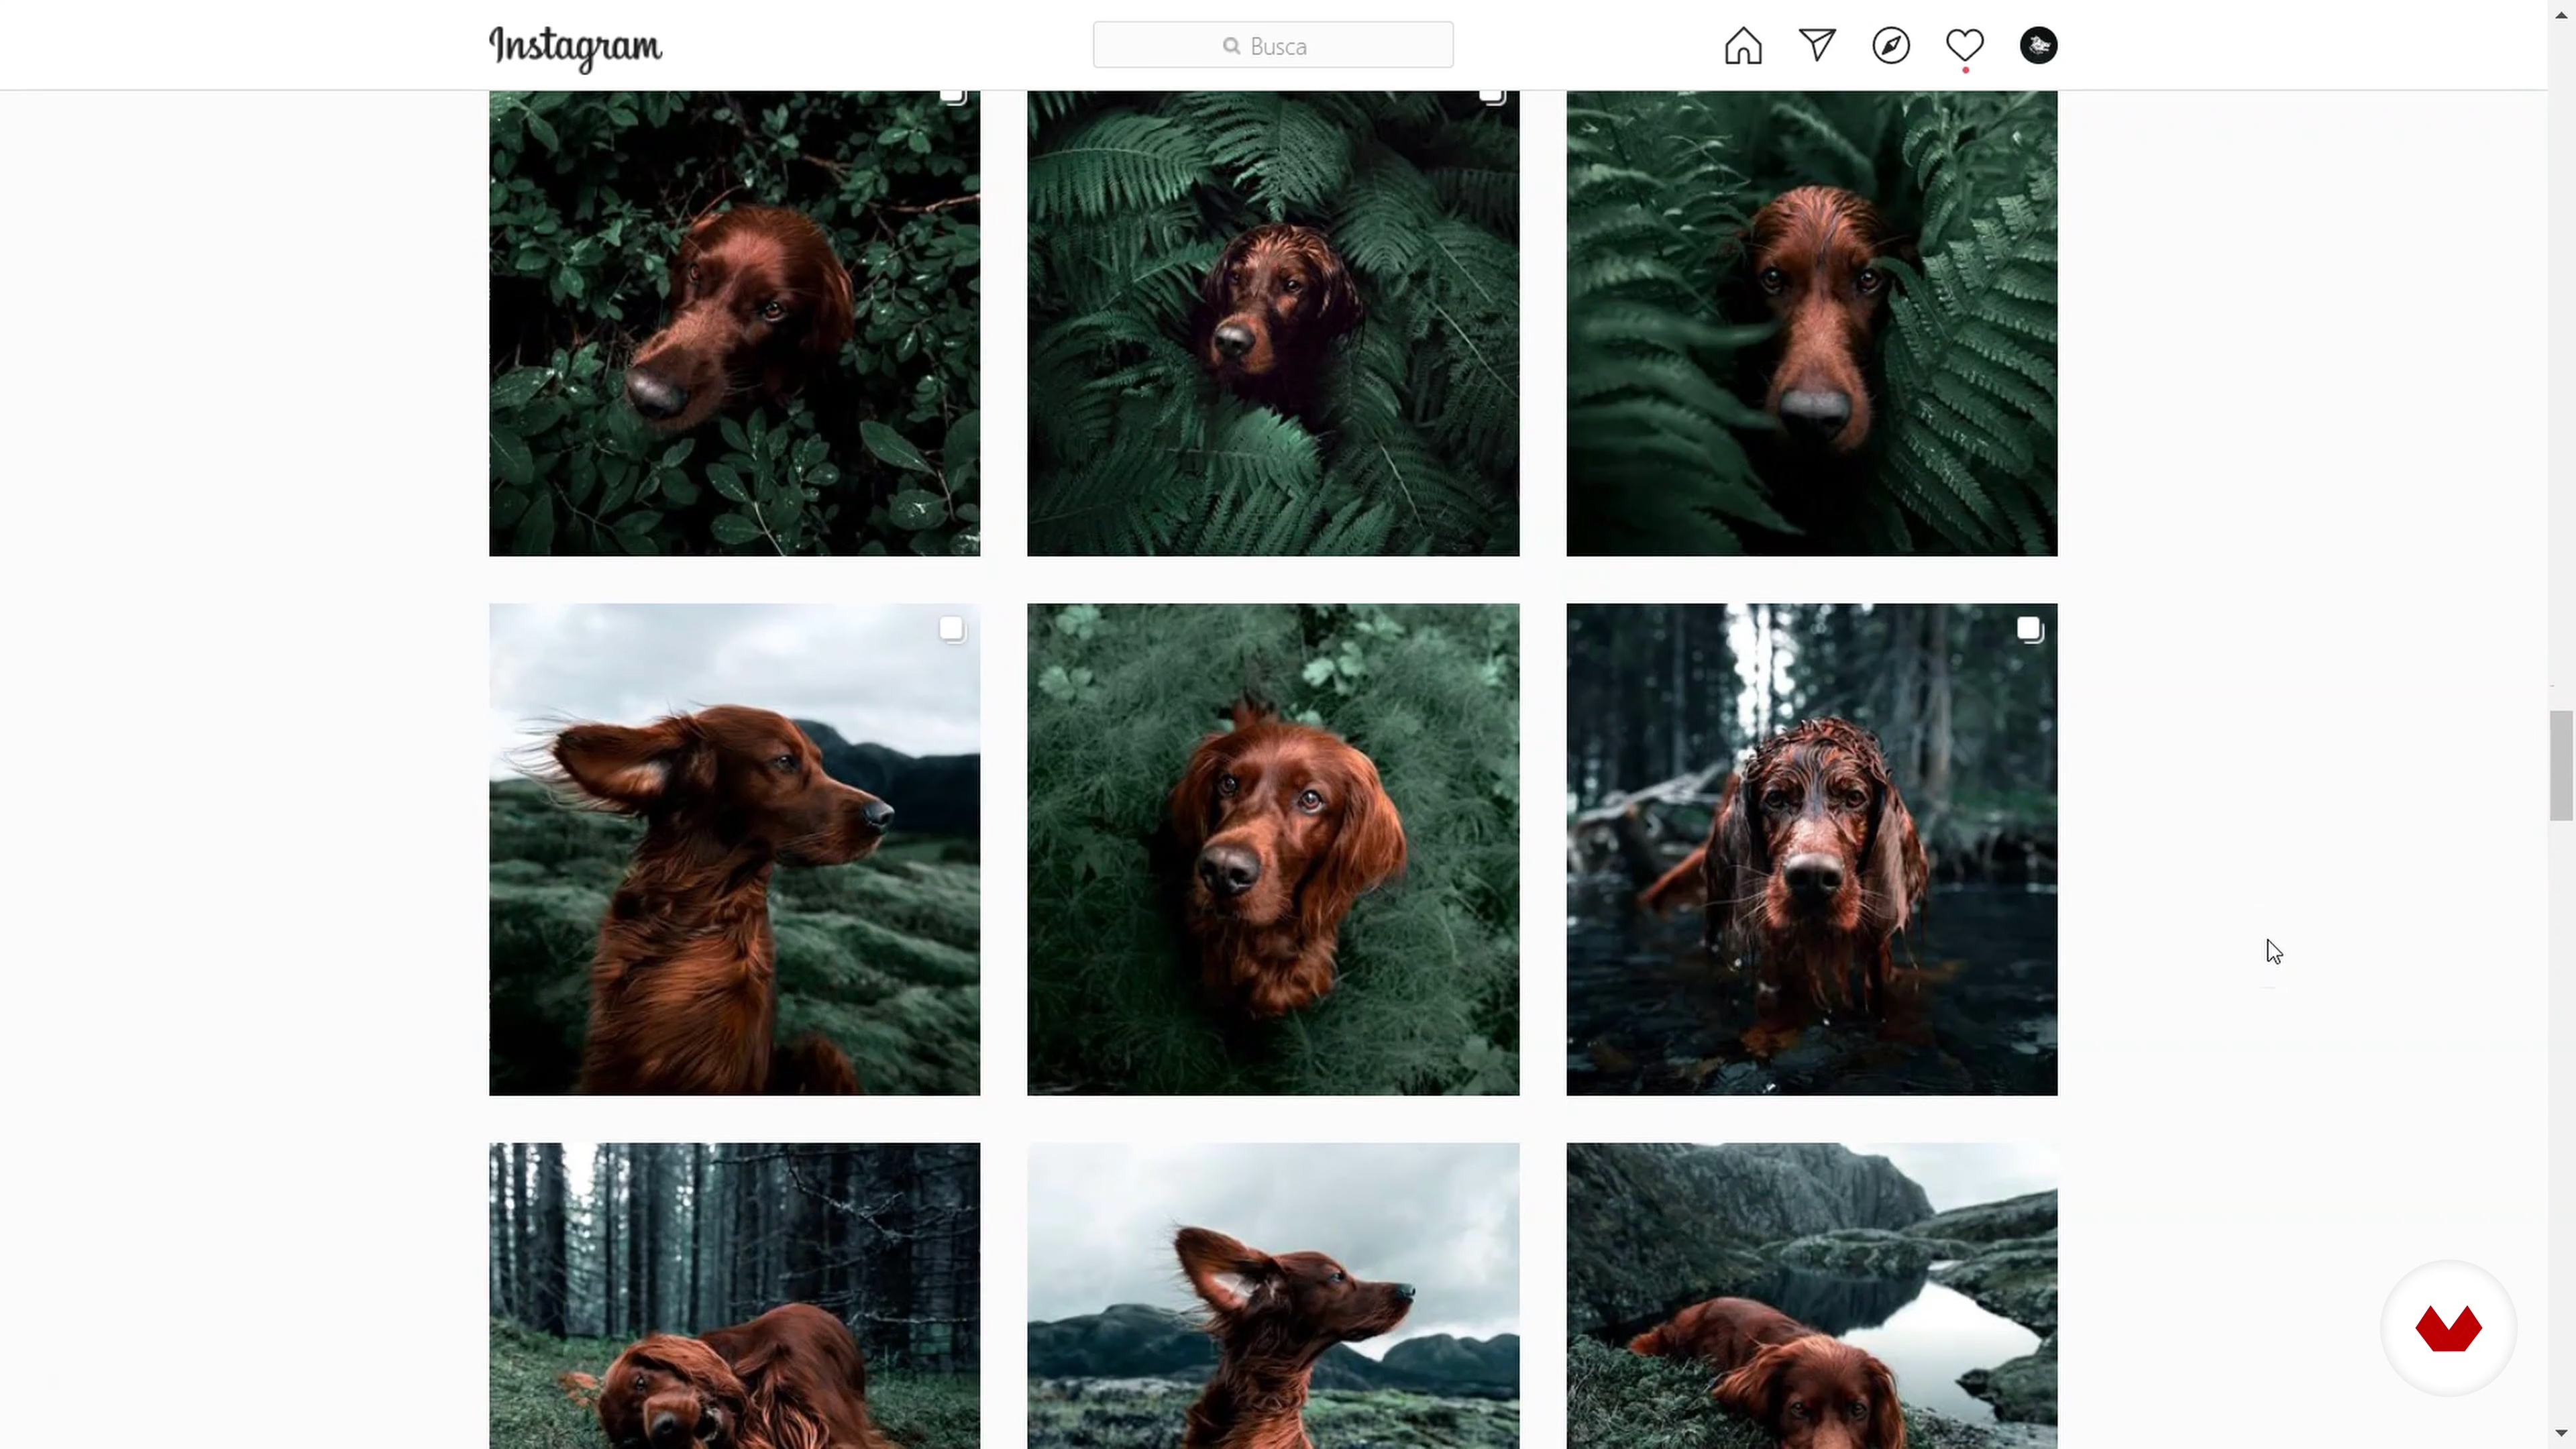
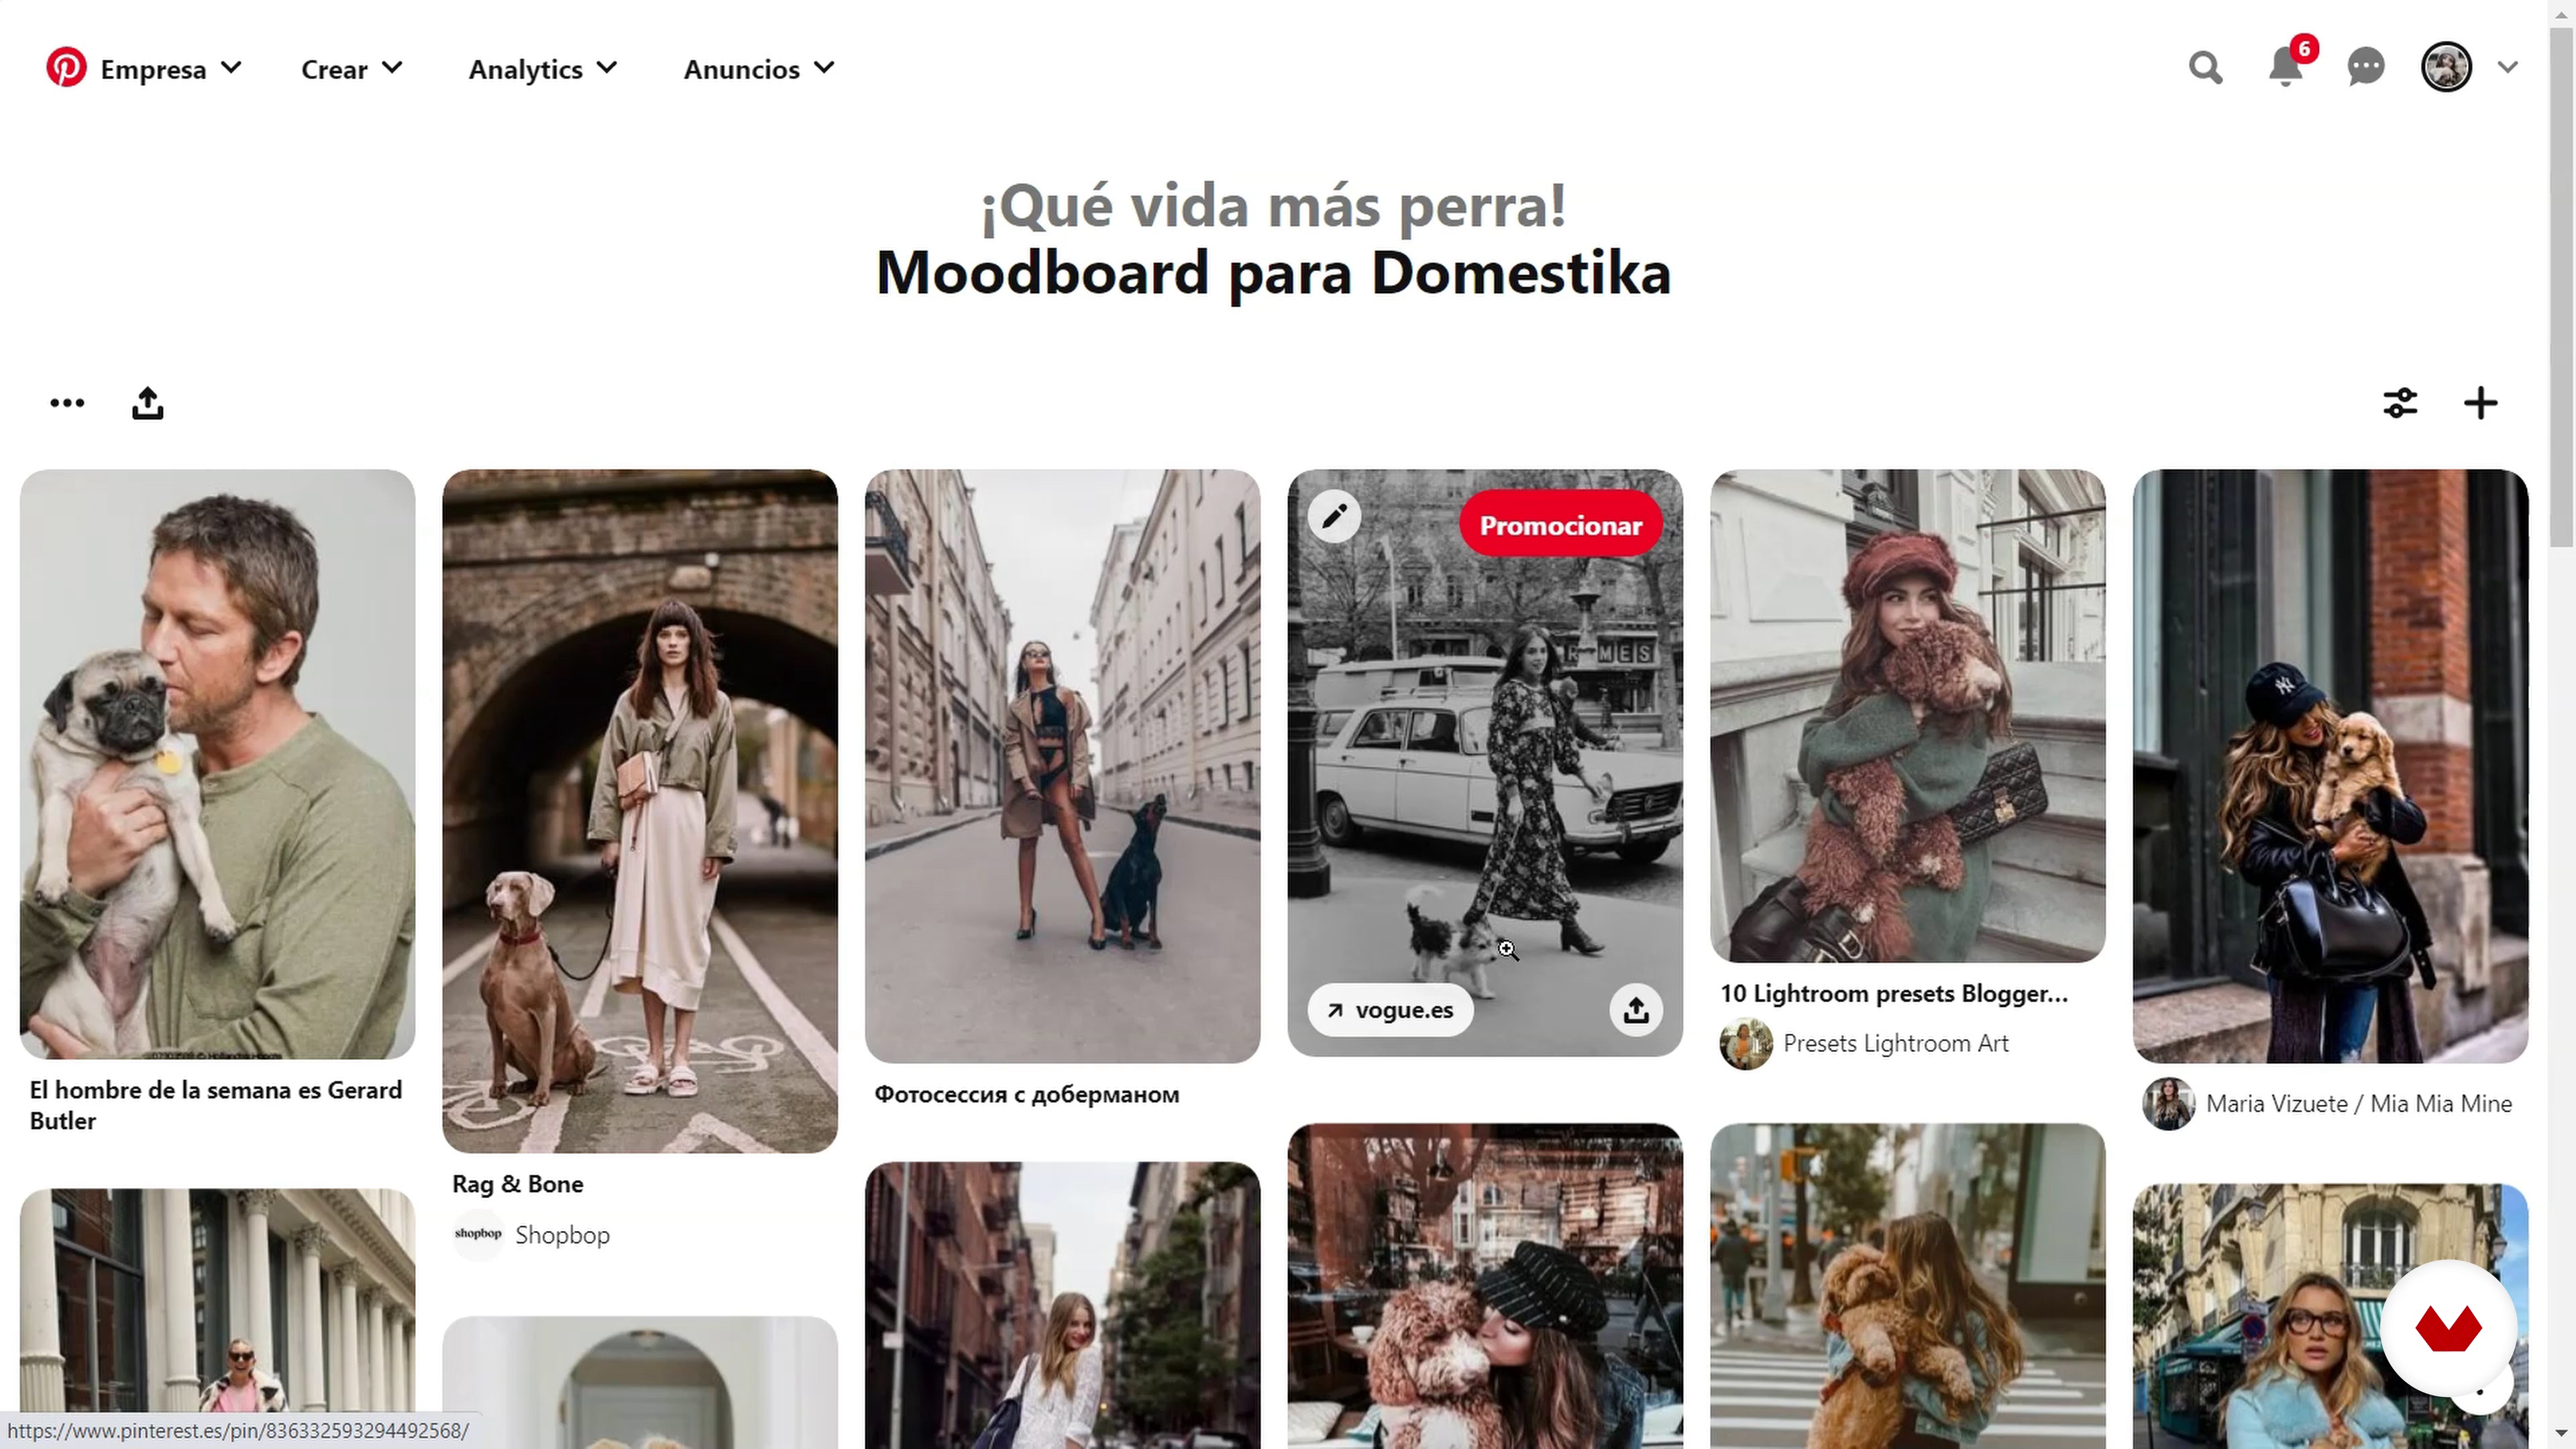
For me, preparing photos before shooting is more than 50% of the final result. Do a job of localization, inspiration, create mood boards … All of this will be our guide to get not only the photos we want, but also to be able to do them much faster to be able to squeeze time with our models while maximum. Once we have chosen the type of photo we want to take based on the type of light, location and colors, we can get down to work searching through the net for photos that adapt to what we have in mind and with which we can be inspired and encourage us to try new things. Pinterest and Instagram are for me the biggest sources of inspiration in which I find new ideas that do not always come from colleagues. Couple and wedding photography is one of the greatest sources of inspiration for me, from which I get ideas for frames or natural poses in which to capture the relationship between dogs and their families. Nowadays, Instagram is full of dog profiles from which you can surely get many ideas to photograph your dog.
13m
image
7
Materials and how to prepare the camera
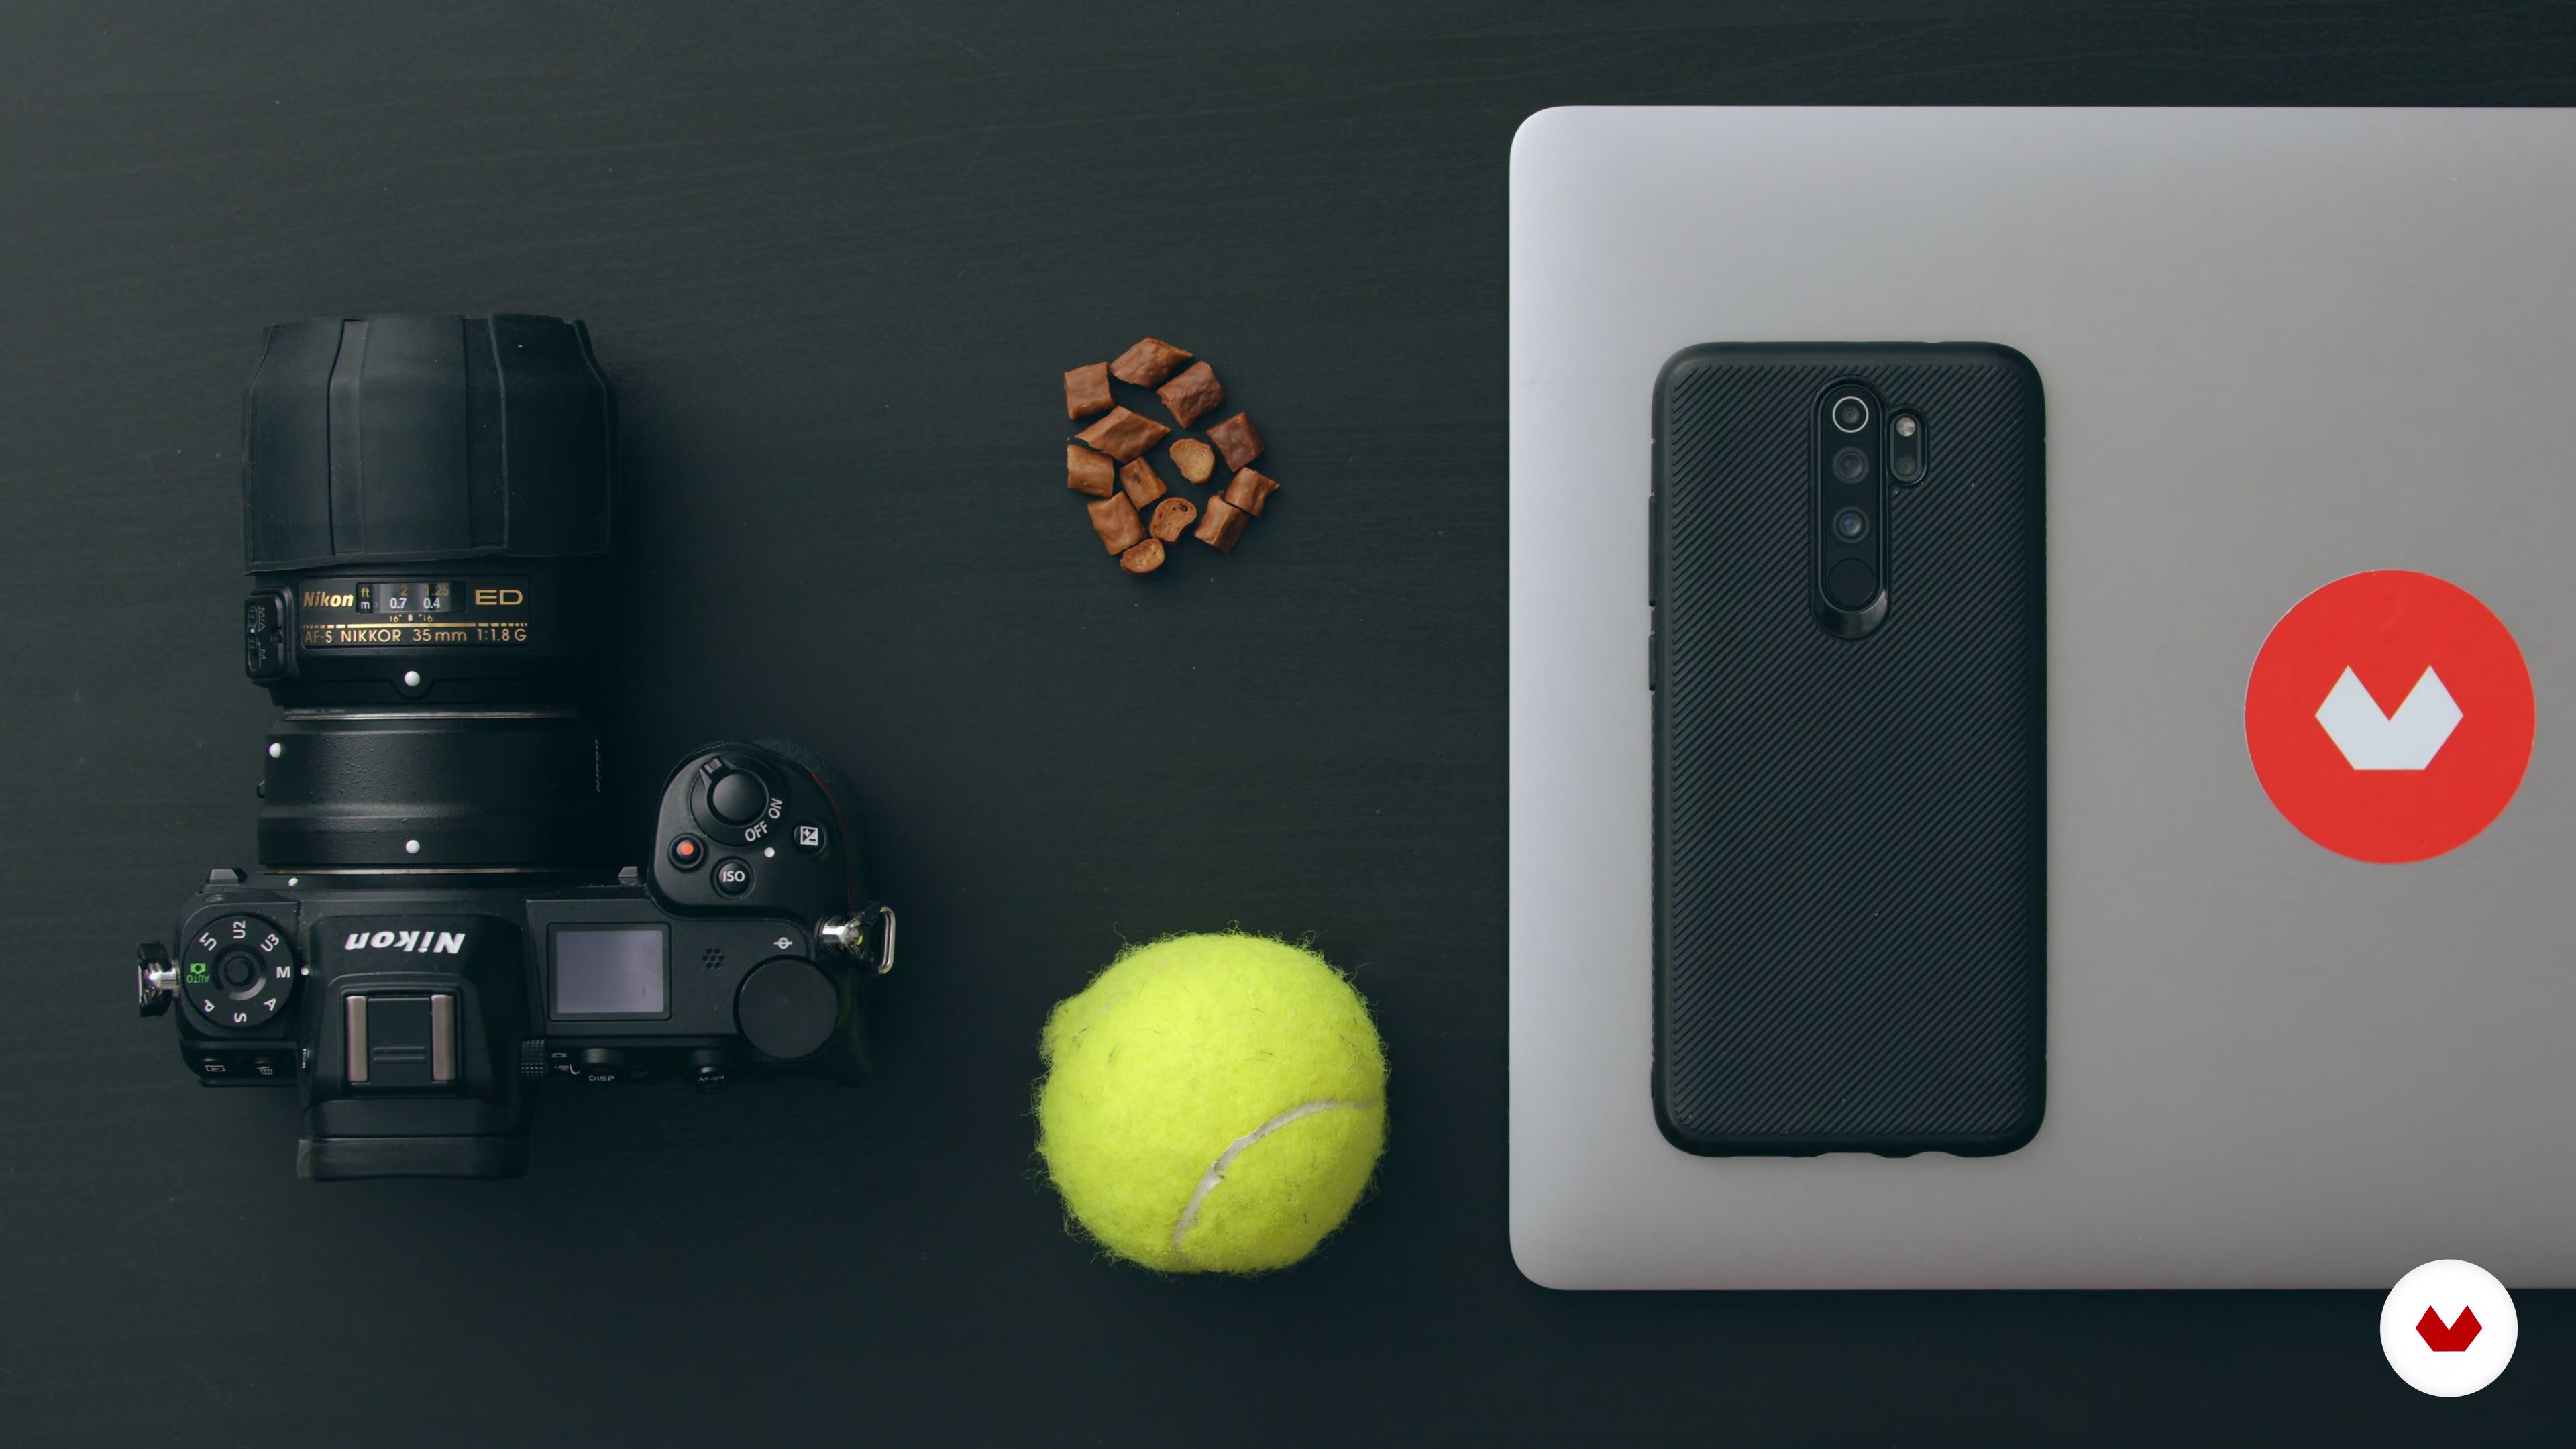
In this lesson we will see what materials we need to do the course. All you will need is a camera or a mobile phone, a toy or trinkets for the dog, and a computer to edit the photo.
6m
image
8
How to choose the type of light
In this lesson we will talk about how to choose the type of light that best suits our photo session style. We will also see what type of light favors dogs the most, light sources, where it comes from ... I always work with diffused light and as white as possible. A diffuse light is a light that does not generate shadows or contrasts (light from clouds). If you are at home and you want to take photos and it is sunny, by throwing the white curtain that is not too thick or too thin, it can serve as a natural diffuser. And if you are on the street and it is sunny, look for shade or cloudy days. Thus, you avoid that the color of your coat changes, that the human comes out with his eyes open ... Never use artificial light or flashes, if you are at home, turn off all sources of light that are not natural.
11m
image
9
Framing
We are going to talk about the considerations of the framing when taking the photos (height, tricks for the dogs to look at the camera, different planes, create situations ...). Remember to always go down to eye level. We will see how to make him look at you, how to find the perfect frame by moving a little, moving the dog, if the dog is small, hold it in your arms ... We will also review how to work with different sizes of dogs. Always look for originality.
7m
image
10
Indoor dog
The first thing we will do when we have chosen the location in which to take the photos is to find the source of natural light. We will adapt the doors or windows through which the light that will illuminate the scene enters, depending on the type of light there is, whether it is direct or diffuse. If it is direct, we can make it diffuse with a not very opaque white curtain that does the job for us. Afterwards, we will turn off all the artificial lights inside the room so that it does not contaminate the color of our photos. The next thing will be to clean the scene of all those elements that do not adapt to our color palette or that make the protagonist of the photo not the dog. If we do not get a clean background, we can always use tablecloths, for example, that provide us with that neutral background.
6m
image
11
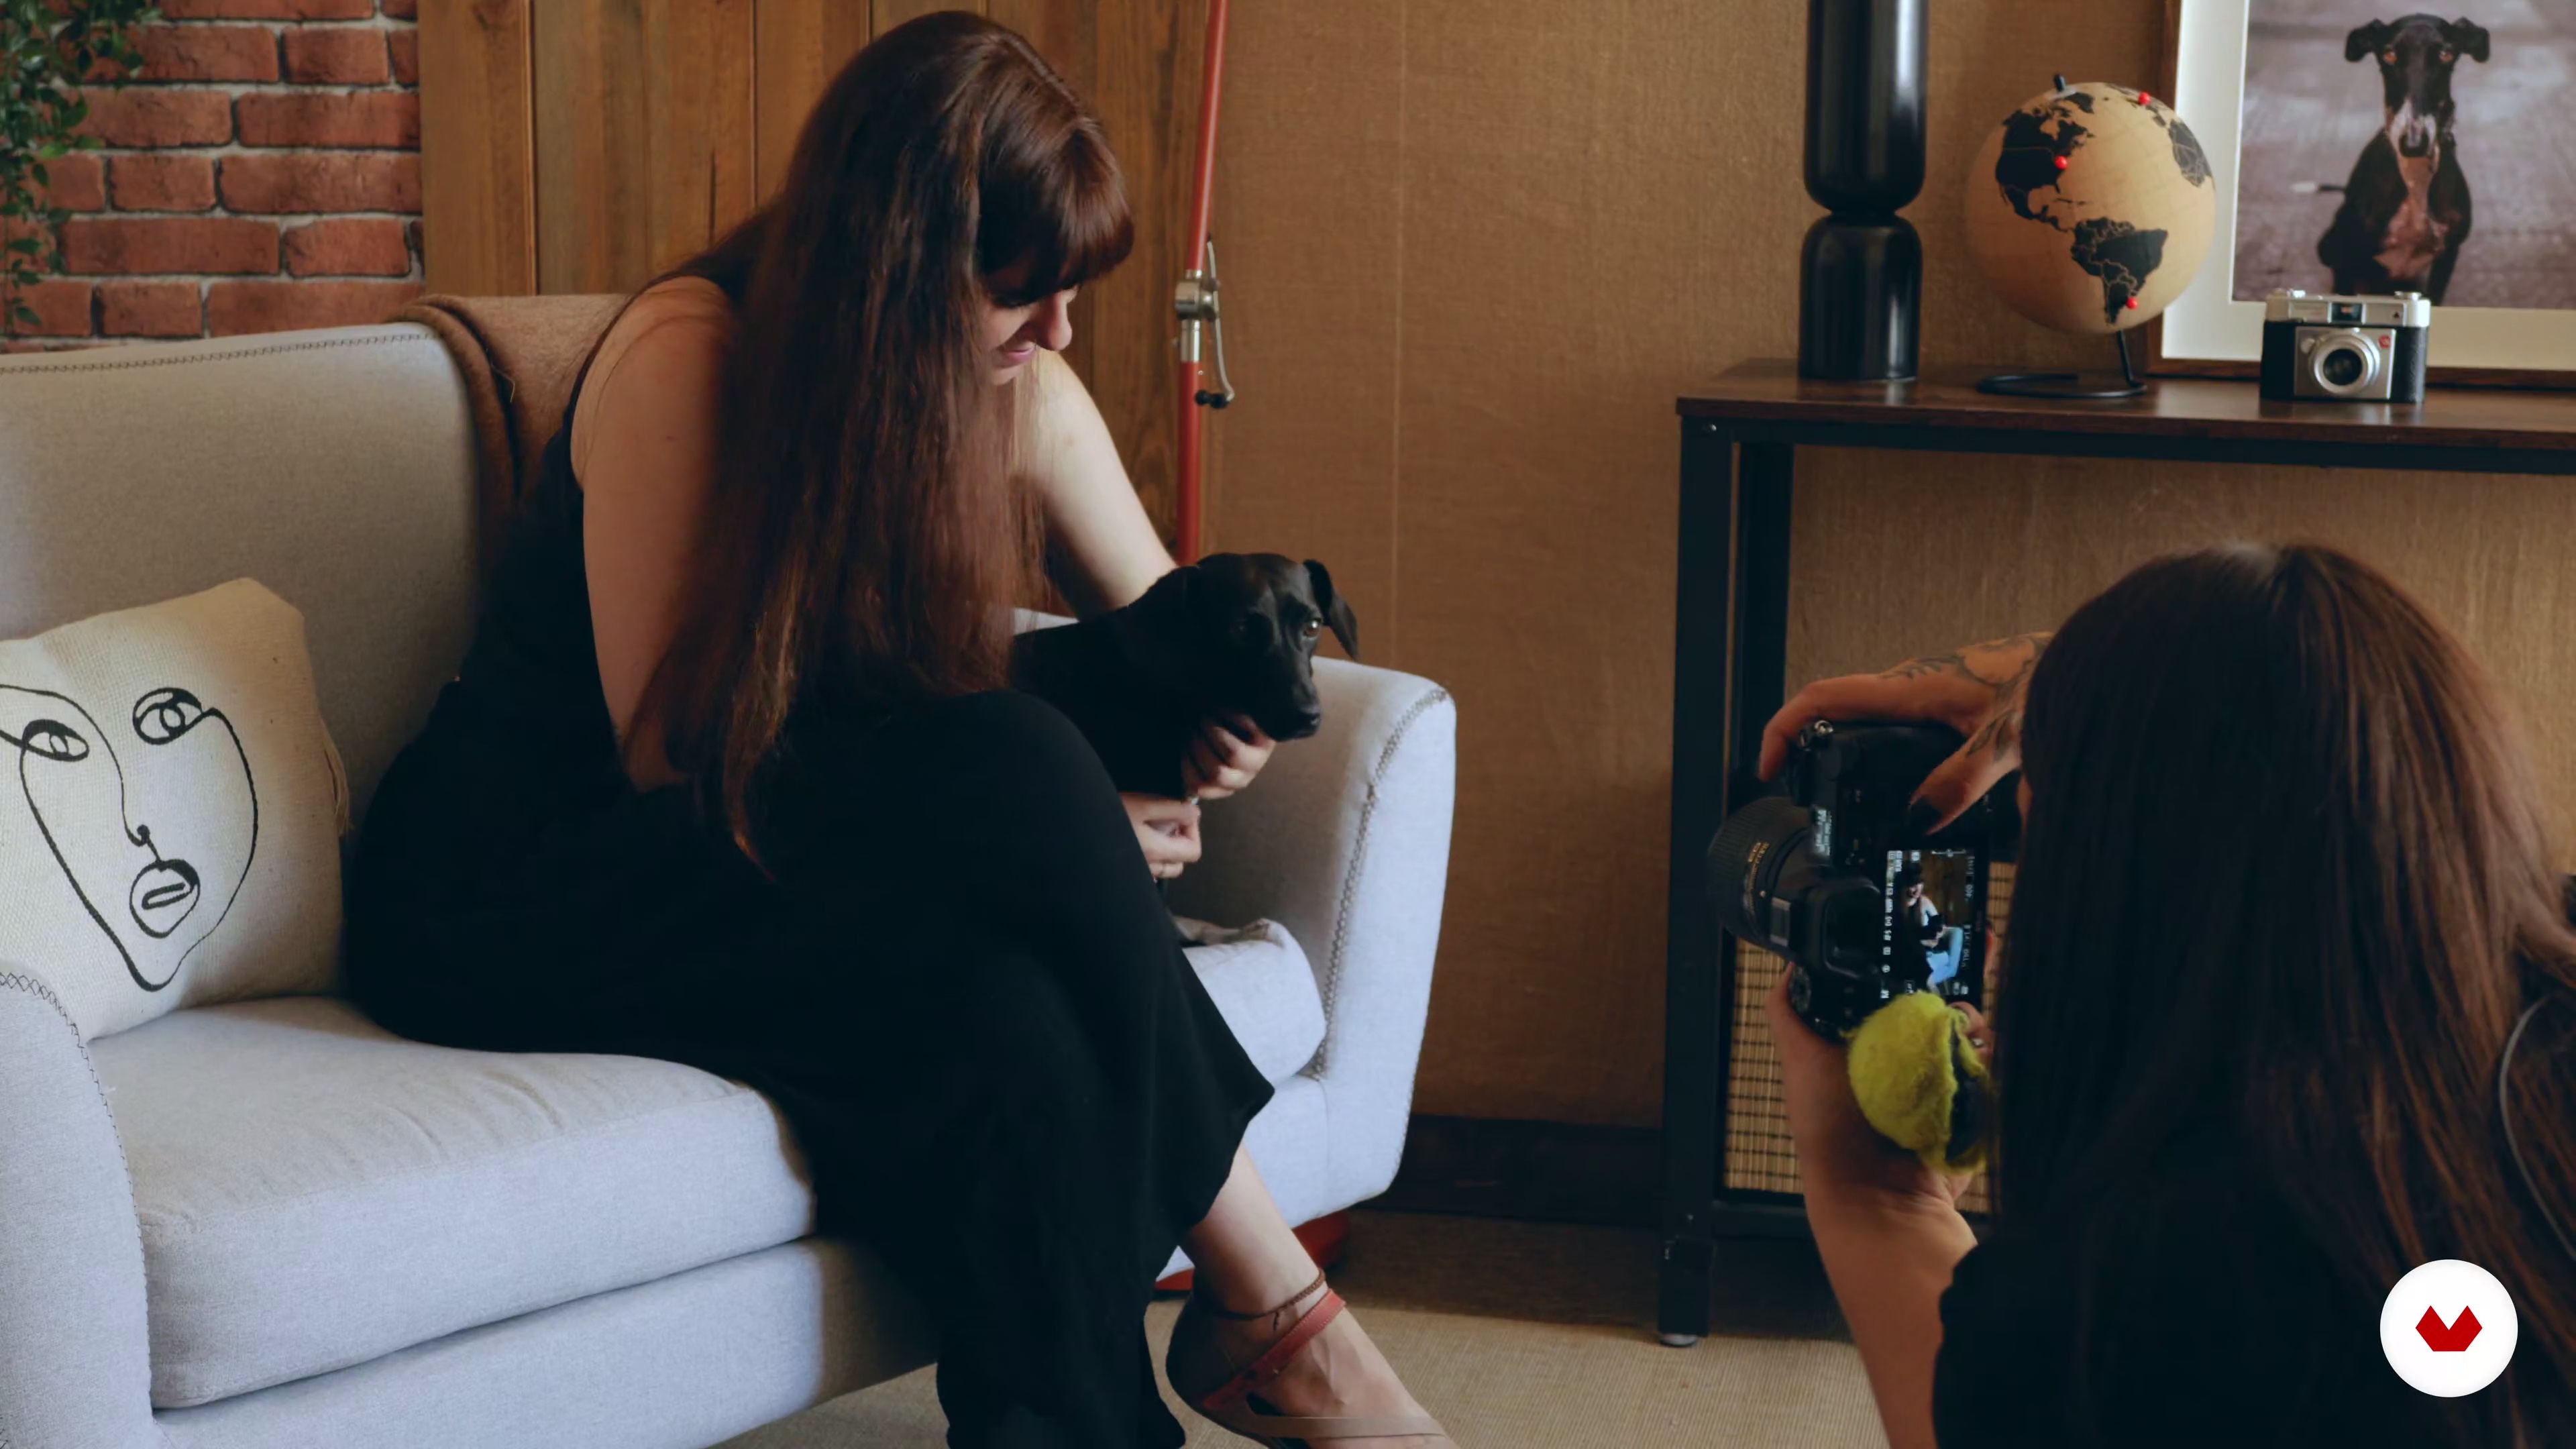
Dog plus inner person
After preparing the scene and looking for the light as in the previous lesson, we will talk about how to get different frames taking advantage of the fact that we work with a person who can help us with the handling of the dog.
10m
image
12
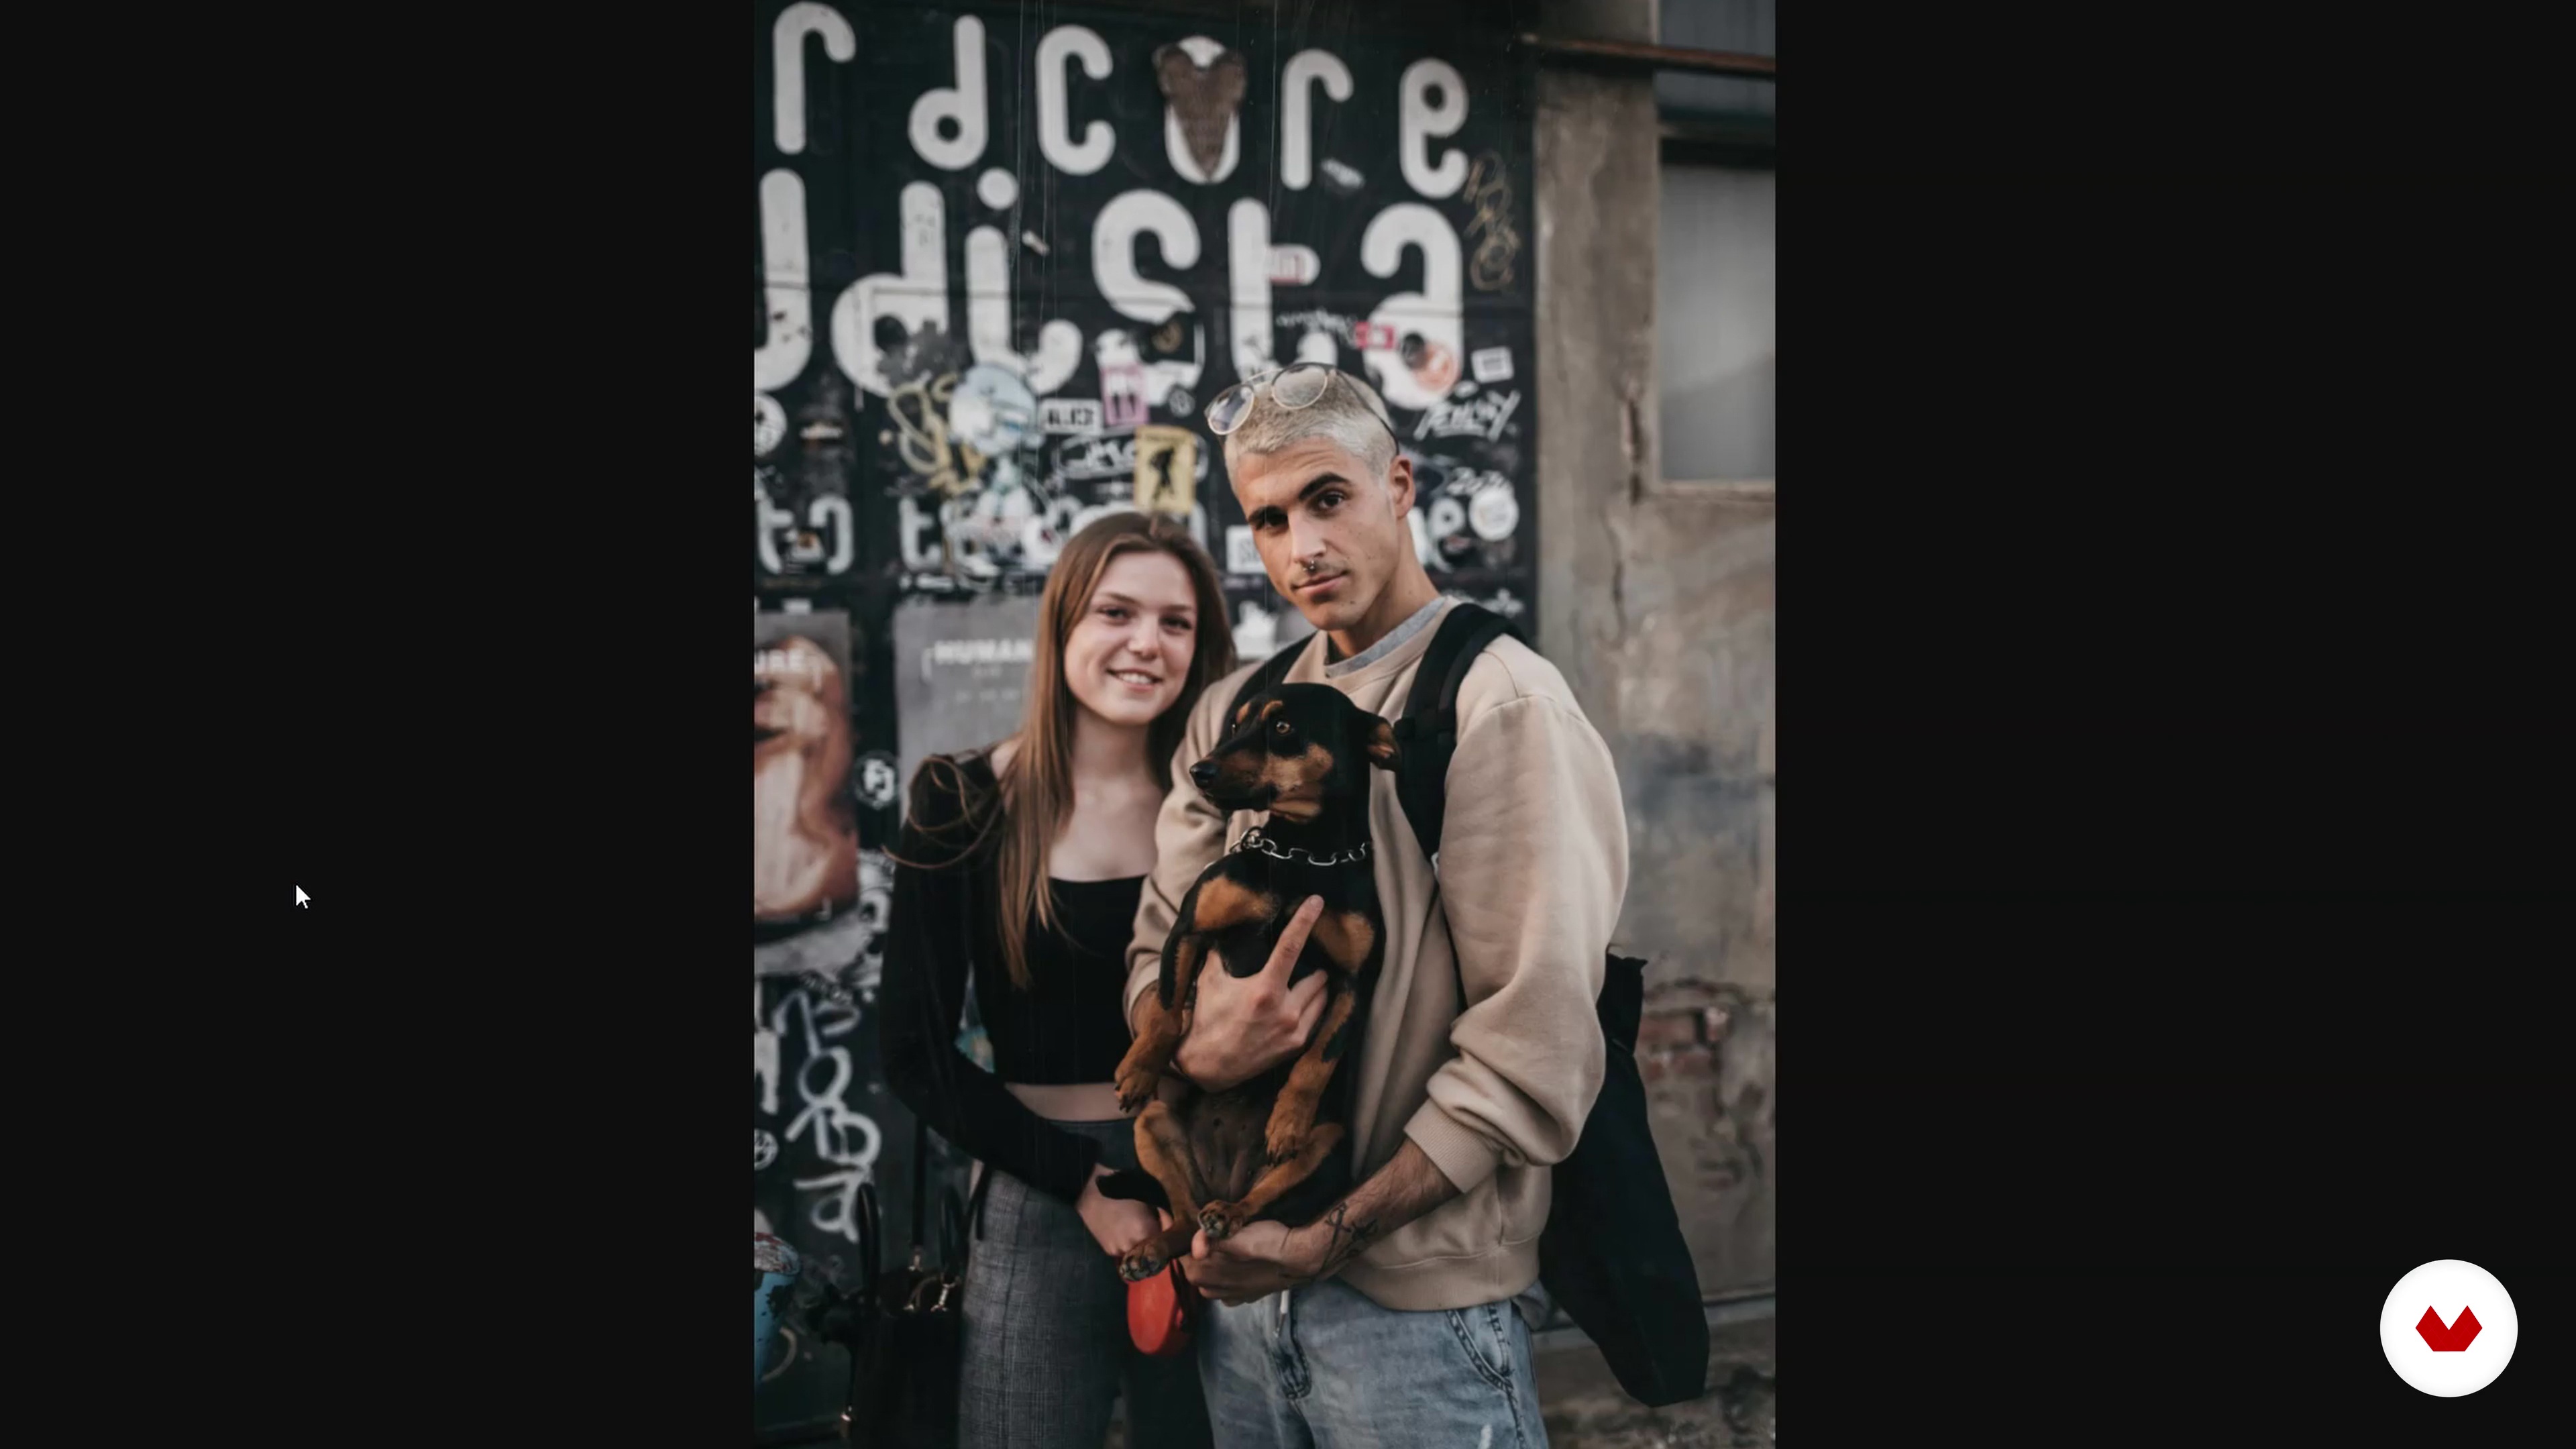
Street style
The street style that I work requires observation and a very quick reaction capacity. When we see the person and the dog we have to assess whether the background, the clothing and the light with which we find ourselves fit our style. If everything works, I observe if the person on the other side of the leash shows signs of not being in a hurry or if they may feel like having their photo taken. If so, I walk up to and interact with the dog. If the dog reacts well, I start a conversation with the person who is accompanying him and ask him if I can take a photo of them, explaining that I am a professional canine photographer. From that moment, in just 30 seconds I have to have the photo taken, so framing and shooting has to be something very fast. I don't like to disturb, so I never ask them to move from where they are if it is not more than three steps so that the background fits my style. Once the photo is taken, I show it and give them a card so that, if they want the photo, they can write to me to send it to them.
4m
image
13
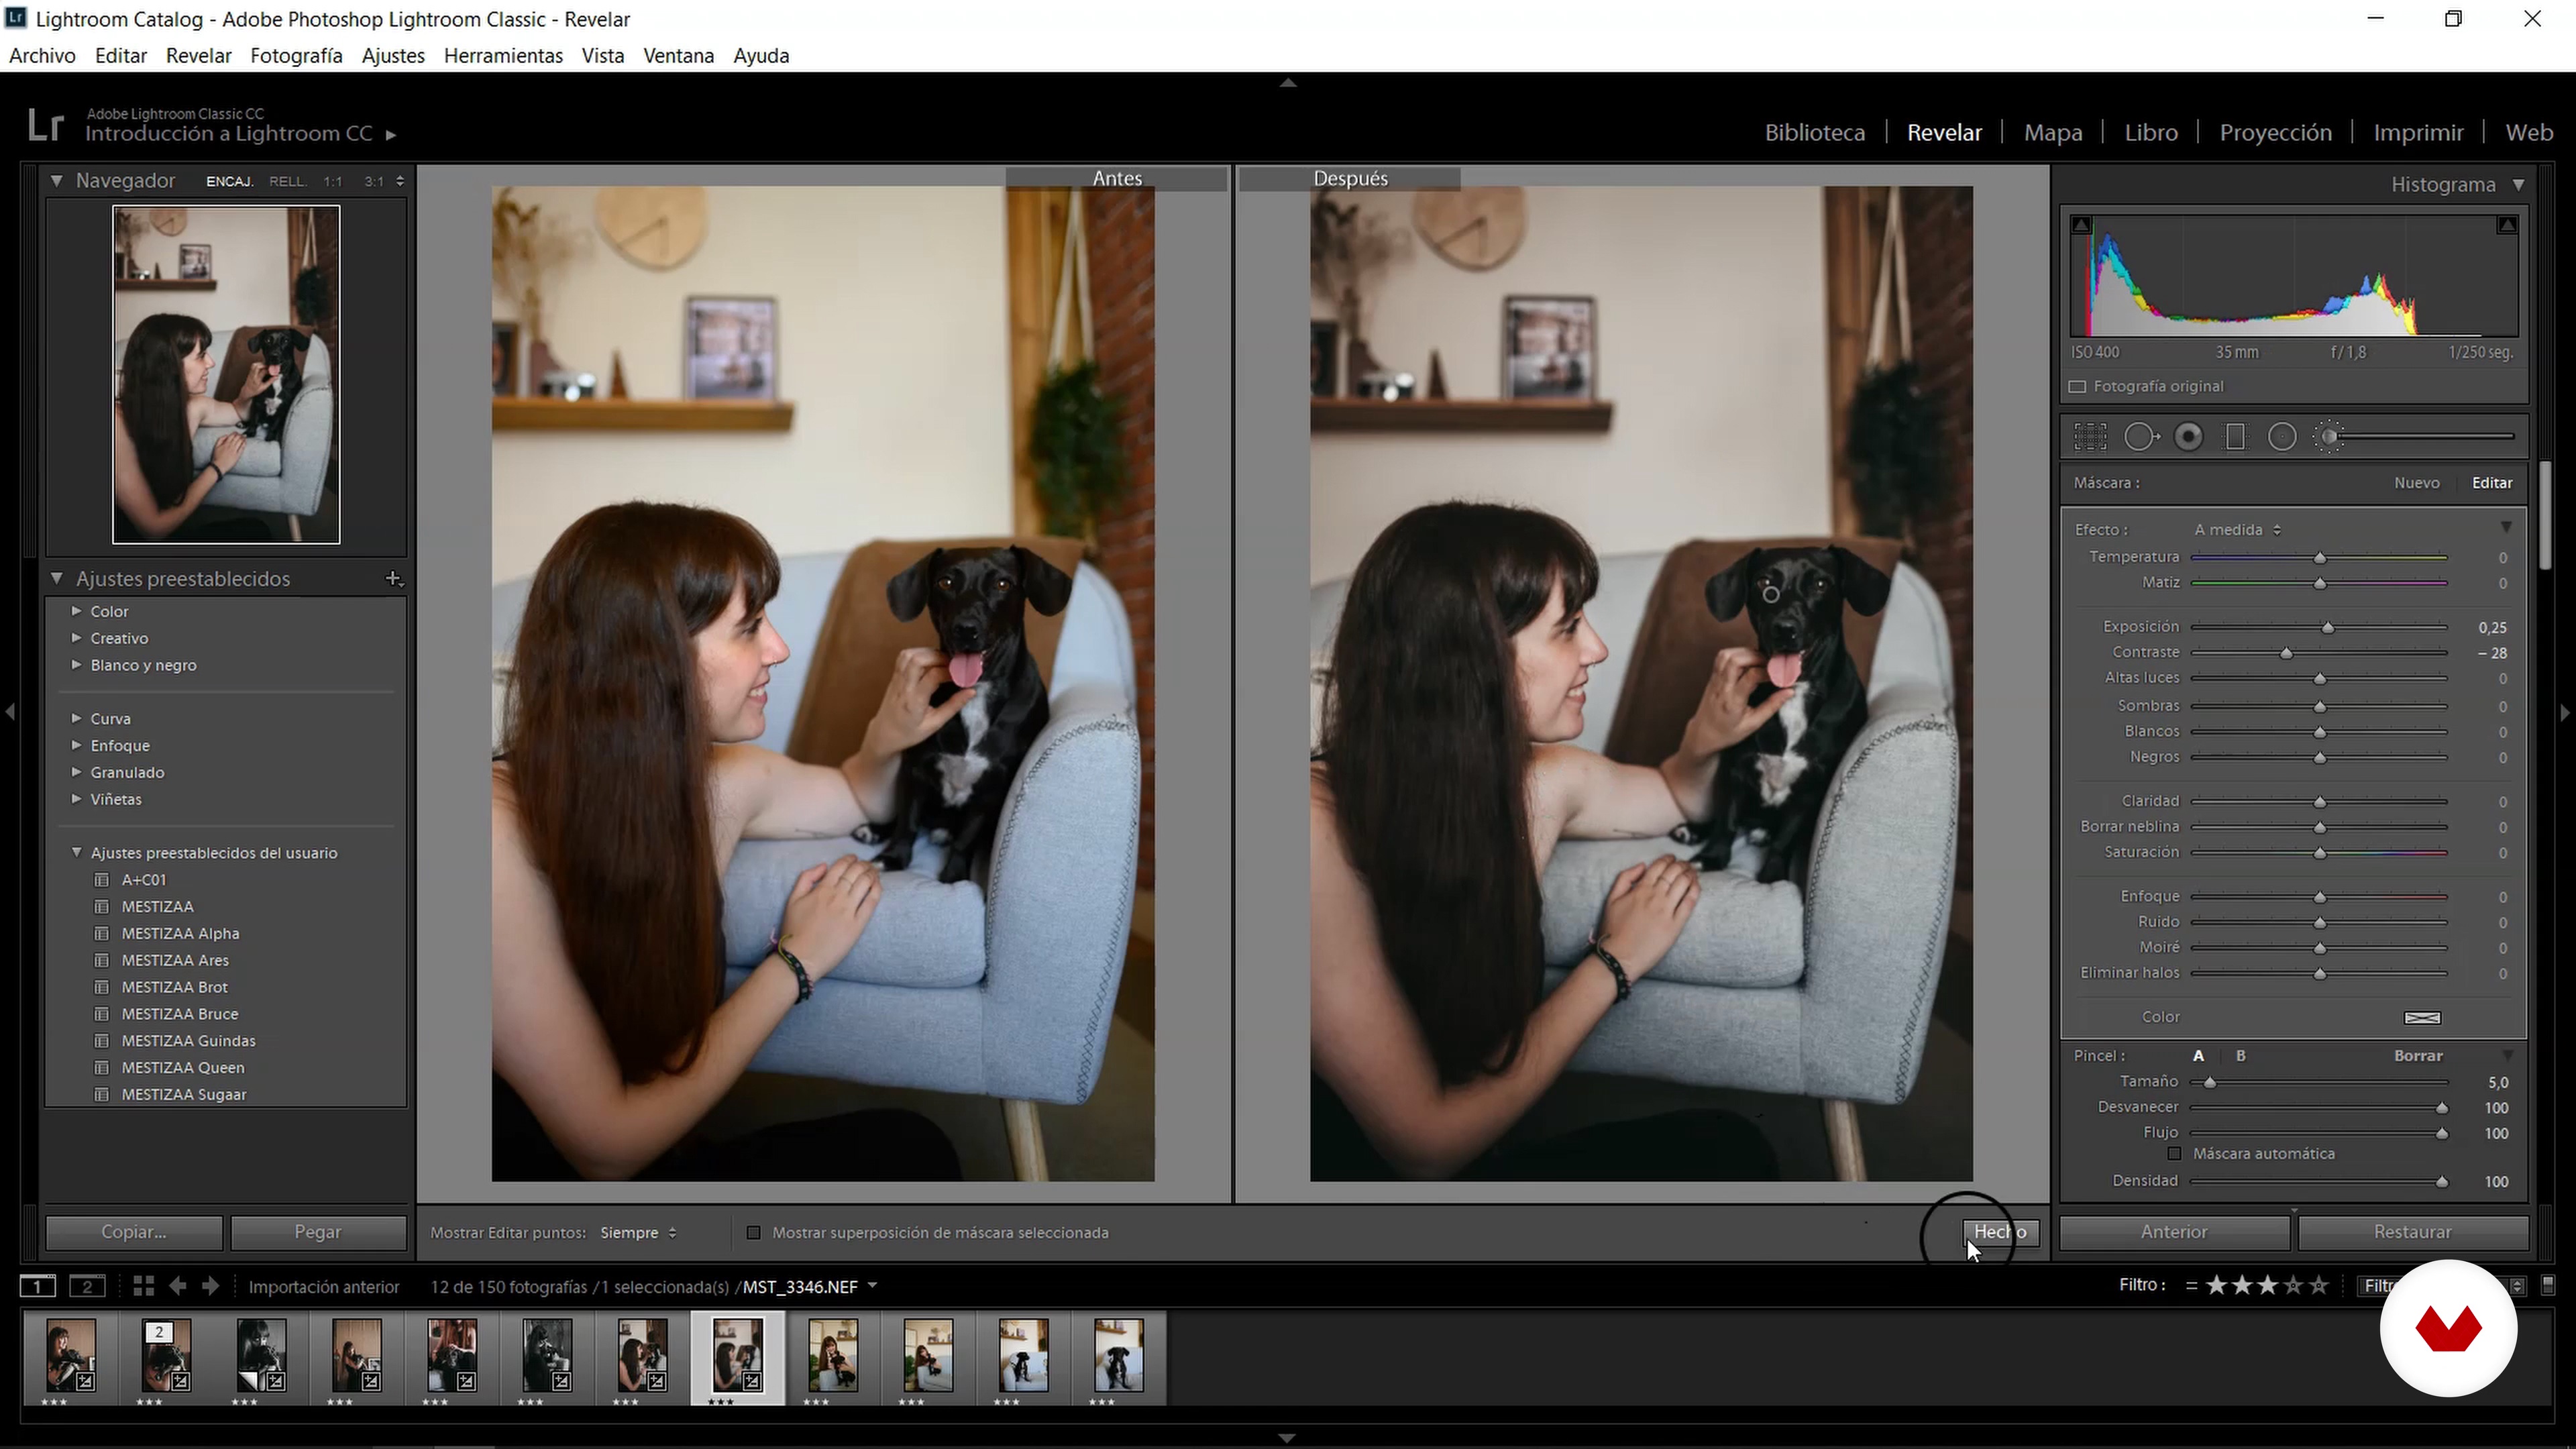
Postproduction of photos on computer 1
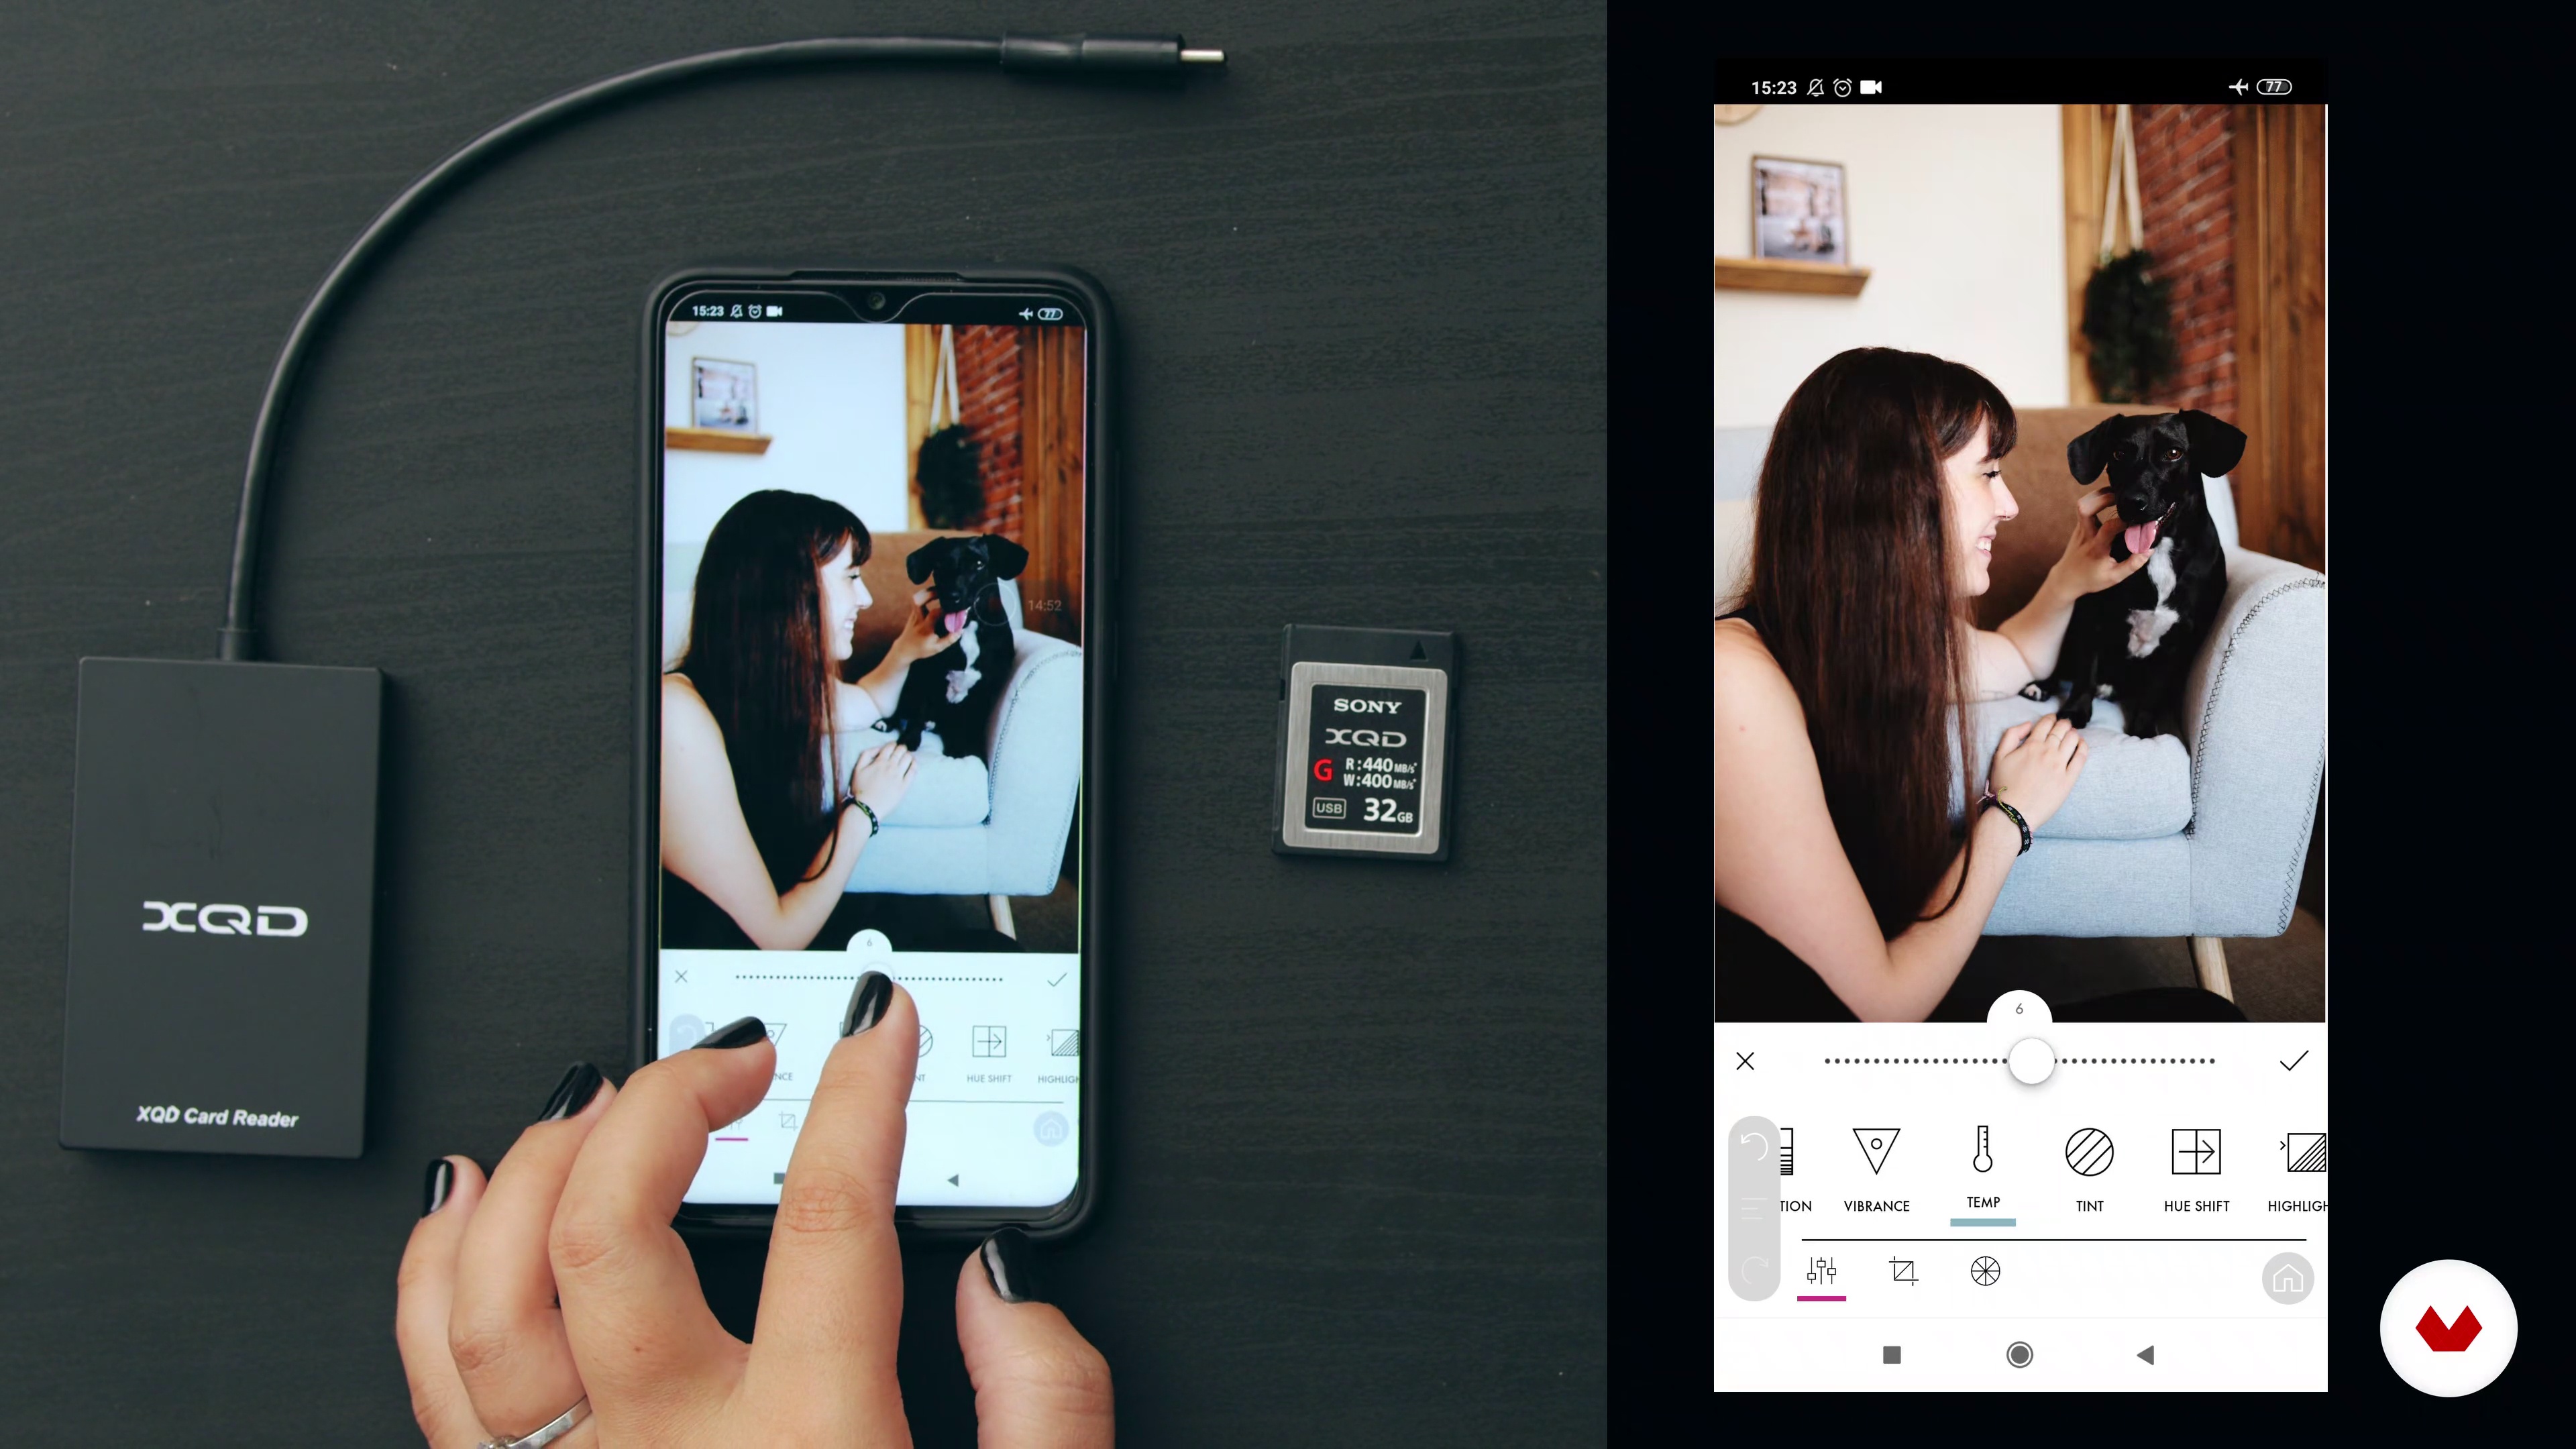
In this lesson we will learn how to edit photos (choose the best photos, retouch them in Lightroom, edit them in mobile editing with Lightroom and other apps ). We will also see how to search for presets (like Instagram filters) on the internet and how to import them to your computer or mobile.
6m
image
14
Postproduction of photos on computer 2
We continue to retouch our photos using Lightroom to make them ready and be able to upload them to our social networks.
15m
image
15
Photo selection and mobile retouching
In this lesson we will see how to retouch photos with the same process as the previous lesson, but on mobile in this case.
10m
image
16
How to get the most out of your Instagram feed
In this lesson we will see how to organize and preview the feed on Instagram and we will get to know apps to see how the photos will look before uploading them. We will also talk about customer management; how to make them see your work, how to contact, first contact, meet the dog to choose the location, etc.
7m
  • 16 students
  • 68 lessons (10h 55m)
  • 82 additional resources (32 files)
  • Online and at your own pace
  • Audio: English, German, Spanish, Italian, Portuguese
  • English · Spanish · Portuguese · German · Italian
  • Level: Beginner
  • Unlimited access forever

What is this course's project?

Students will create an extensive portfolio that captures the full cycle of family life, from weddings to newborns and including pets, using natural light and emotional storytelling techniques, showcasing their ability to document meaningful family narratives.

Who is this specialization for?

Aspiring family photographers eager to capture genuine connections, wedding photographers looking to expand their services, generalists seeking niche specialization, portrait artists aiming for long-term client relationships, and newcomers desiring a profitable, emotionally rewarding photography niche will find value here.

Requirements and materials

No extensive prior knowledge is needed, but having a DSLR or mirrorless camera with interchangeable lenses is essential. Basic familiarity with photography techniques and a passion for capturing genuine family moments will enhance your experience.
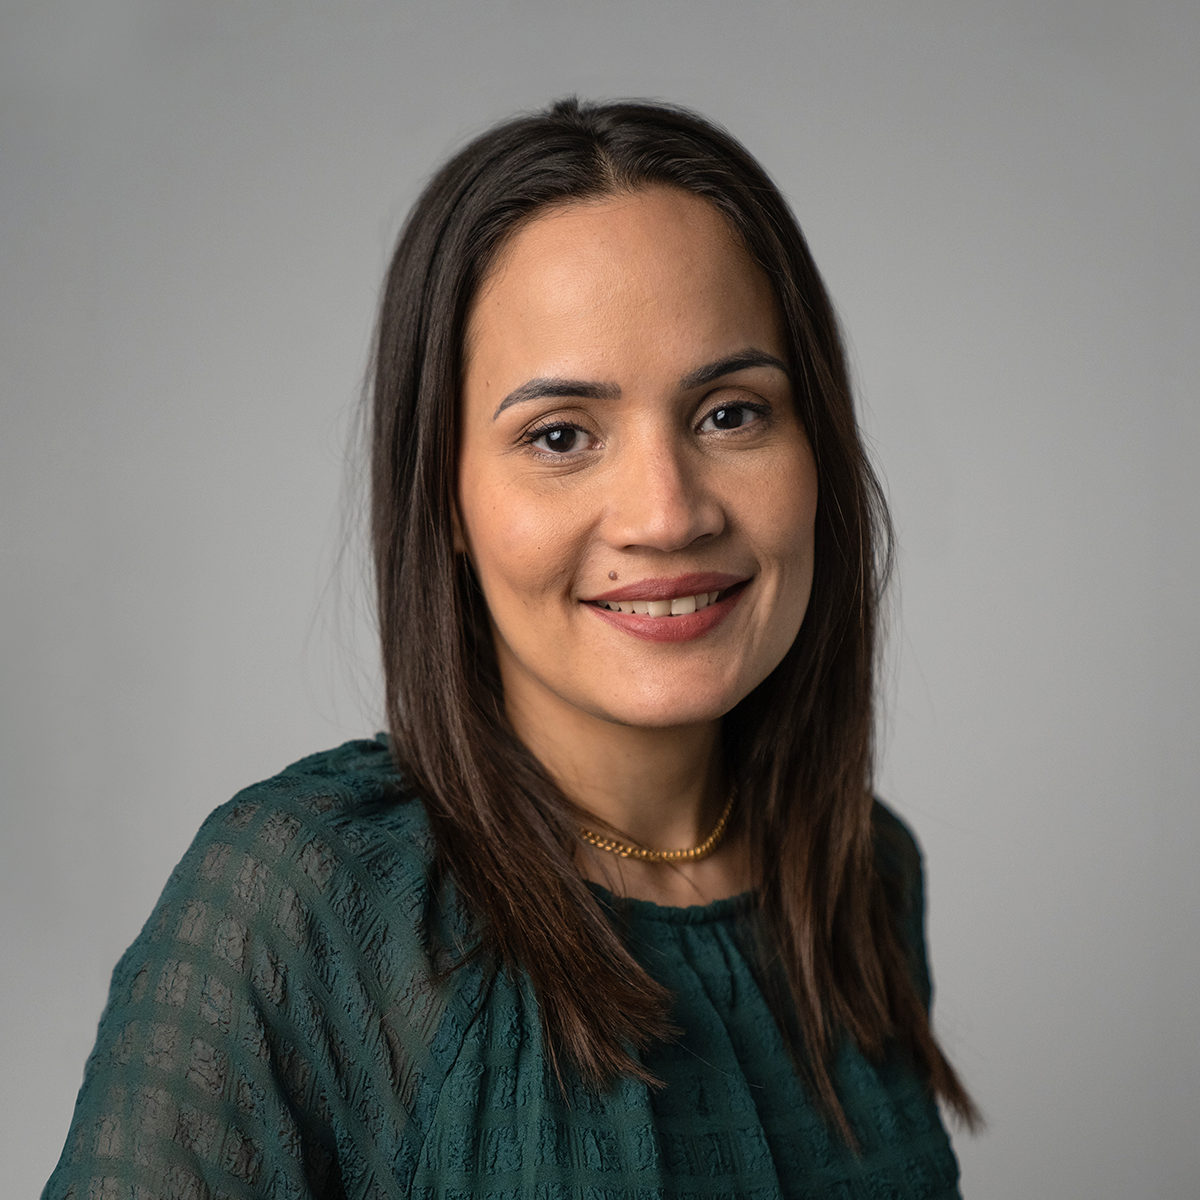
Select to get to know your teachers in this specialization course
Read more ↓

What to expect from this specialization course

  • Learn at your own pace

    Enjoy learning from home without a set schedule and with an easy-to-follow method. You set your own pace.

  • Learn from the best professionals

    Learn valuable methods and techniques explained by top experts in the creative sector.

  • Meet expert teachers

    Each expert teaches what they do best, with clear guidelines, true passion, and professional insight in every lesson.

  • Certificates
    Plus

    If you're a Plus member, get a custom certificate for every specialization course. Share it on your portfolio, social media, or wherever you like.

  • Get front-row seats

    Videos of the highest quality, so you don't miss a single detail. With unlimited access, you can watch them as many times as you need to perfect your technique.

  • Share knowledge and ideas

    Ask questions, request feedback, or offer solutions. Share your learning experience with other students in the community who are as passionate about creativity as you are.

  • Connect with a global creative community

    The community is home to millions of people from around the world who are curious and passionate about exploring and expressing their creativity.

  • Watch professionally produced courses

    Domestika curates its teacher roster and produces every course in-house to ensure a high-quality online learning experience.


FAQs

Domestika courses are online classes that allow you to learn new skills and create incredible projects. All our courses include the opportunity to share your work with other students and/or teachers, creating an active learning community. We offer different formats:
Original Courses: Complete classes that combine videos, texts, and educational materials to complete a specific project from start to finish.
Basics Courses: Specialized training where you master specific software tools step by step.
Specialization Courses: Learning paths with various expert teachers on the same topic, perfect for becoming a specialist by learning from different approaches.
Guided Courses: Practical experiences ideal for directly acquiring specific skills.
Intensive Courses (Deep Dives): New creative processes based on artificial intelligence tools in an accessible format for in-depth and dynamic understanding.

All specialization courses are 100% online, so once they're published, specialization courses start and finish whenever you want. You set the pace of the class. You can go back to review what interests you most and skip what you already know, ask questions, answer questions, share your projects, and more.

The specialization courses are divided into different modules. Each one includes lessons, informational text, tasks, and practice exercises to help you carry out your project step by step, with additional complementary resources and downloads. You'll also have access to an exclusive forum where you can interact with other students, as well as share your work and your final project, creating a community around the specialization courses.

You can redeem the specialization courses you received by accessing the redeeming page and entering your gift code.

If you're a Plus member, when you complete a course you've purchased, you'll instantly get your personalized certificate. You can see all your certificates in the Certificates section of your profile. You can download your certificates as PDFs and share the link online. Learn more about certificates.
Specialization in Family Photography: Capturing Unique Bonds and Moments. Photography, and Video course by Domestika

Specialization in Family Photography: Capturing Unique Bonds and Moments

A specialization by multiple teachers
Berkeley, United States.
Joined April 2002
  • 16 students