
Explore surreal illustration techniques using colored pencils to create expressive, nature-inspired art filled with emotion
Dive into the world of surreal illustration with a unique online specialization that explores five distinct artistic techniques. From the precision of colored pencils to the depth of oil painting, this series guides you through a creative journey that challenges conventional art boundaries. The courses are designed to help you express your inner visions and develop a personal visual language, inspired by the subconscious, nature, and dreams. Gain insights from renowned artists such as Marco Mazzoni, Virginia Mori, Redmer Hoekstra, Marija Tiurina, and Jhoel Mamani Espinoza, each bringing their unique style and expertise to the table.
Begin with the accessible medium of colored pencils, advance to the definitive strokes of a ballpoint pen, and explore the versatility of fine liners. Transition to the fluidity of watercolor and ink, culminating in the rich layers of oil paints. This specialization not only enhances your technical skills across various media but also encourages creative thinking and exploration of surreal themes. By the end, you'll have a diverse portfolio that showcases your ability to adapt concepts into different forms, reflecting a deep understanding of surrealist illustration.
What will you learn in this specialization?
 1
1Introduction
Surrealism invites us to fracture reality and reassemble it through metaphor, dreams, and poetic intuition. Here, illustration becomes a playground for the unconscious, where collage, automatic gestures, and unexpected juxtapositions unlock new visual languages. Through humor and symbolism, images gain emotional depth, encouraging reflection, curiosity, and a lighter way of questioning the world.
1m
 2
2Influences | Marco Mazzoni
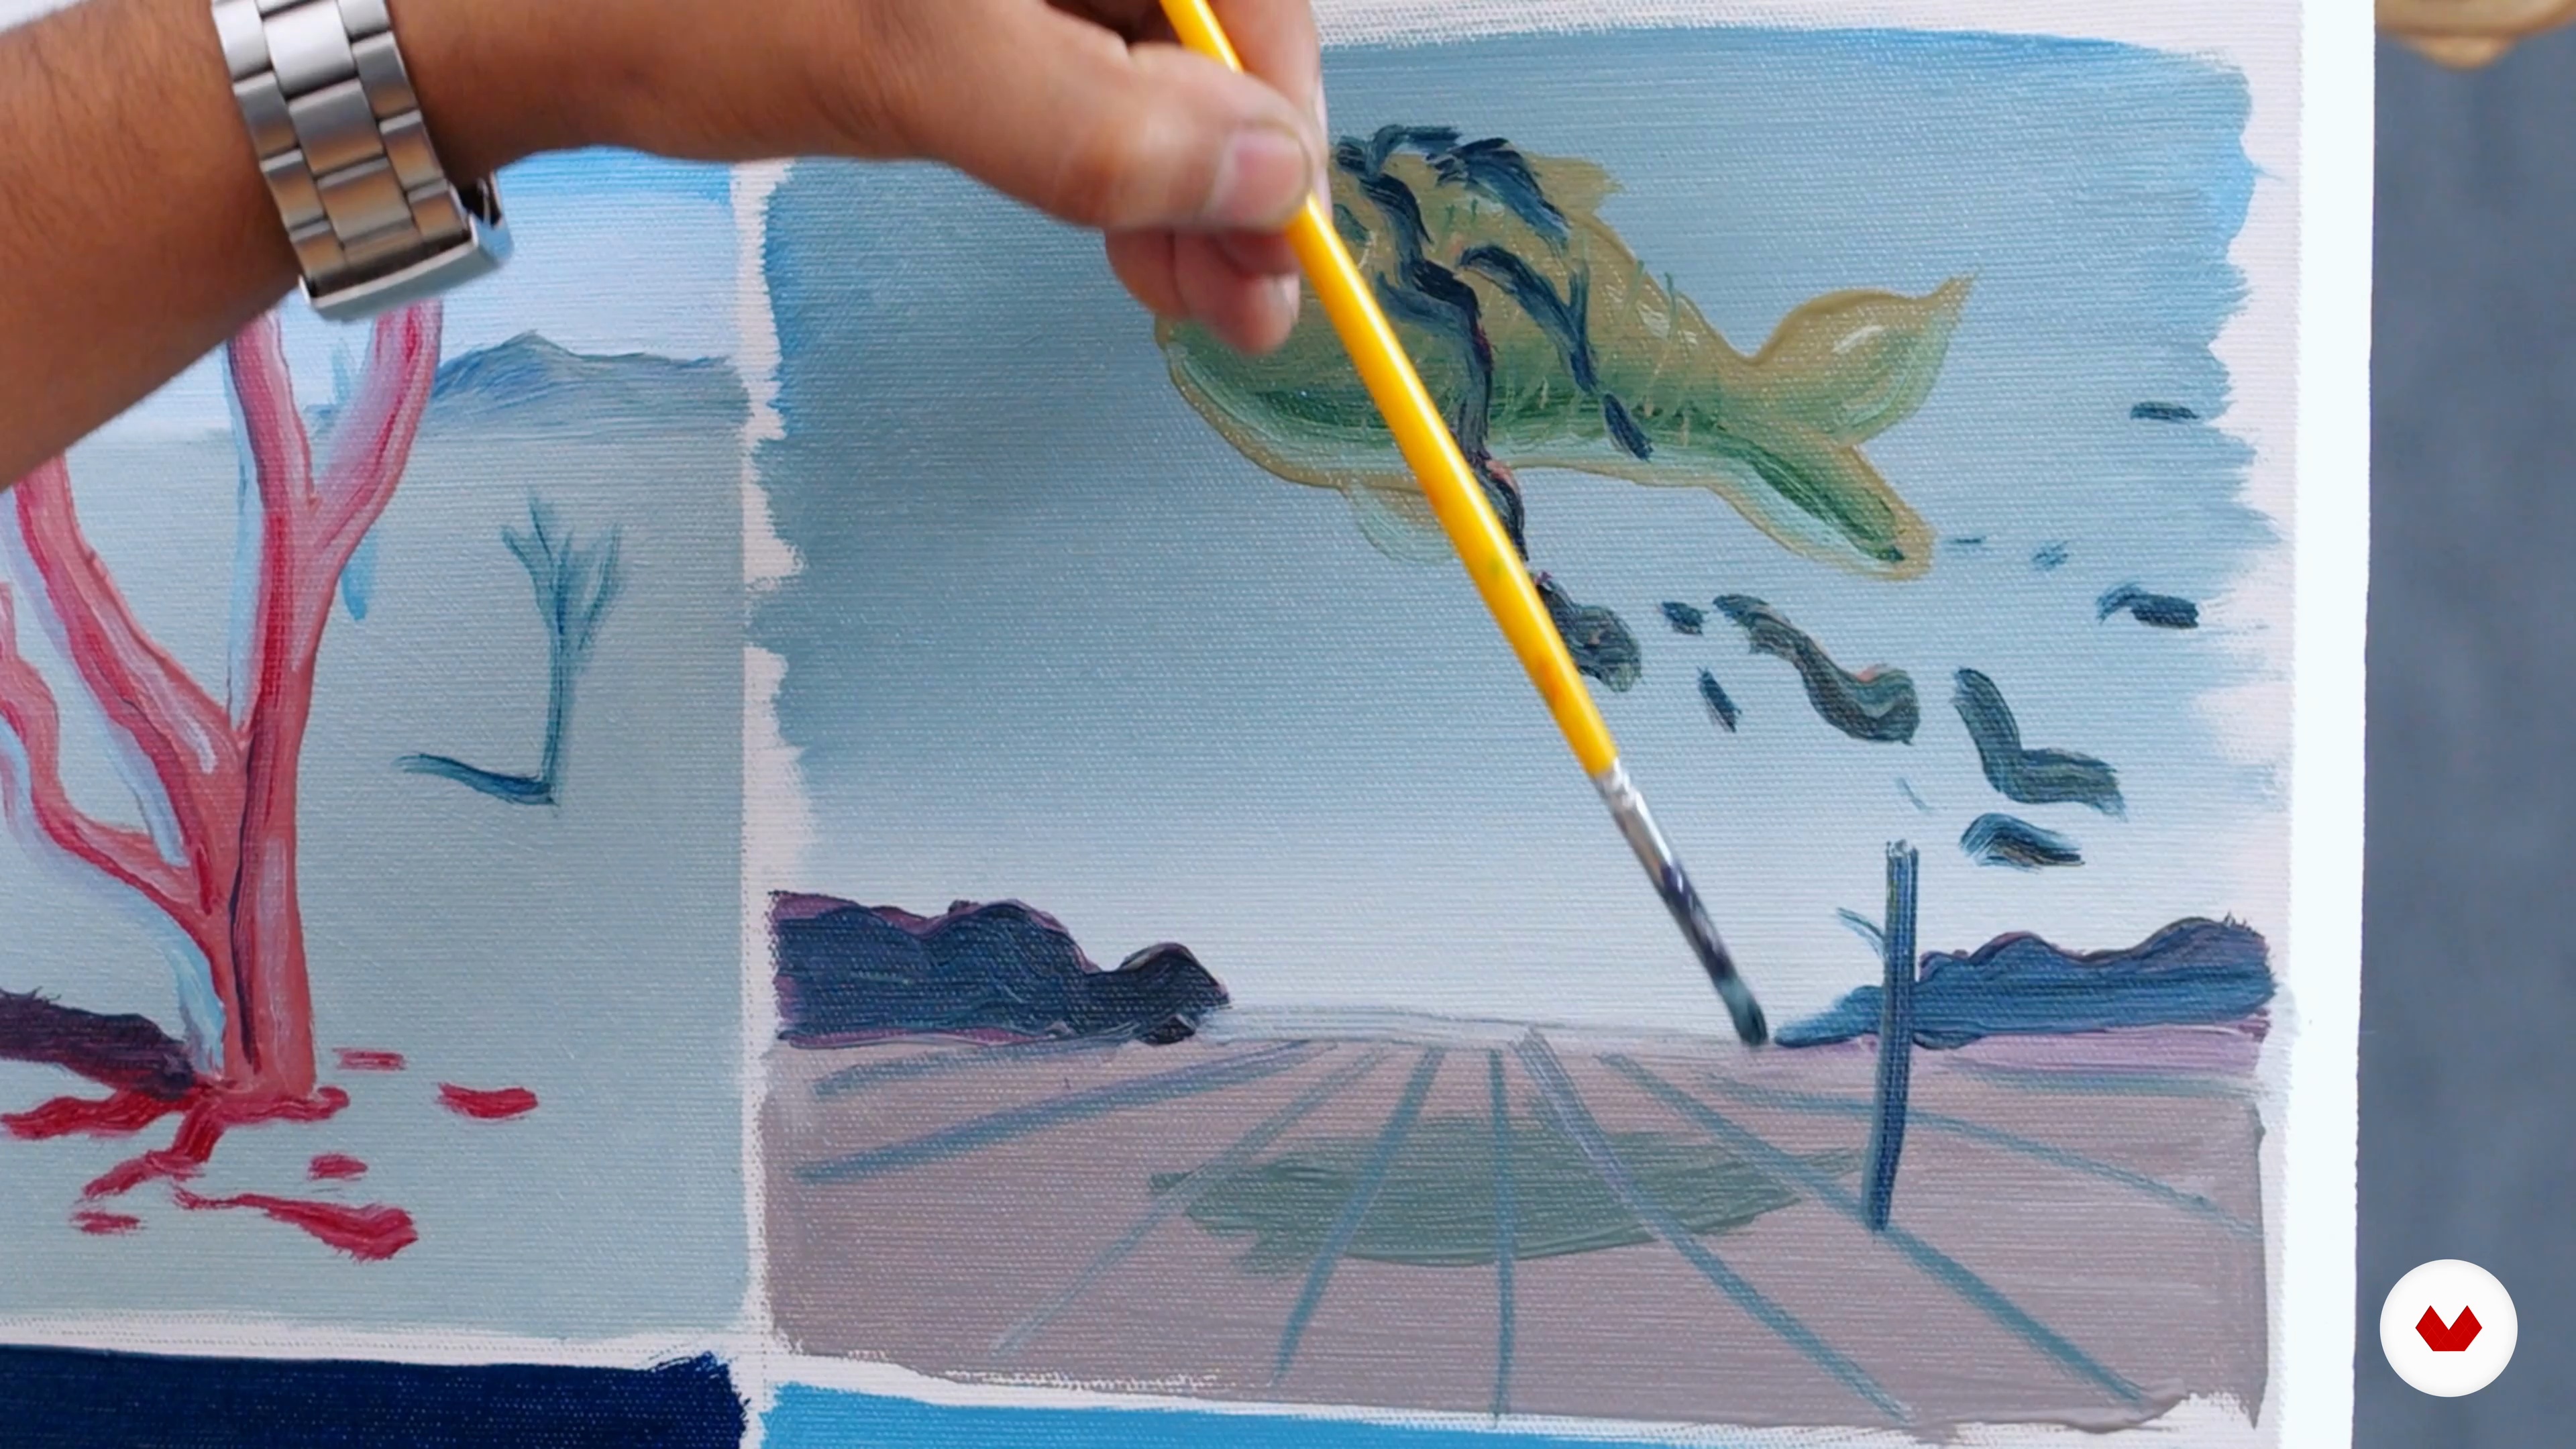
I will show you some of my favorite artists. I will make a selection of the artists who amazed me the most for how they create harmony using nature as a subject.
5m
 3
3Influences | Virginia Mori
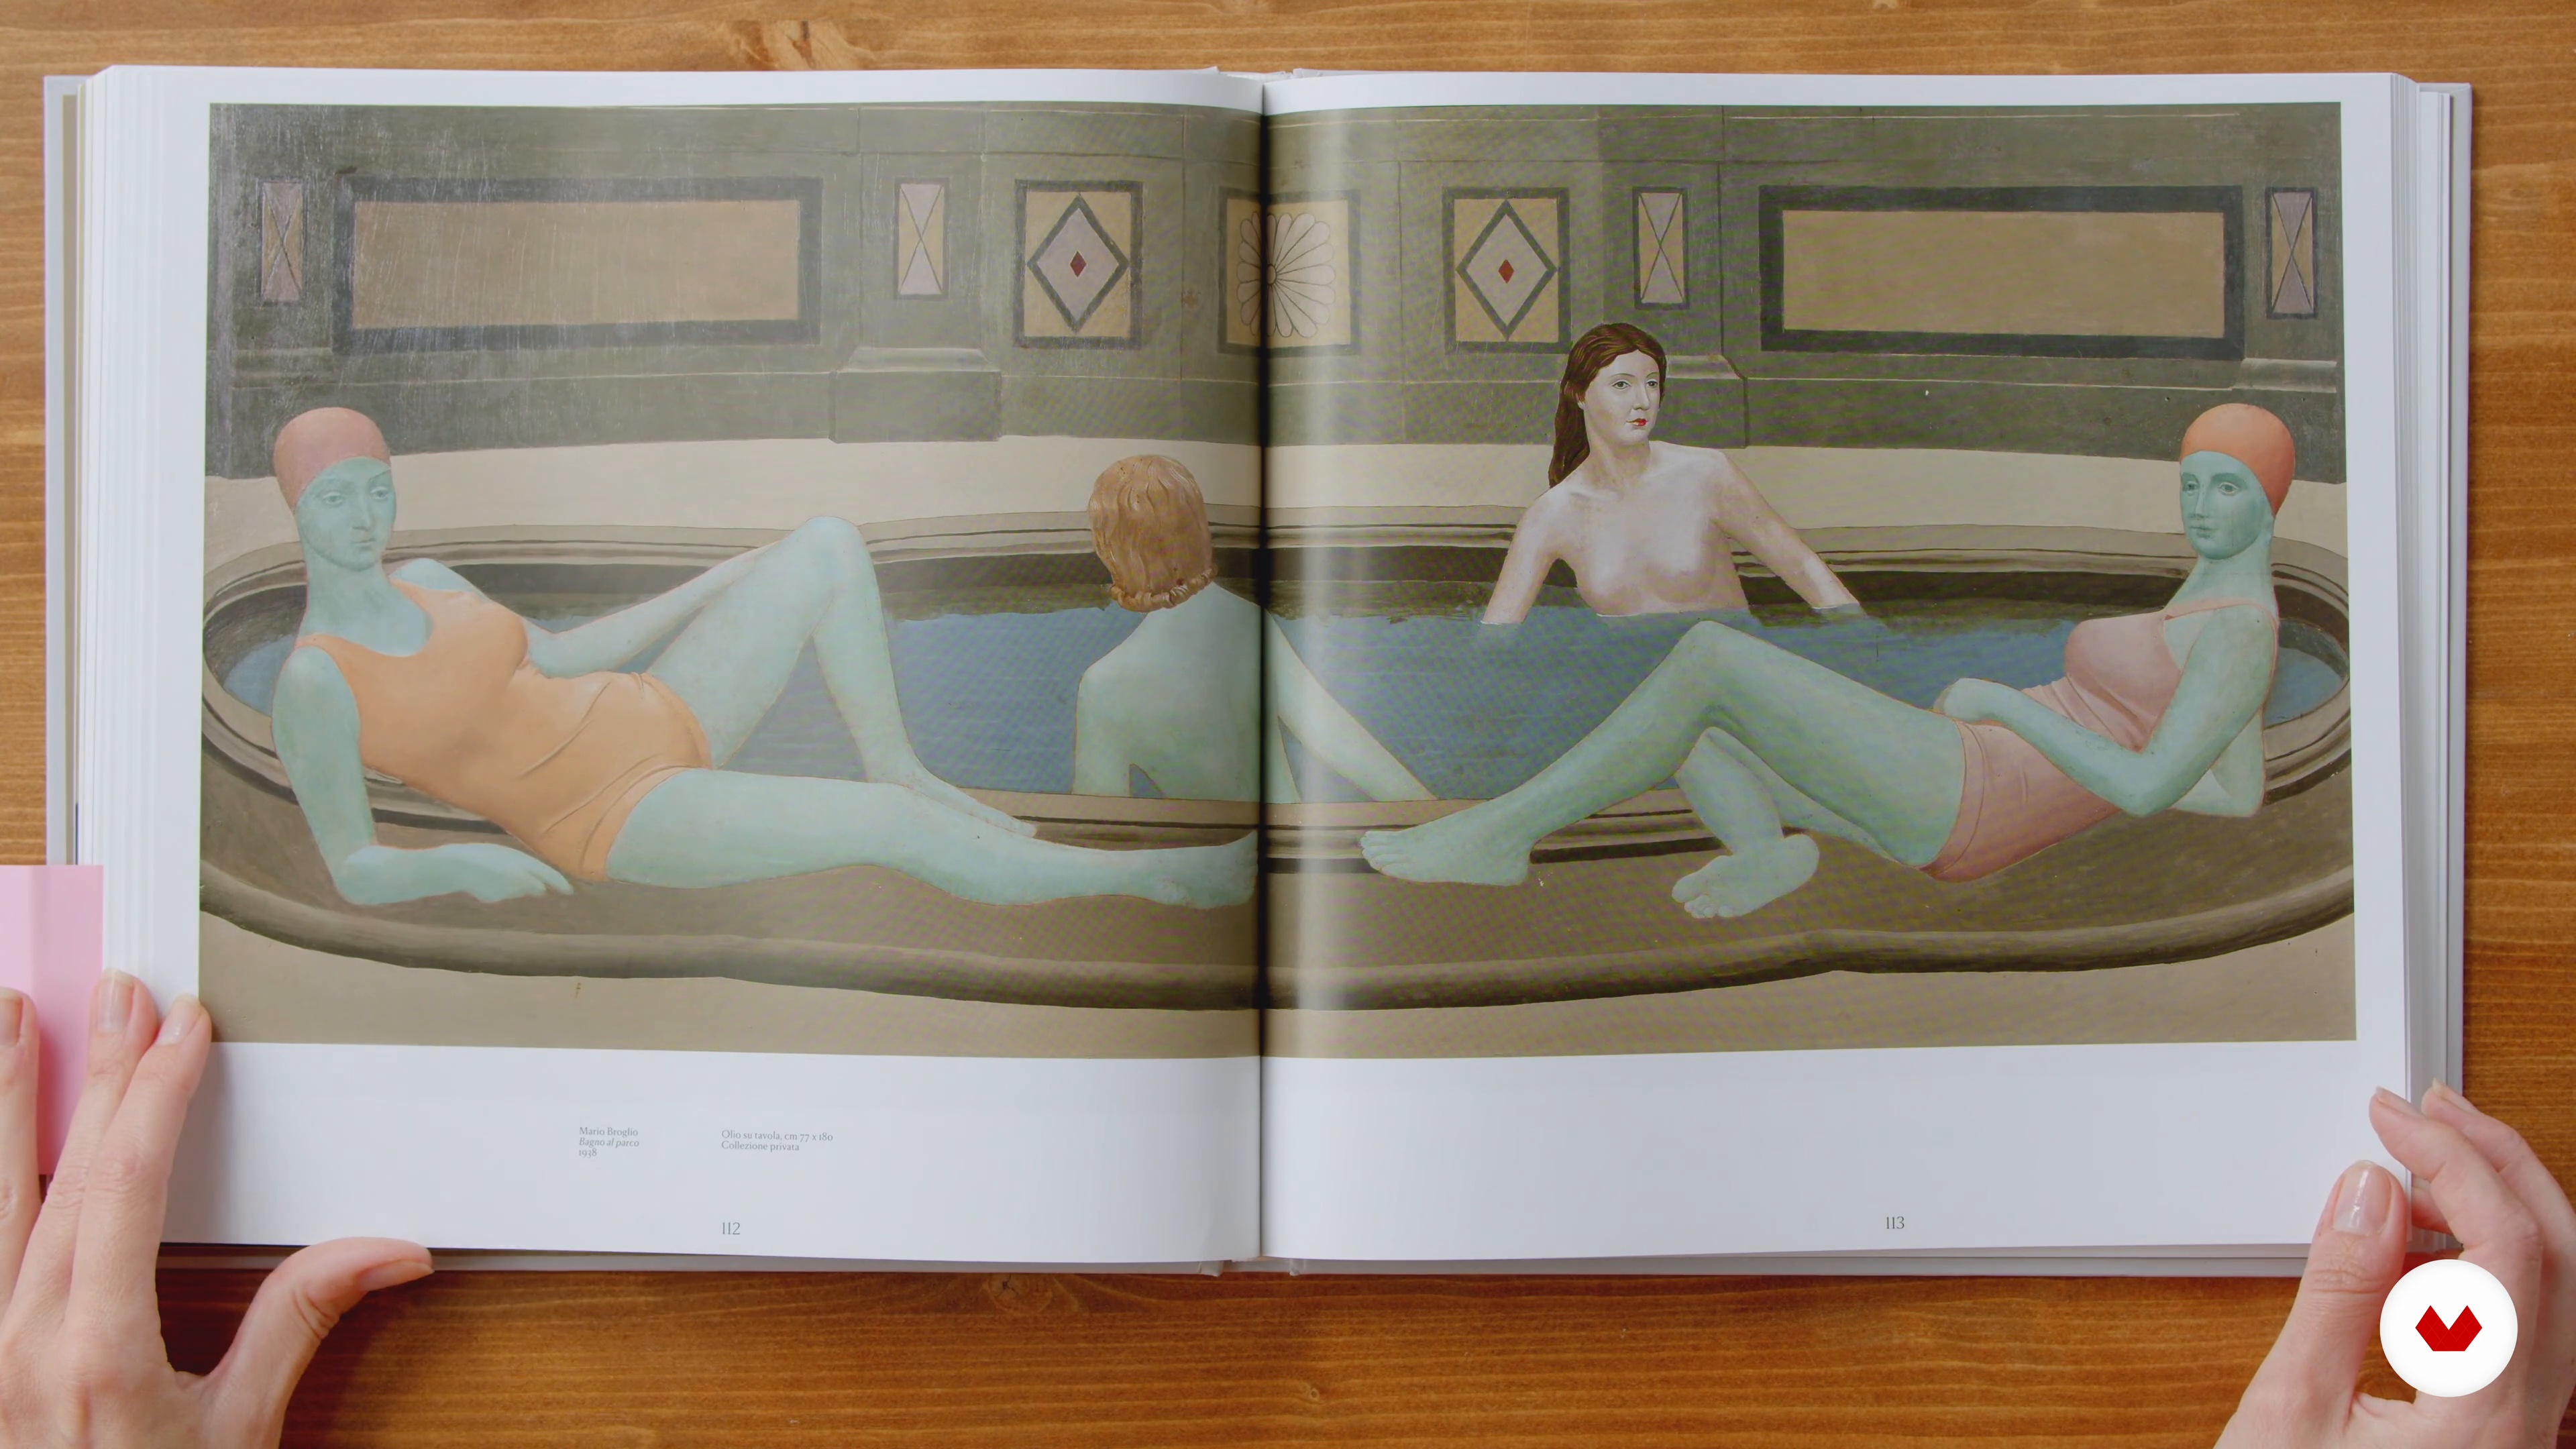
Now I will show you some of the artists and currents that have influenced my style the most. I consider my style to be constantly evolving so my influences are too. Here I will show you some cornerstones that have accompanied me since the beginning of my personal research.
8m
 4
4Influences | Redmer Hoekstra
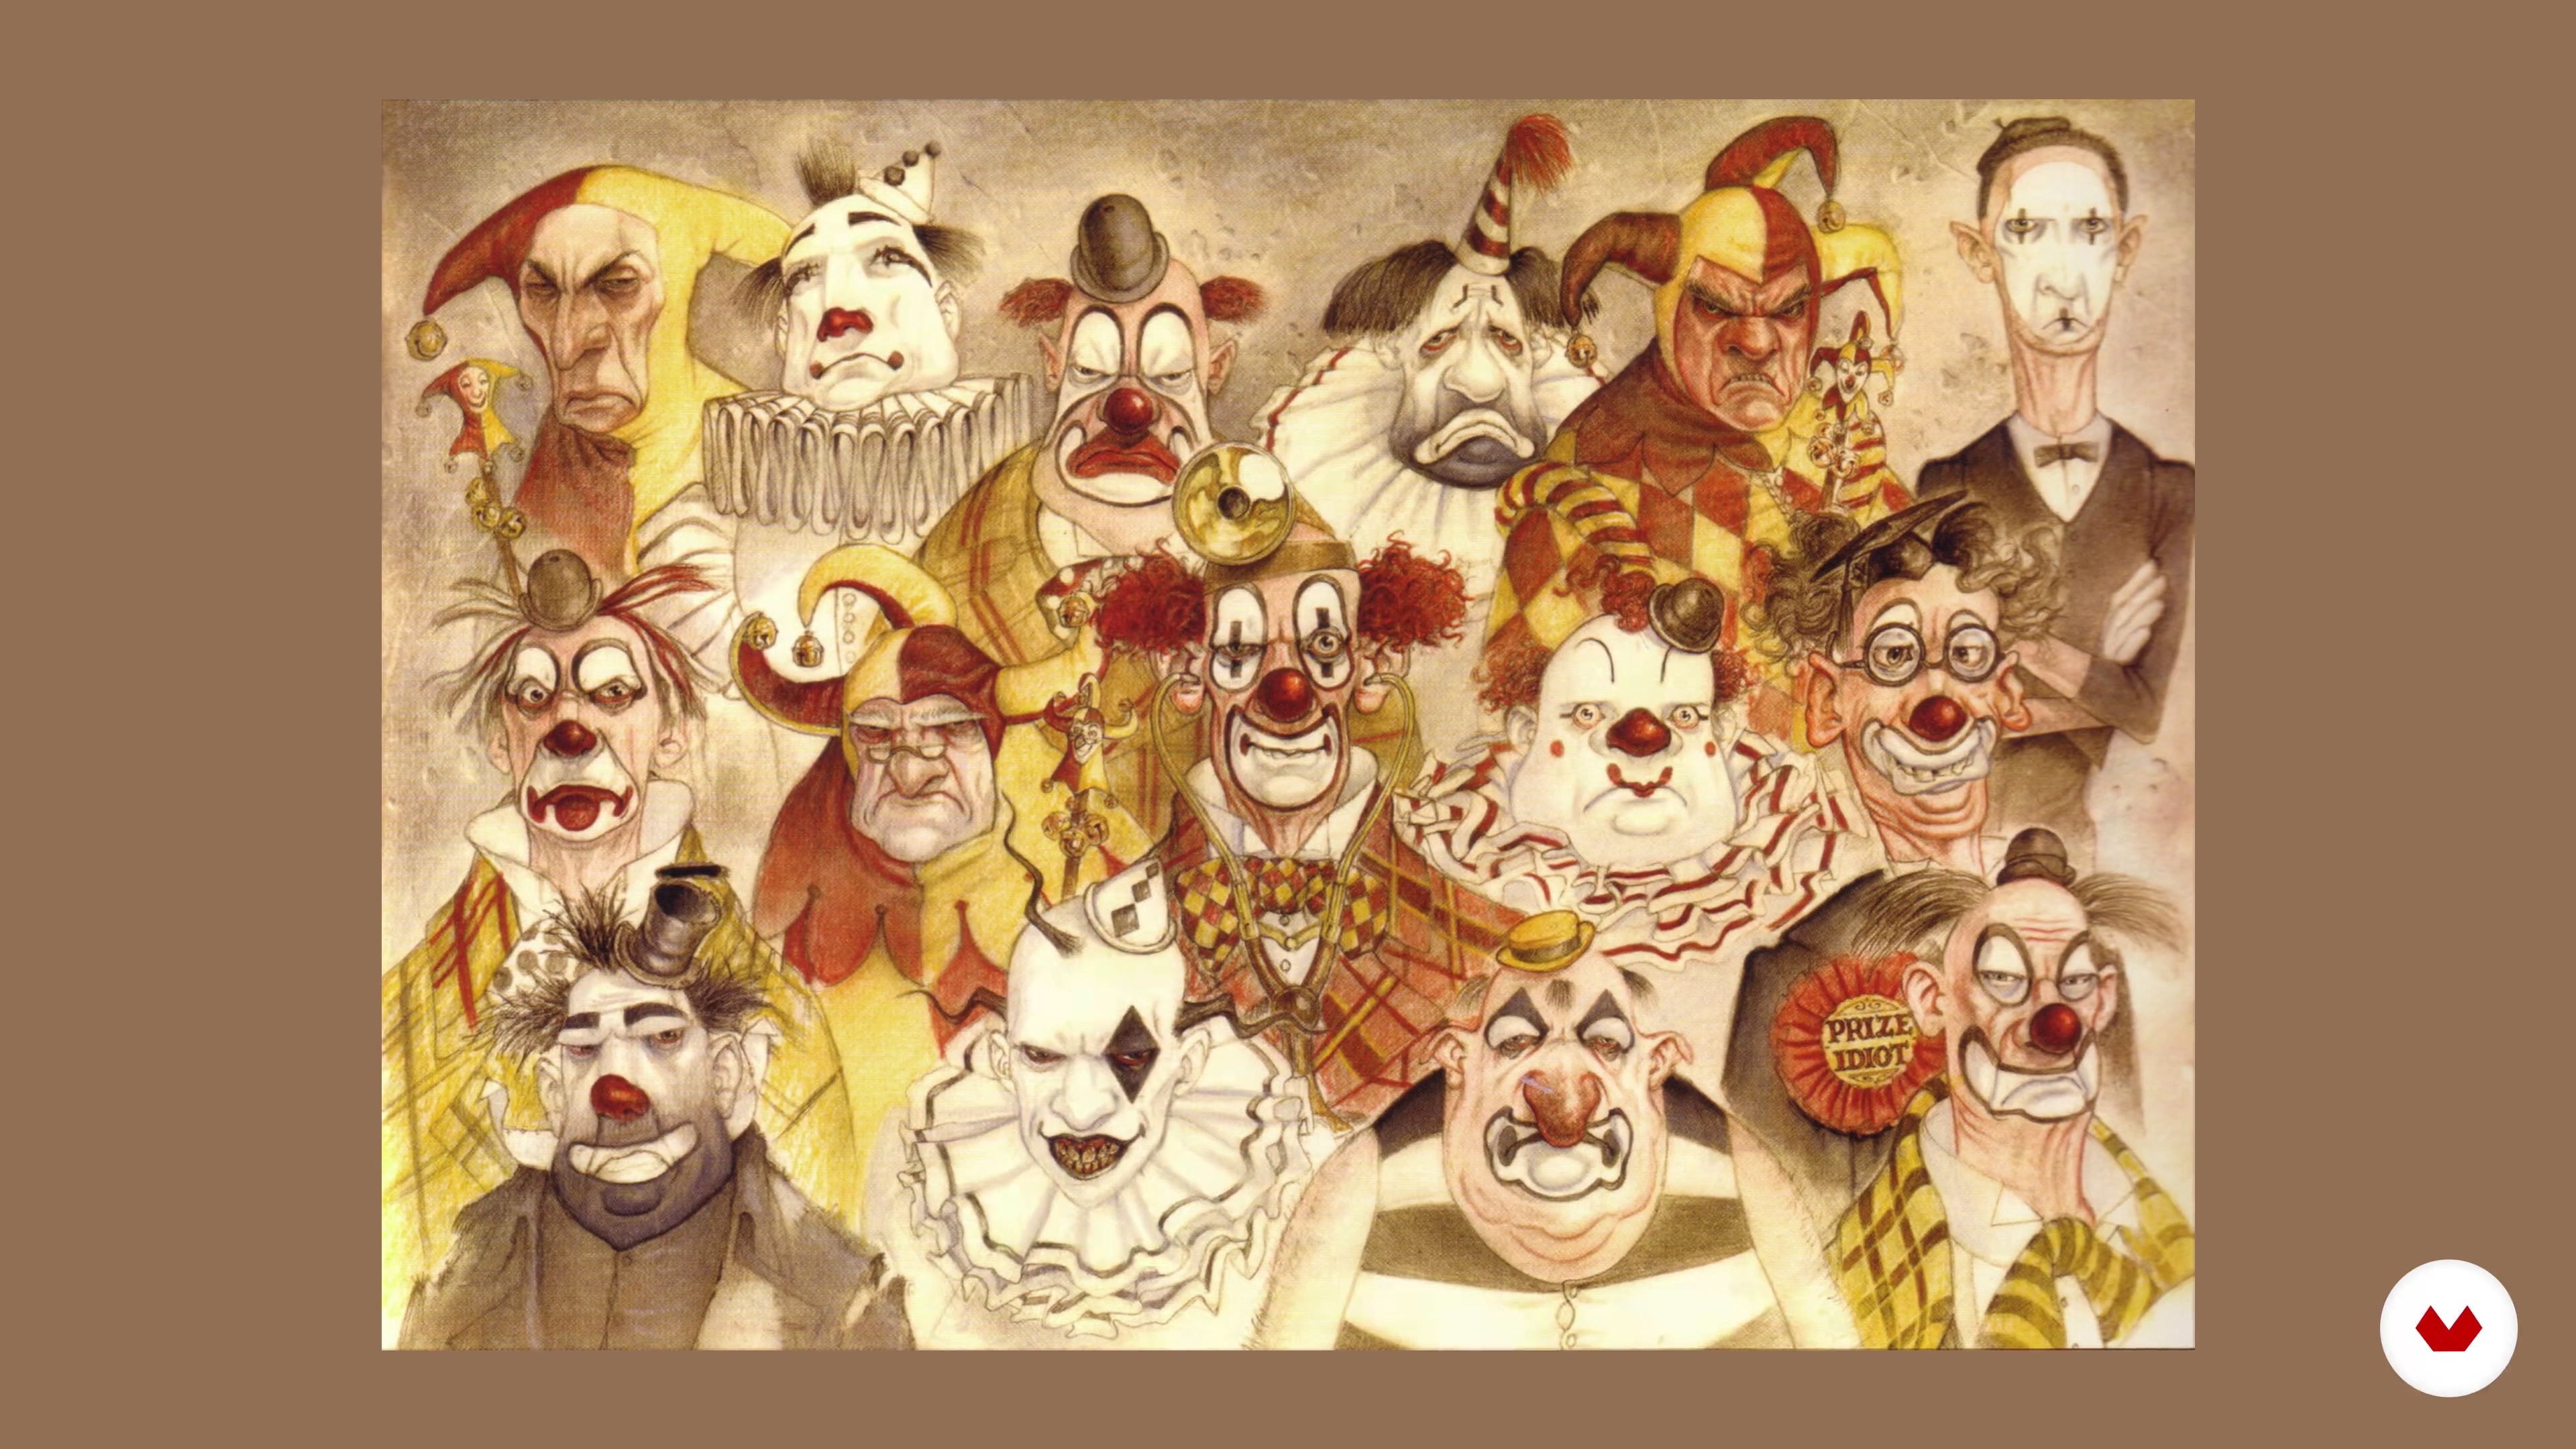
This is the lesson in which I will talk about the artists that have influenced me the most.
5m
 5
5Influences | Marija Tiurina
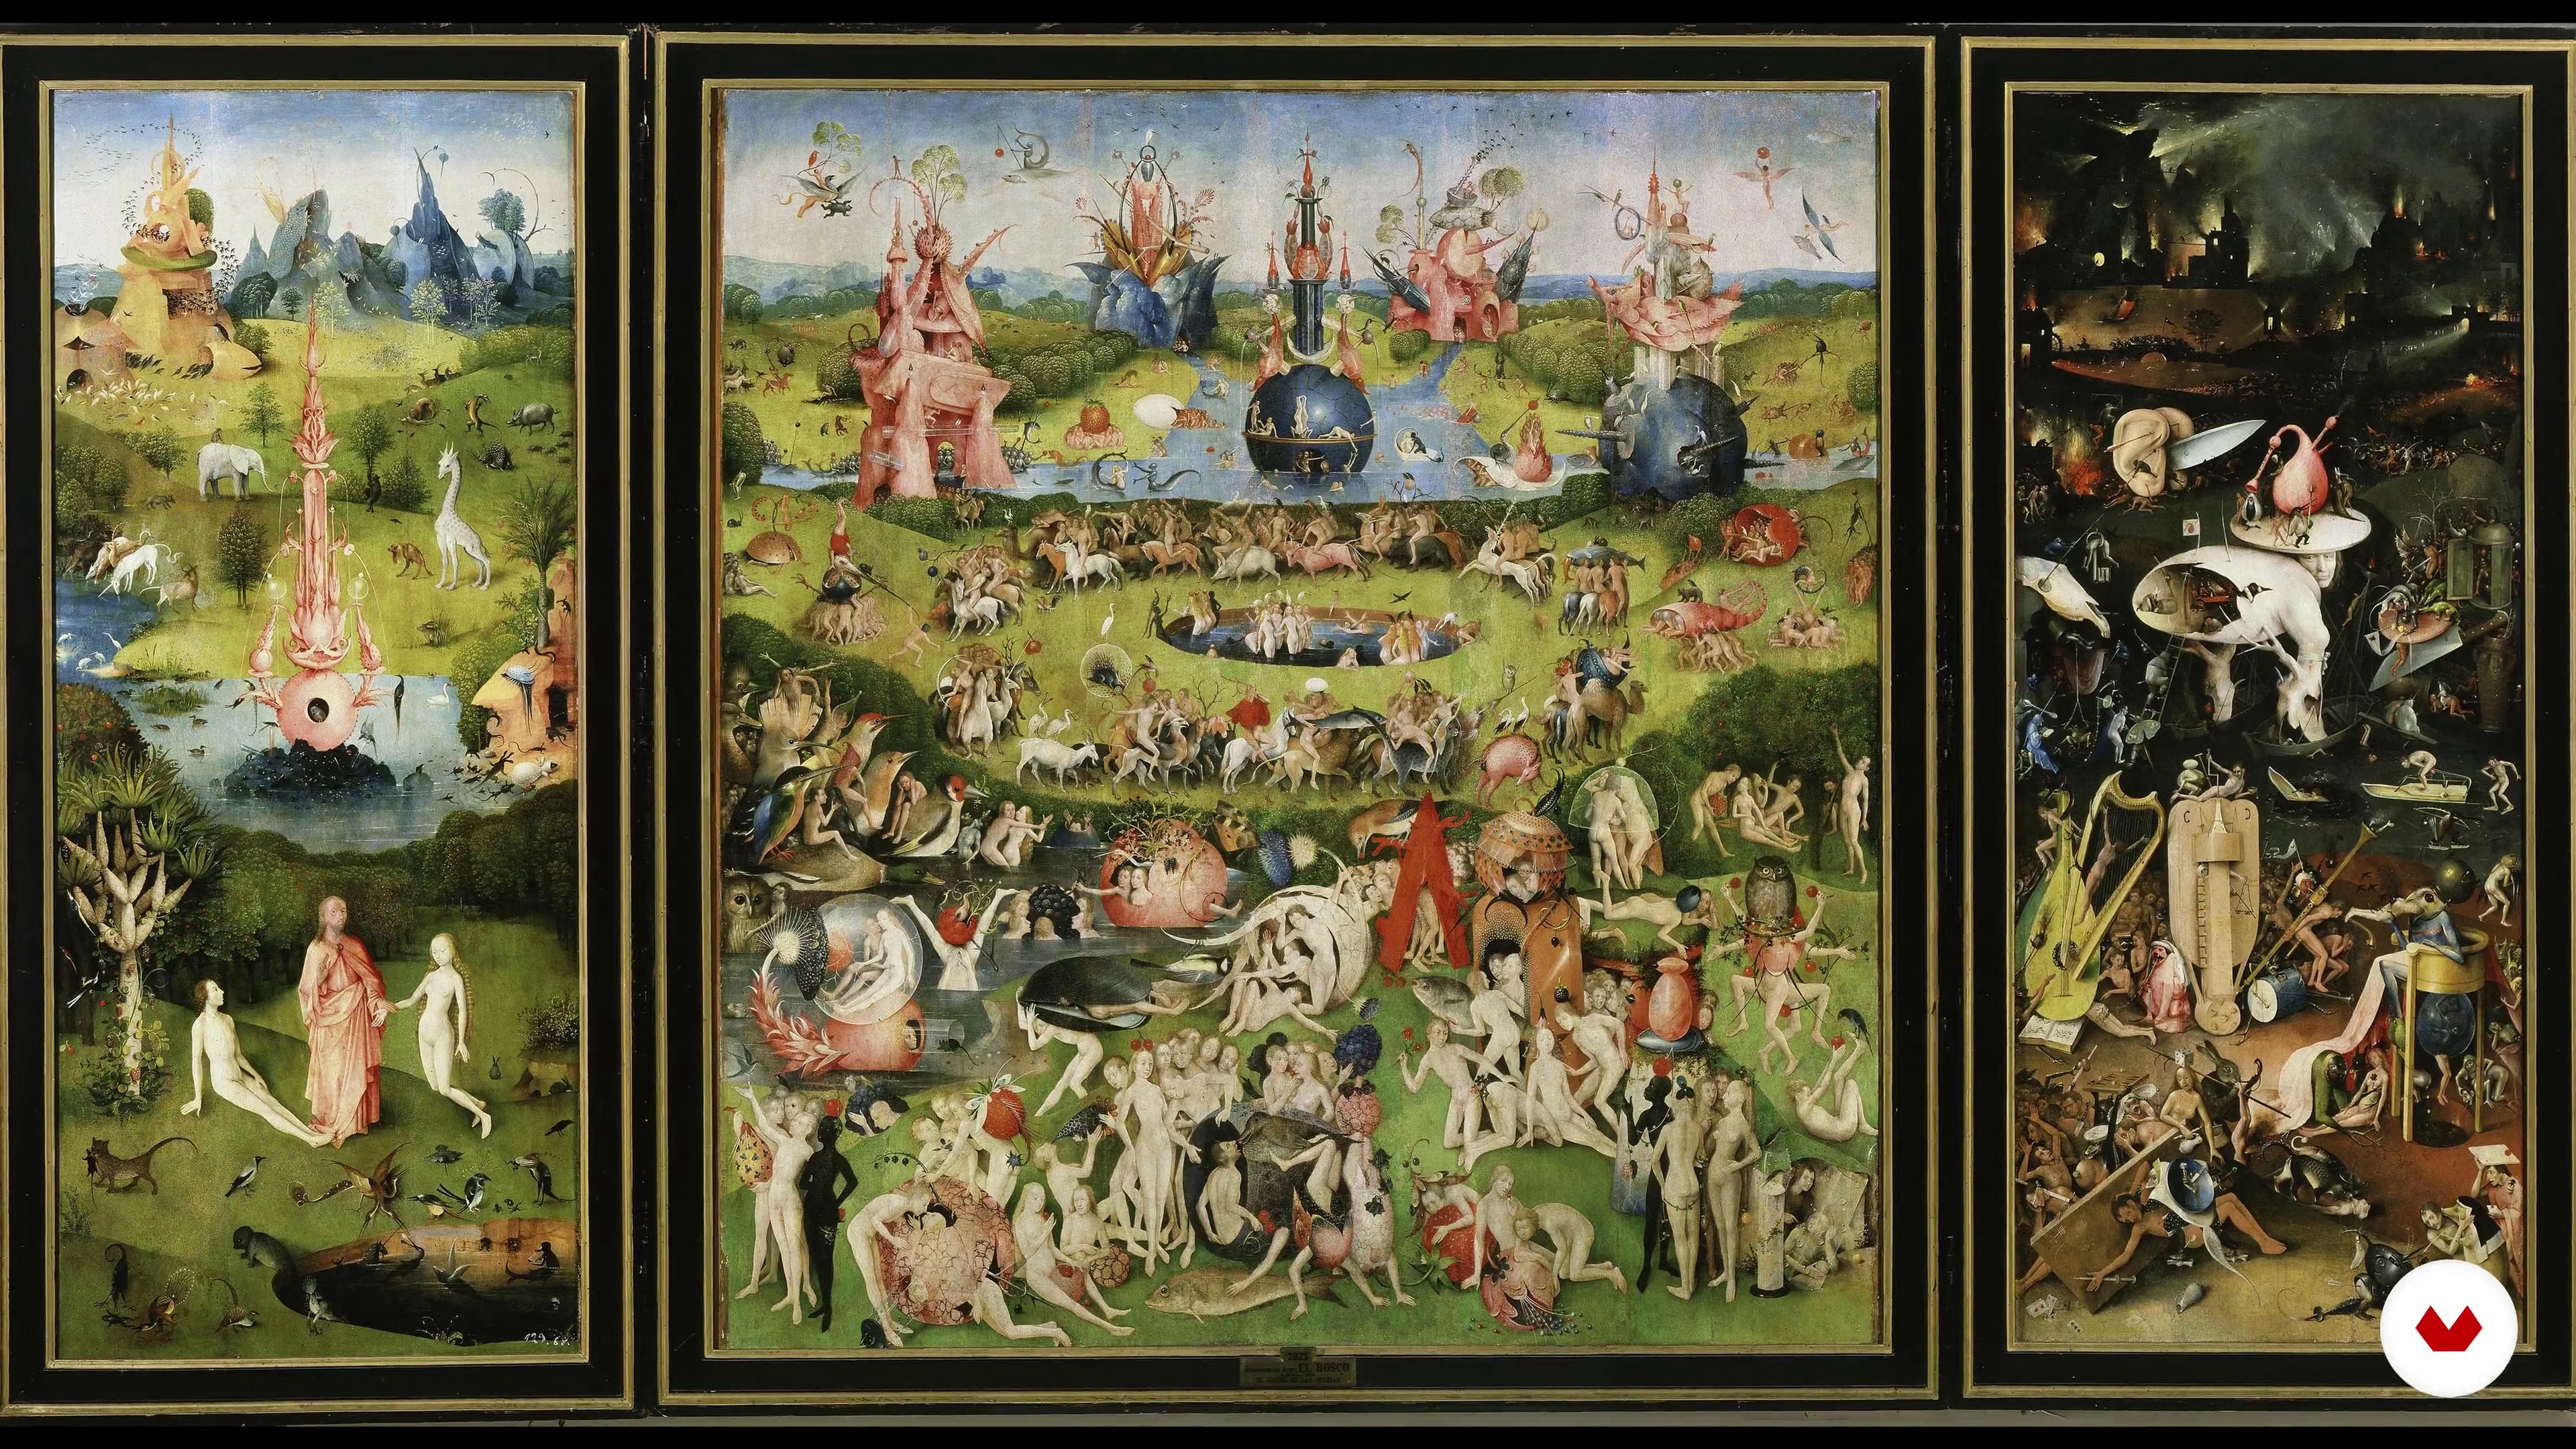
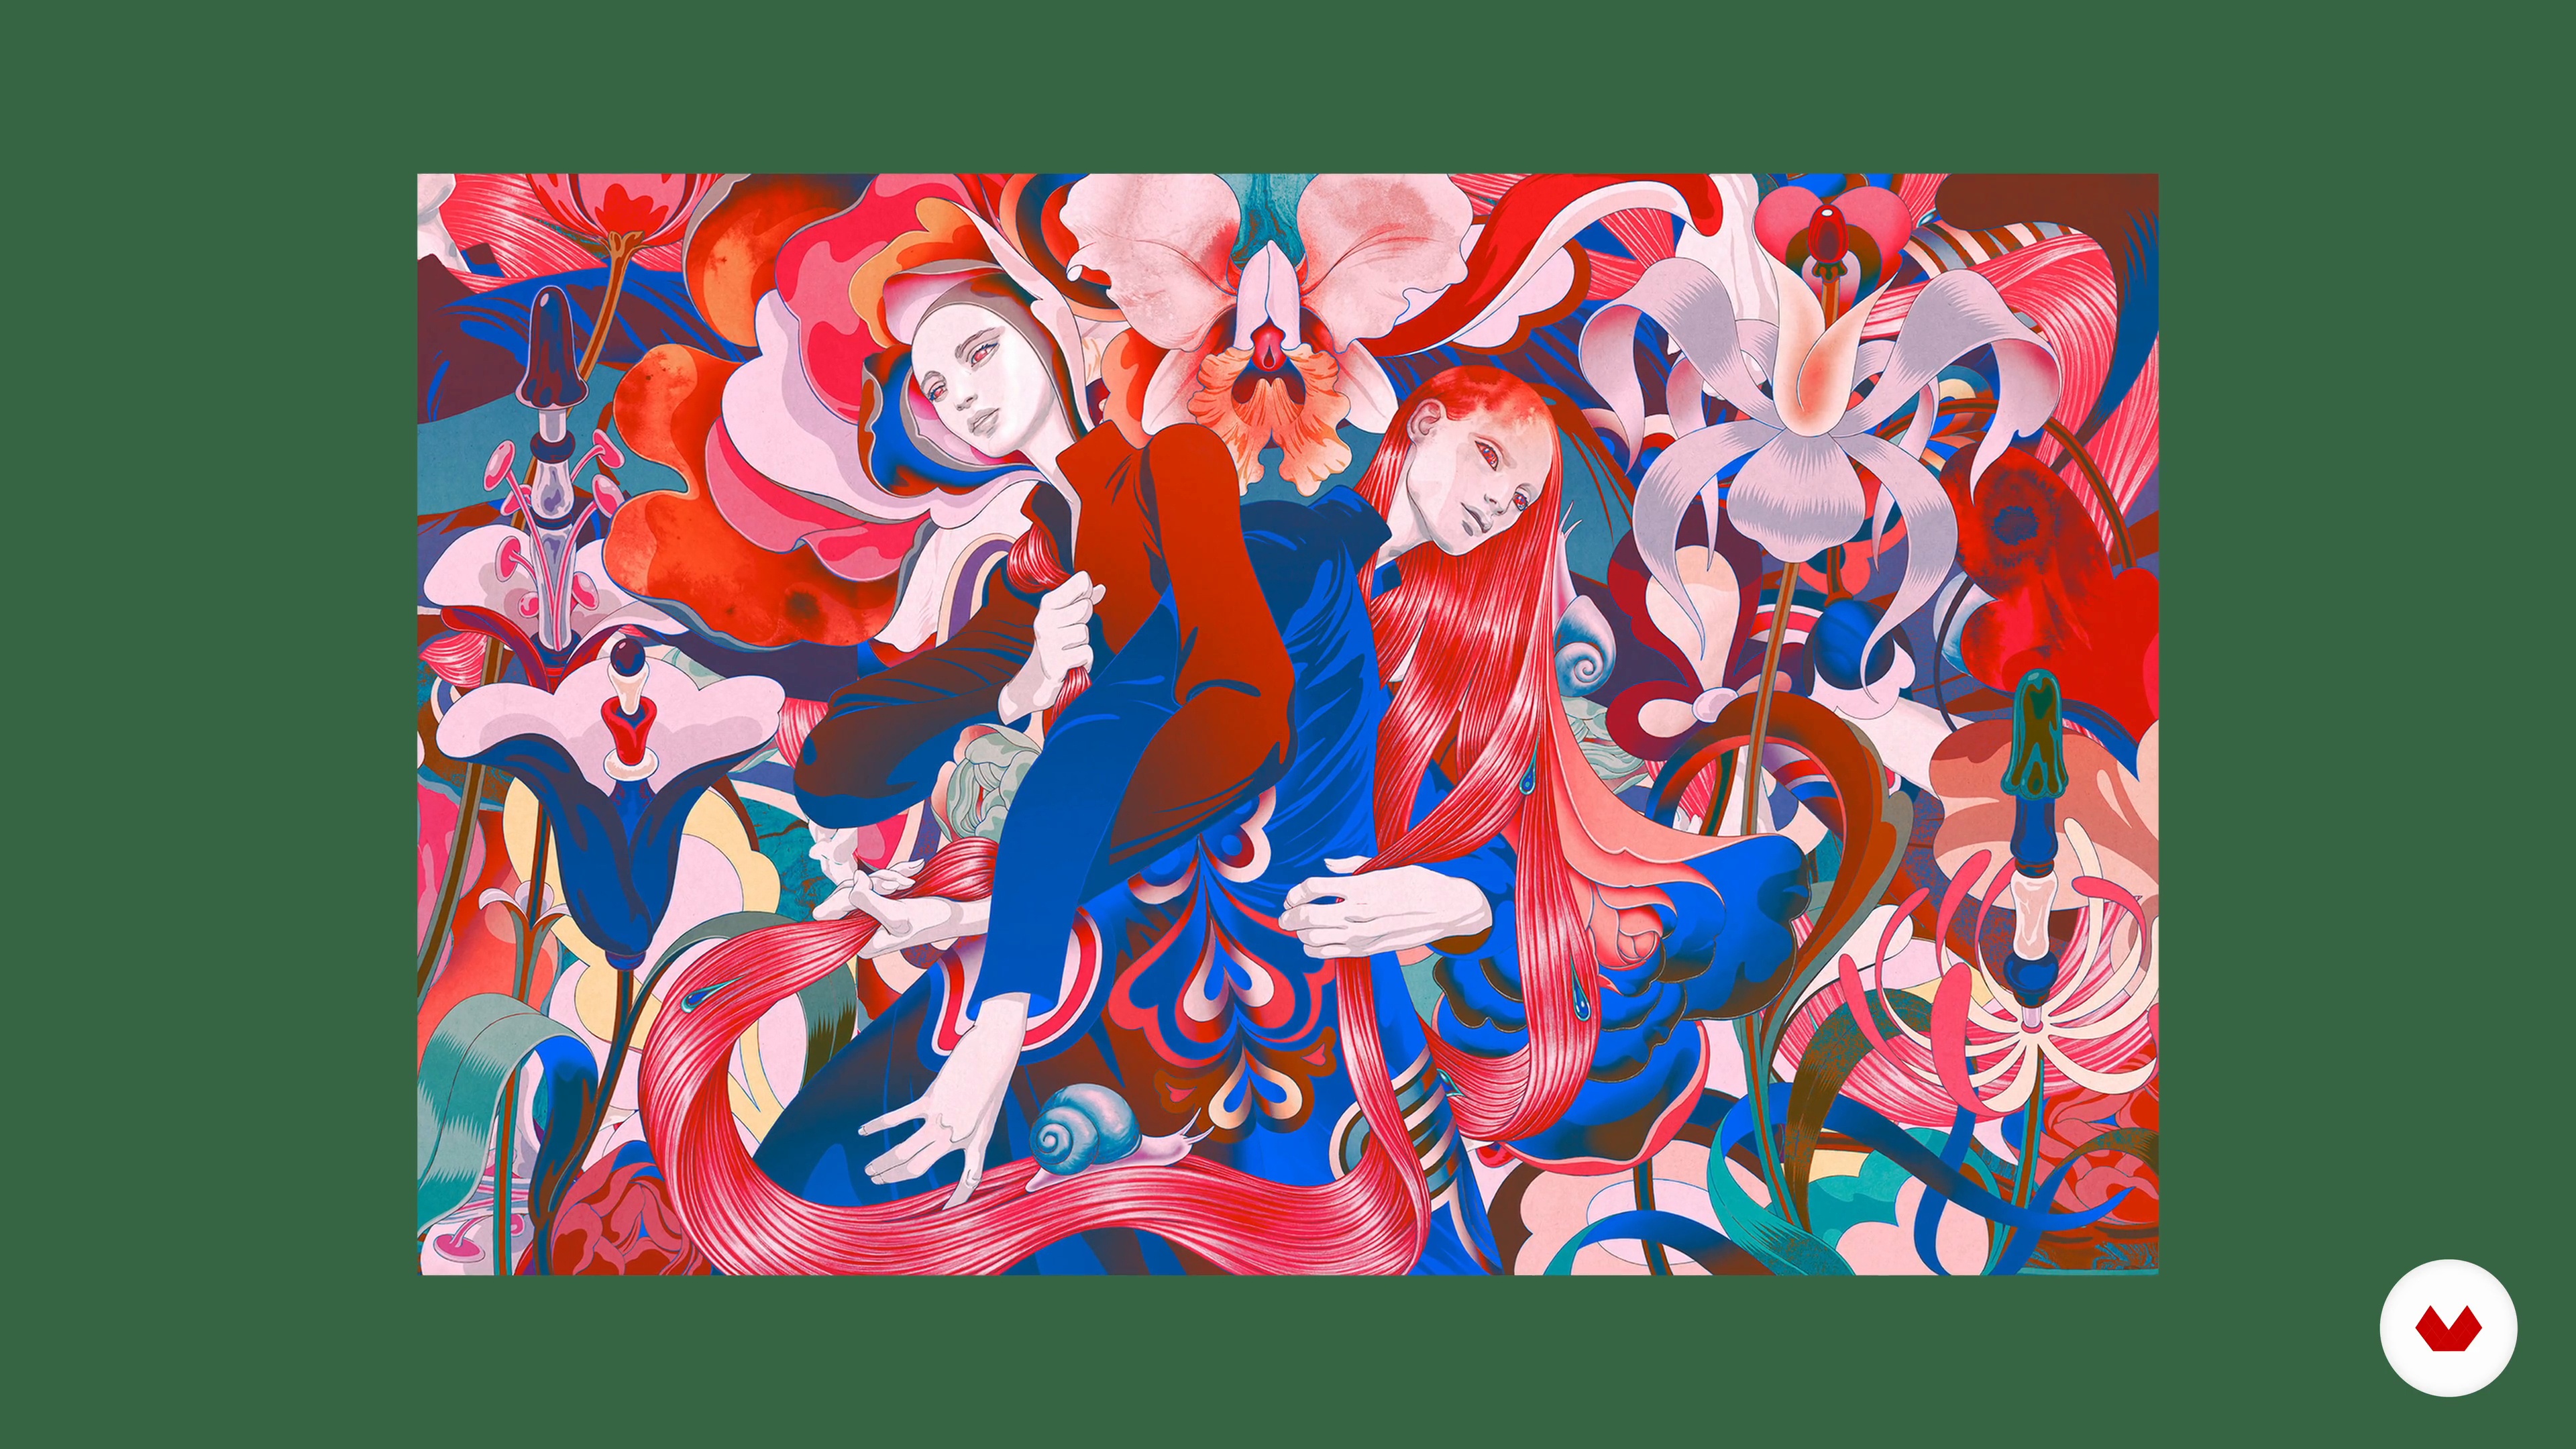
I’ll share several key influential artists, who've impacted me and my work in some way. These include the talents – of James Jean, Sachin Teng, Hieronymus Bosch, and Mark Ryden – all of whom have shaped and inspired me in their creative approaches.
4m
 6
6Influences | Jhoel Mamani Espinoza
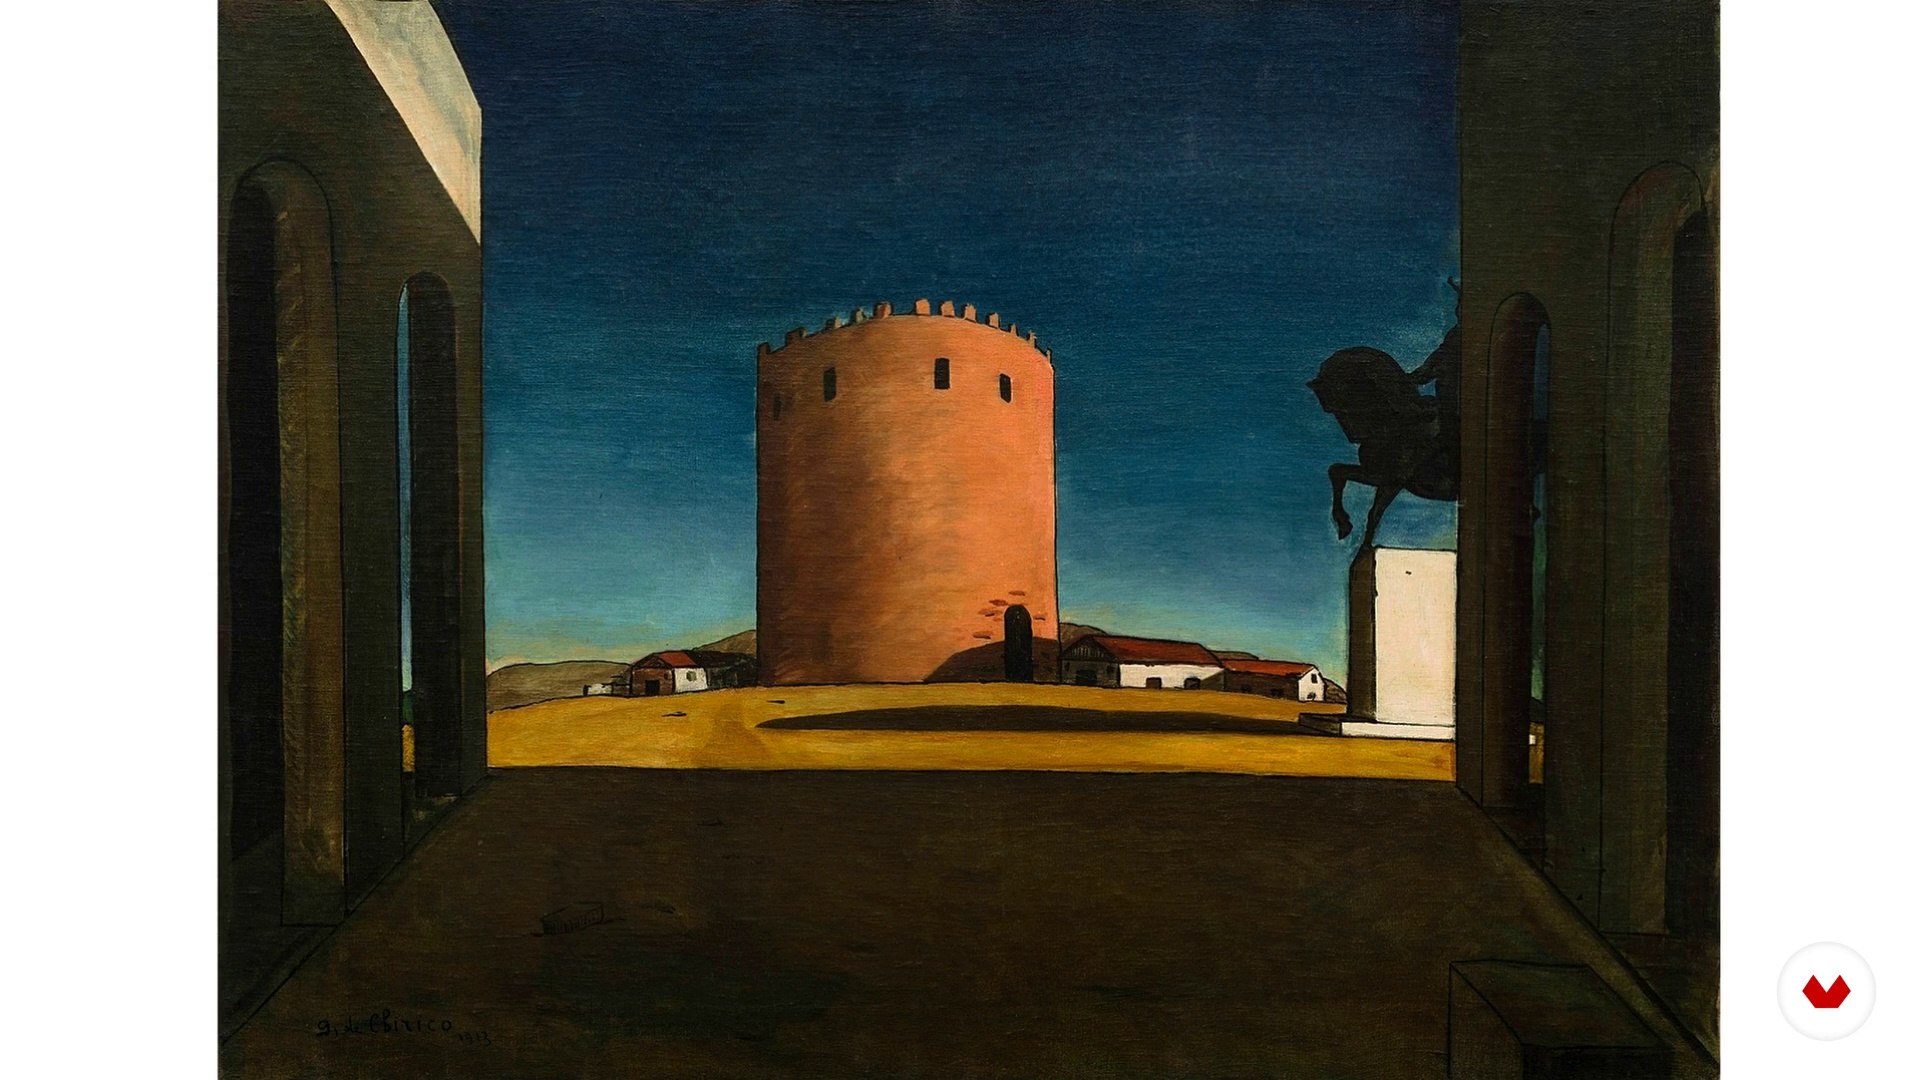
I will show you different painters that I consider the greatest exponents of this genre in painting. It is necessary to distinguish that each one of them expresses with total freedom the themes of death, loneliness, anguish, life, nature, among others, and they give us a panorama full of symbology that I will point out throughout the course.
8m
 3
3What Will We Do in This Course?
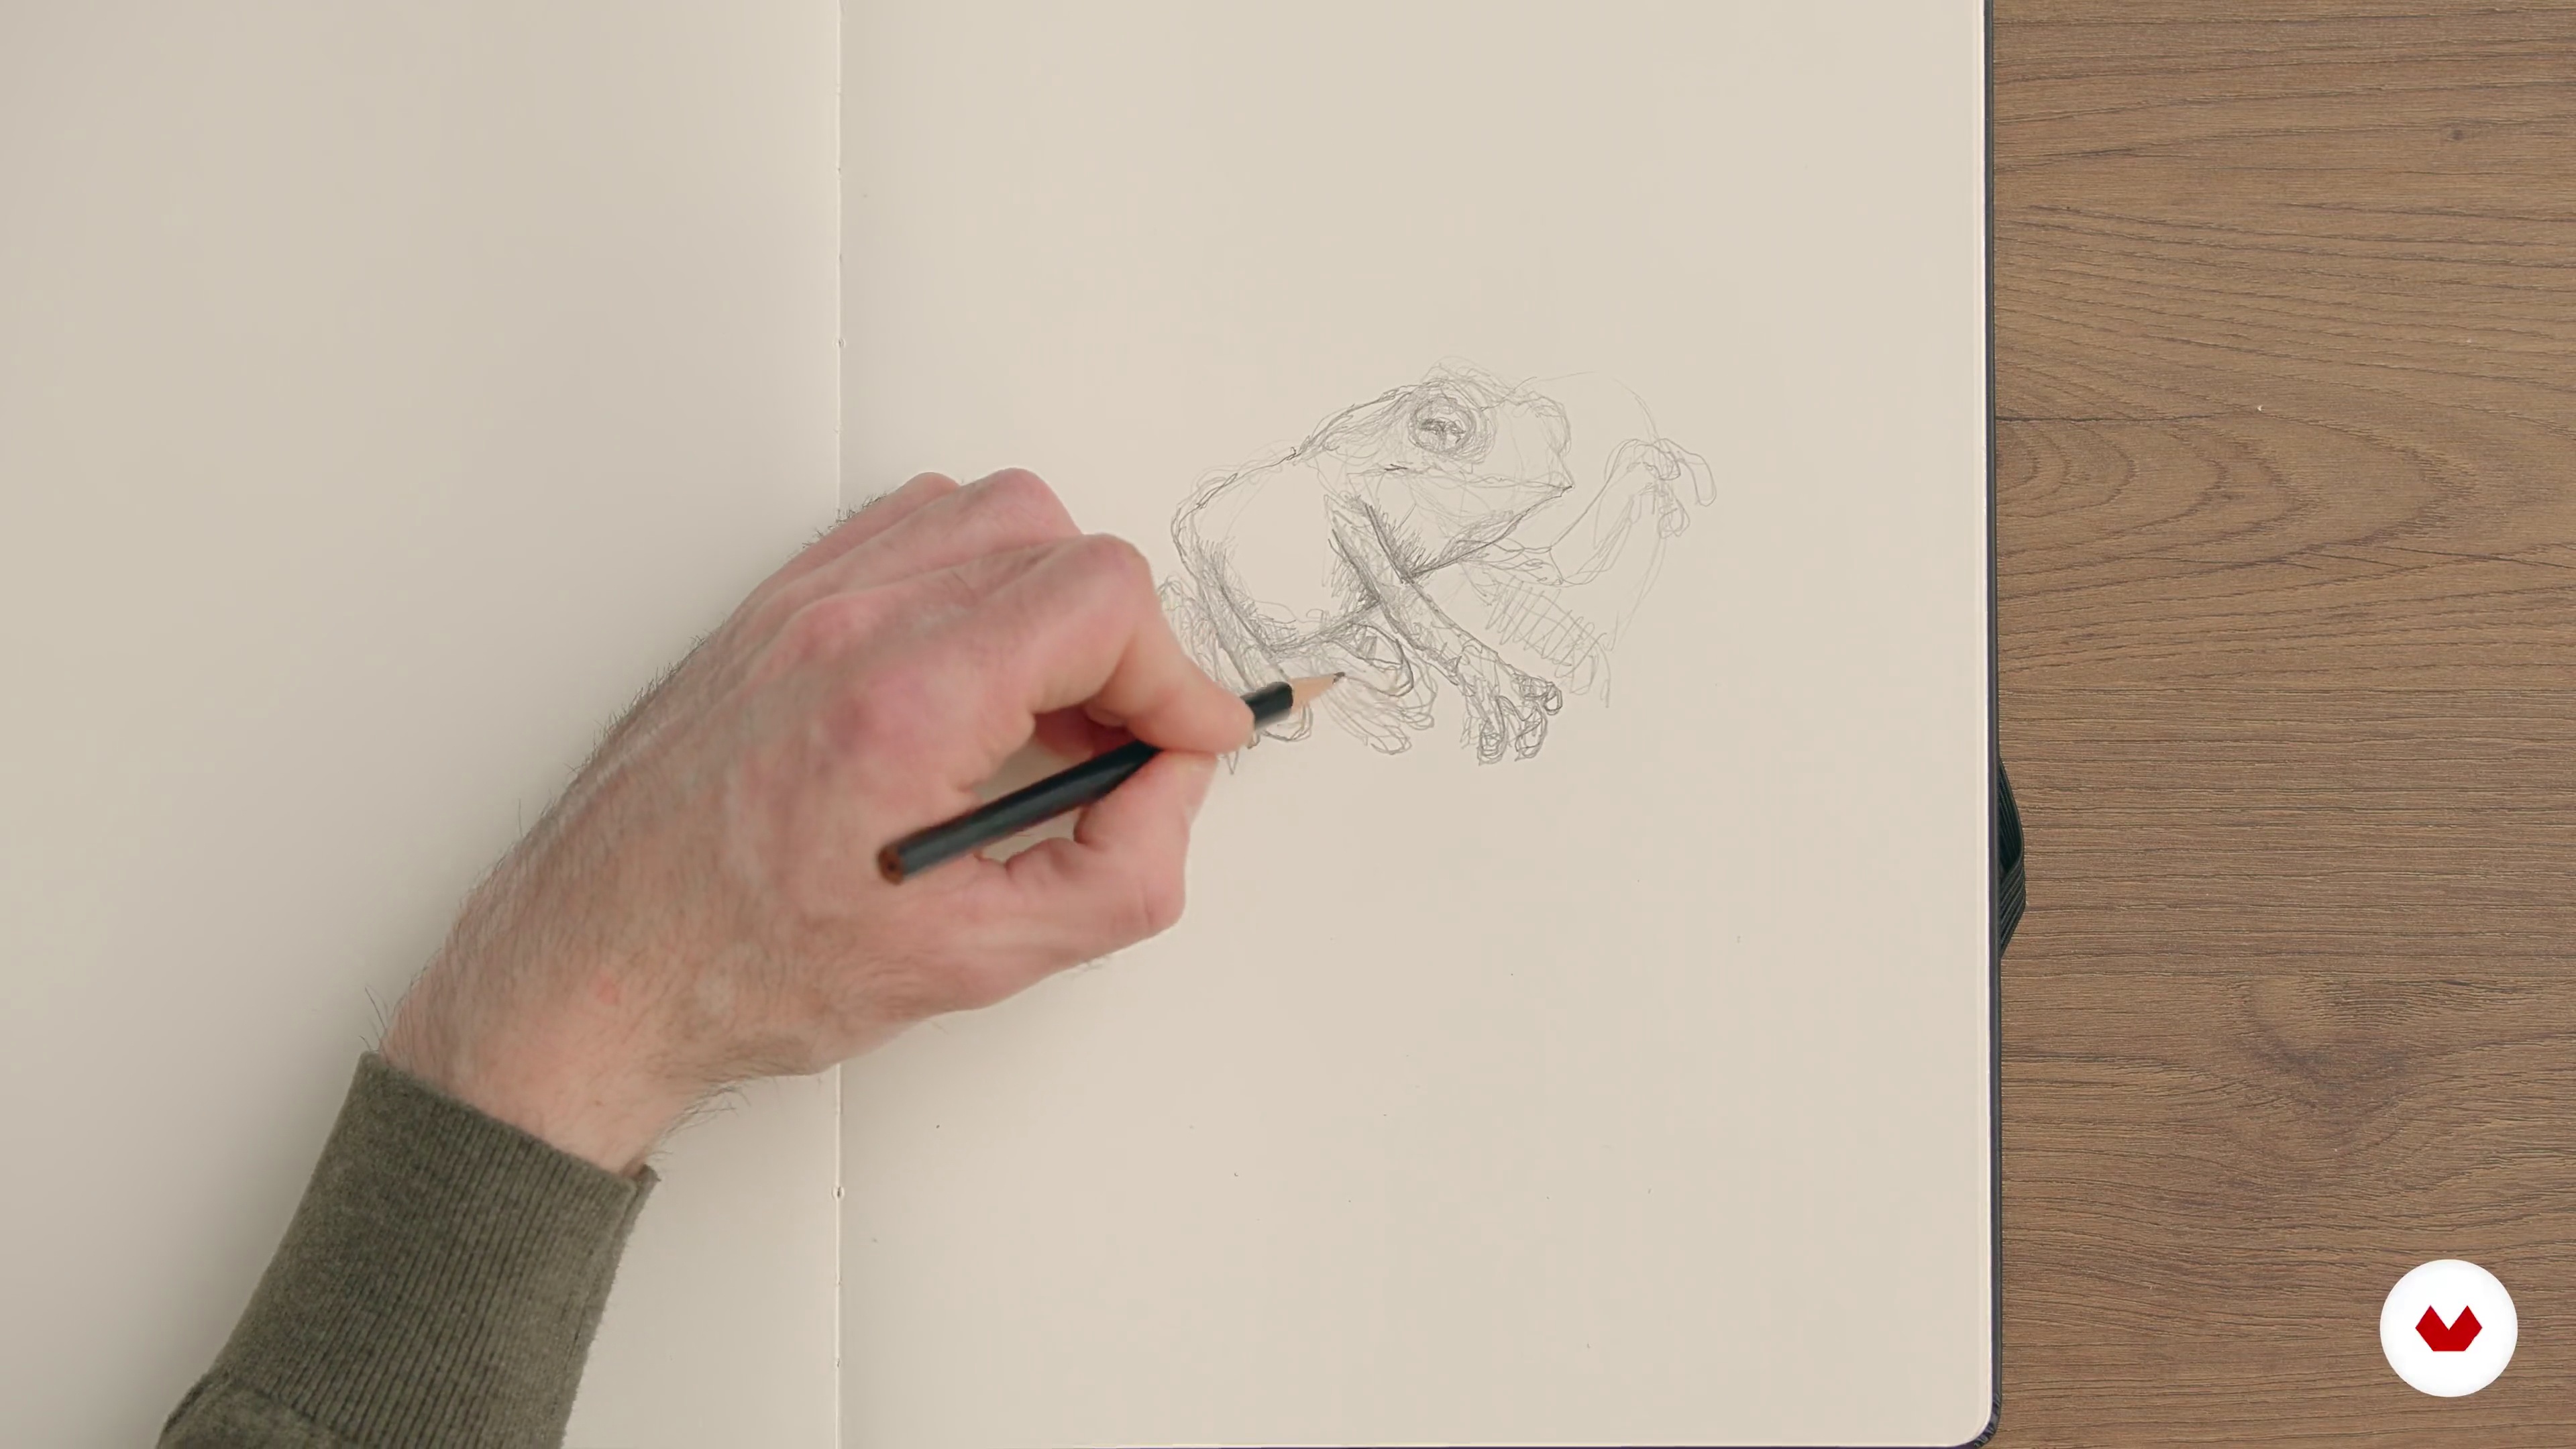
I will show you what this course is about. I will also provide you with tips and a technique that will allow you to use your brain in a different way.
3m
 4
4Materials
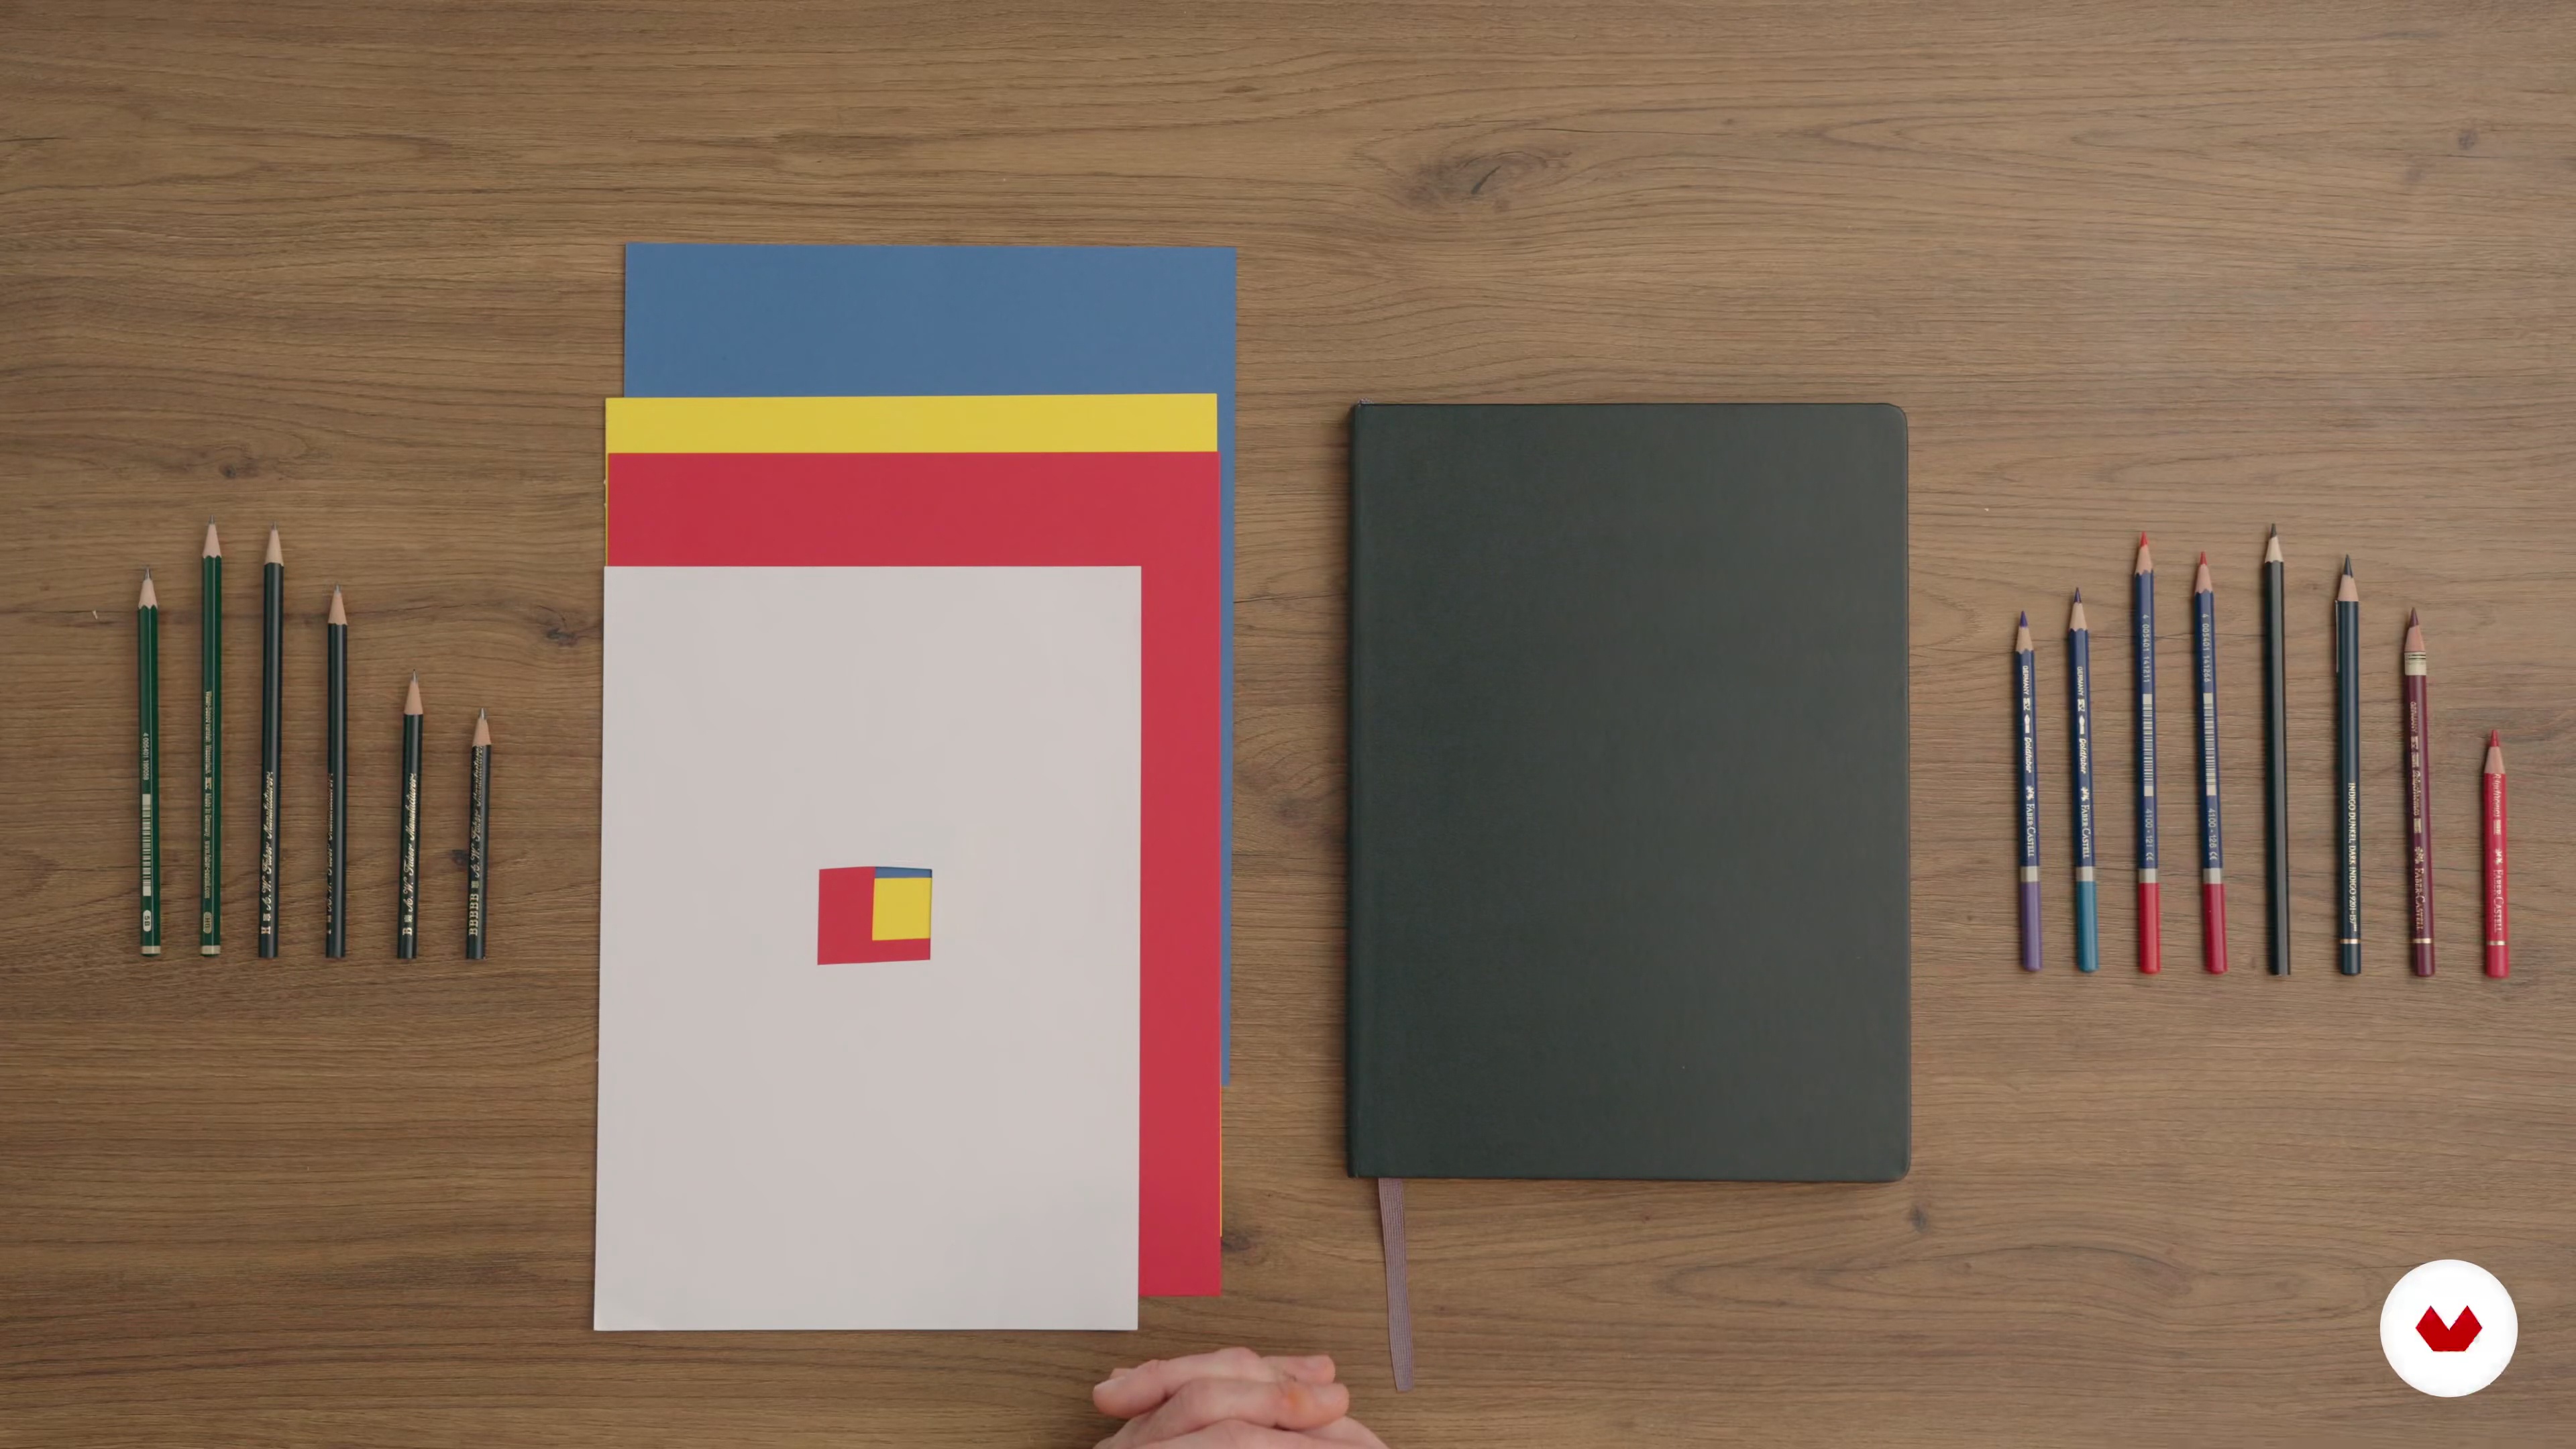
I will show you the materials you need for this course. The brand of the materials is not that important. I'll leave the choice of the colored pencils and the type of paper to you, but I'll give you some advice.
5m
 5
5Shading and Color Techniques
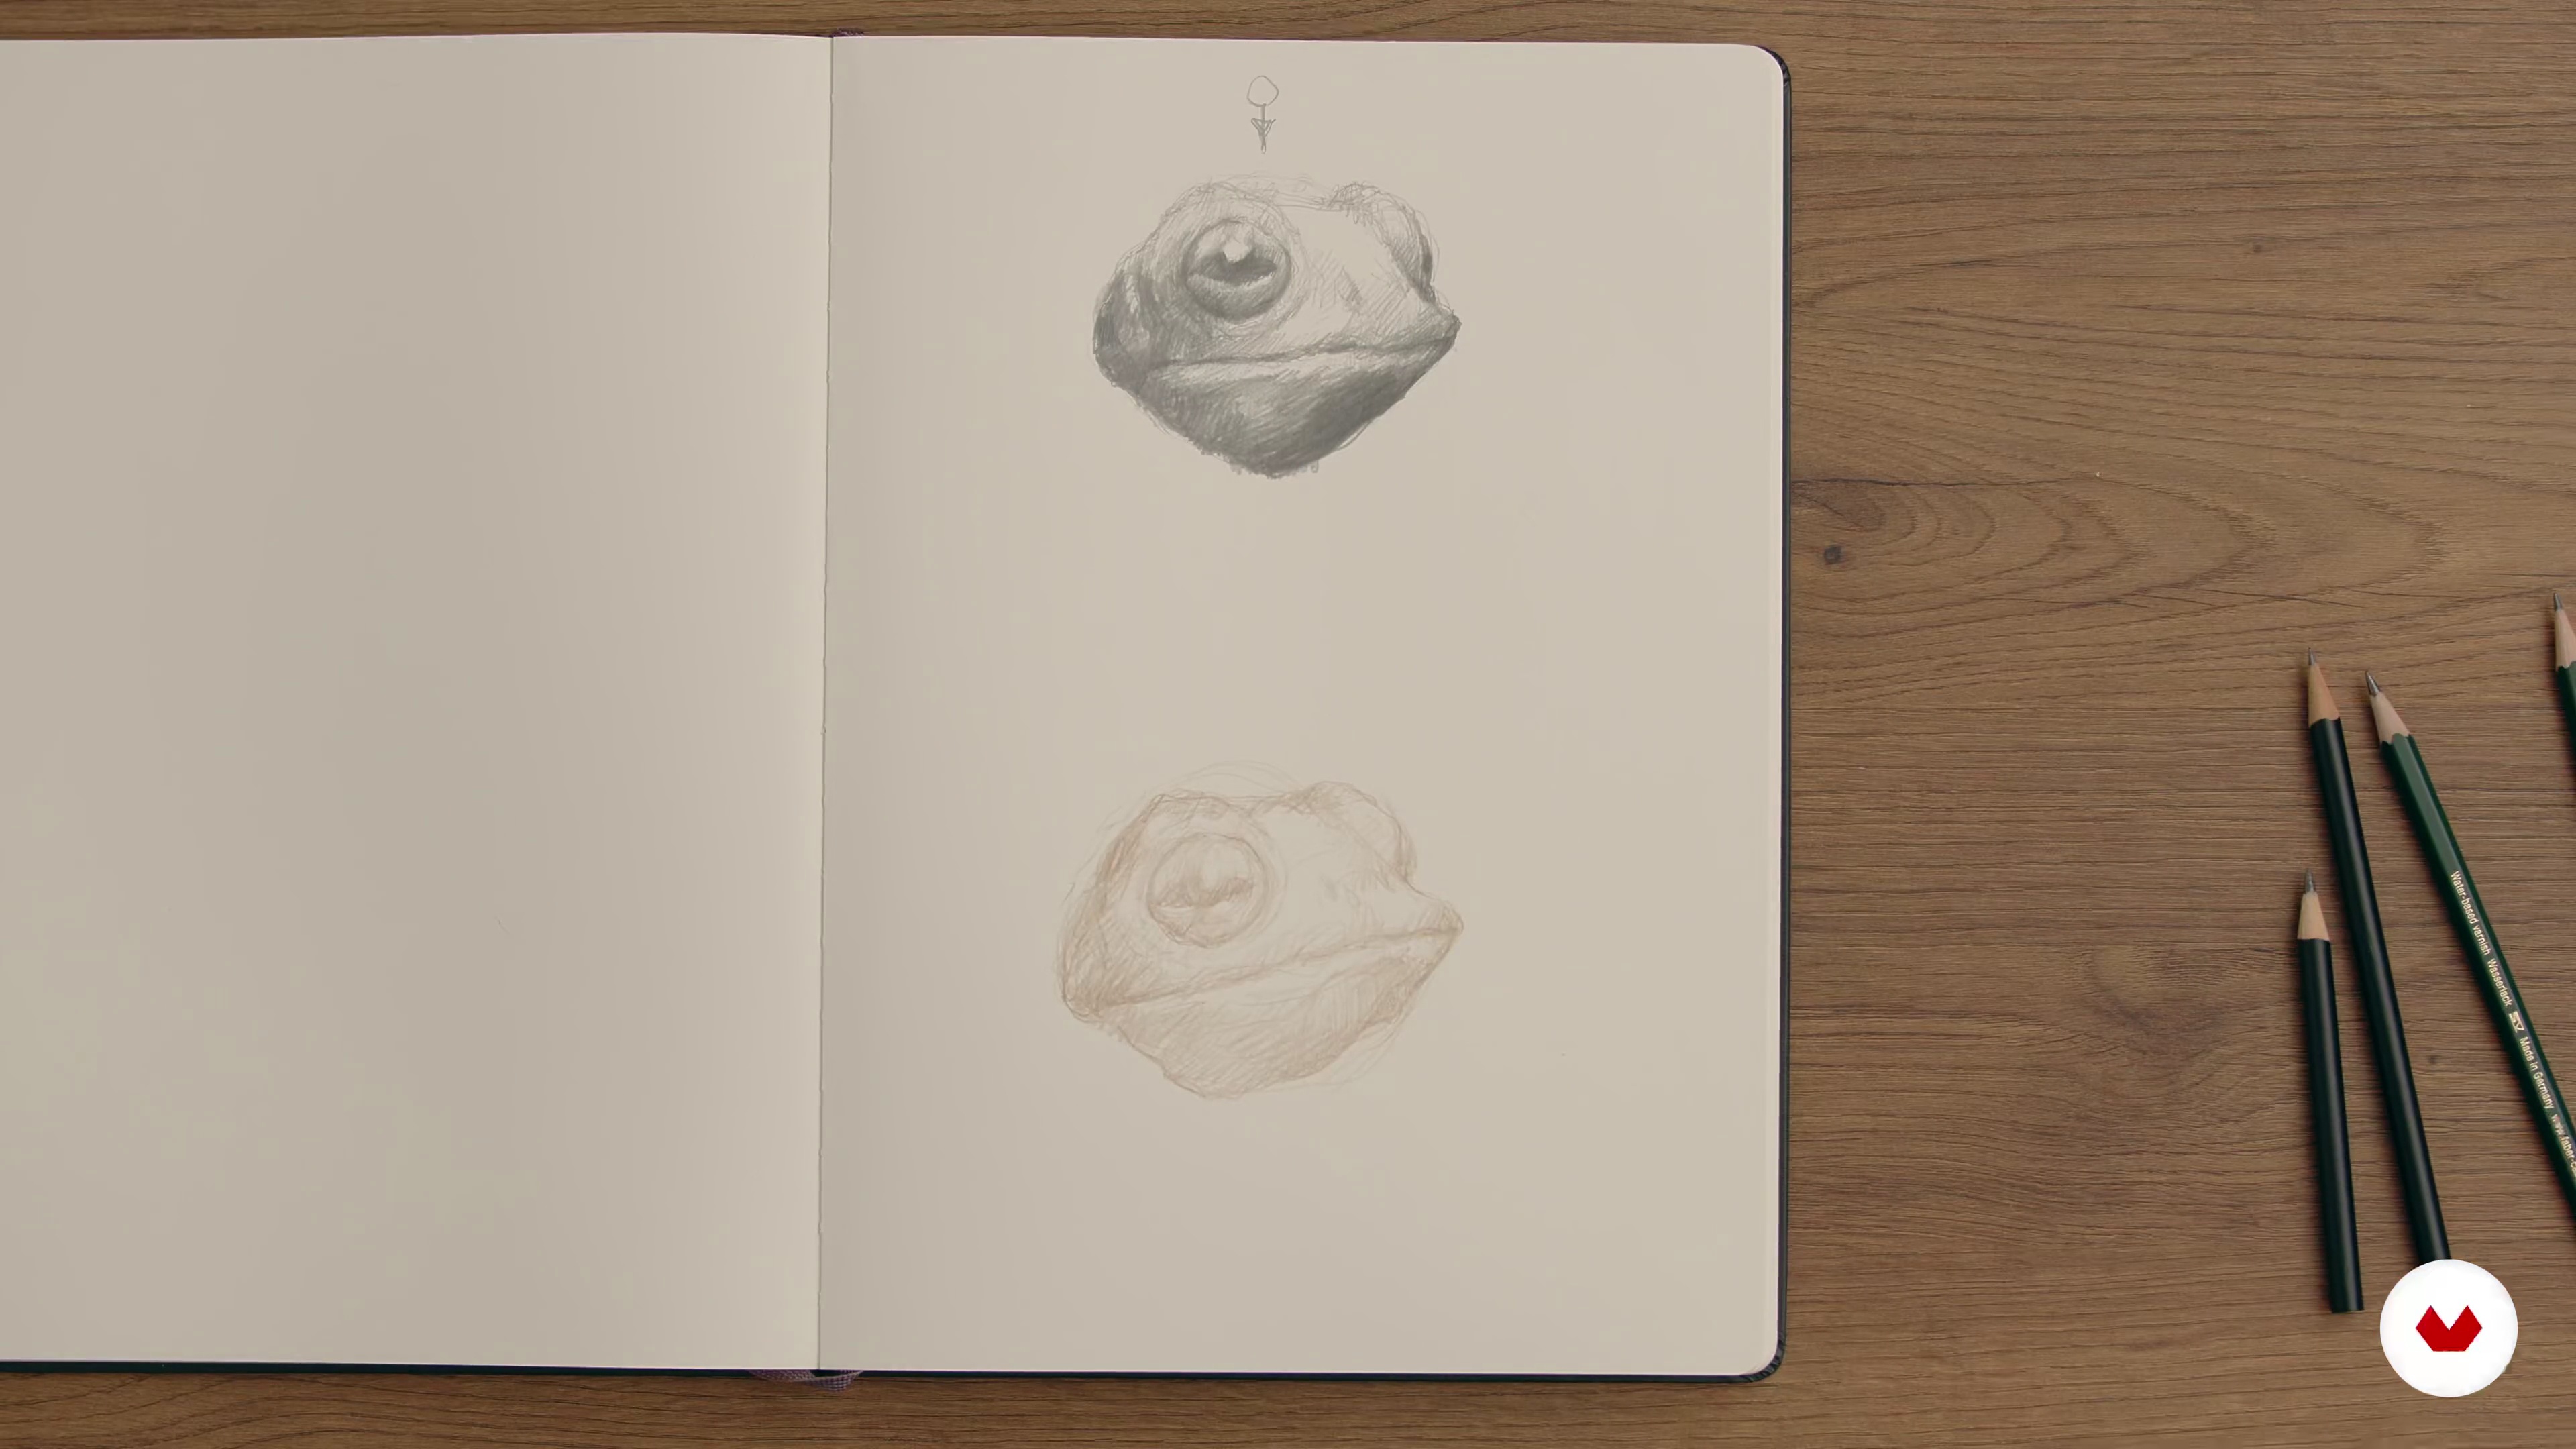
I will show you some practical examples to use different kinds of colored pencils and graphite. In this lesson, I'll provide some tips to make a good sketch without too many pencils, and we will play with contrast.
19m
 6
6The Symbolic Meaning of Animals
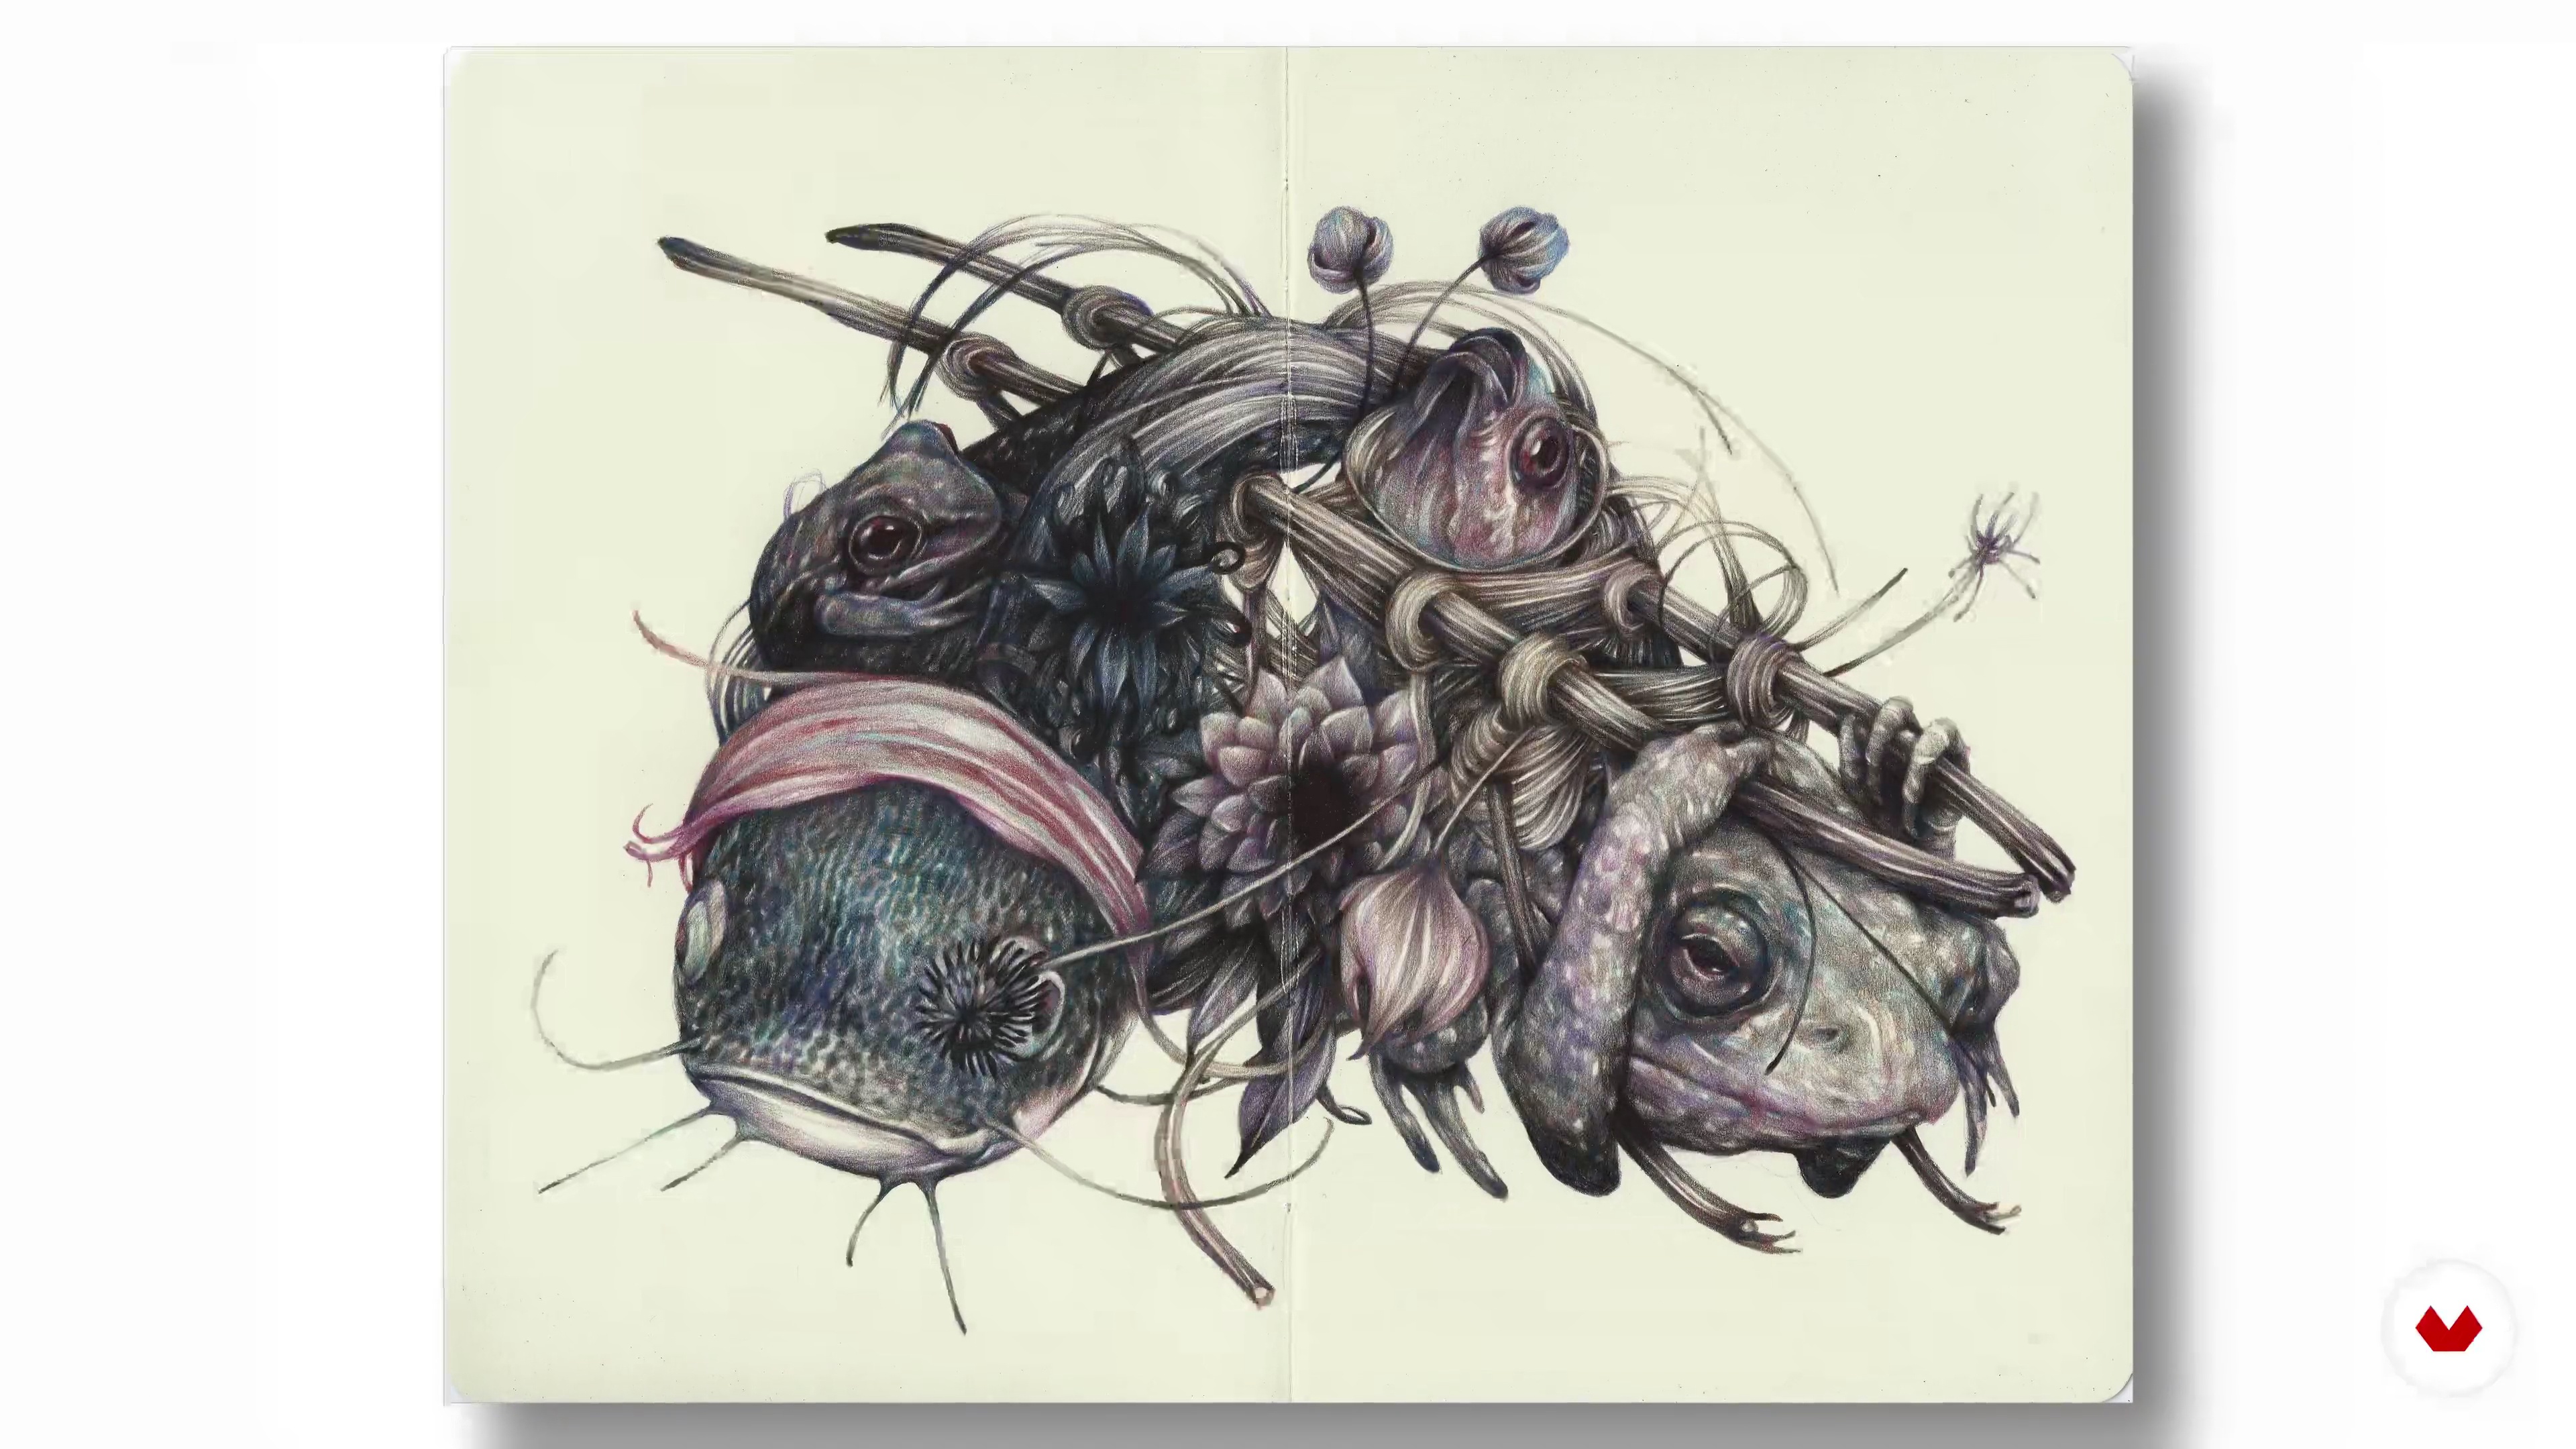
I will talk about the concept that must be behind the drawing. The choice of the subject can be random, but it is always useful to analyze the symbols to use them in your work. If you choose the subjects according to their meaning, your work will be more impactful.
7m
 7
7Sketching
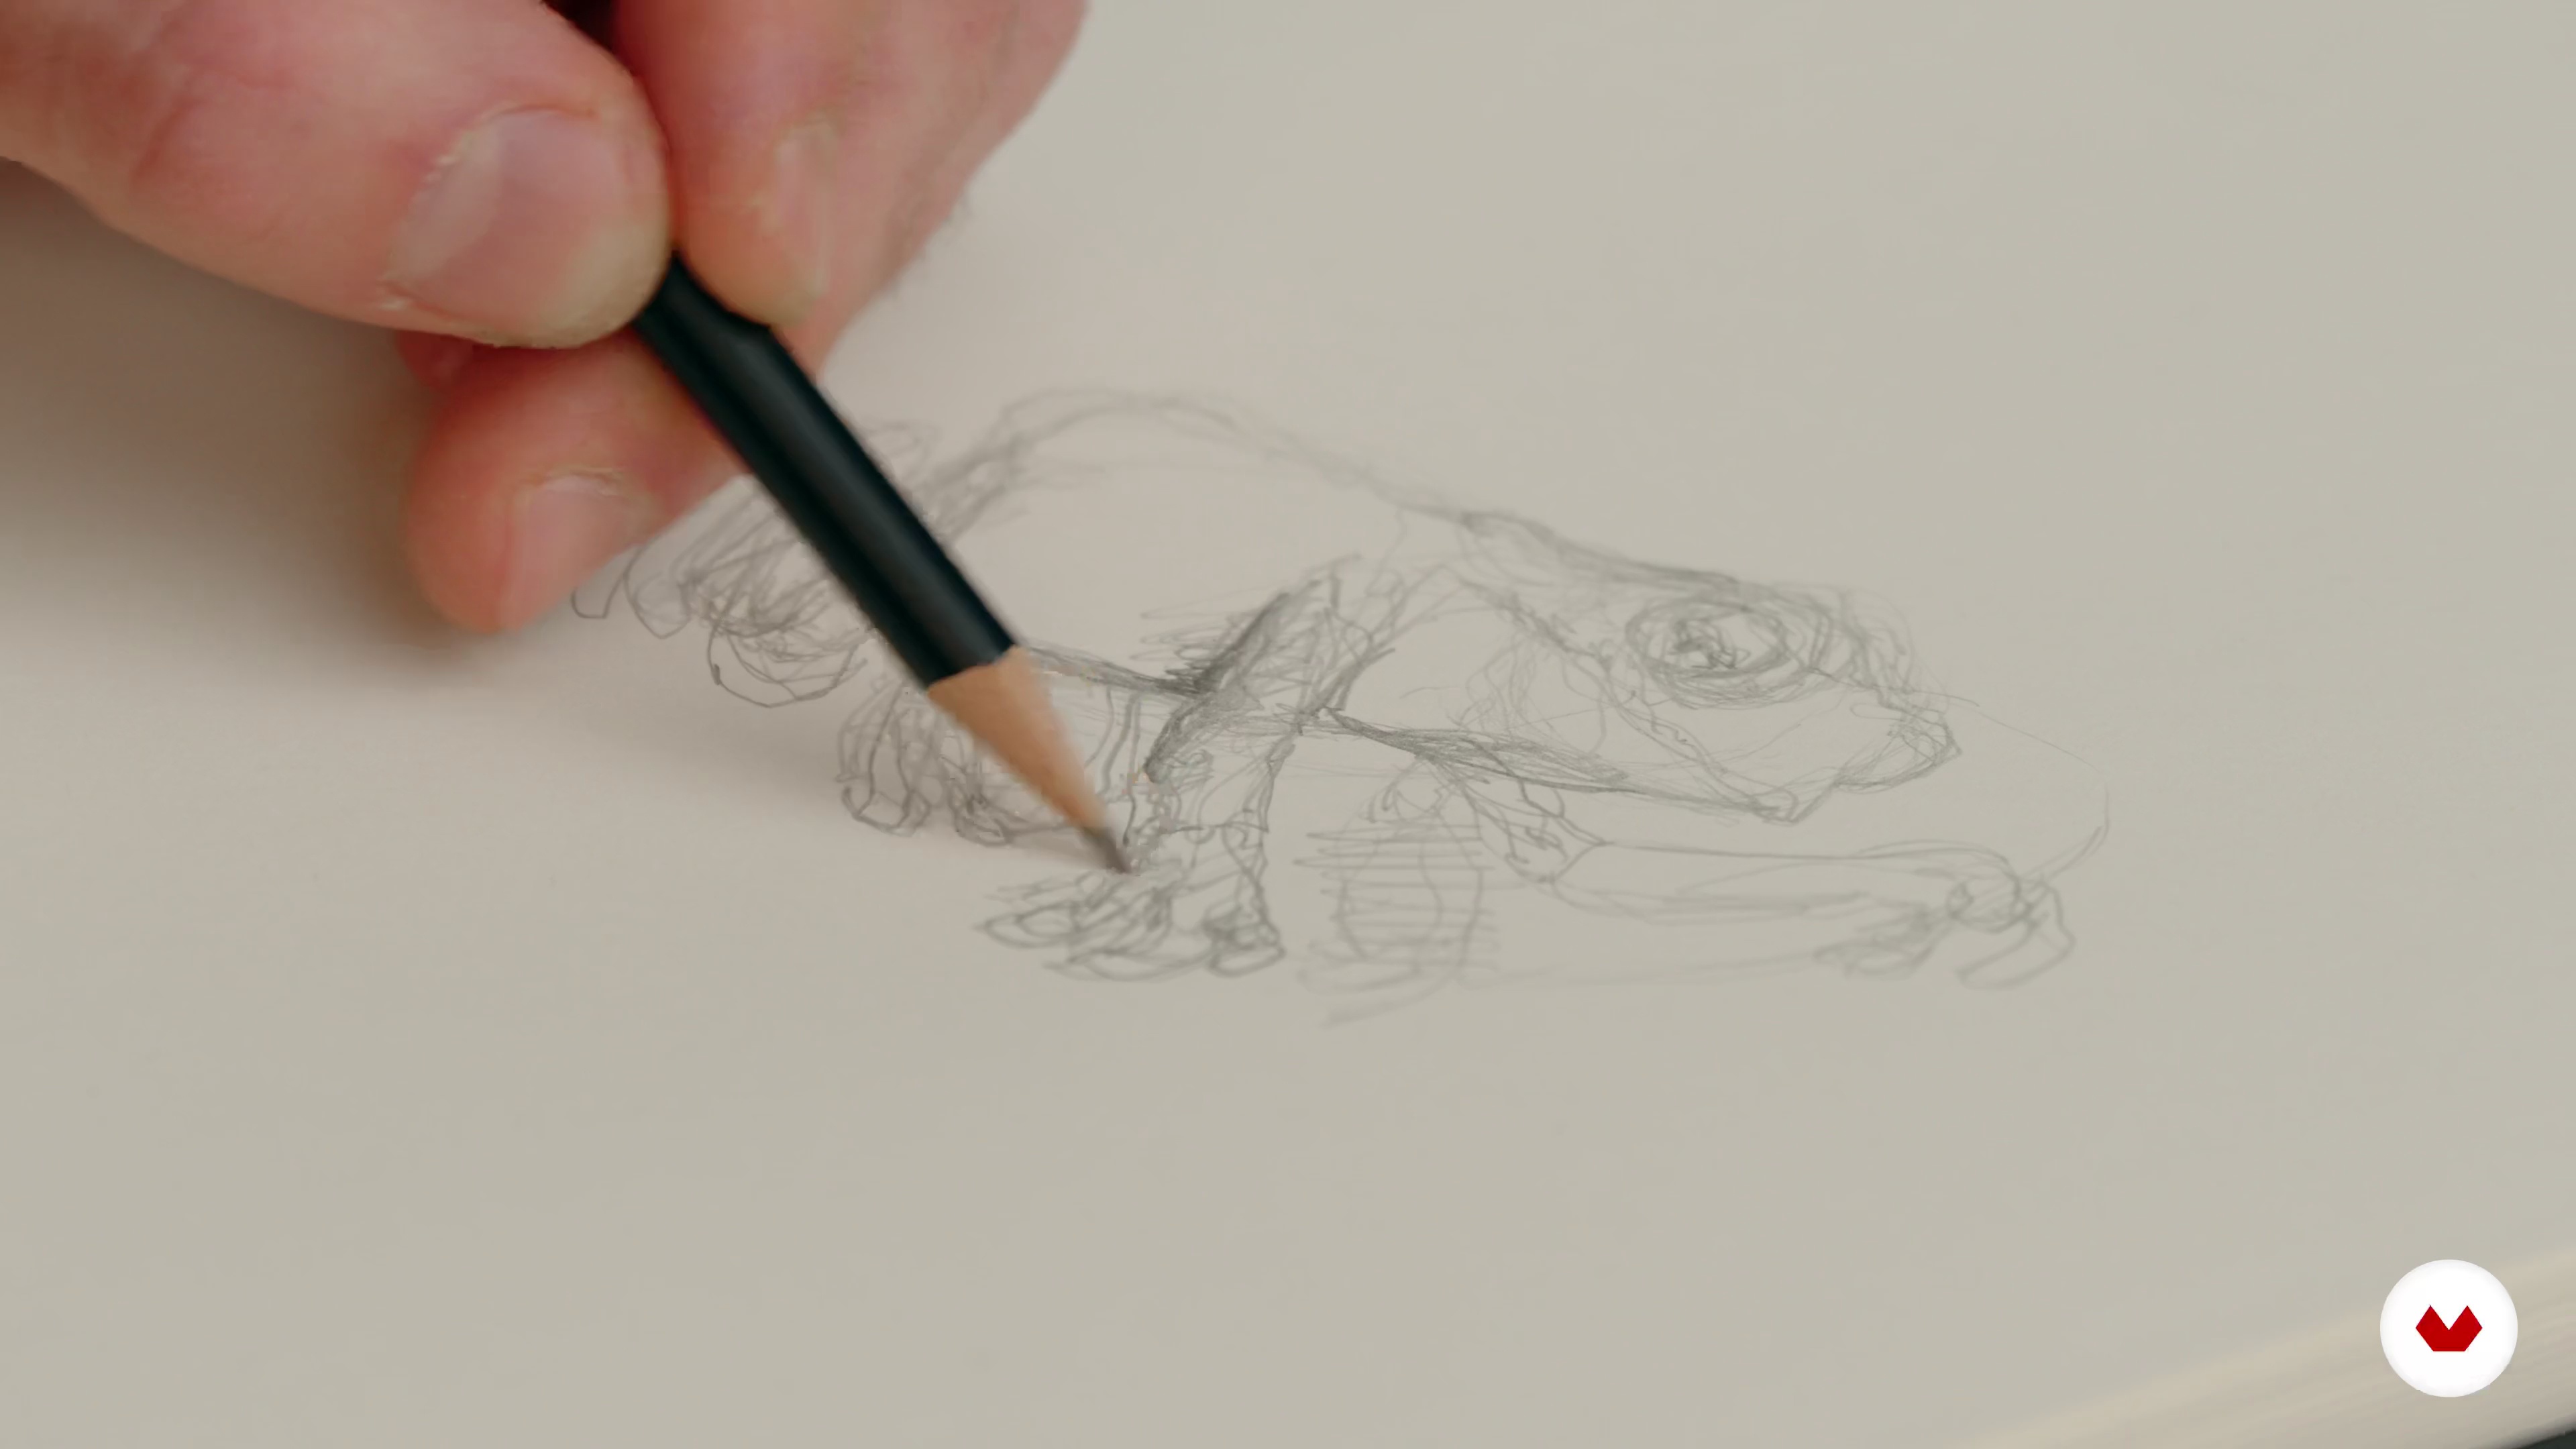
The sketchbook is really important for an artist or an illustrator. Sketching practice allows you to draw more fluently. I'll tell you a few tricks to move your subject to the position you want.
16m
 8
8What Is Drawing Through the Window?
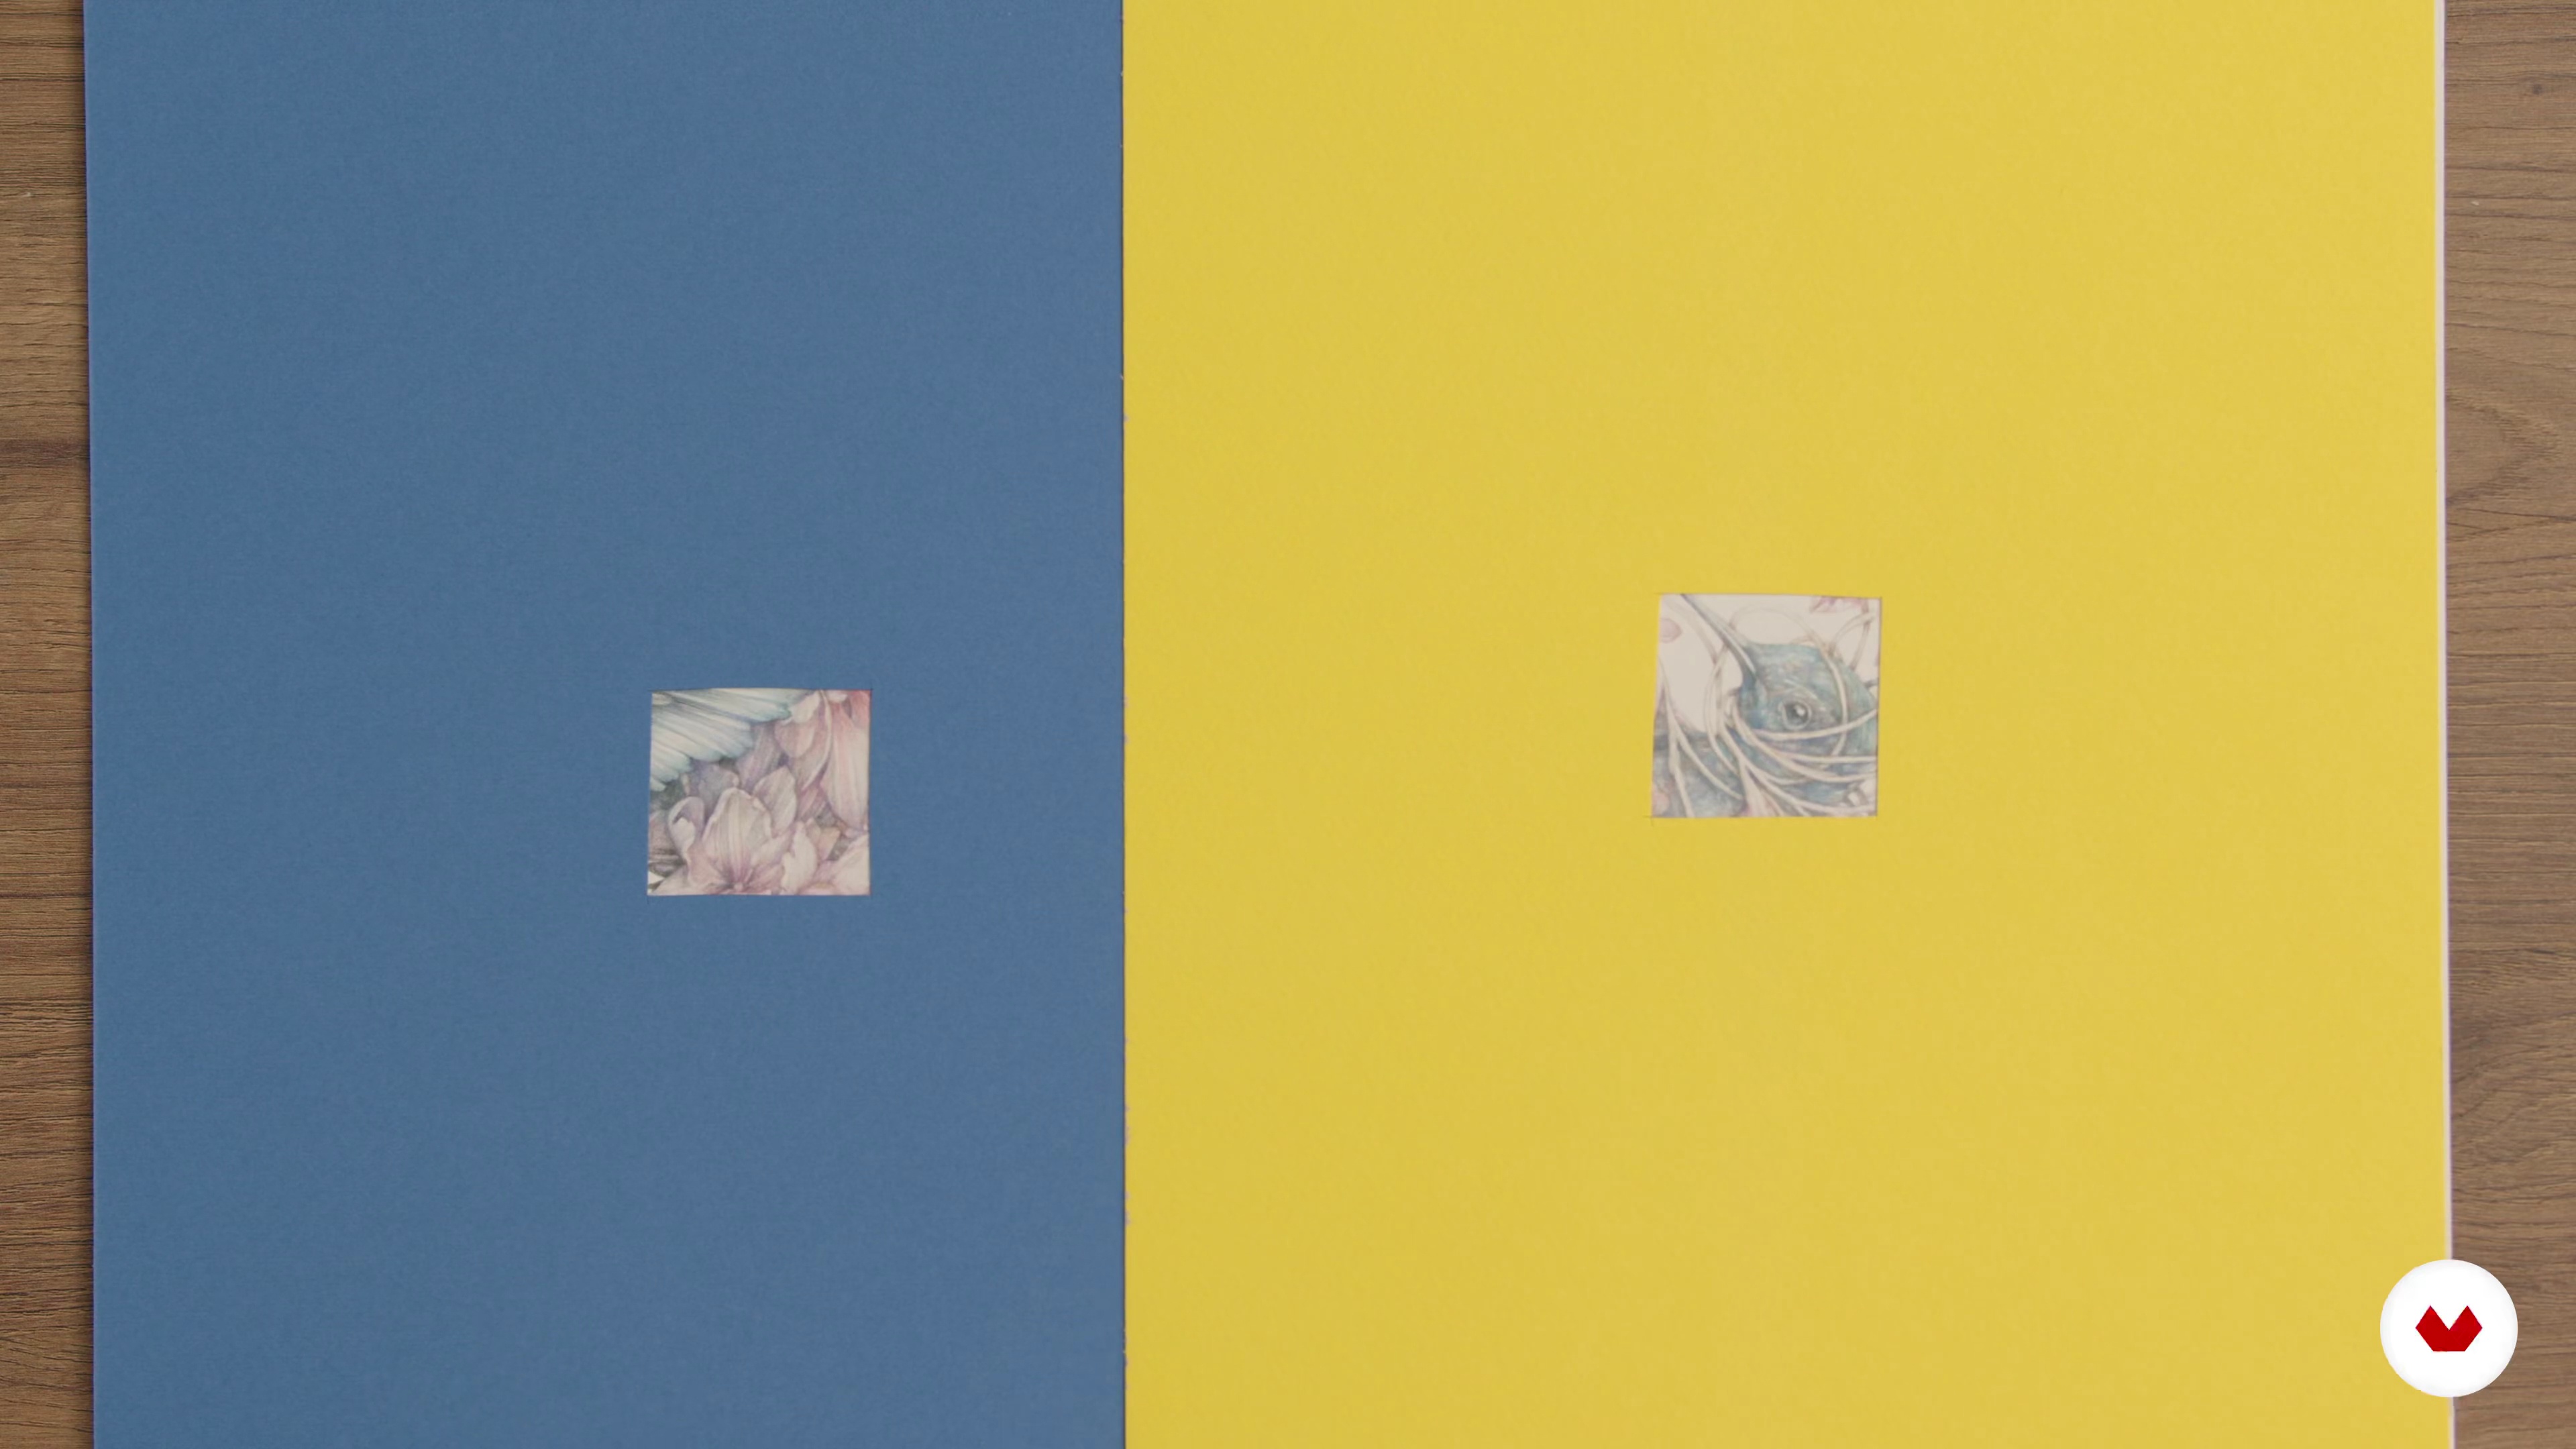
I will show you the "drawing through the window" technique. Drawing certain parts of your subject can be difficult at times. With this technique, you will be able to have the same tension of draw in the whole paper.
11m
 9
9Draw Without Looking
Here I'll show you a fun exercise that may seem strange, but it is useful to allow your hand to work free from your eye.
5m
 10
10Shape Shifter
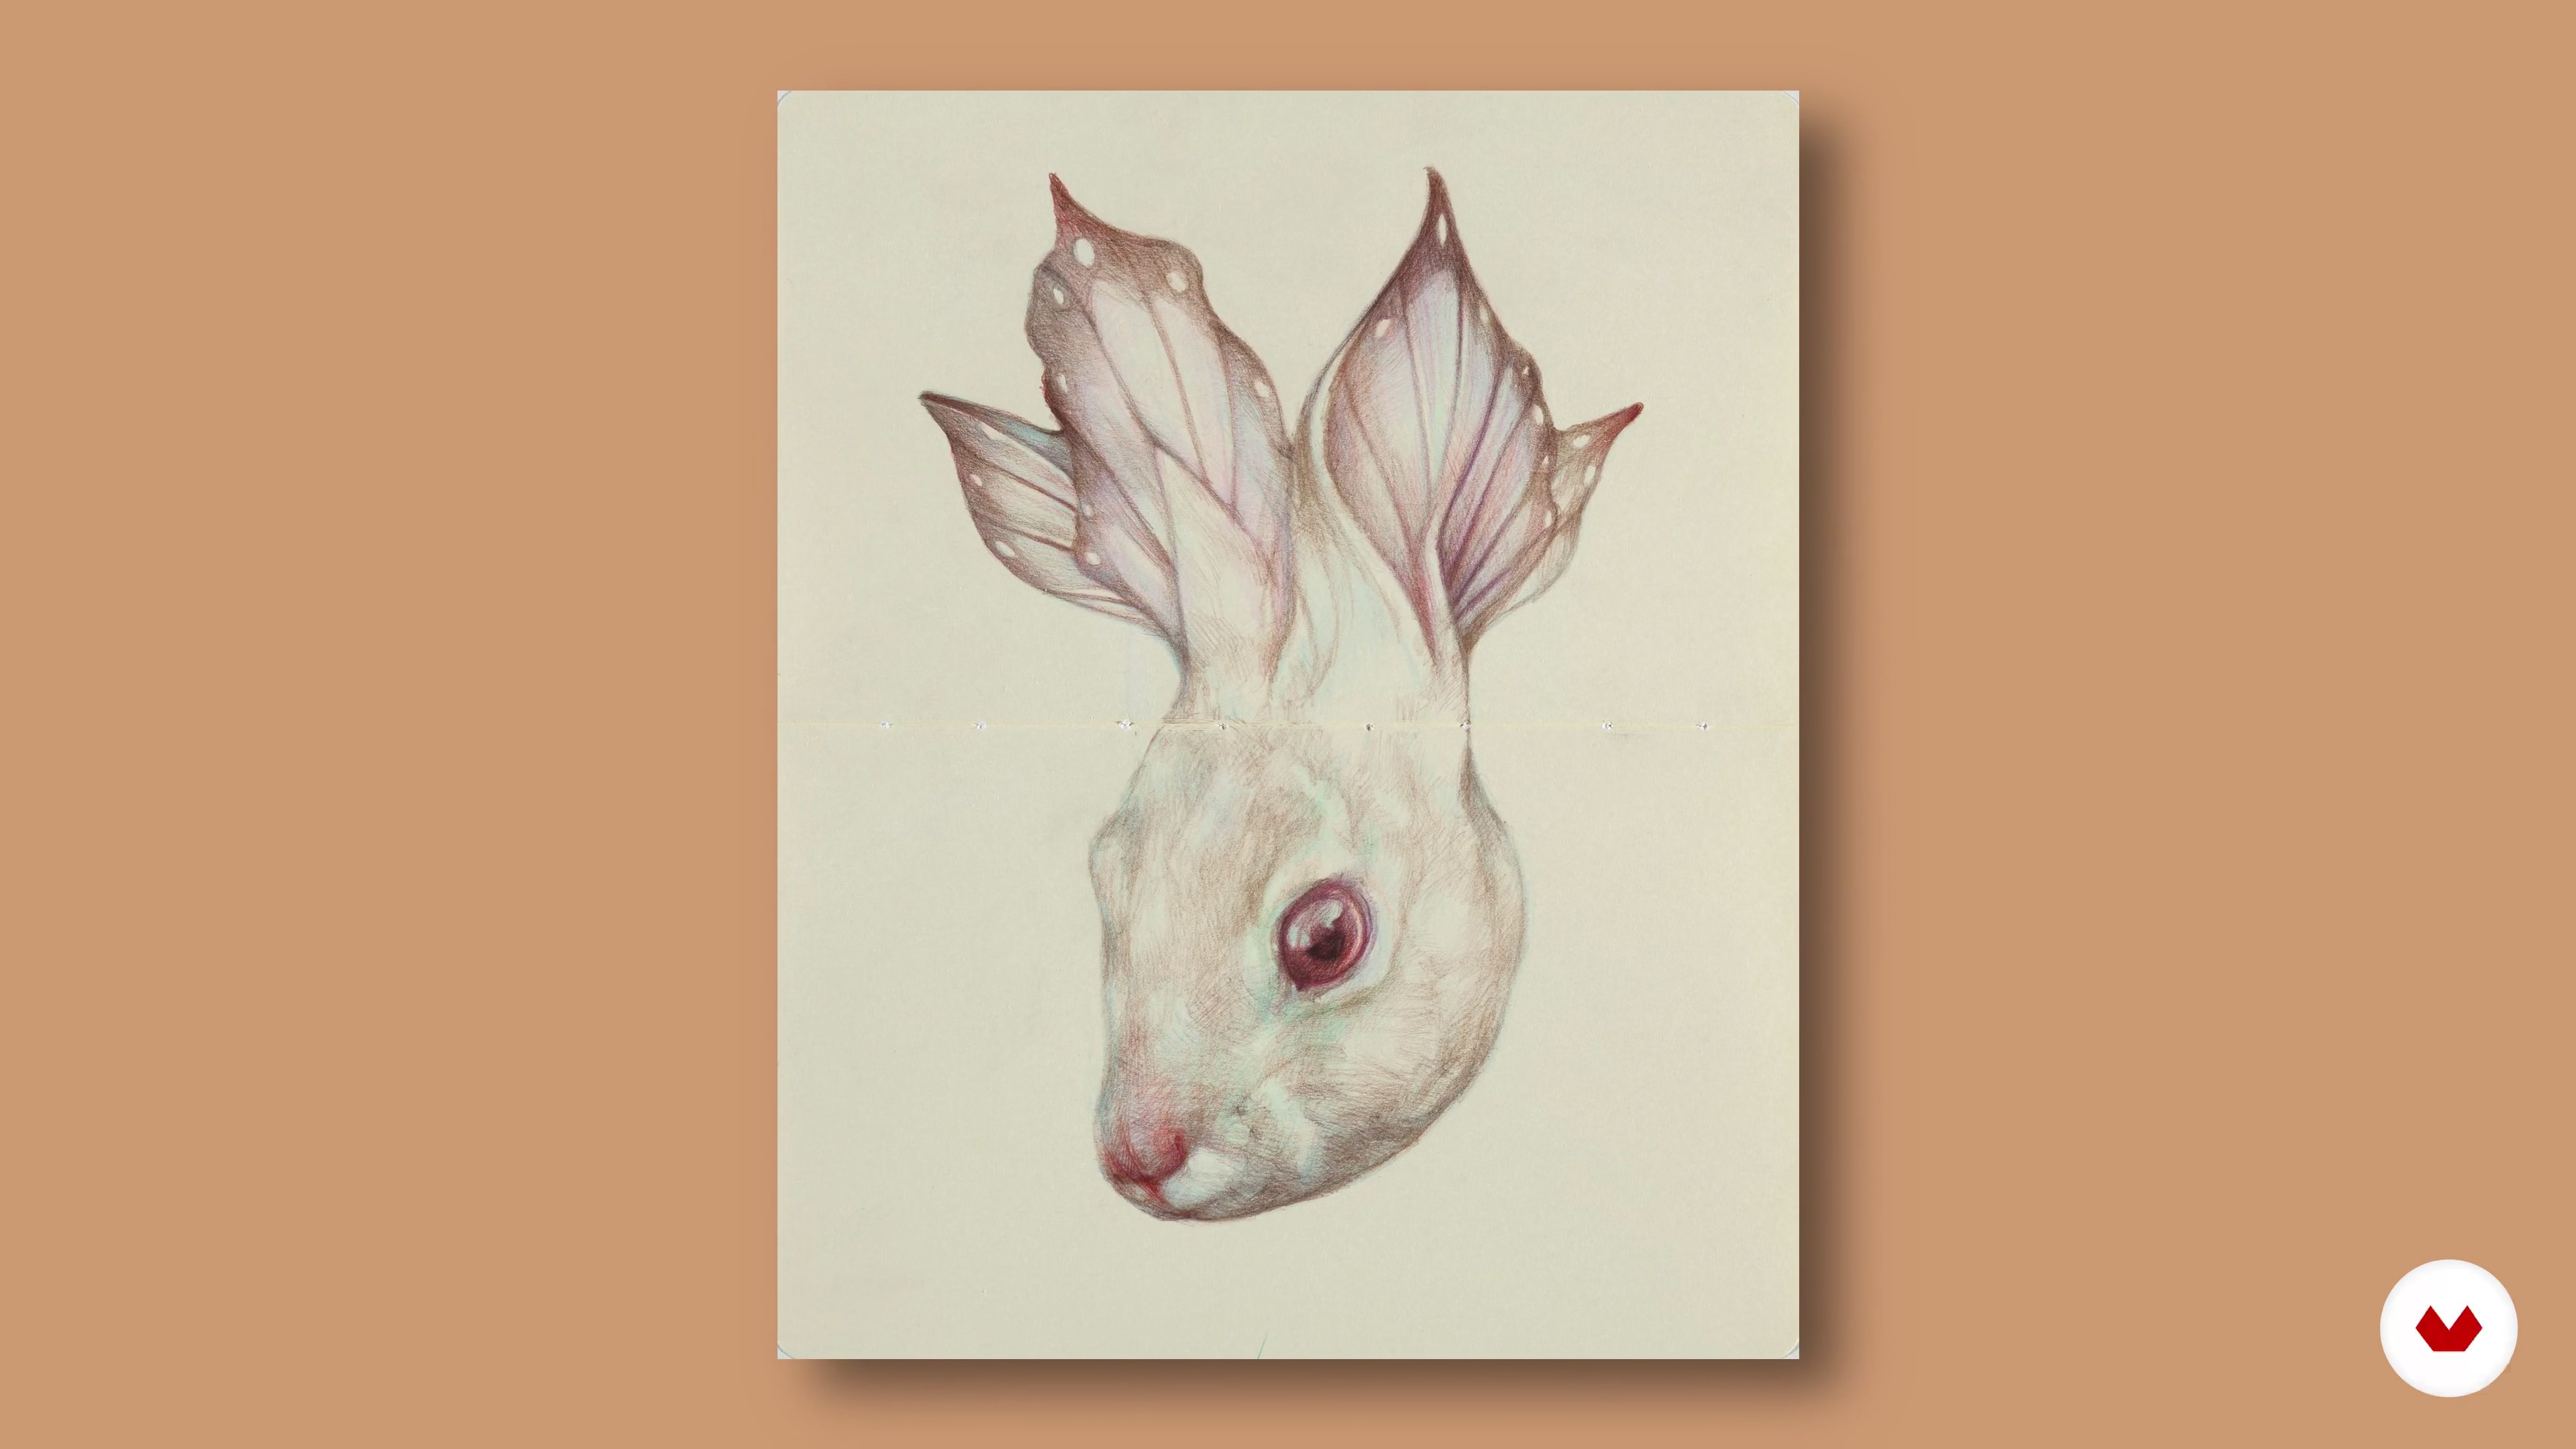
It is always useful to know shapes well for drawing. In this exercise, you will have to force your mind to create new shapes from different subjects.
7m
 11
11Create the Palette
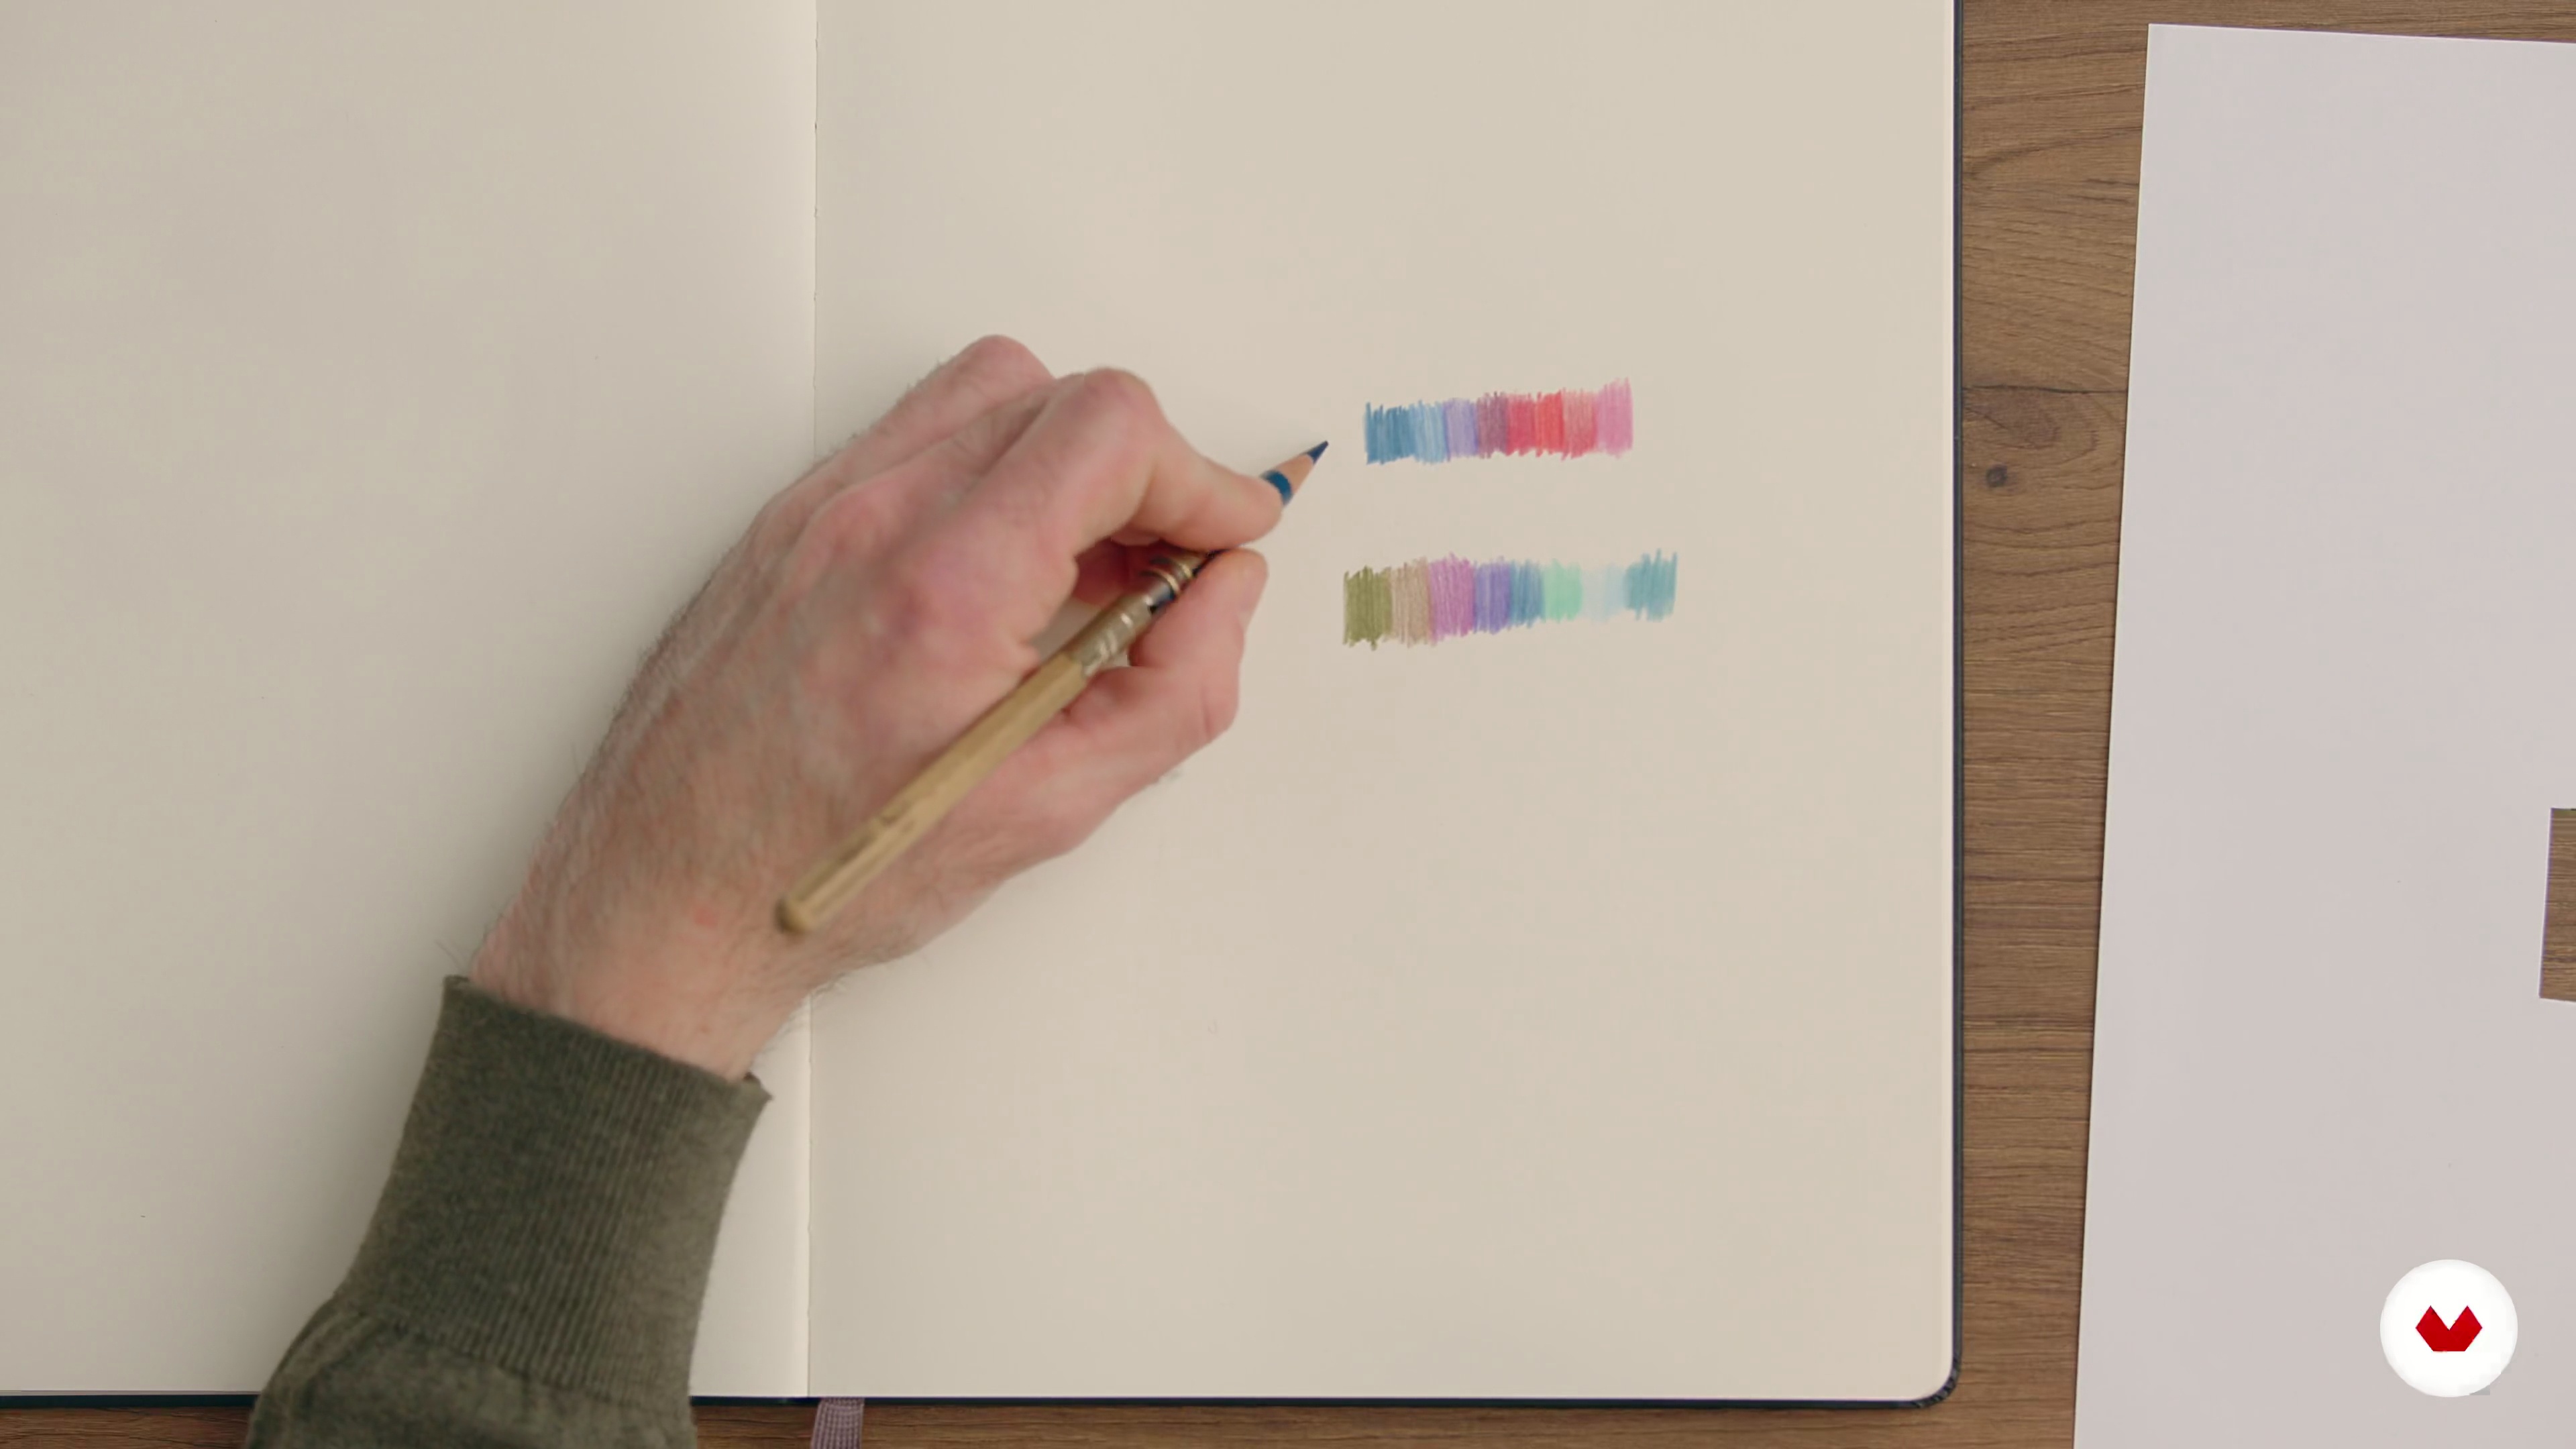
This is a different way to create palettes based on association of ideas, choosing the colors step by step.
8m
 12
12Let’s Do the Lines
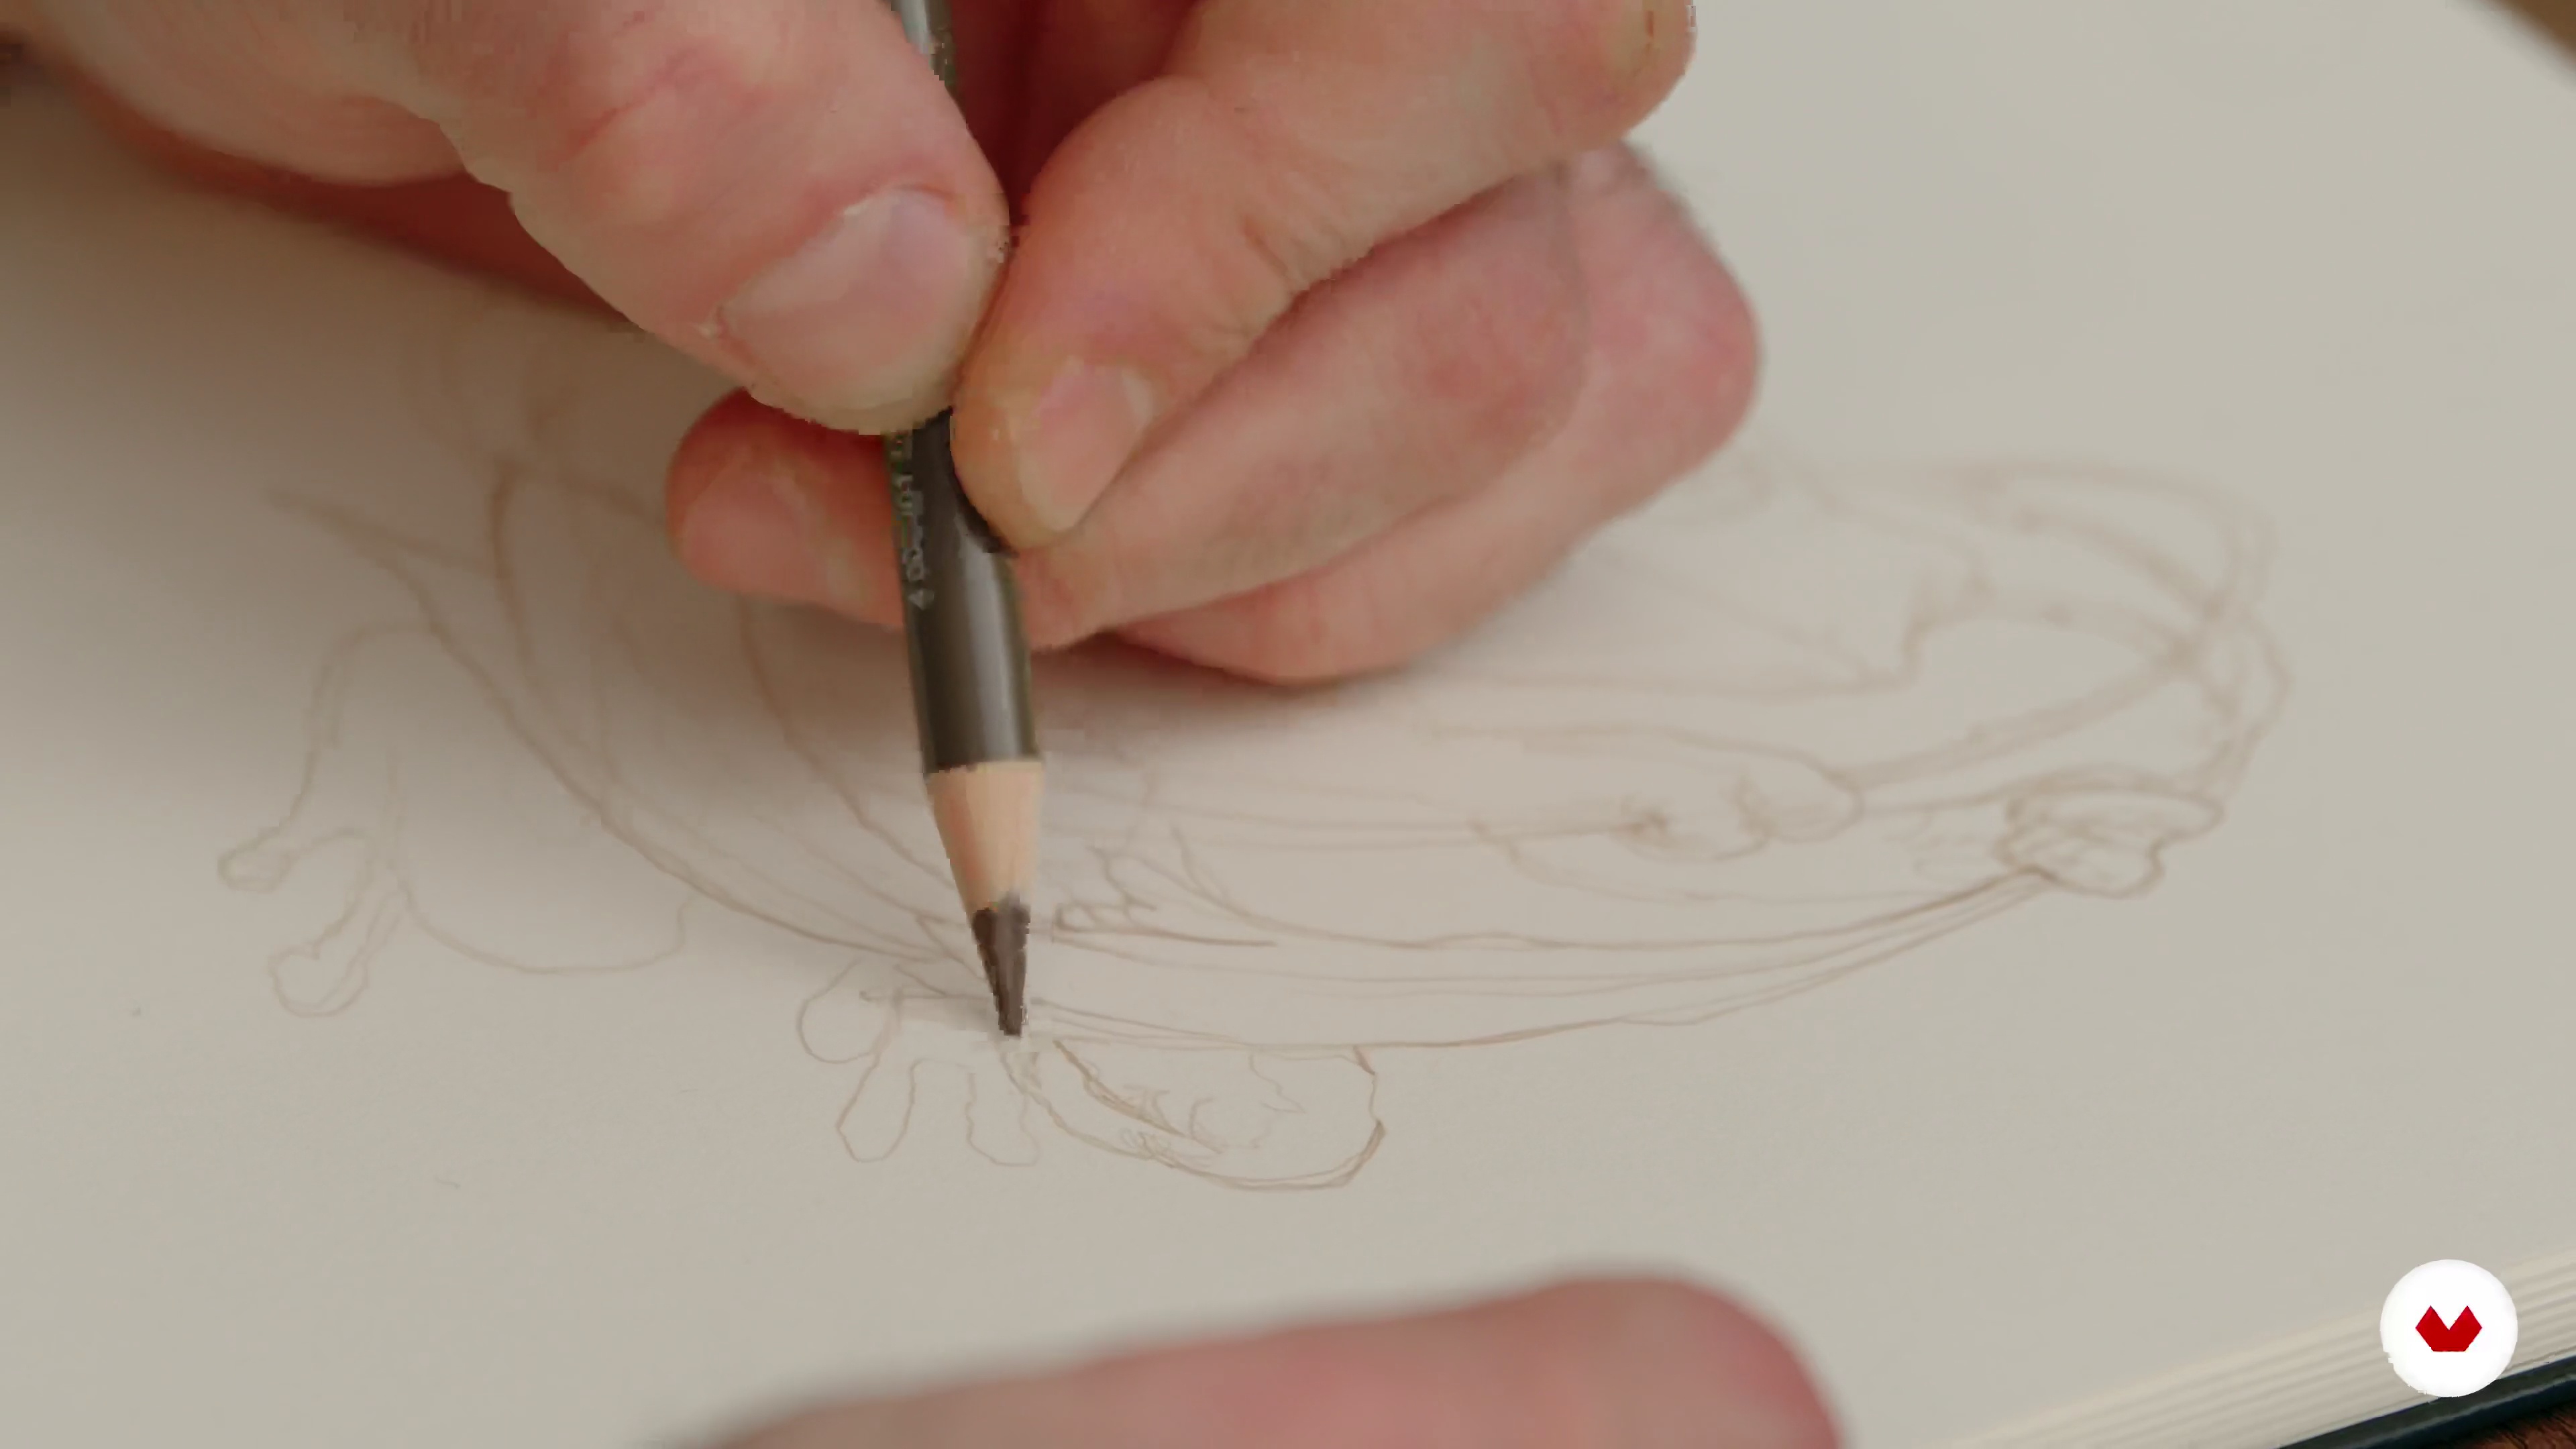
We will start by drawing our animal with the final lines. You need to create your final drawing only with the lines of your pencil.
7m
 13
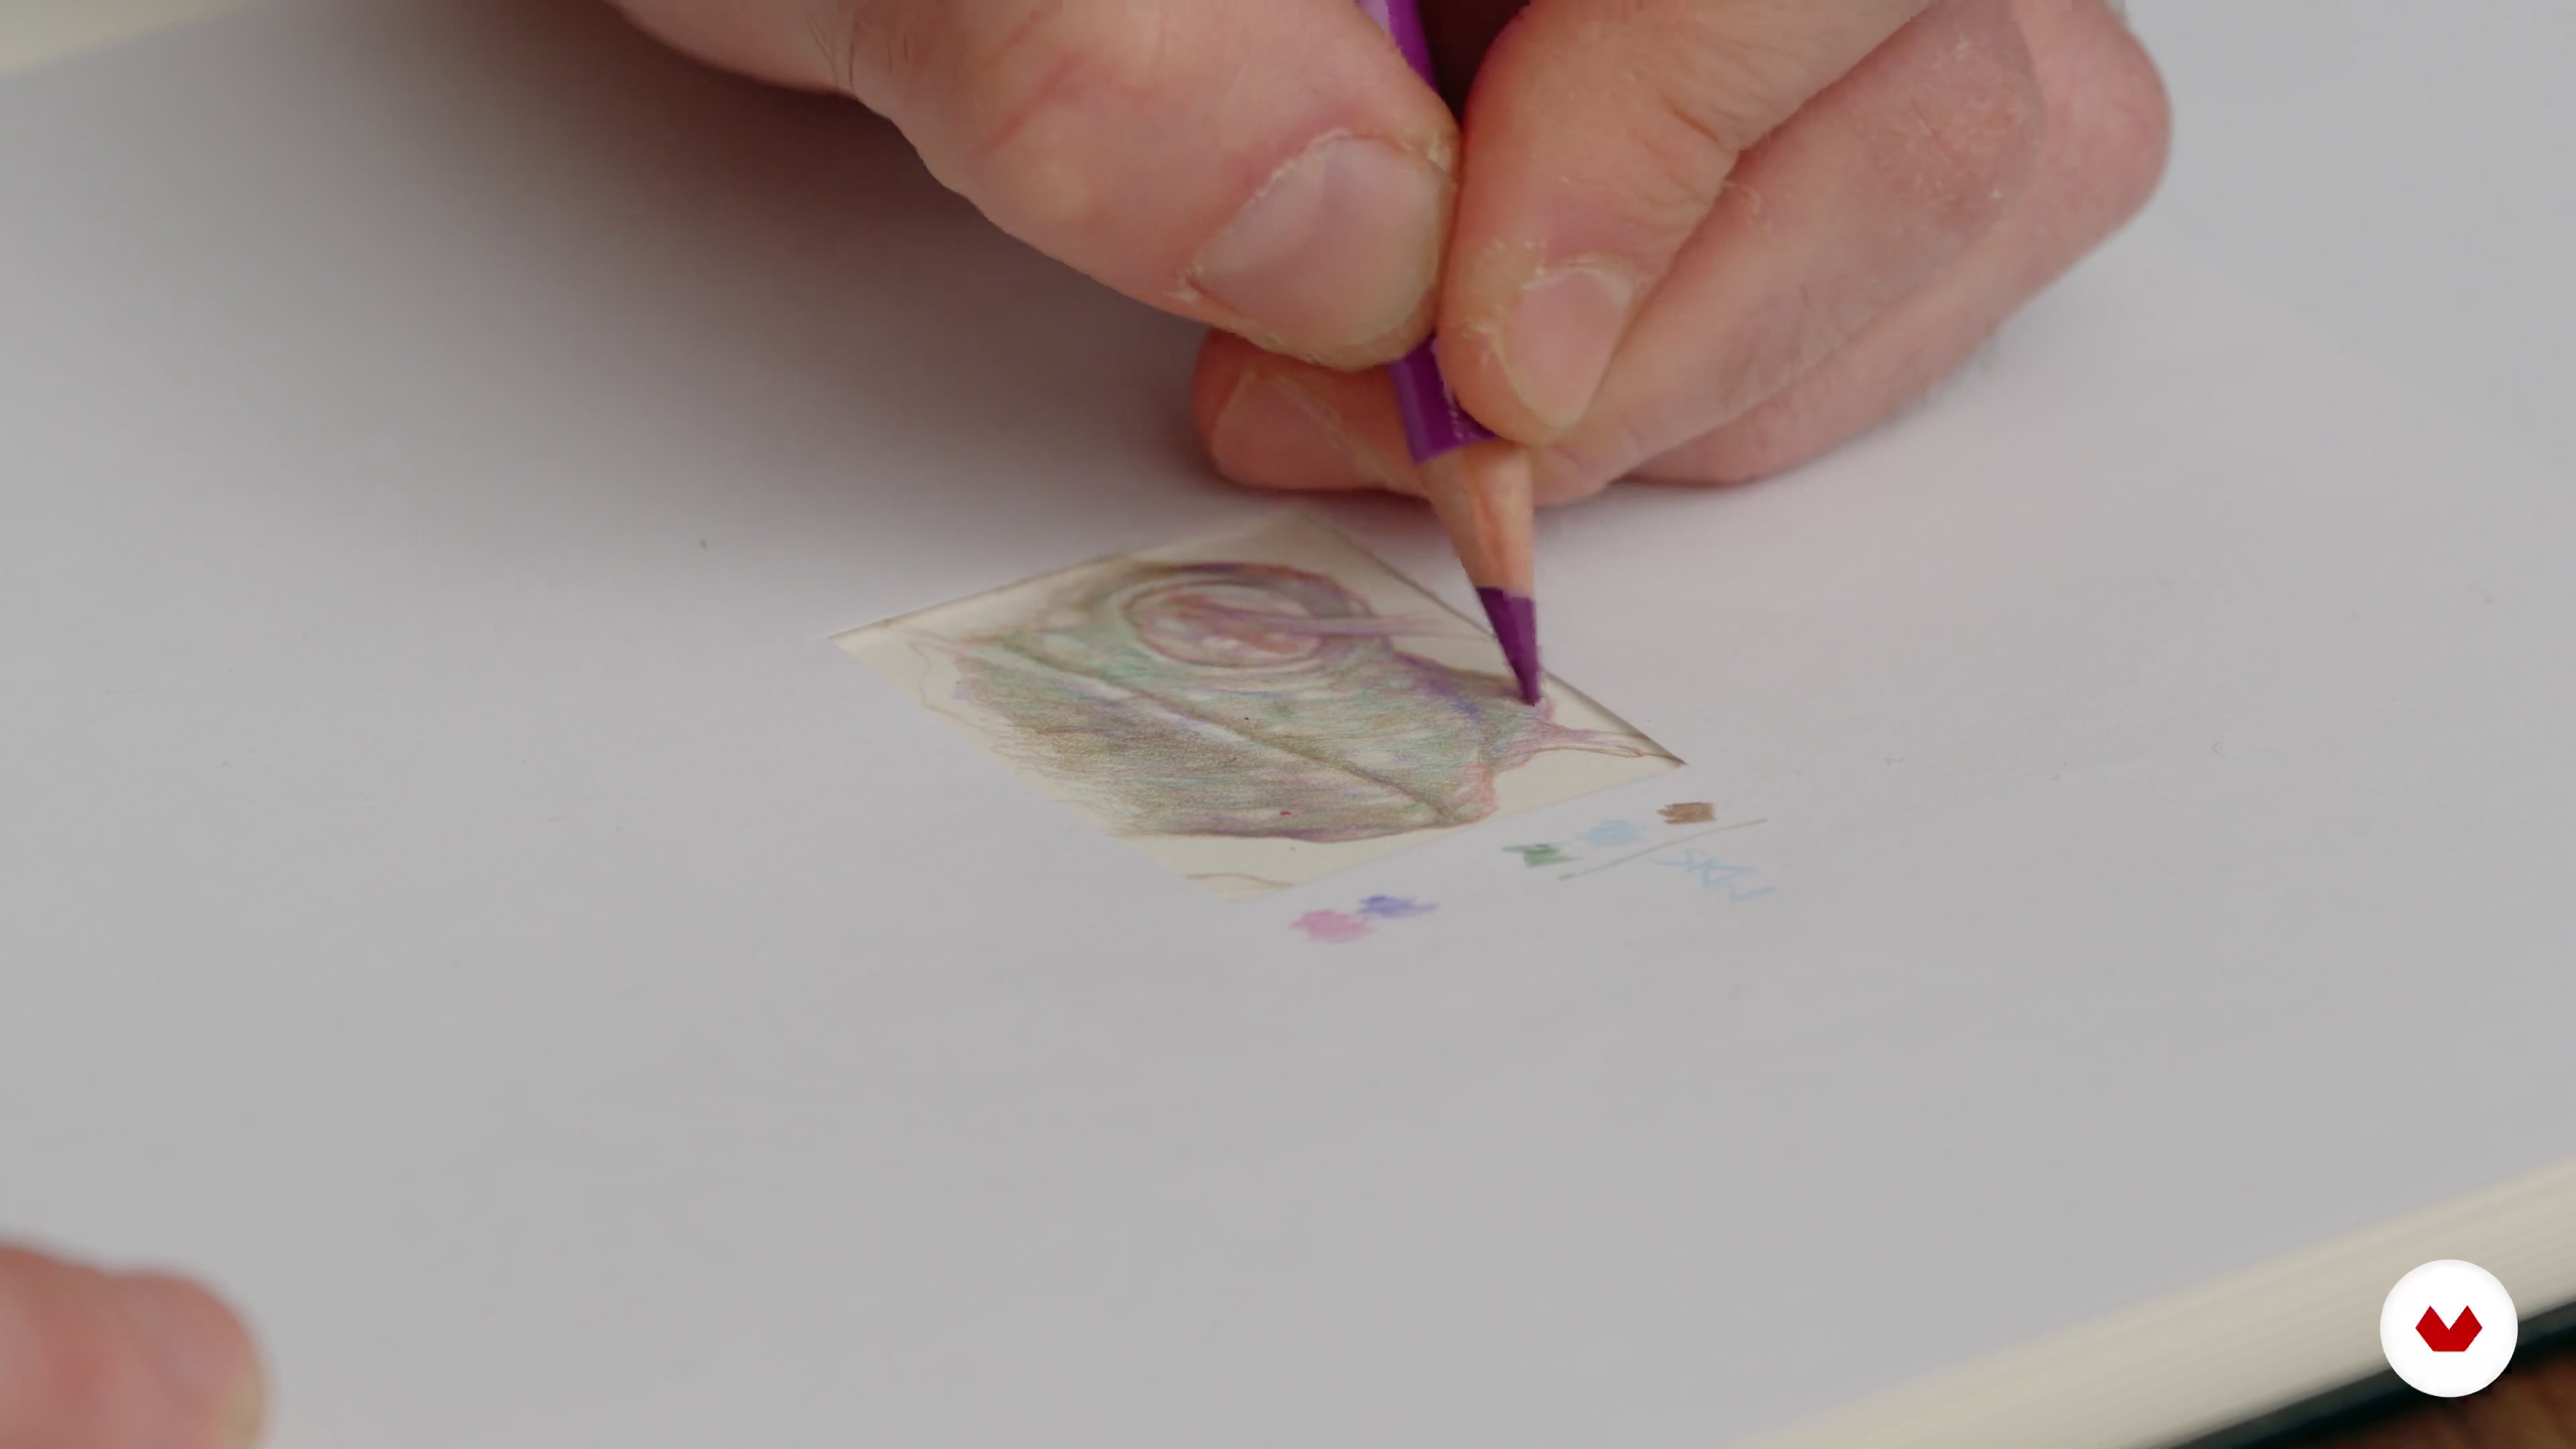
13Starting to Color Our Animal
In this lesson, we will start to color our subject with the little window technique. It is always useful to start with the more complex part (the face) because it is the first thing that the viewer will see.
15m
 14
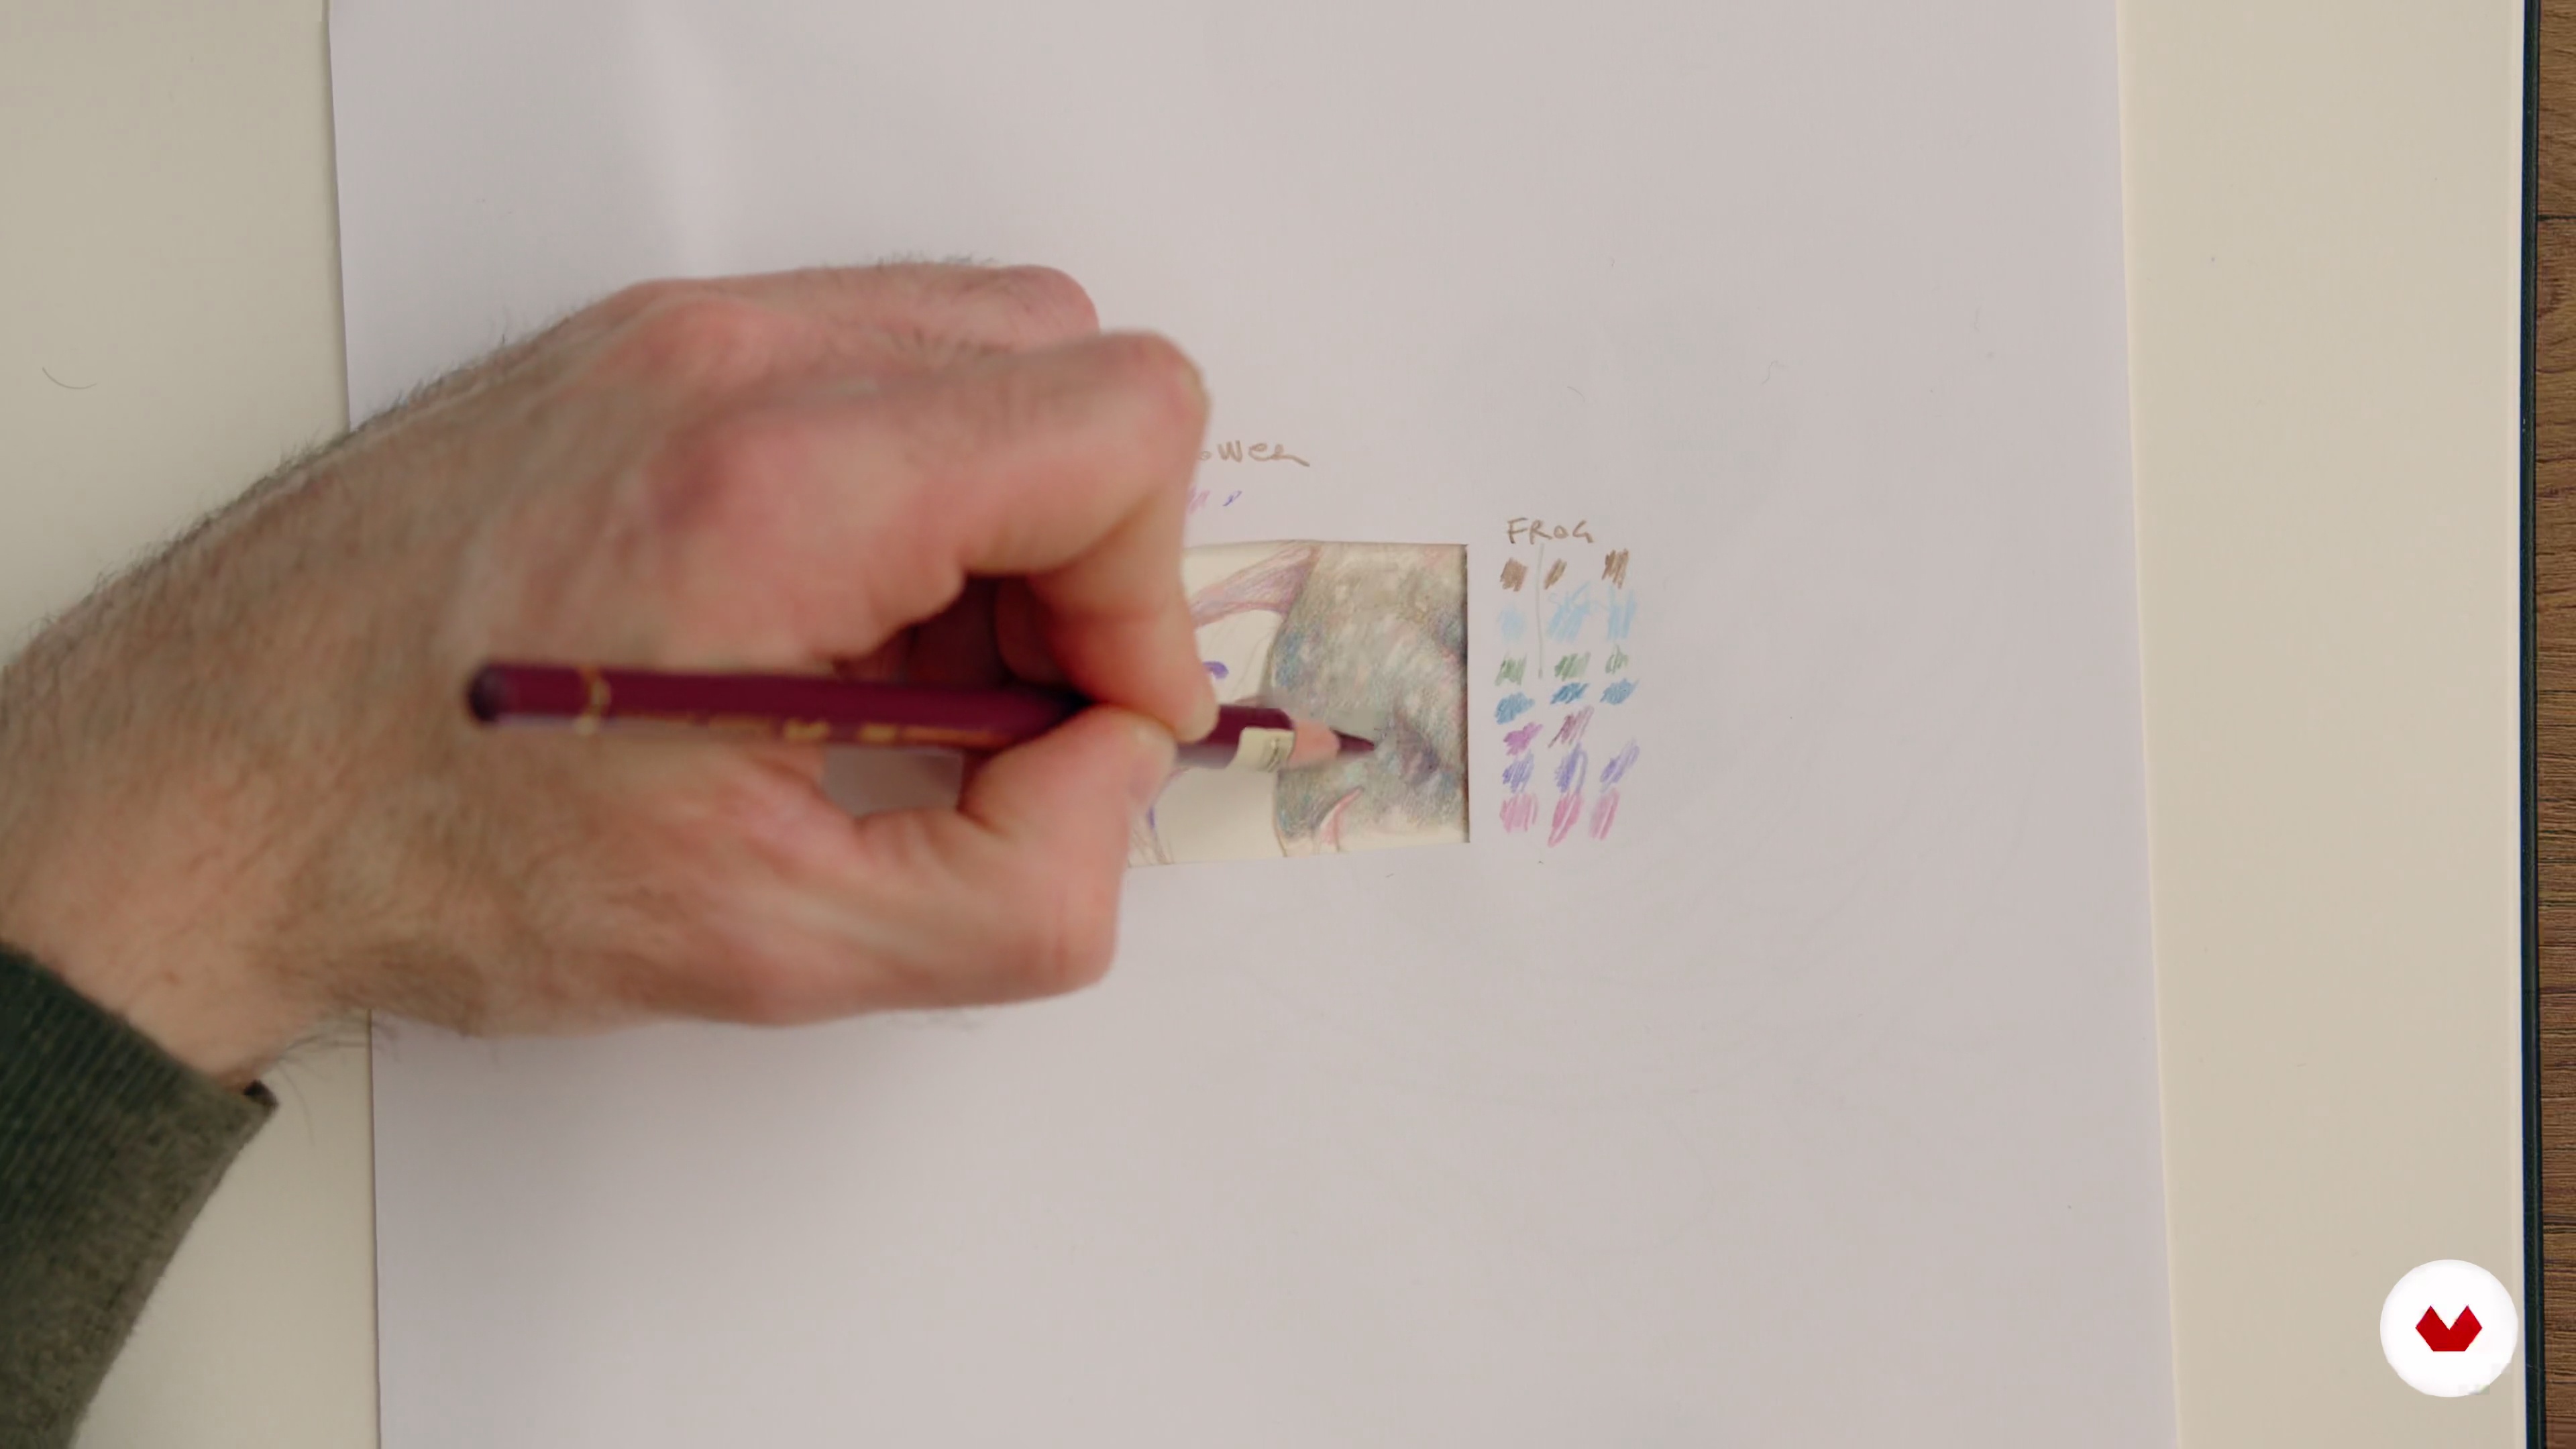
14Color the Rest of Our Animal
In this lesson, I will show you some tips to better draw a specific area and ways to assemble the color to obtain something brighter. I will mainly be returning to the animal's face to show tricks to bring character to the subject.
20m
 15
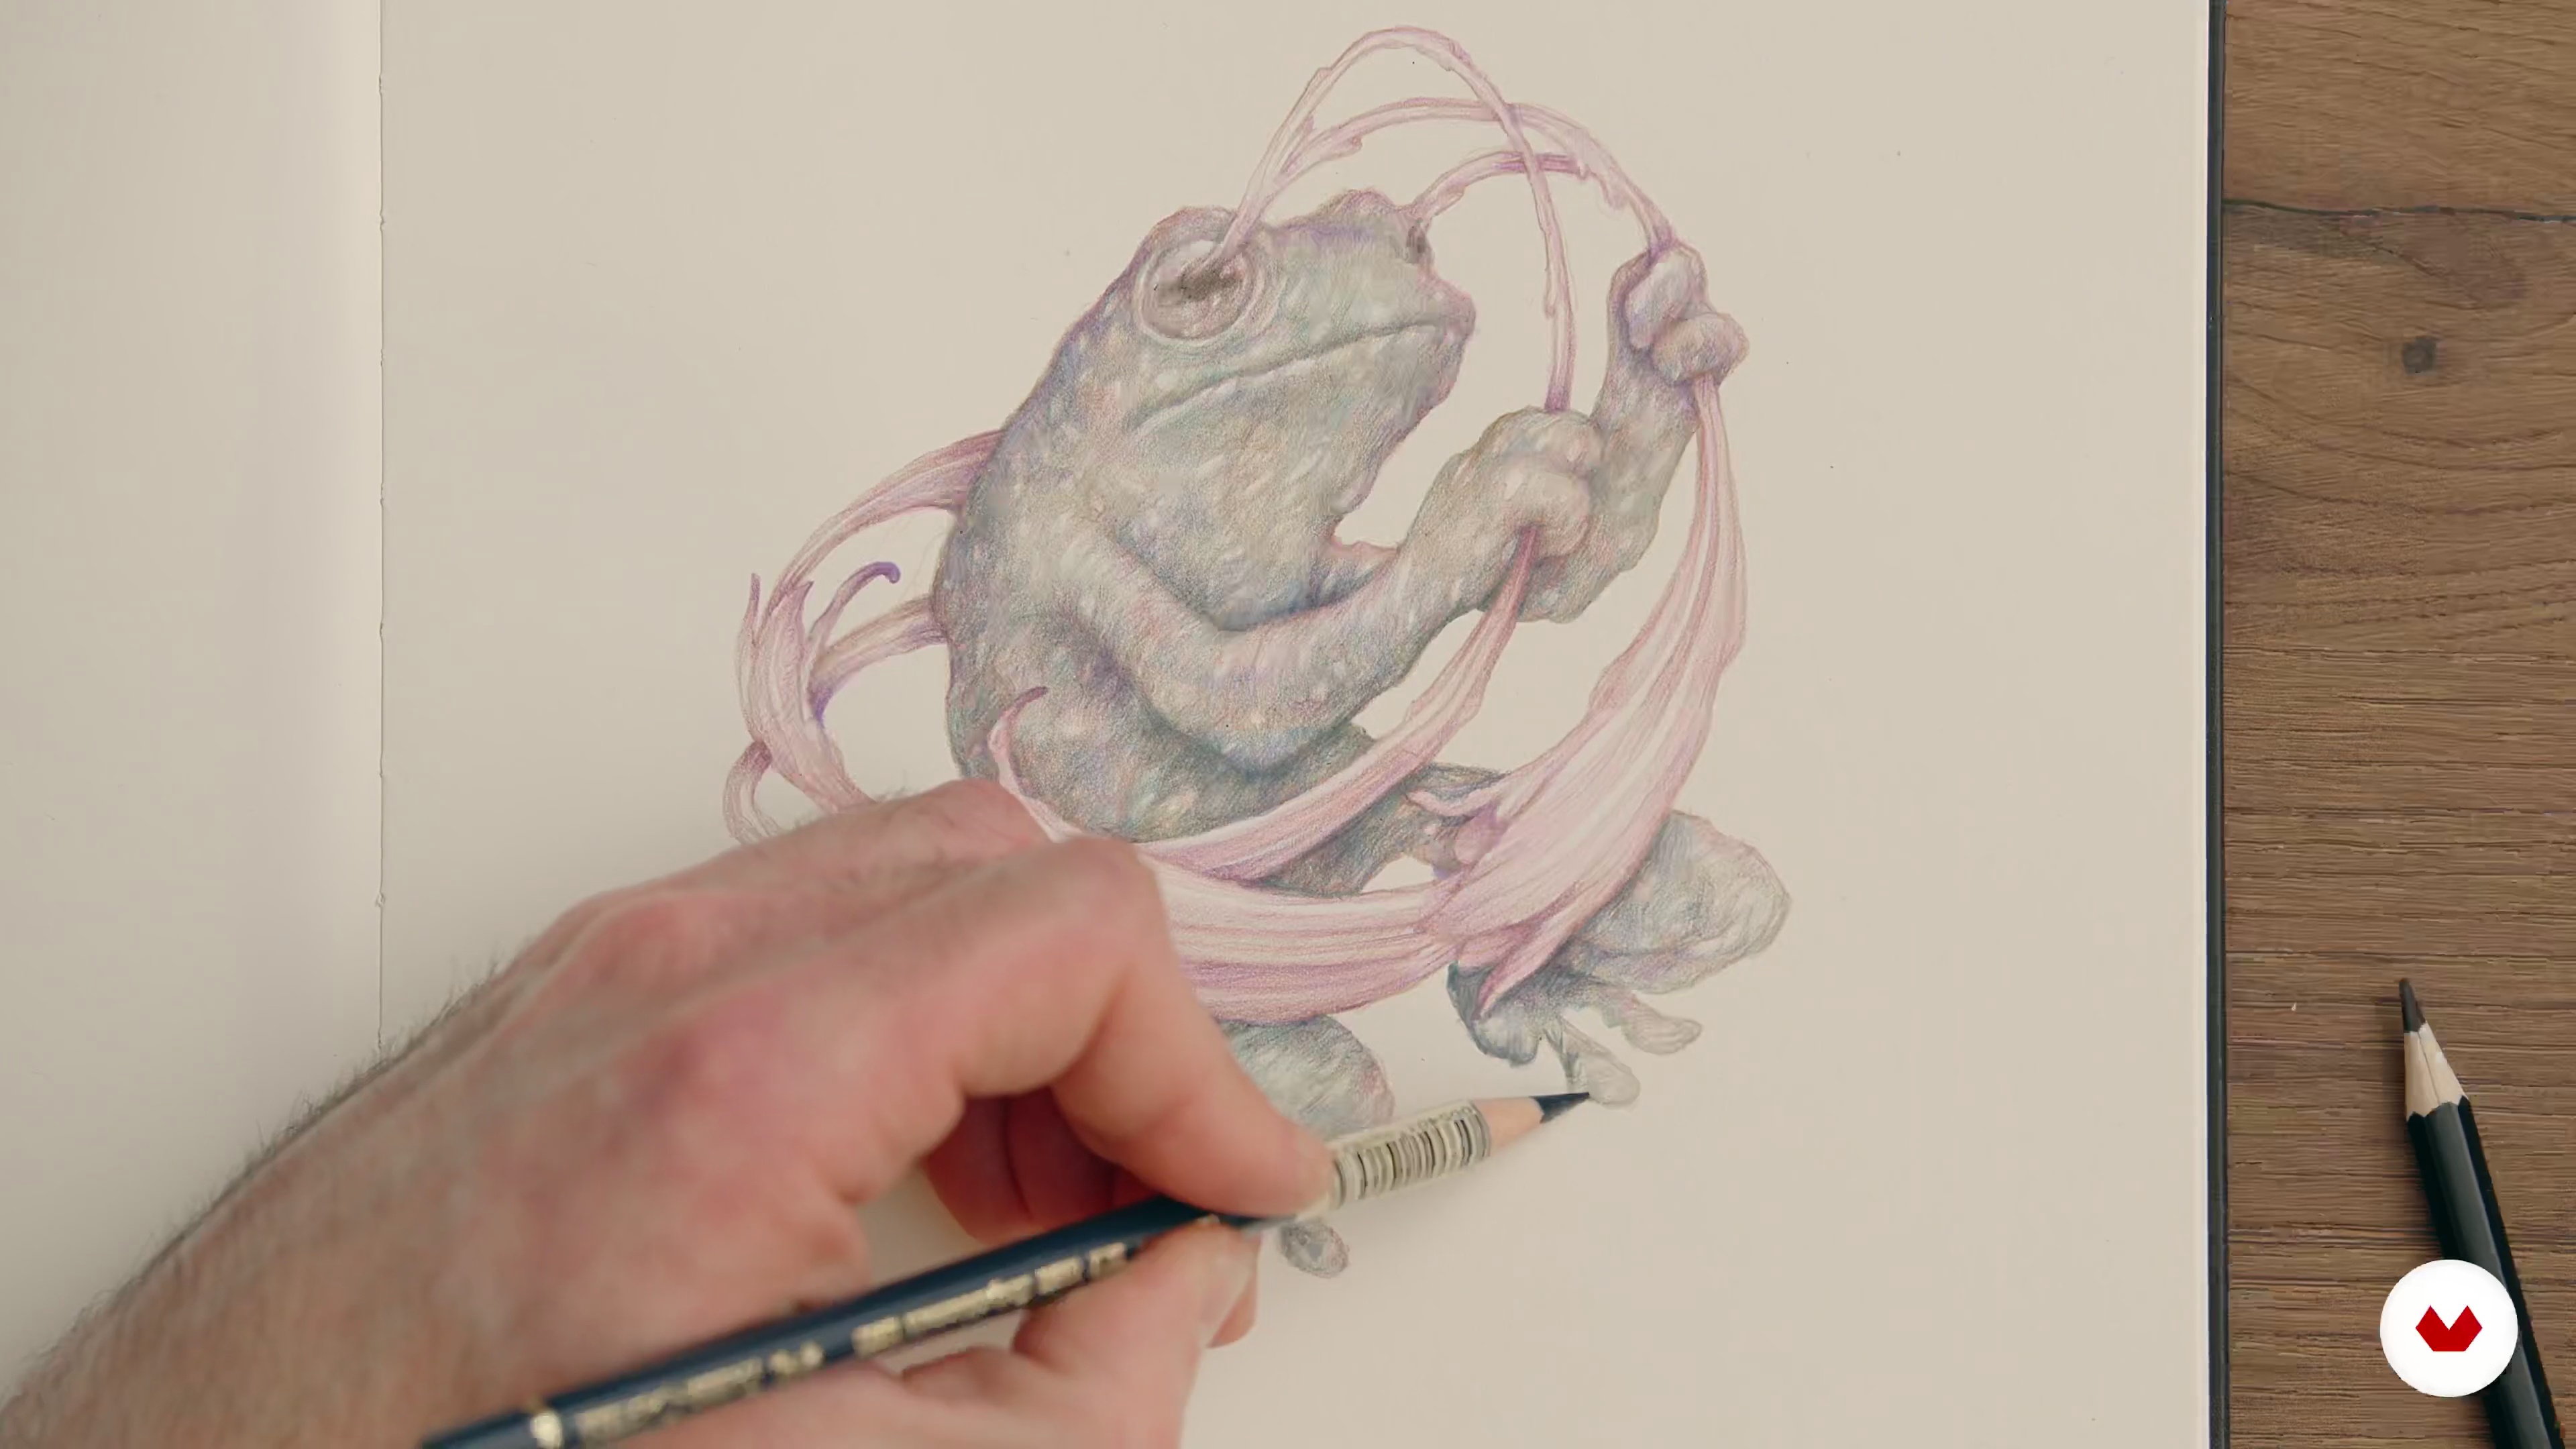
15Finishing Touches
After you finish coloring the whole drawing, you can check your entire work (for the first time if you want to wait until the end, but if you are curious you can look even earlier). Now you can focus on the finishing touches to make the drawing look whole. I will also give examples of various colour association tricks to get better results.
14m
 3
3Personal Research
In this lesson I will make a general introduction on the artistic path, or on the search for a personal imagination to refine one's technique and style based on experience. In addition, I will tell you about the project of the course and the steps to follow to make it happen.
4m
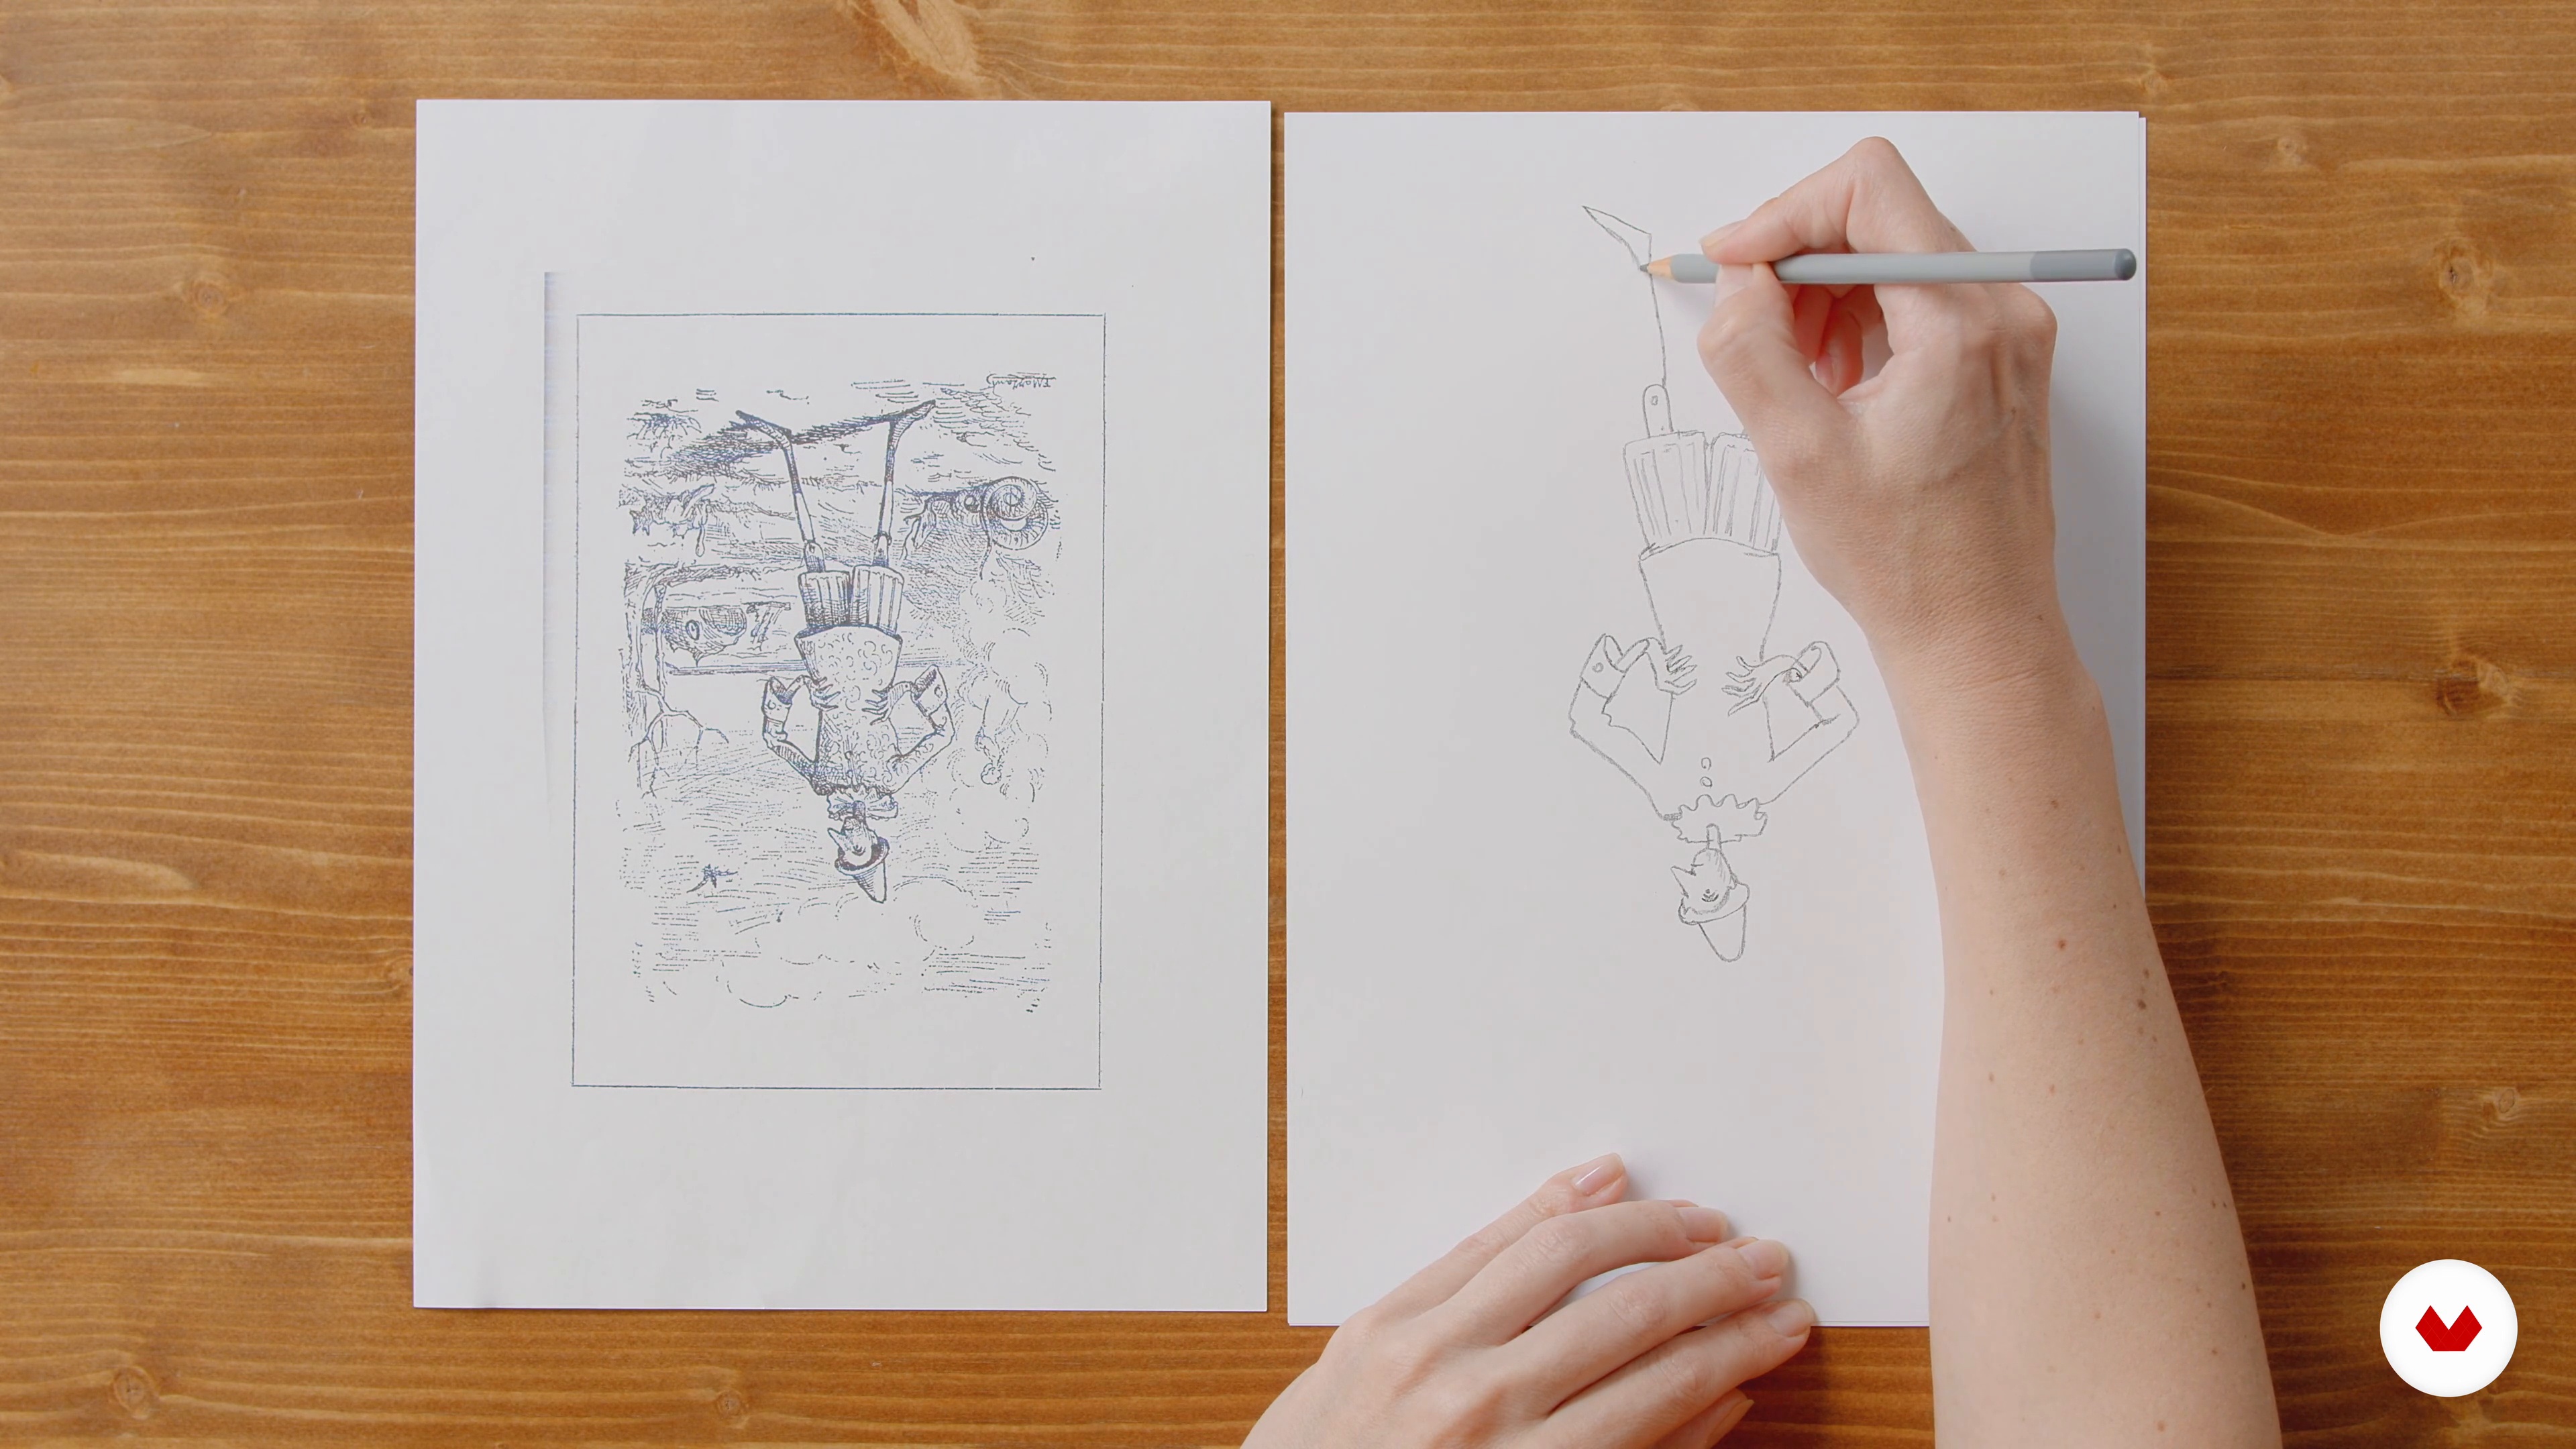 4
4Exercises to Unlock Creativity
Here I propose two small exercises to deceive the left brain hemisphere (seat of logic and rationality) and allow the right one (the one that analyzes spaces, shapes and controls the imagination) to emerge.
9m
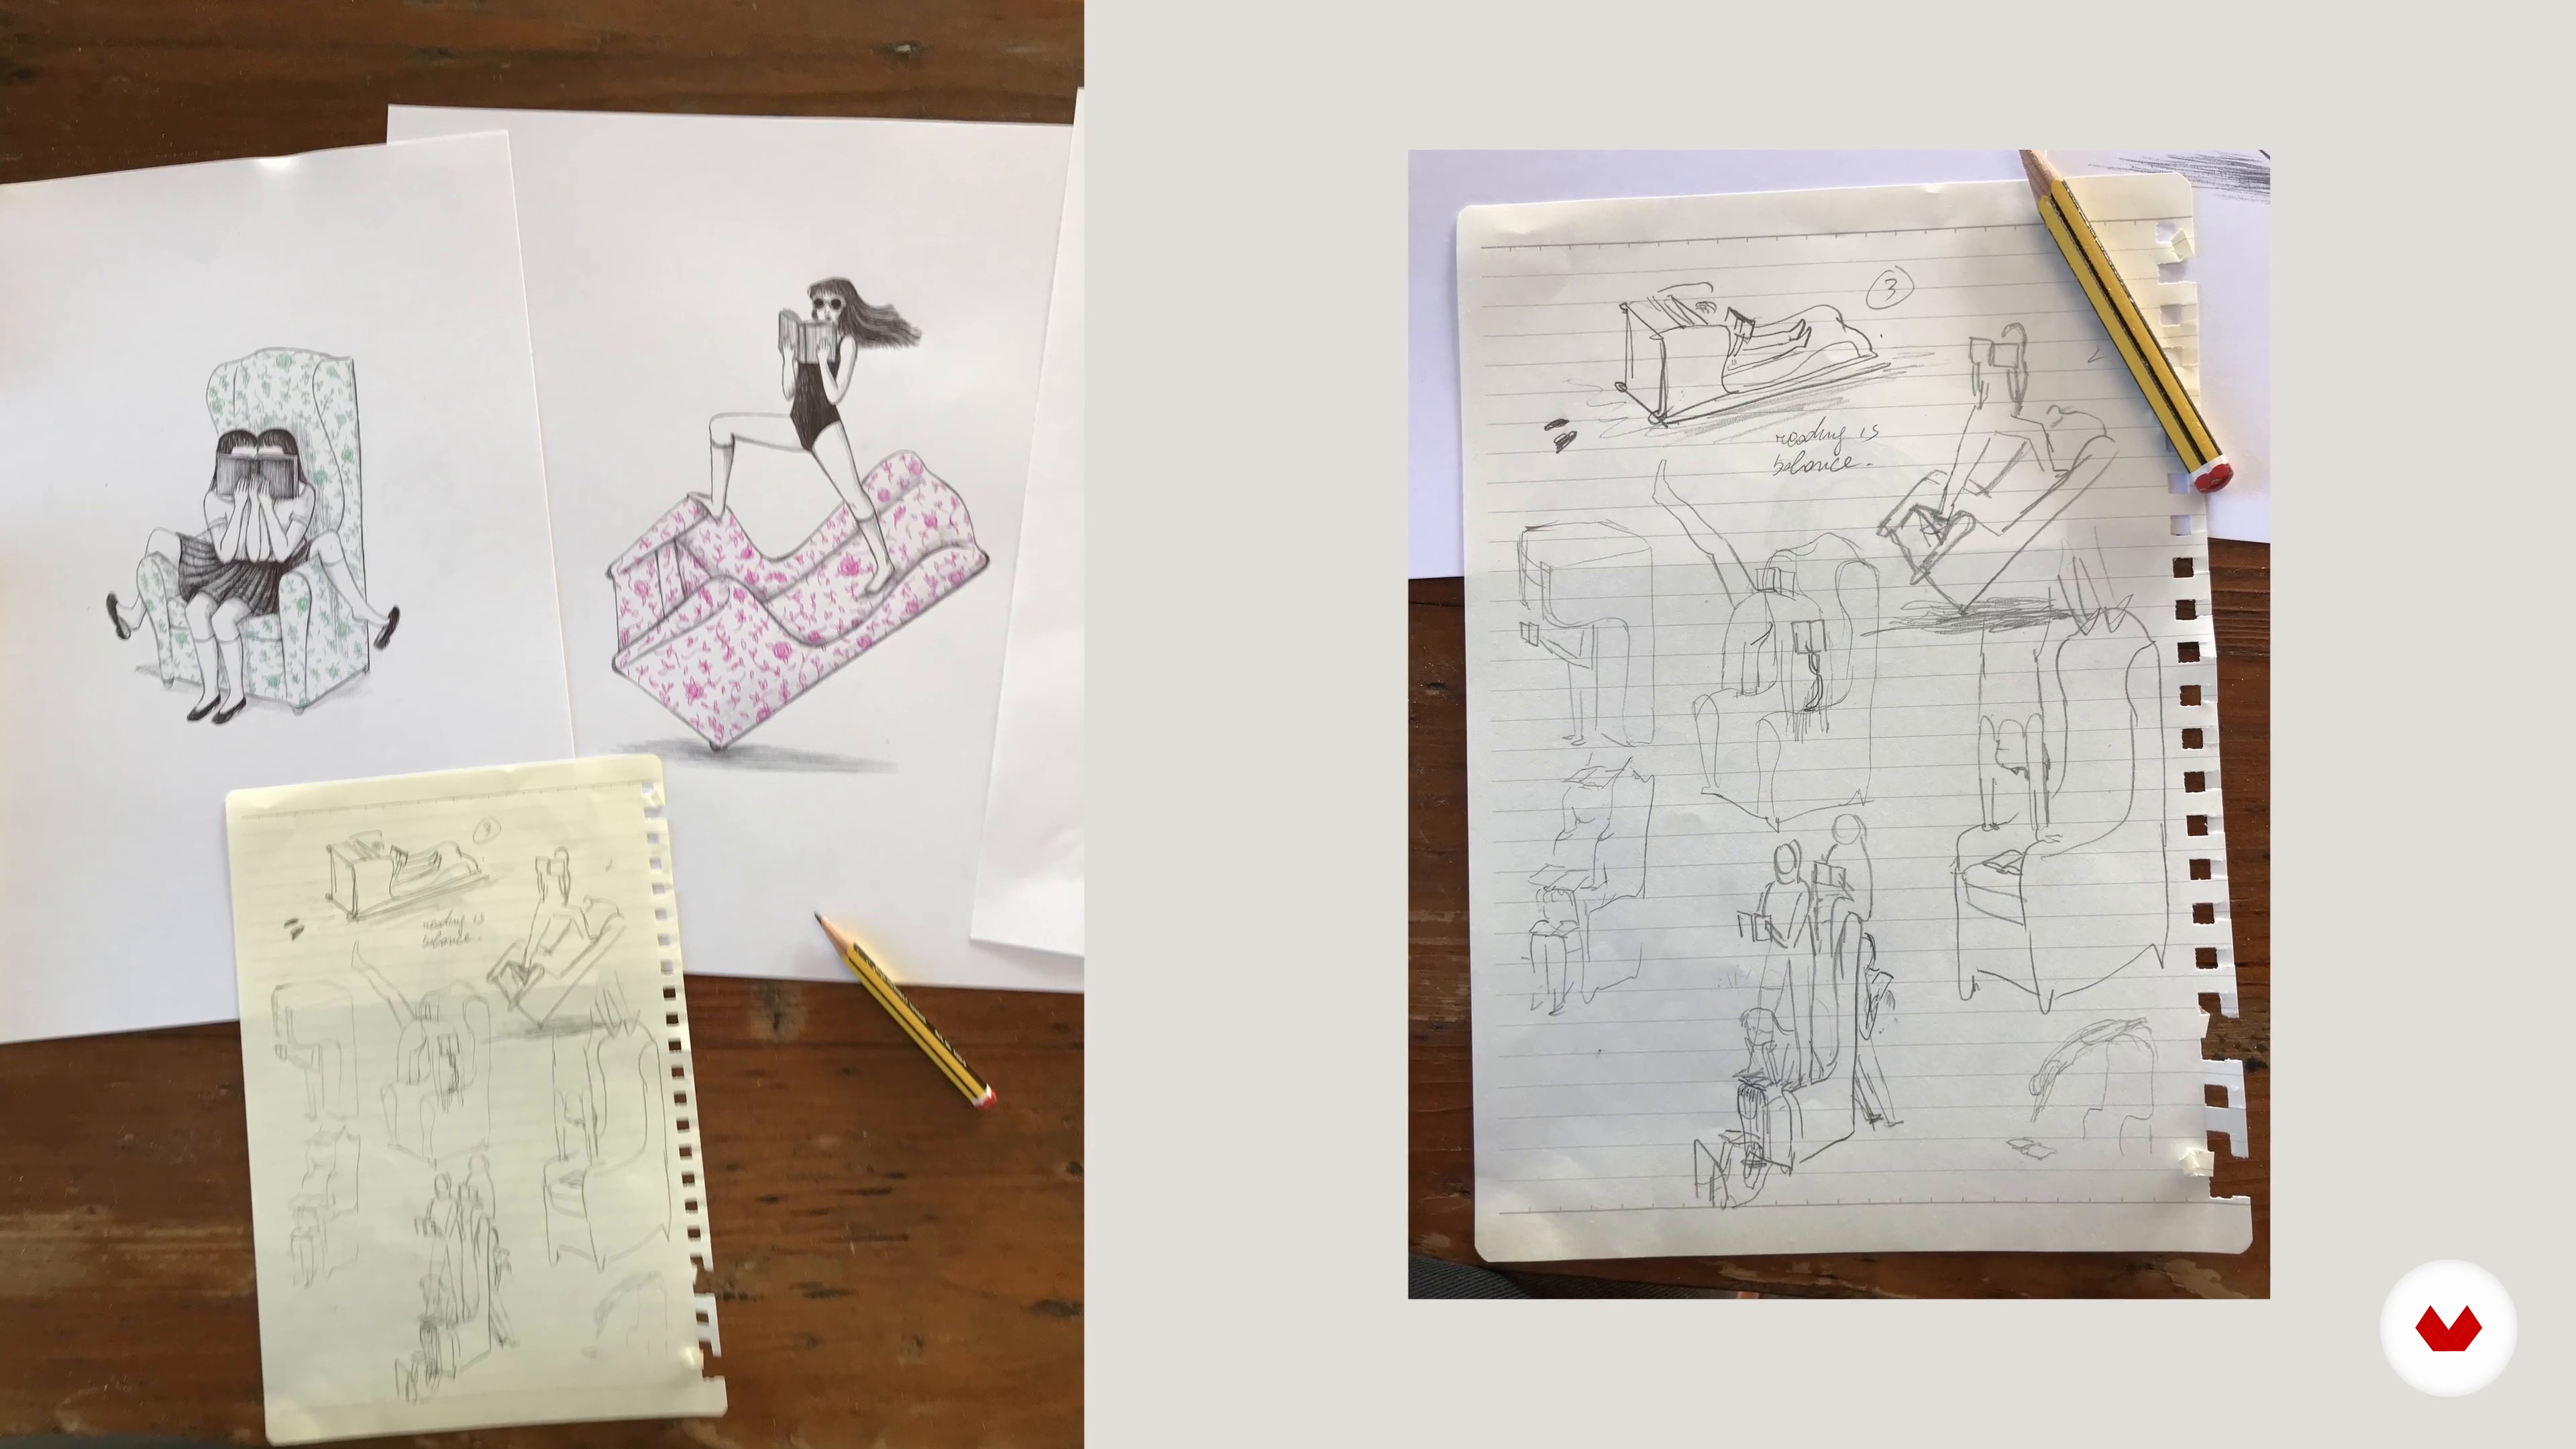 5
5The Importance of Ideas
It's time to talk about ideas. Before the technique and the style comes the idea; if there is no strong idea, there is no incentive to create an illustration.
9m
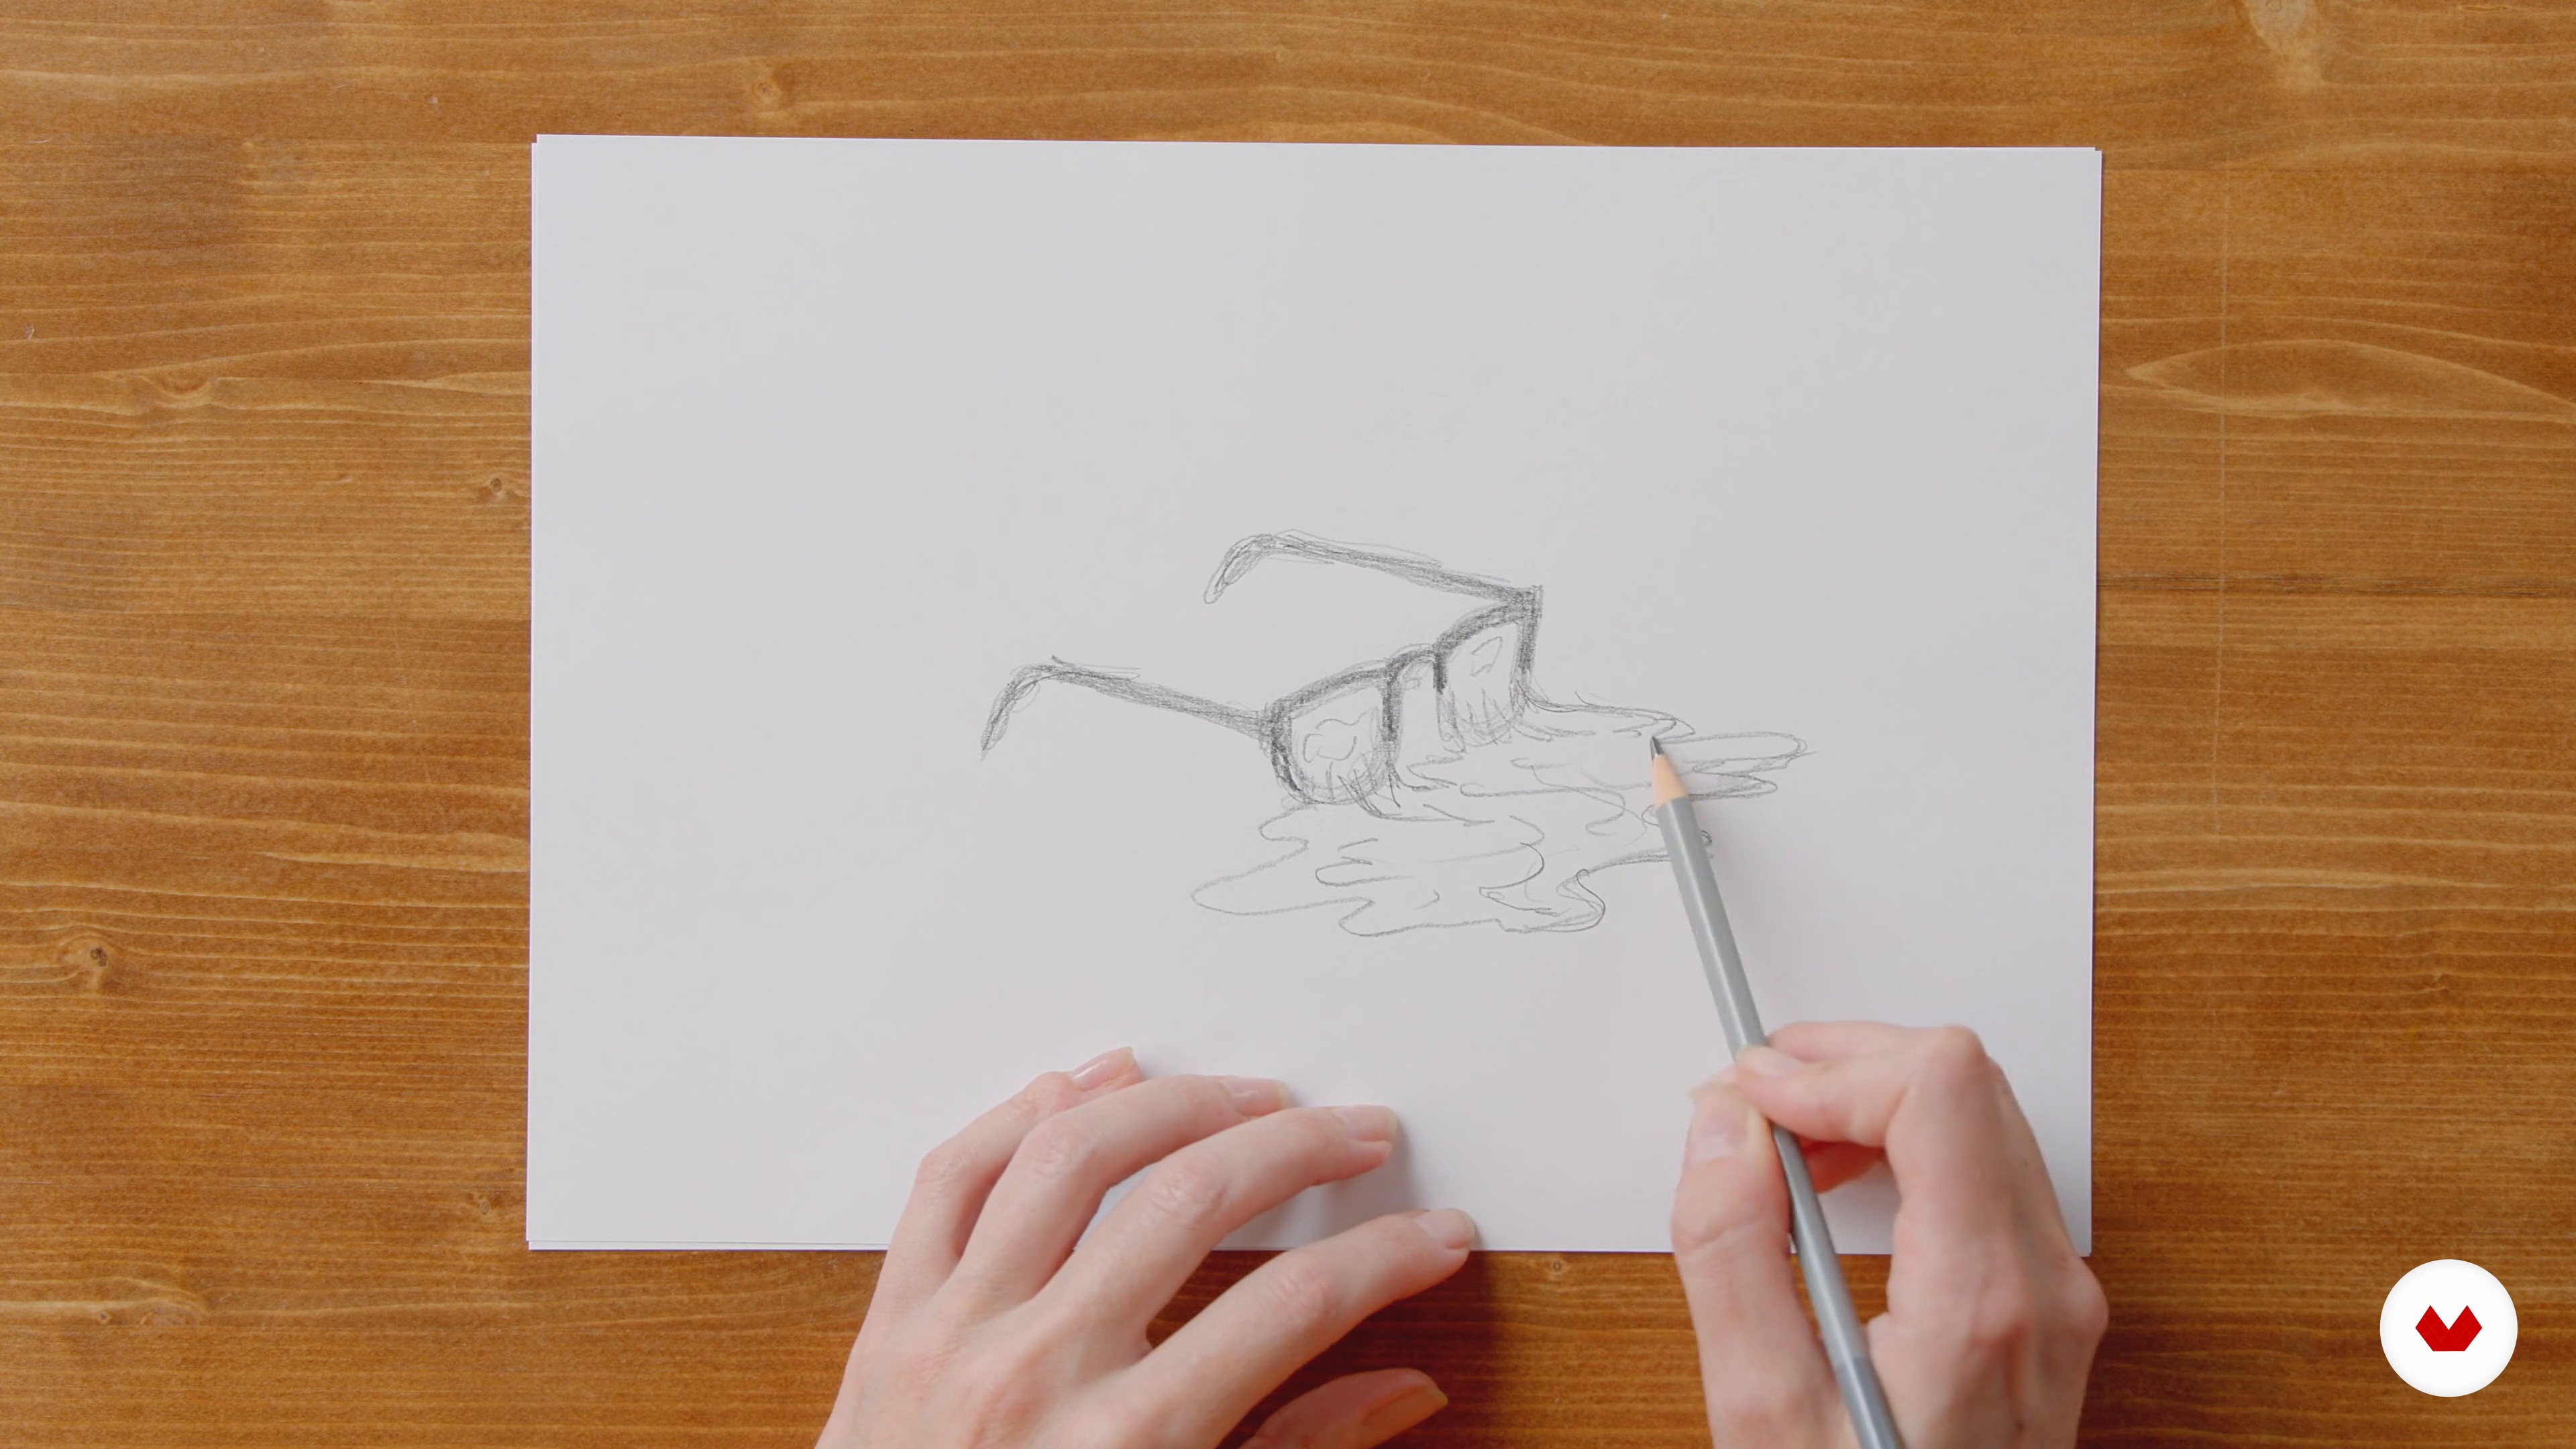 6
6Analysis of the Idea and Sketch Phase
Once the idea has been identified and the topic has been addressed from multiple points of view, it is time to move from conceptual to formal analysis. The problem of the representation of the idea arises: in this lesson I will show you how to translate it into a series of sketches.
14m
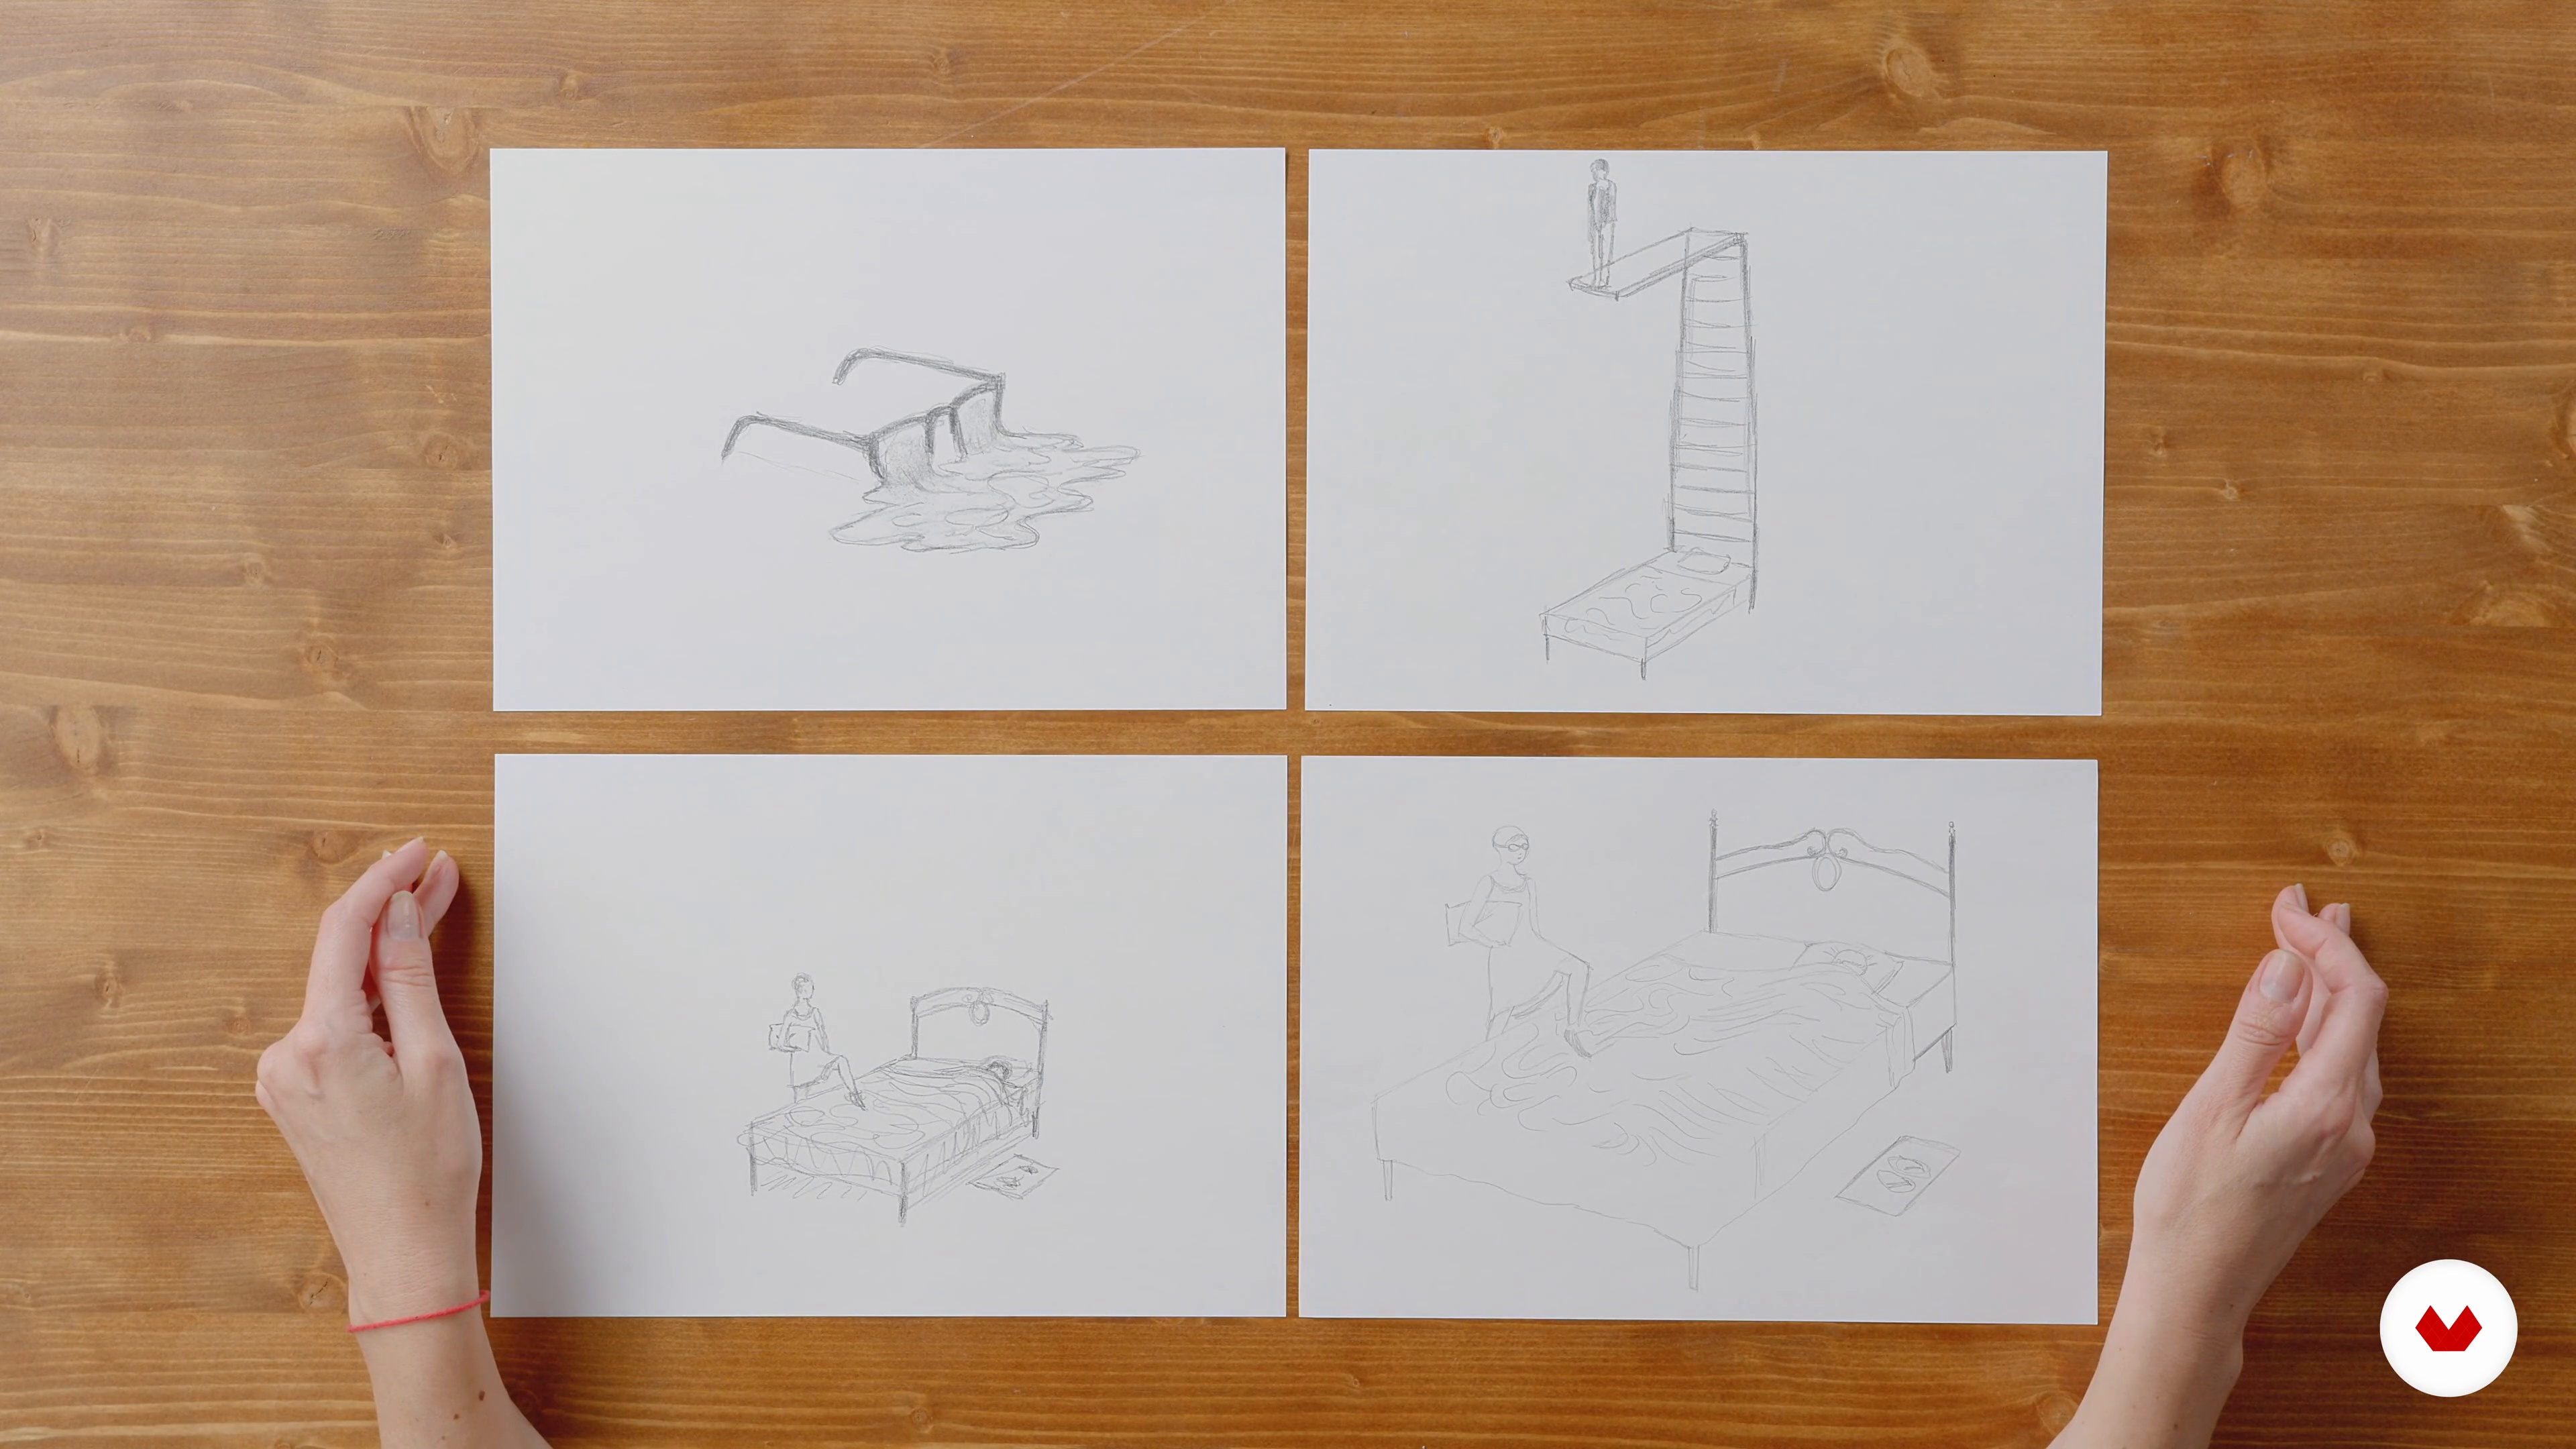 7
7Choosing the Best Sketch
After I have drawn several sketches on the theme and filled pages and sheets with possible ideas, I will move on to choosing the sketch and therefore the best idea, and I will make the pencil base of the final illustration.
7m
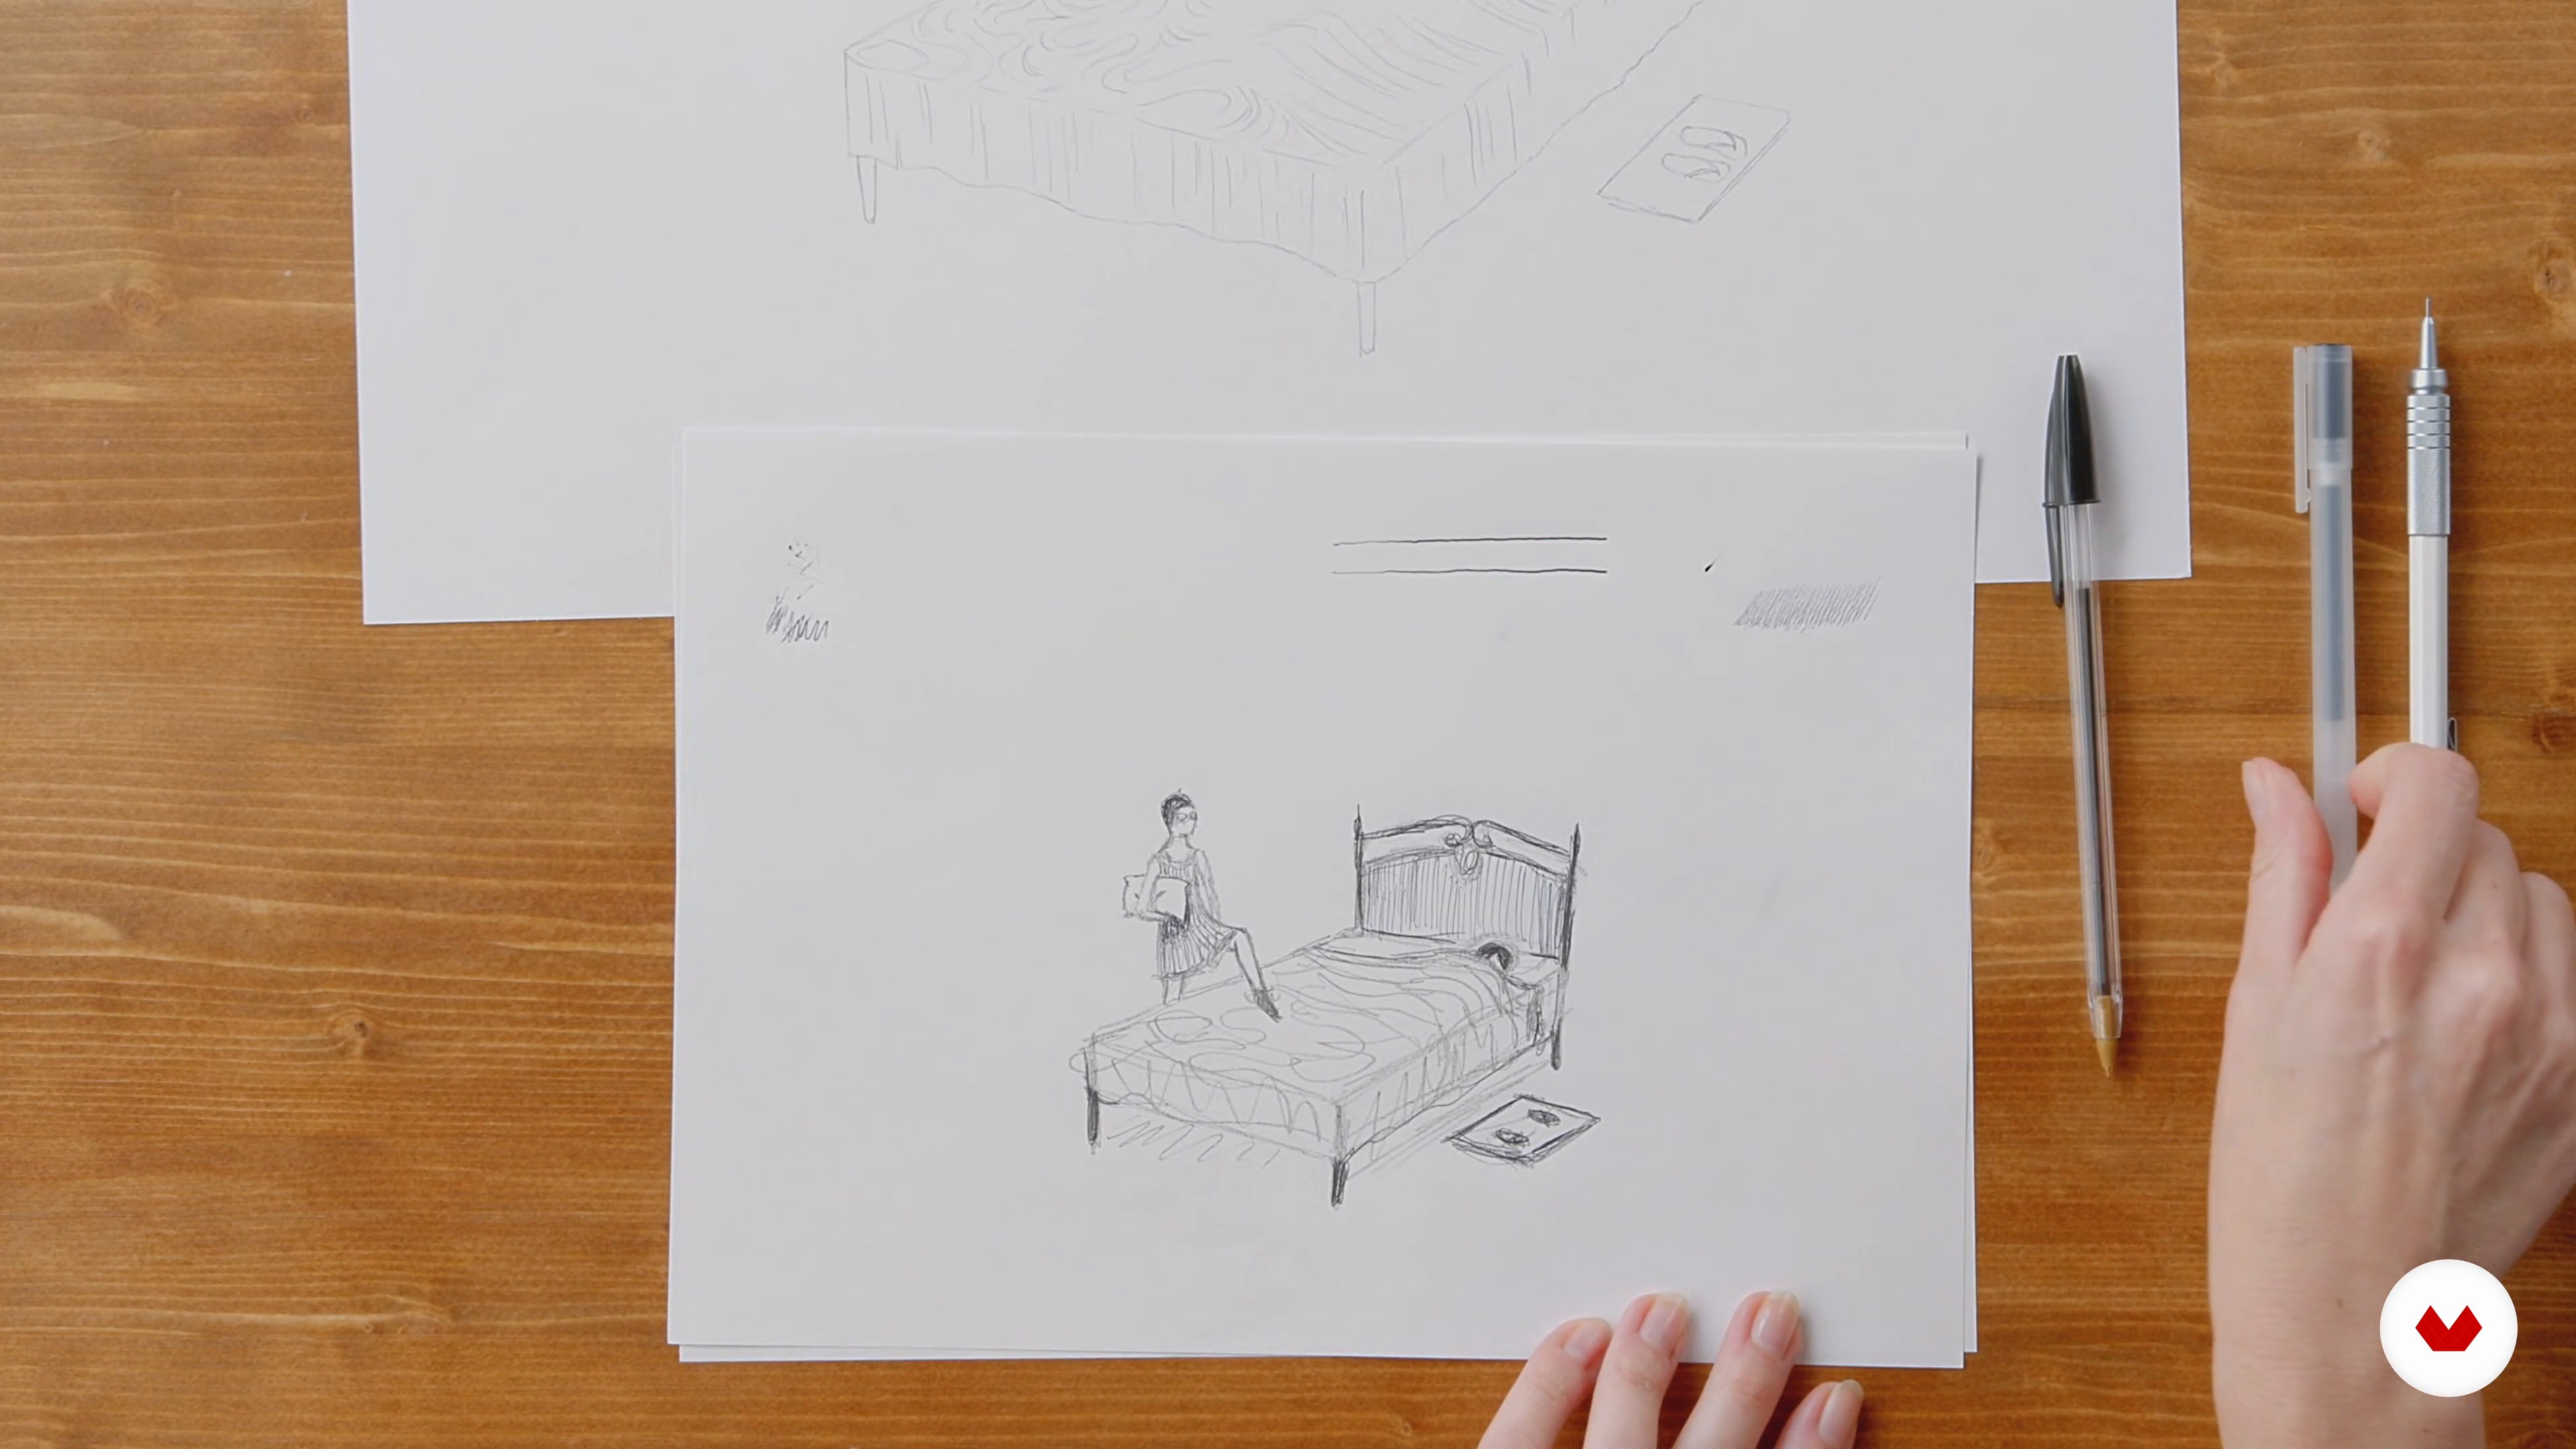 8
8Evaluate the Drawing before Inking
Now you will see what considerations to make before the inking phase. It is very important to have clear ideas when placing the pen or marker on the paper, because the action will not be reversible.
7m
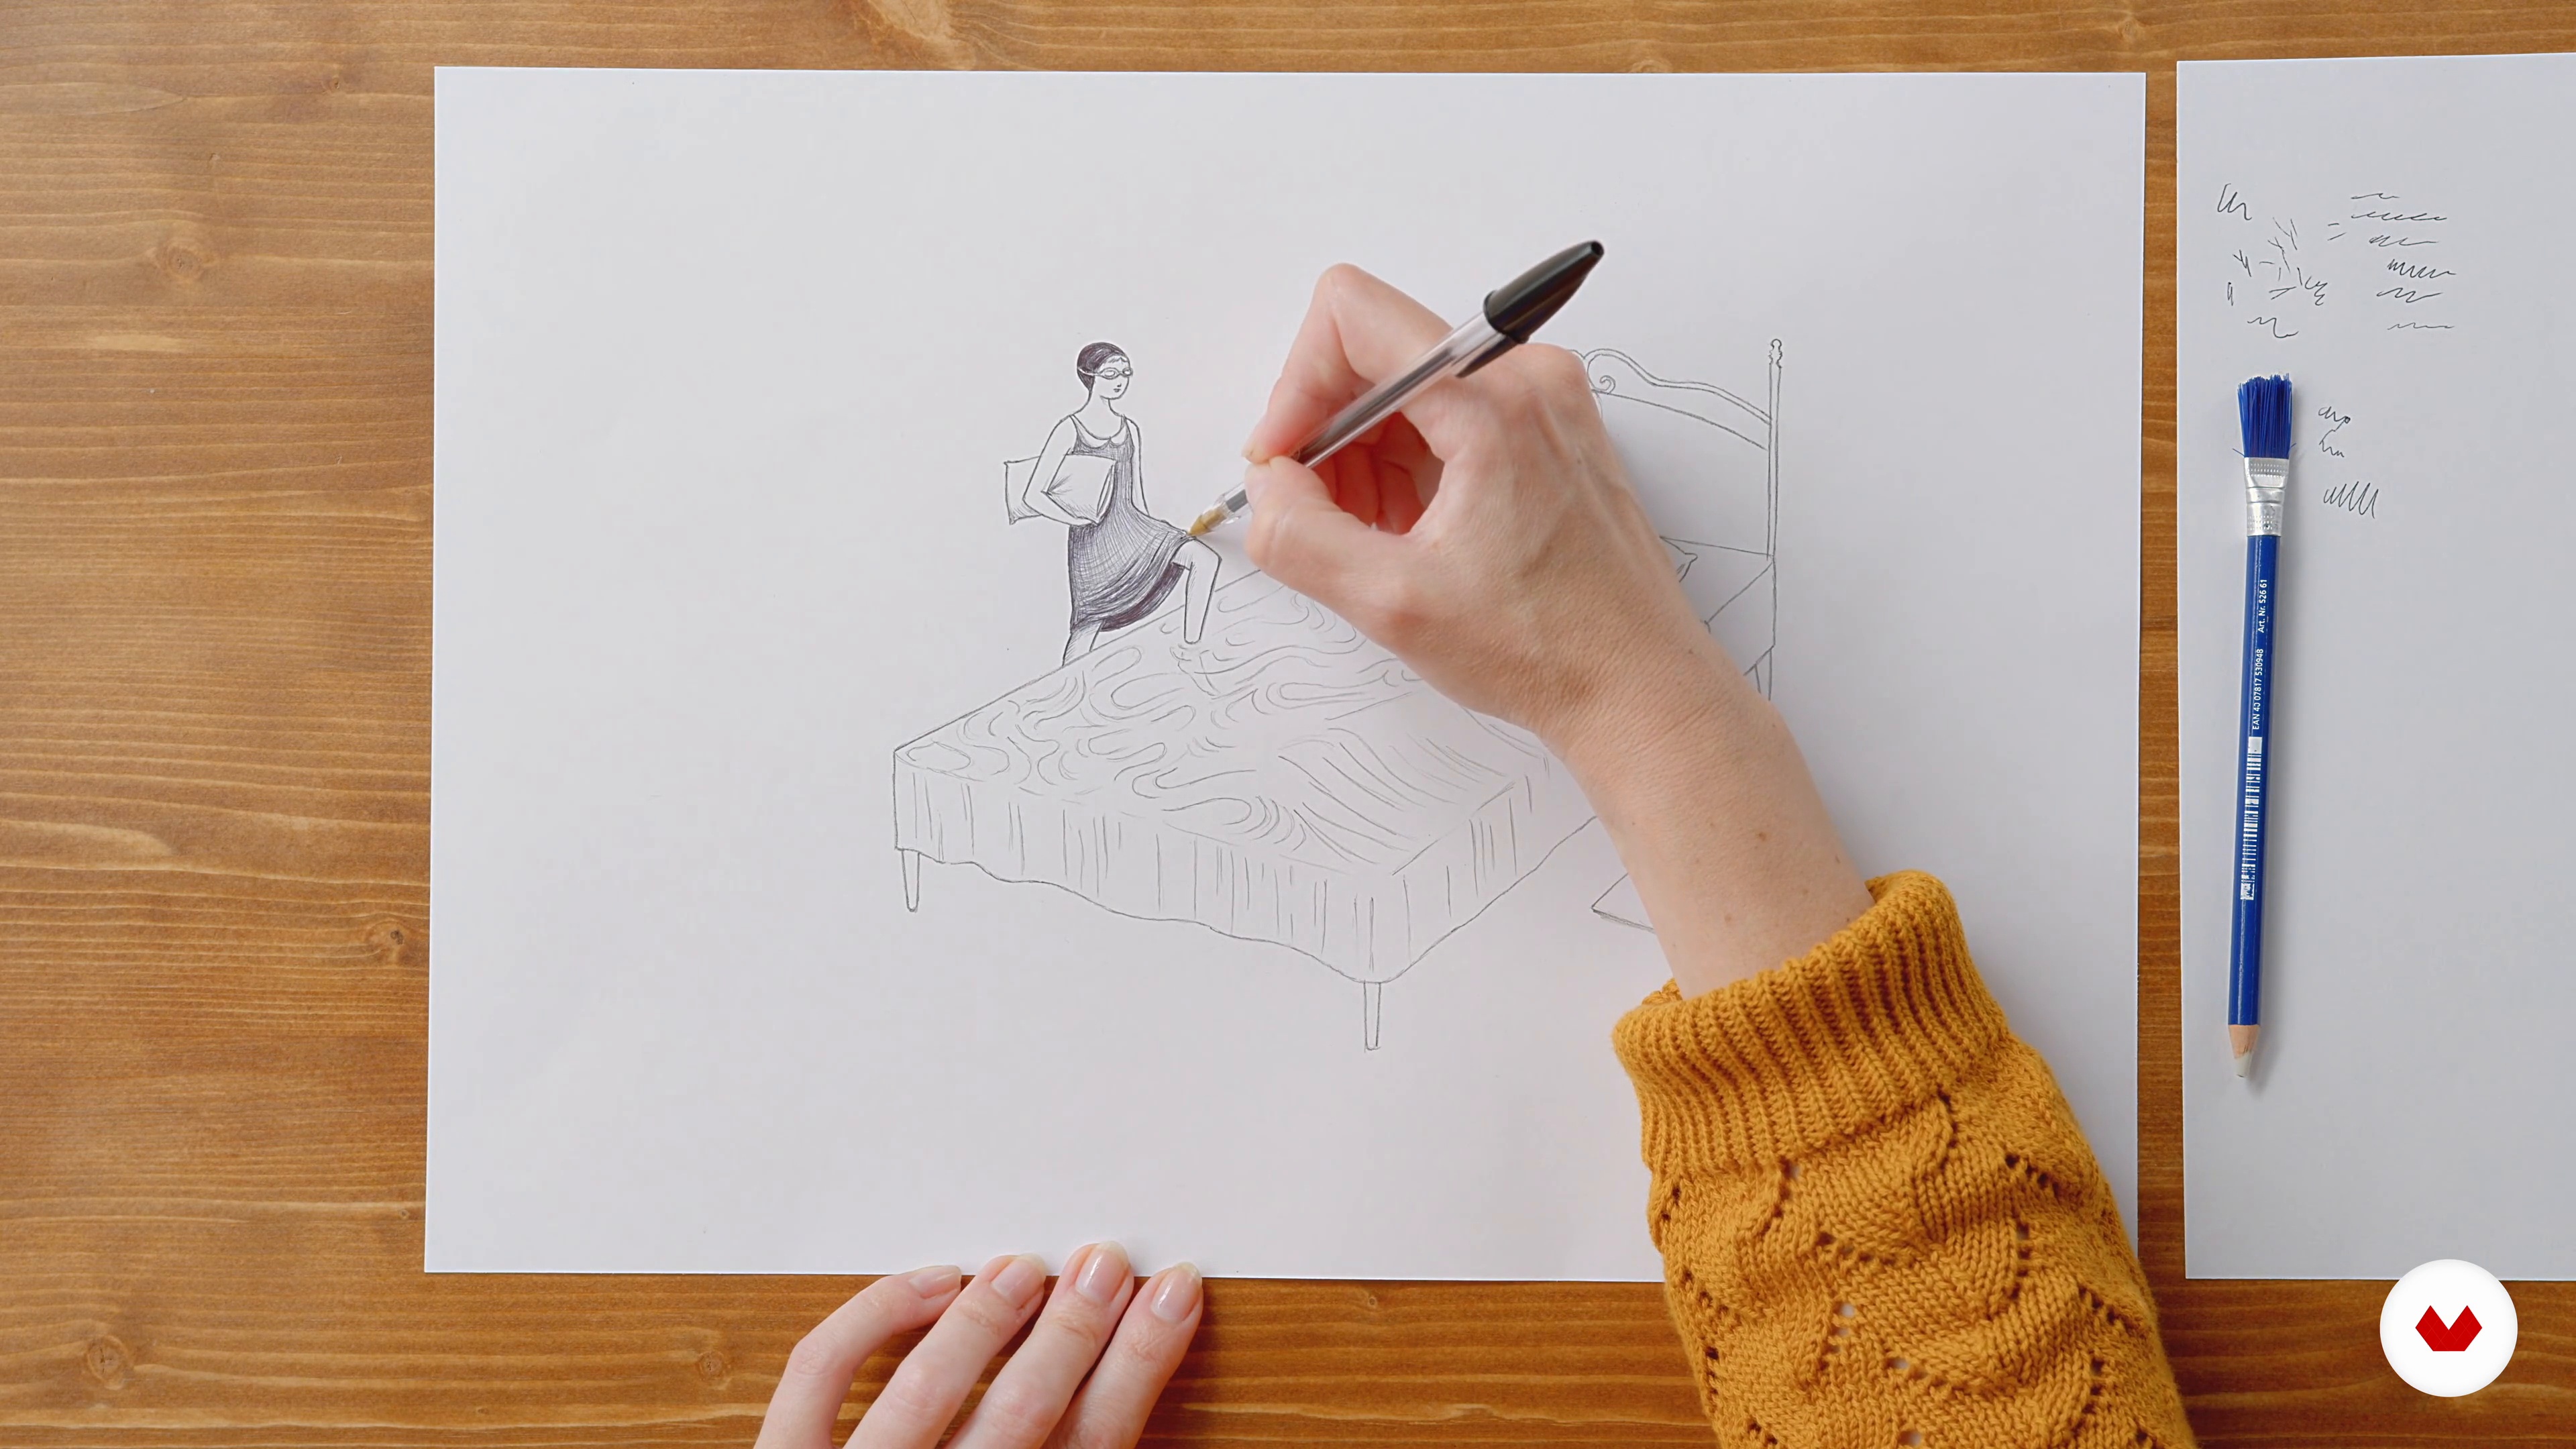 9
9Inking
In this lesson I will deal with the first phase of inking, that is the one that concerns the outlines, blacks and shades.
16m
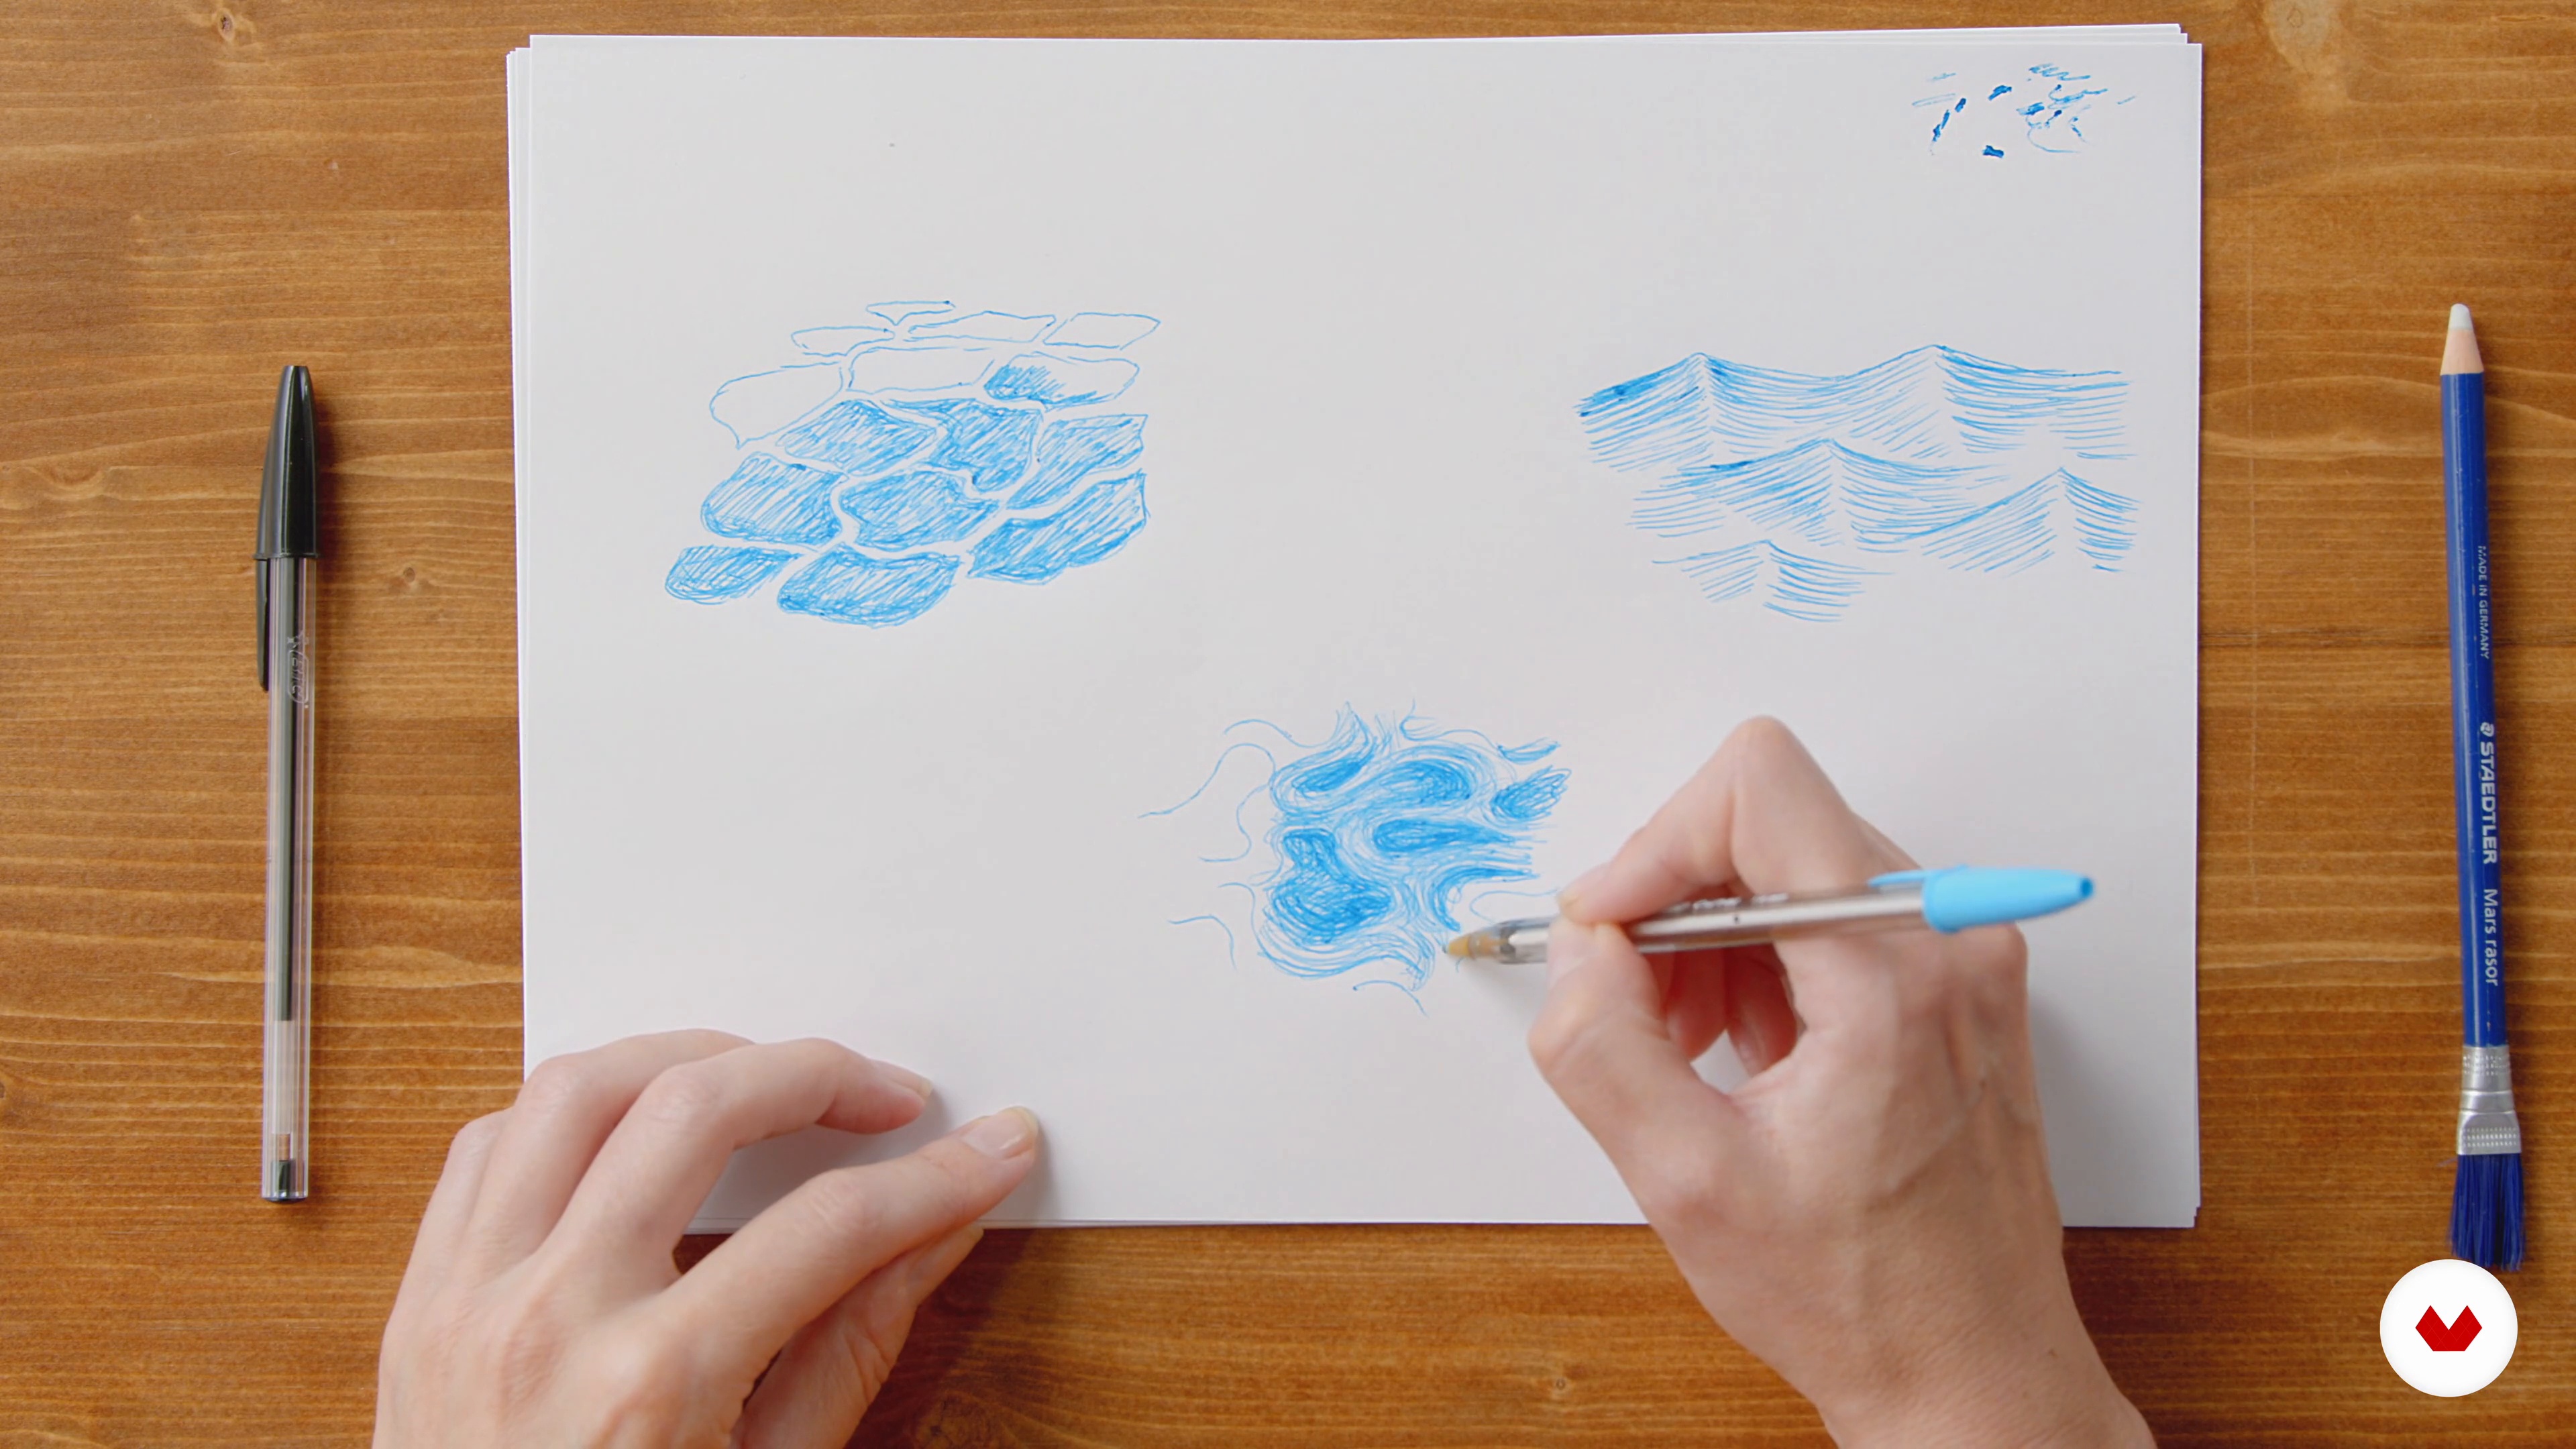 10
10Study for the Texture
After the black and white illustration, here I'll show you how to experiment with ink color before adding it to the final drawing.
11m
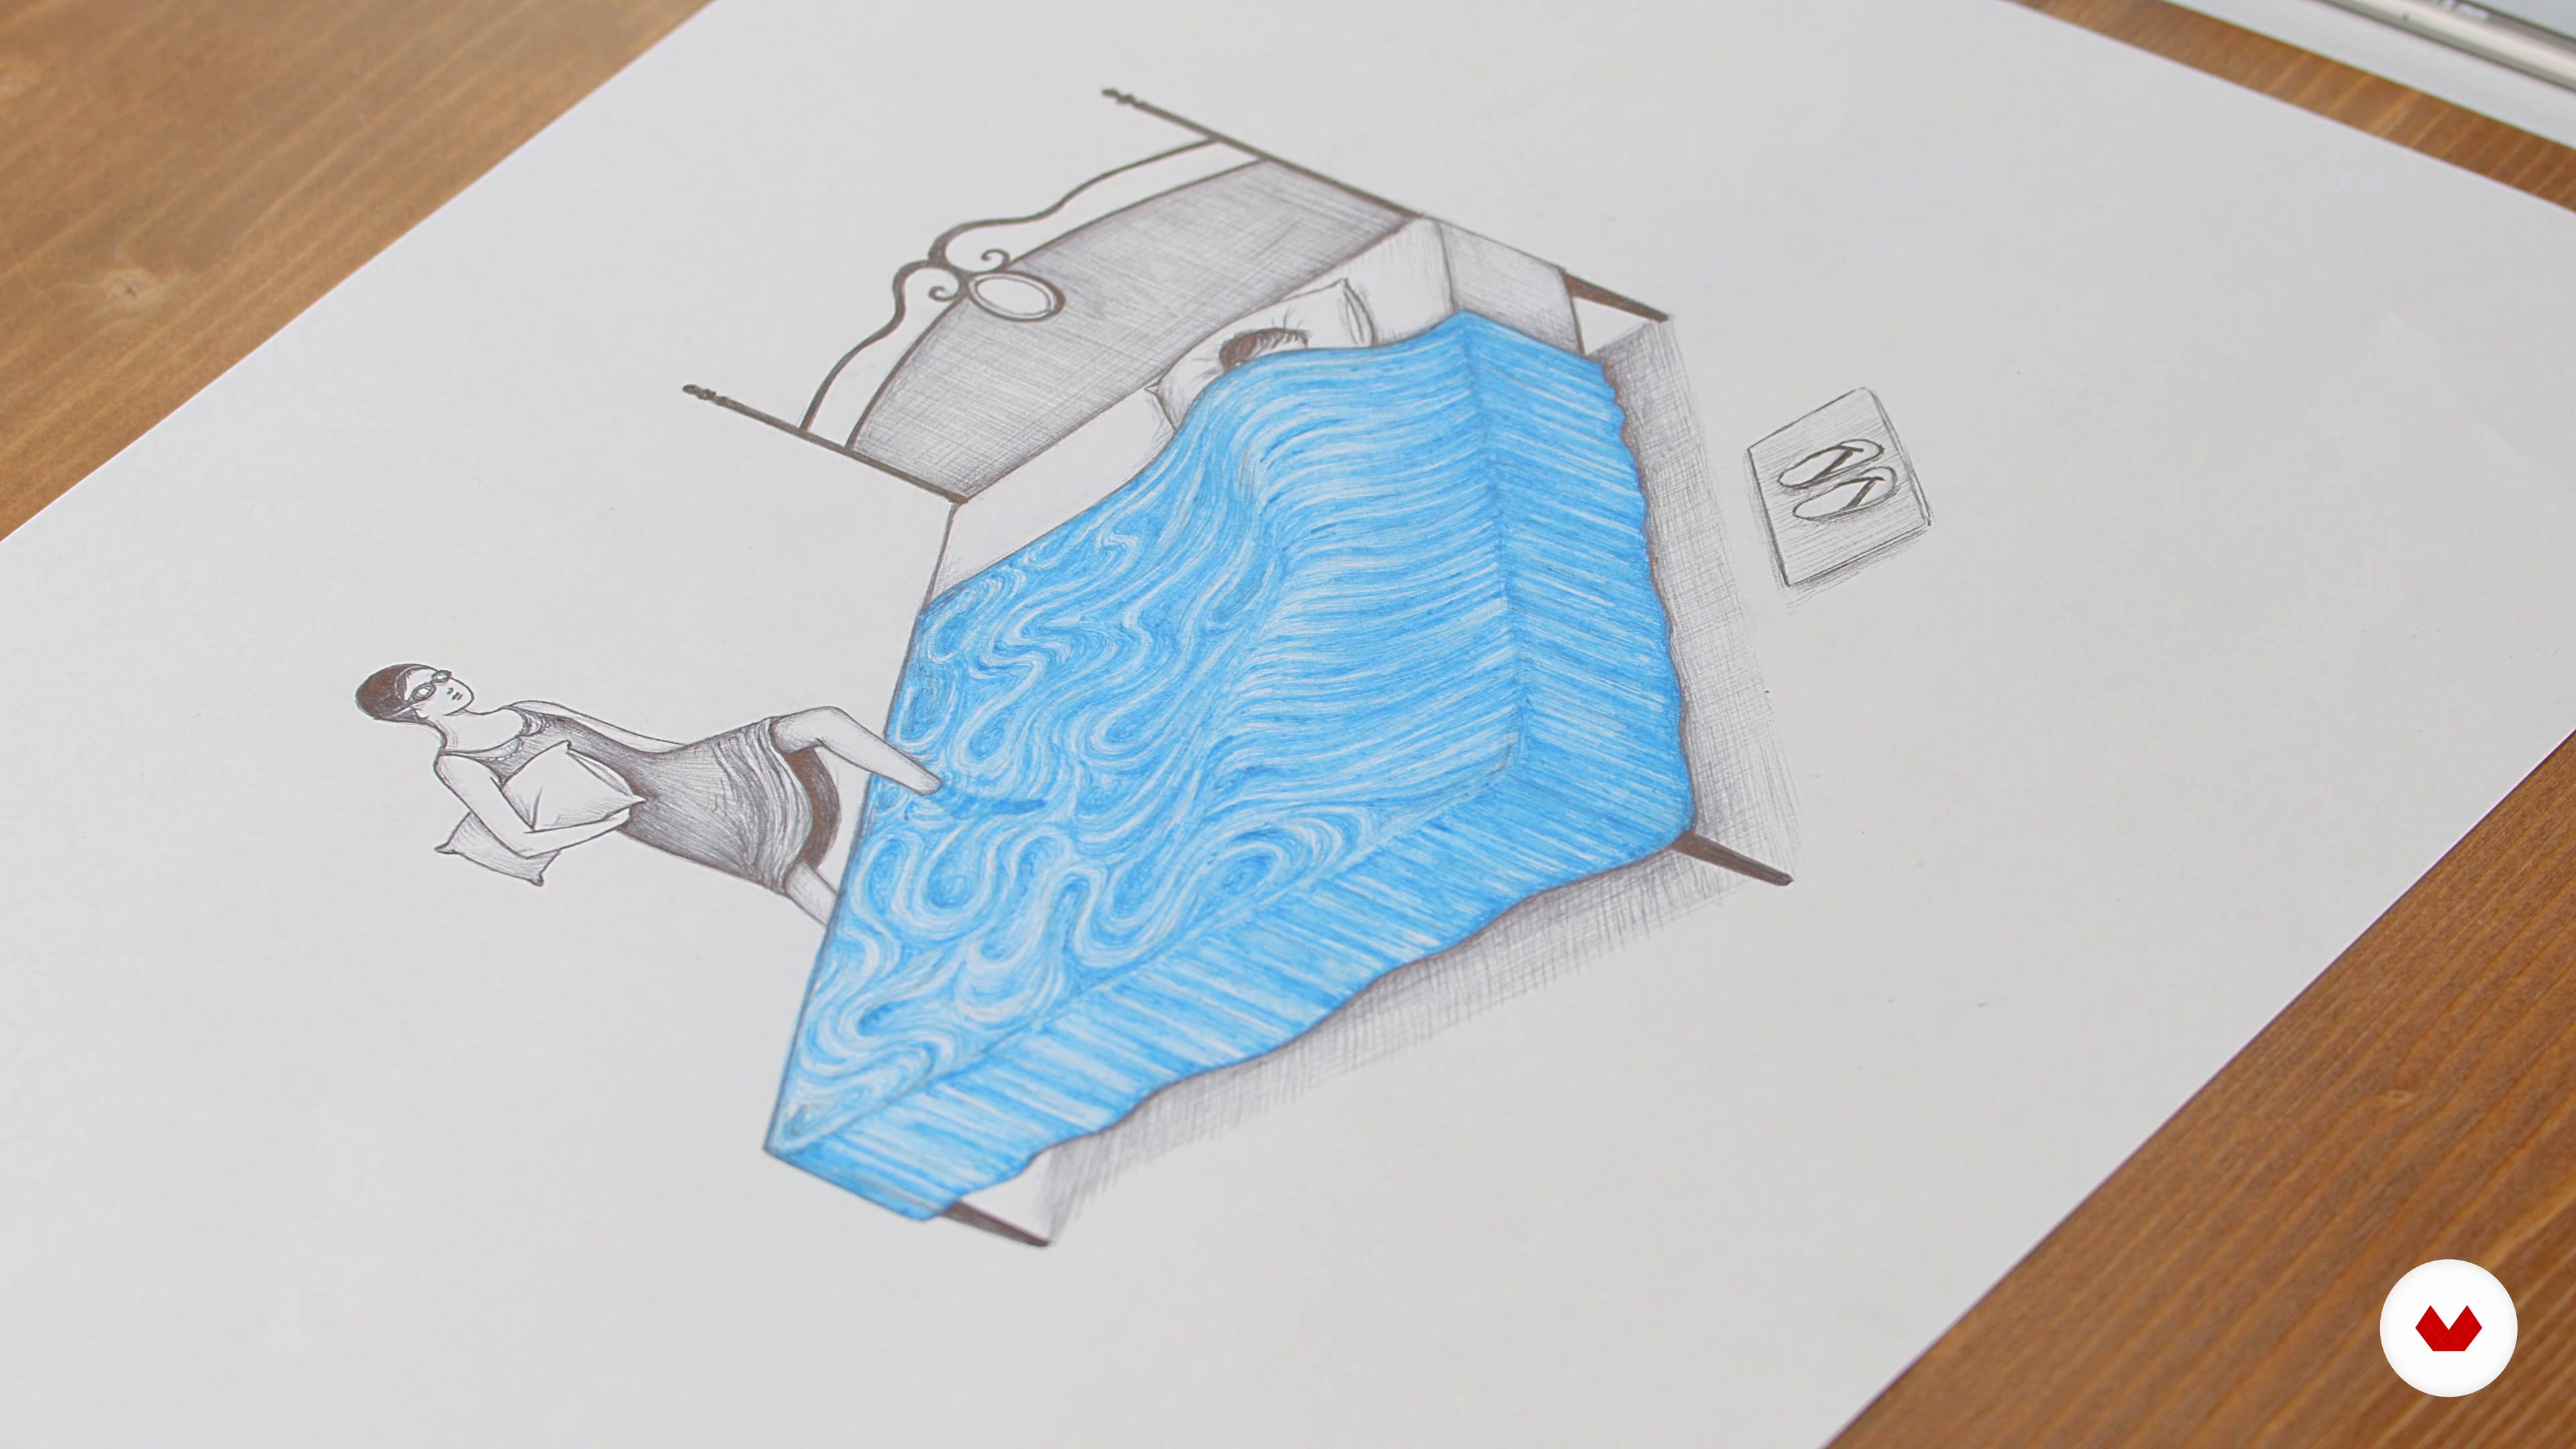 11
11Color on Final
Once you have chosen your favorite texture, it's time to apply the pen color on the final drawing. Now I'll show you how to do it!
8m
 12
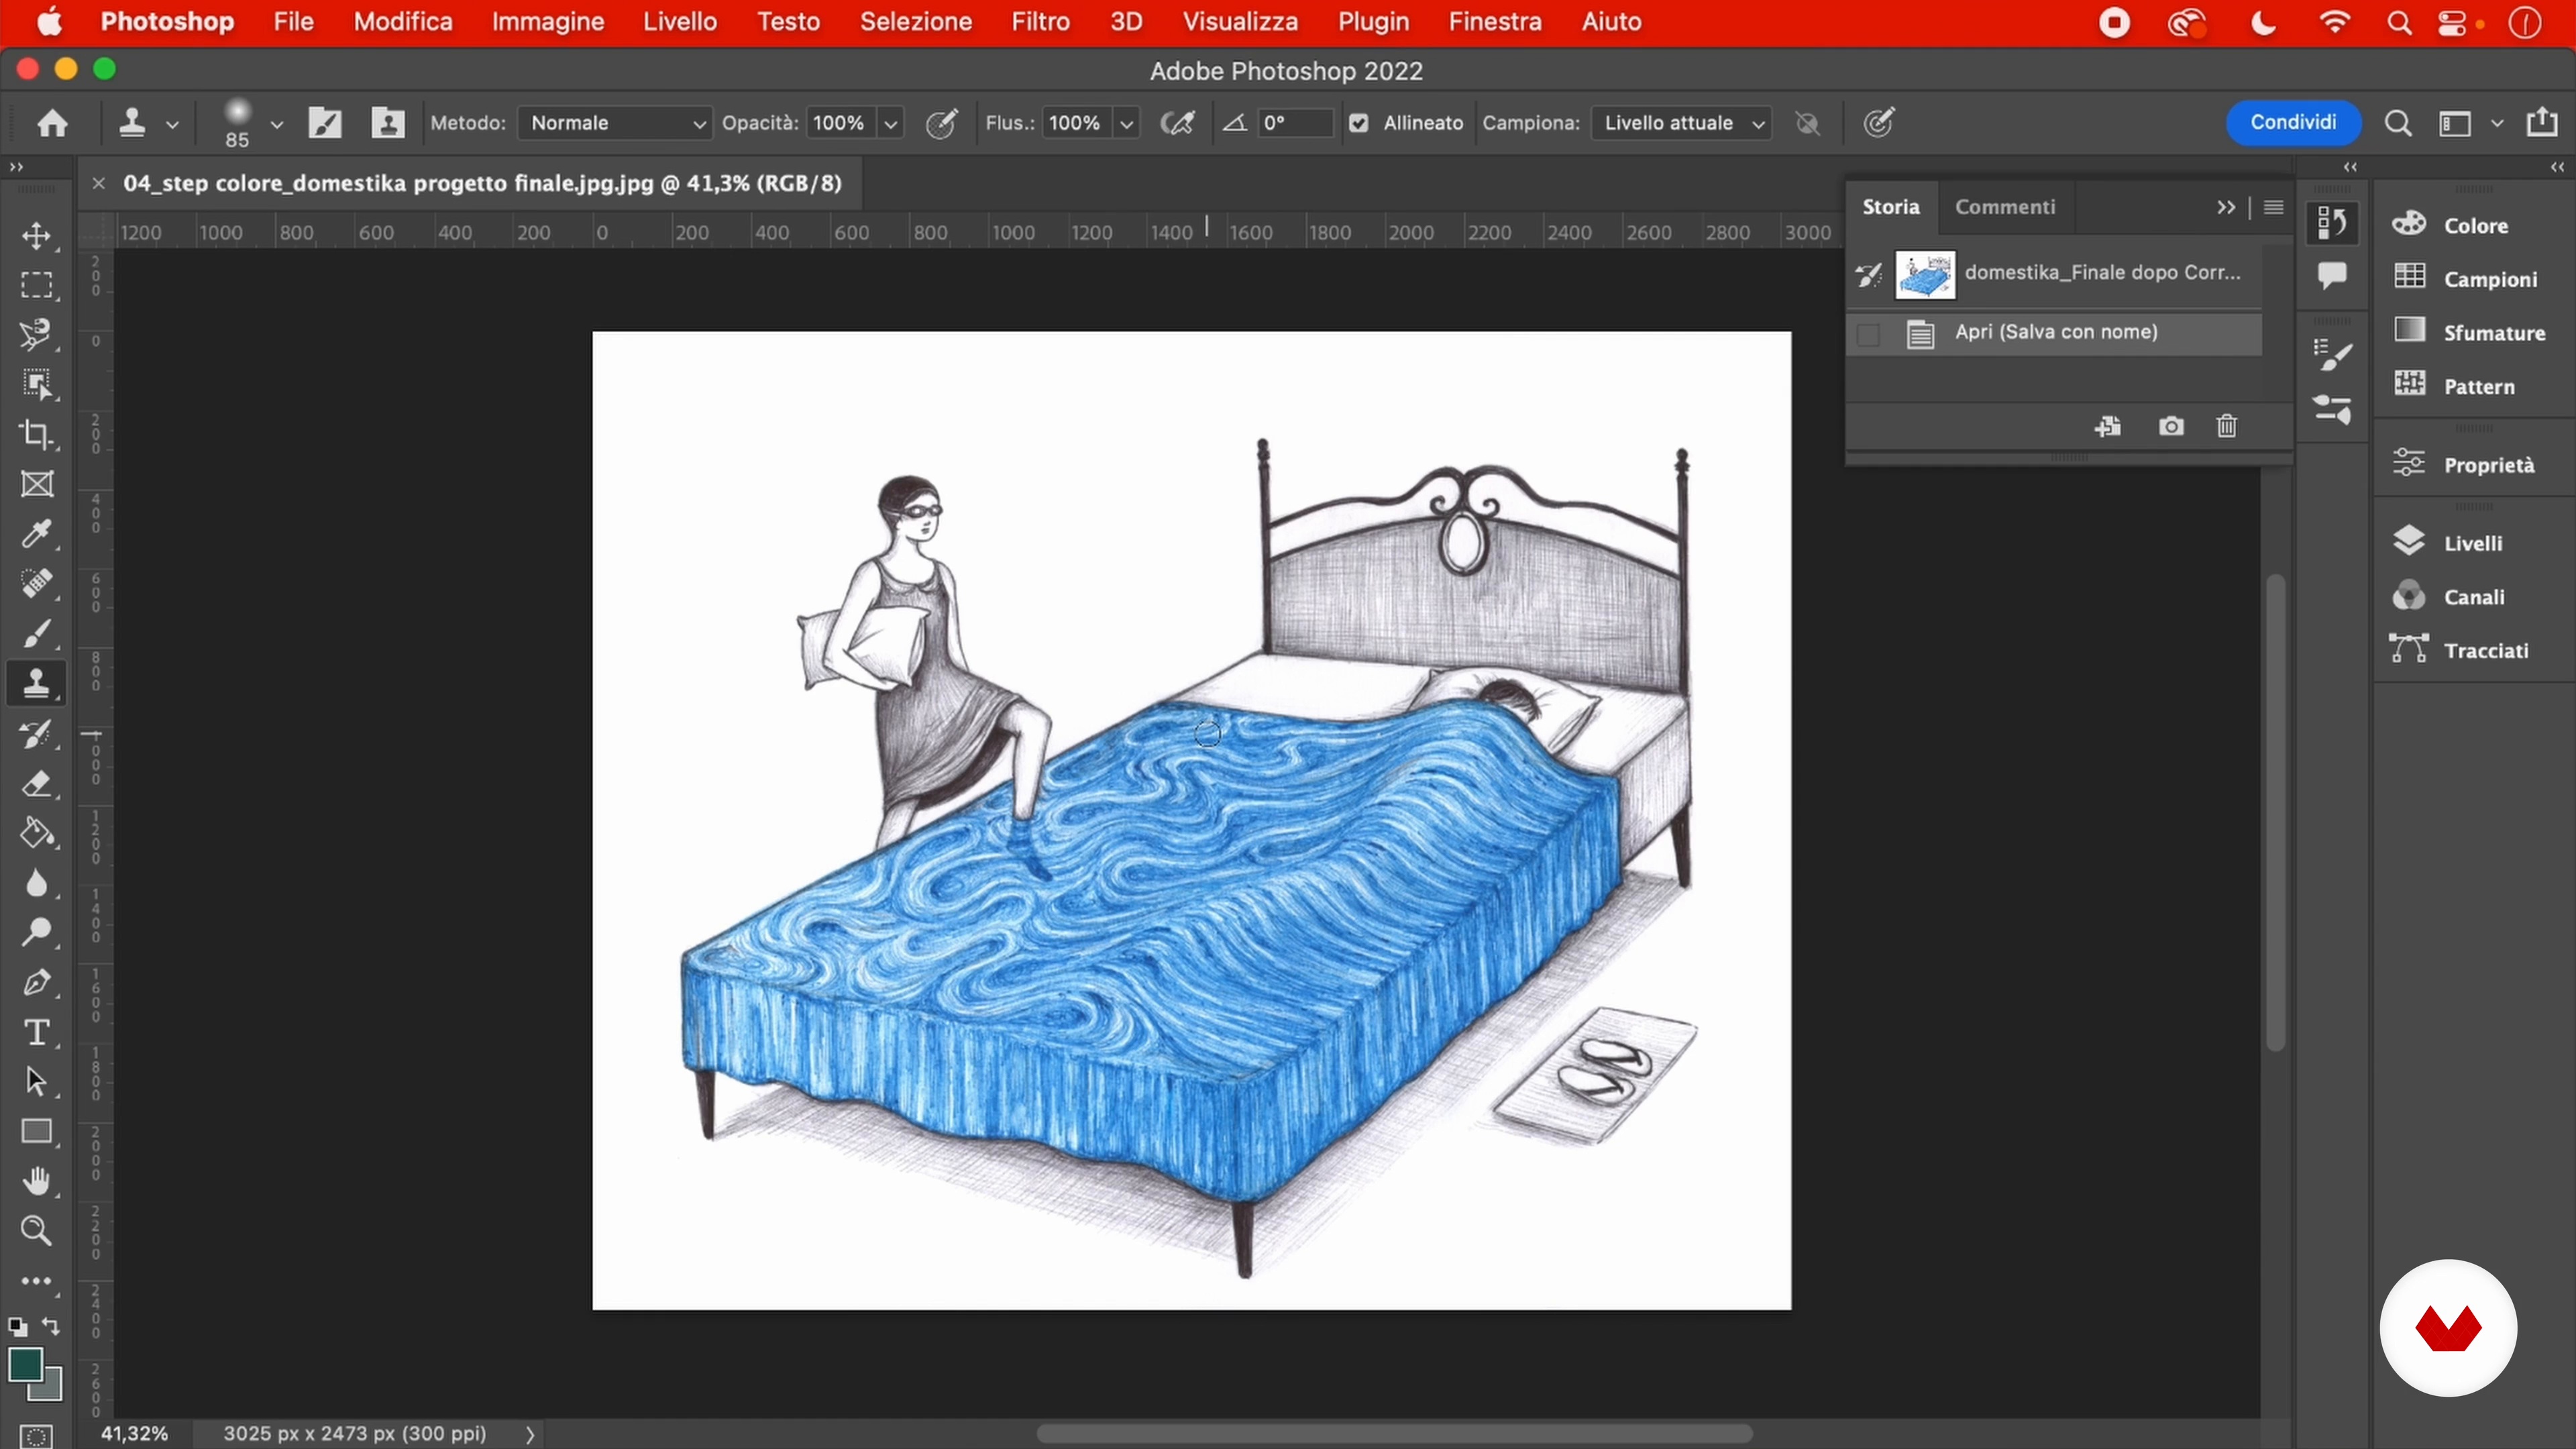
12Digitization and Retouching
When the drawing is finished, I will move on to digitize it with the help of a scanner, in order to retouch the small imperfections of the illustration on Adobe Photoshop.
6m
 3
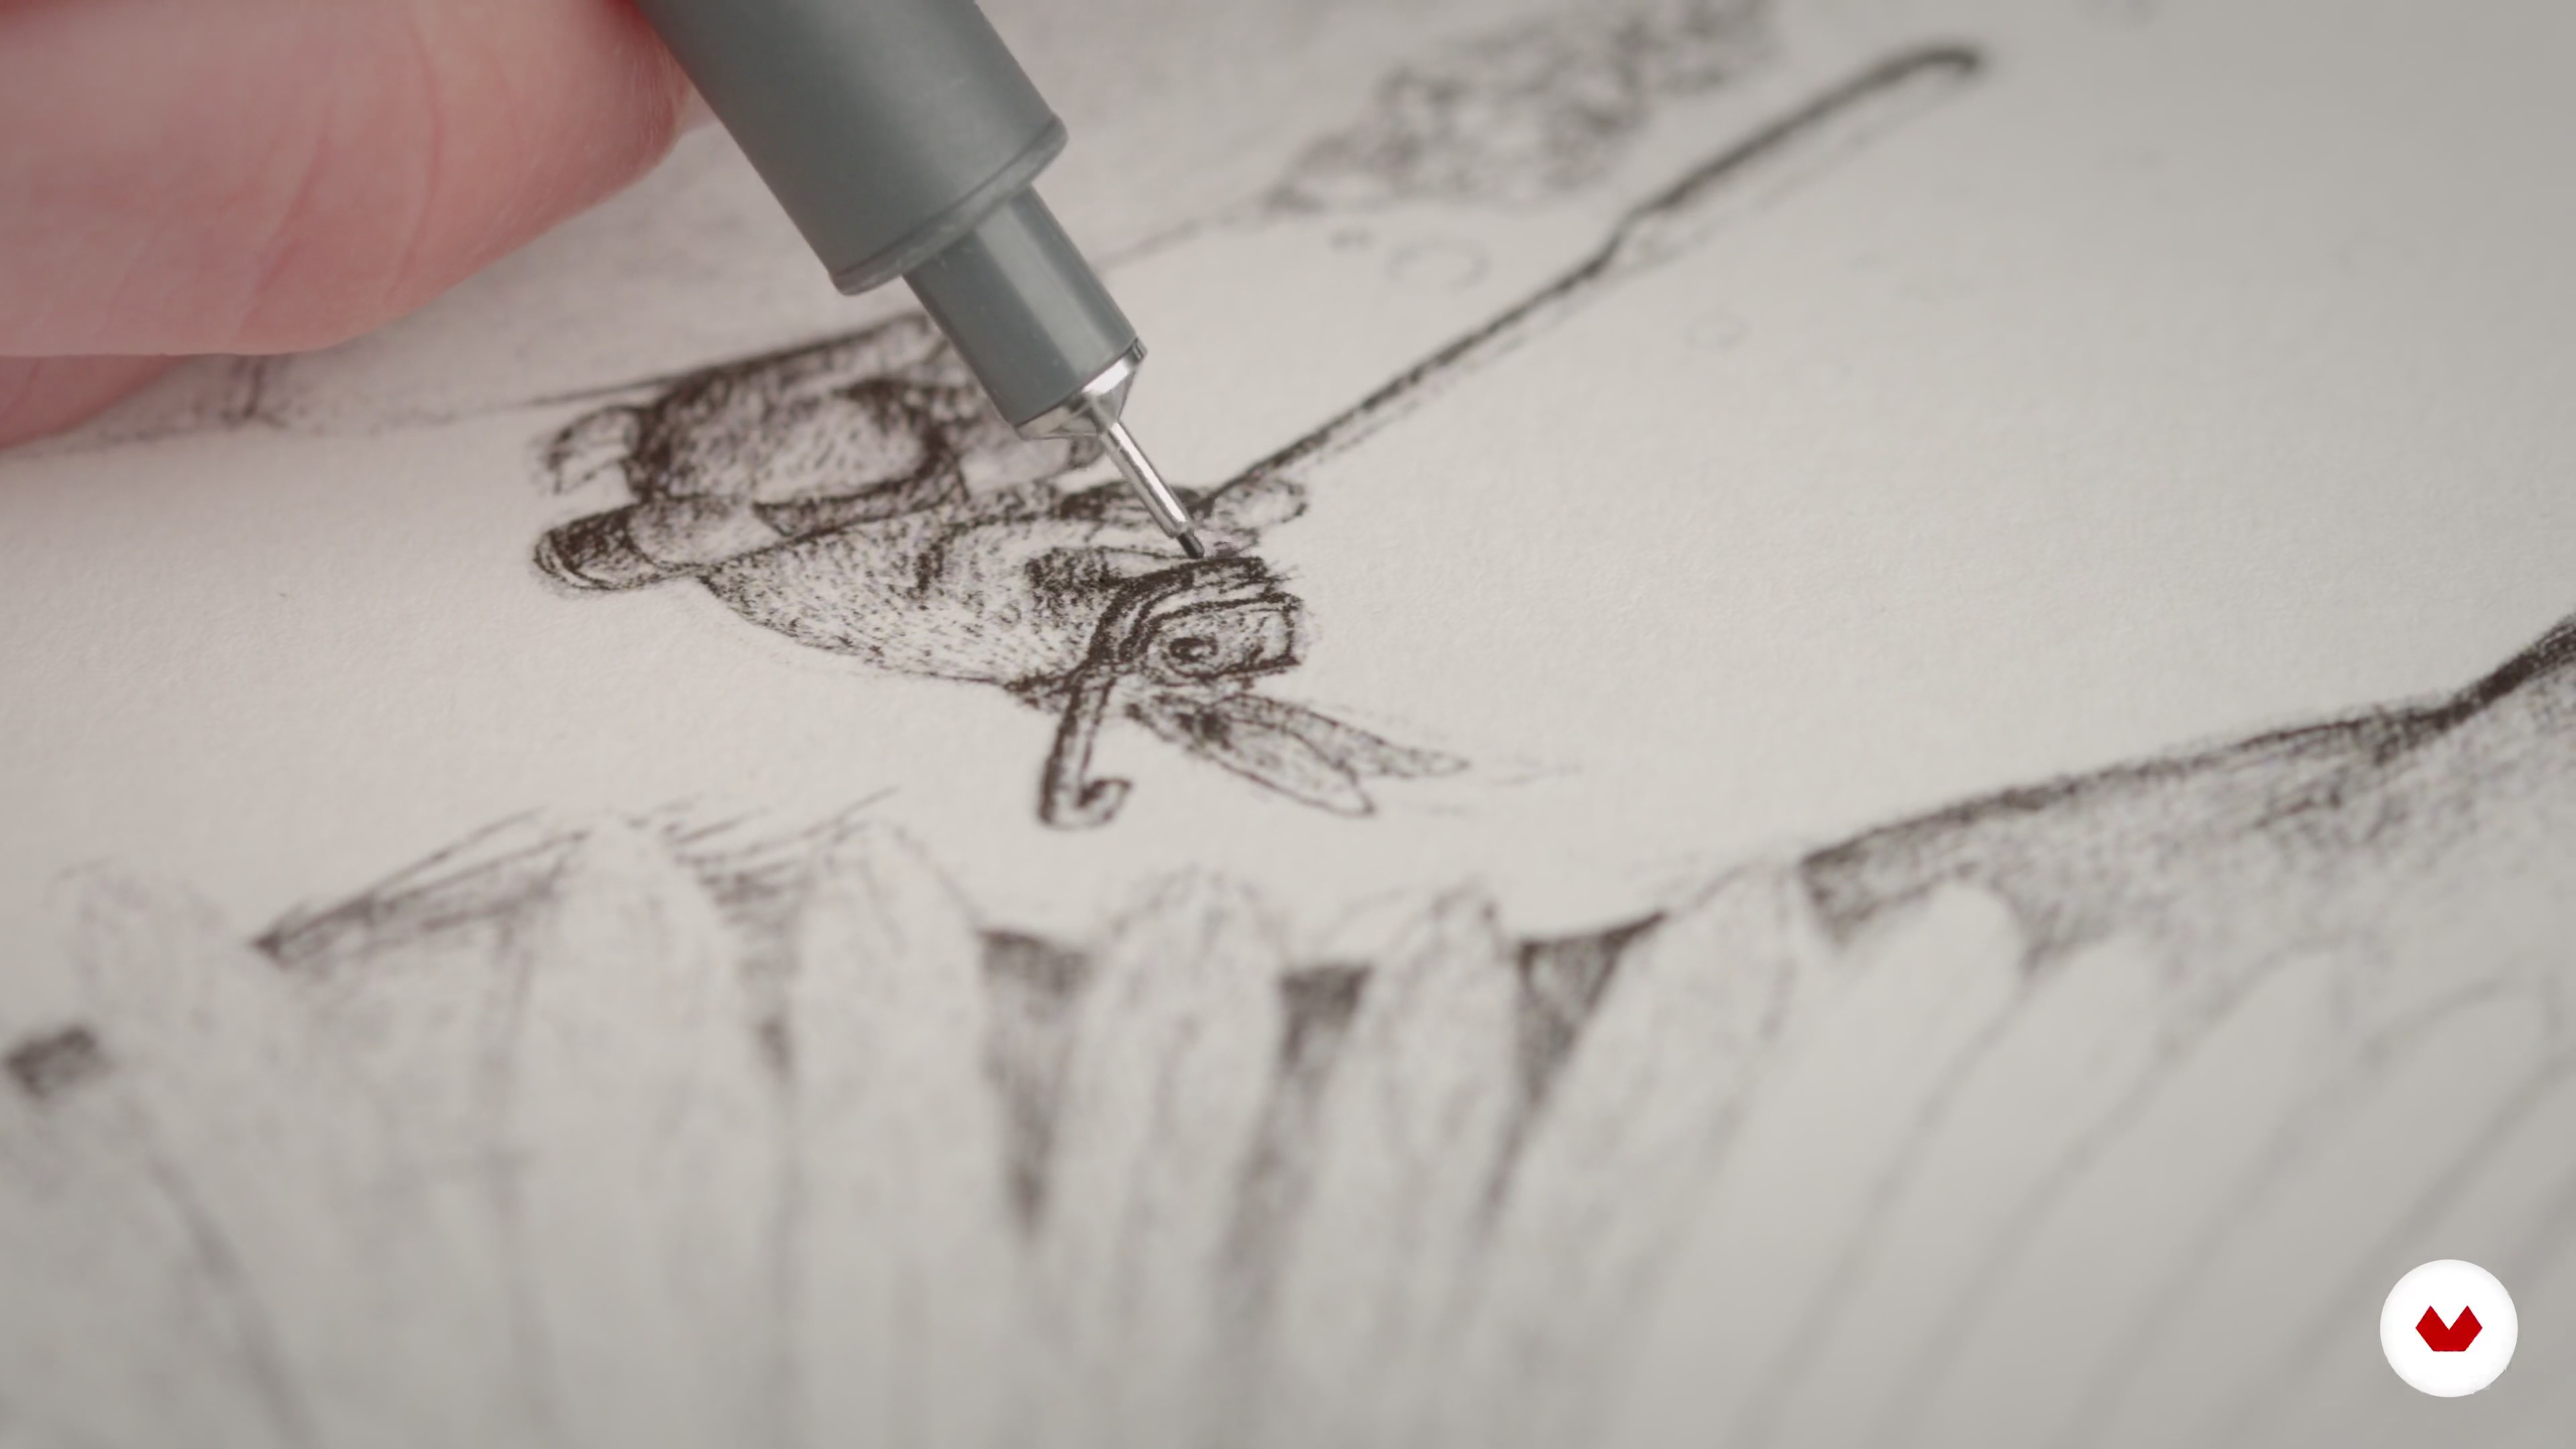
3What Will We Do in This Course?
We are going the wrap this unit up by doing a brief description of what this course is about, what I am intending to teach you and how this teachings can help you in the future.
2m
 4
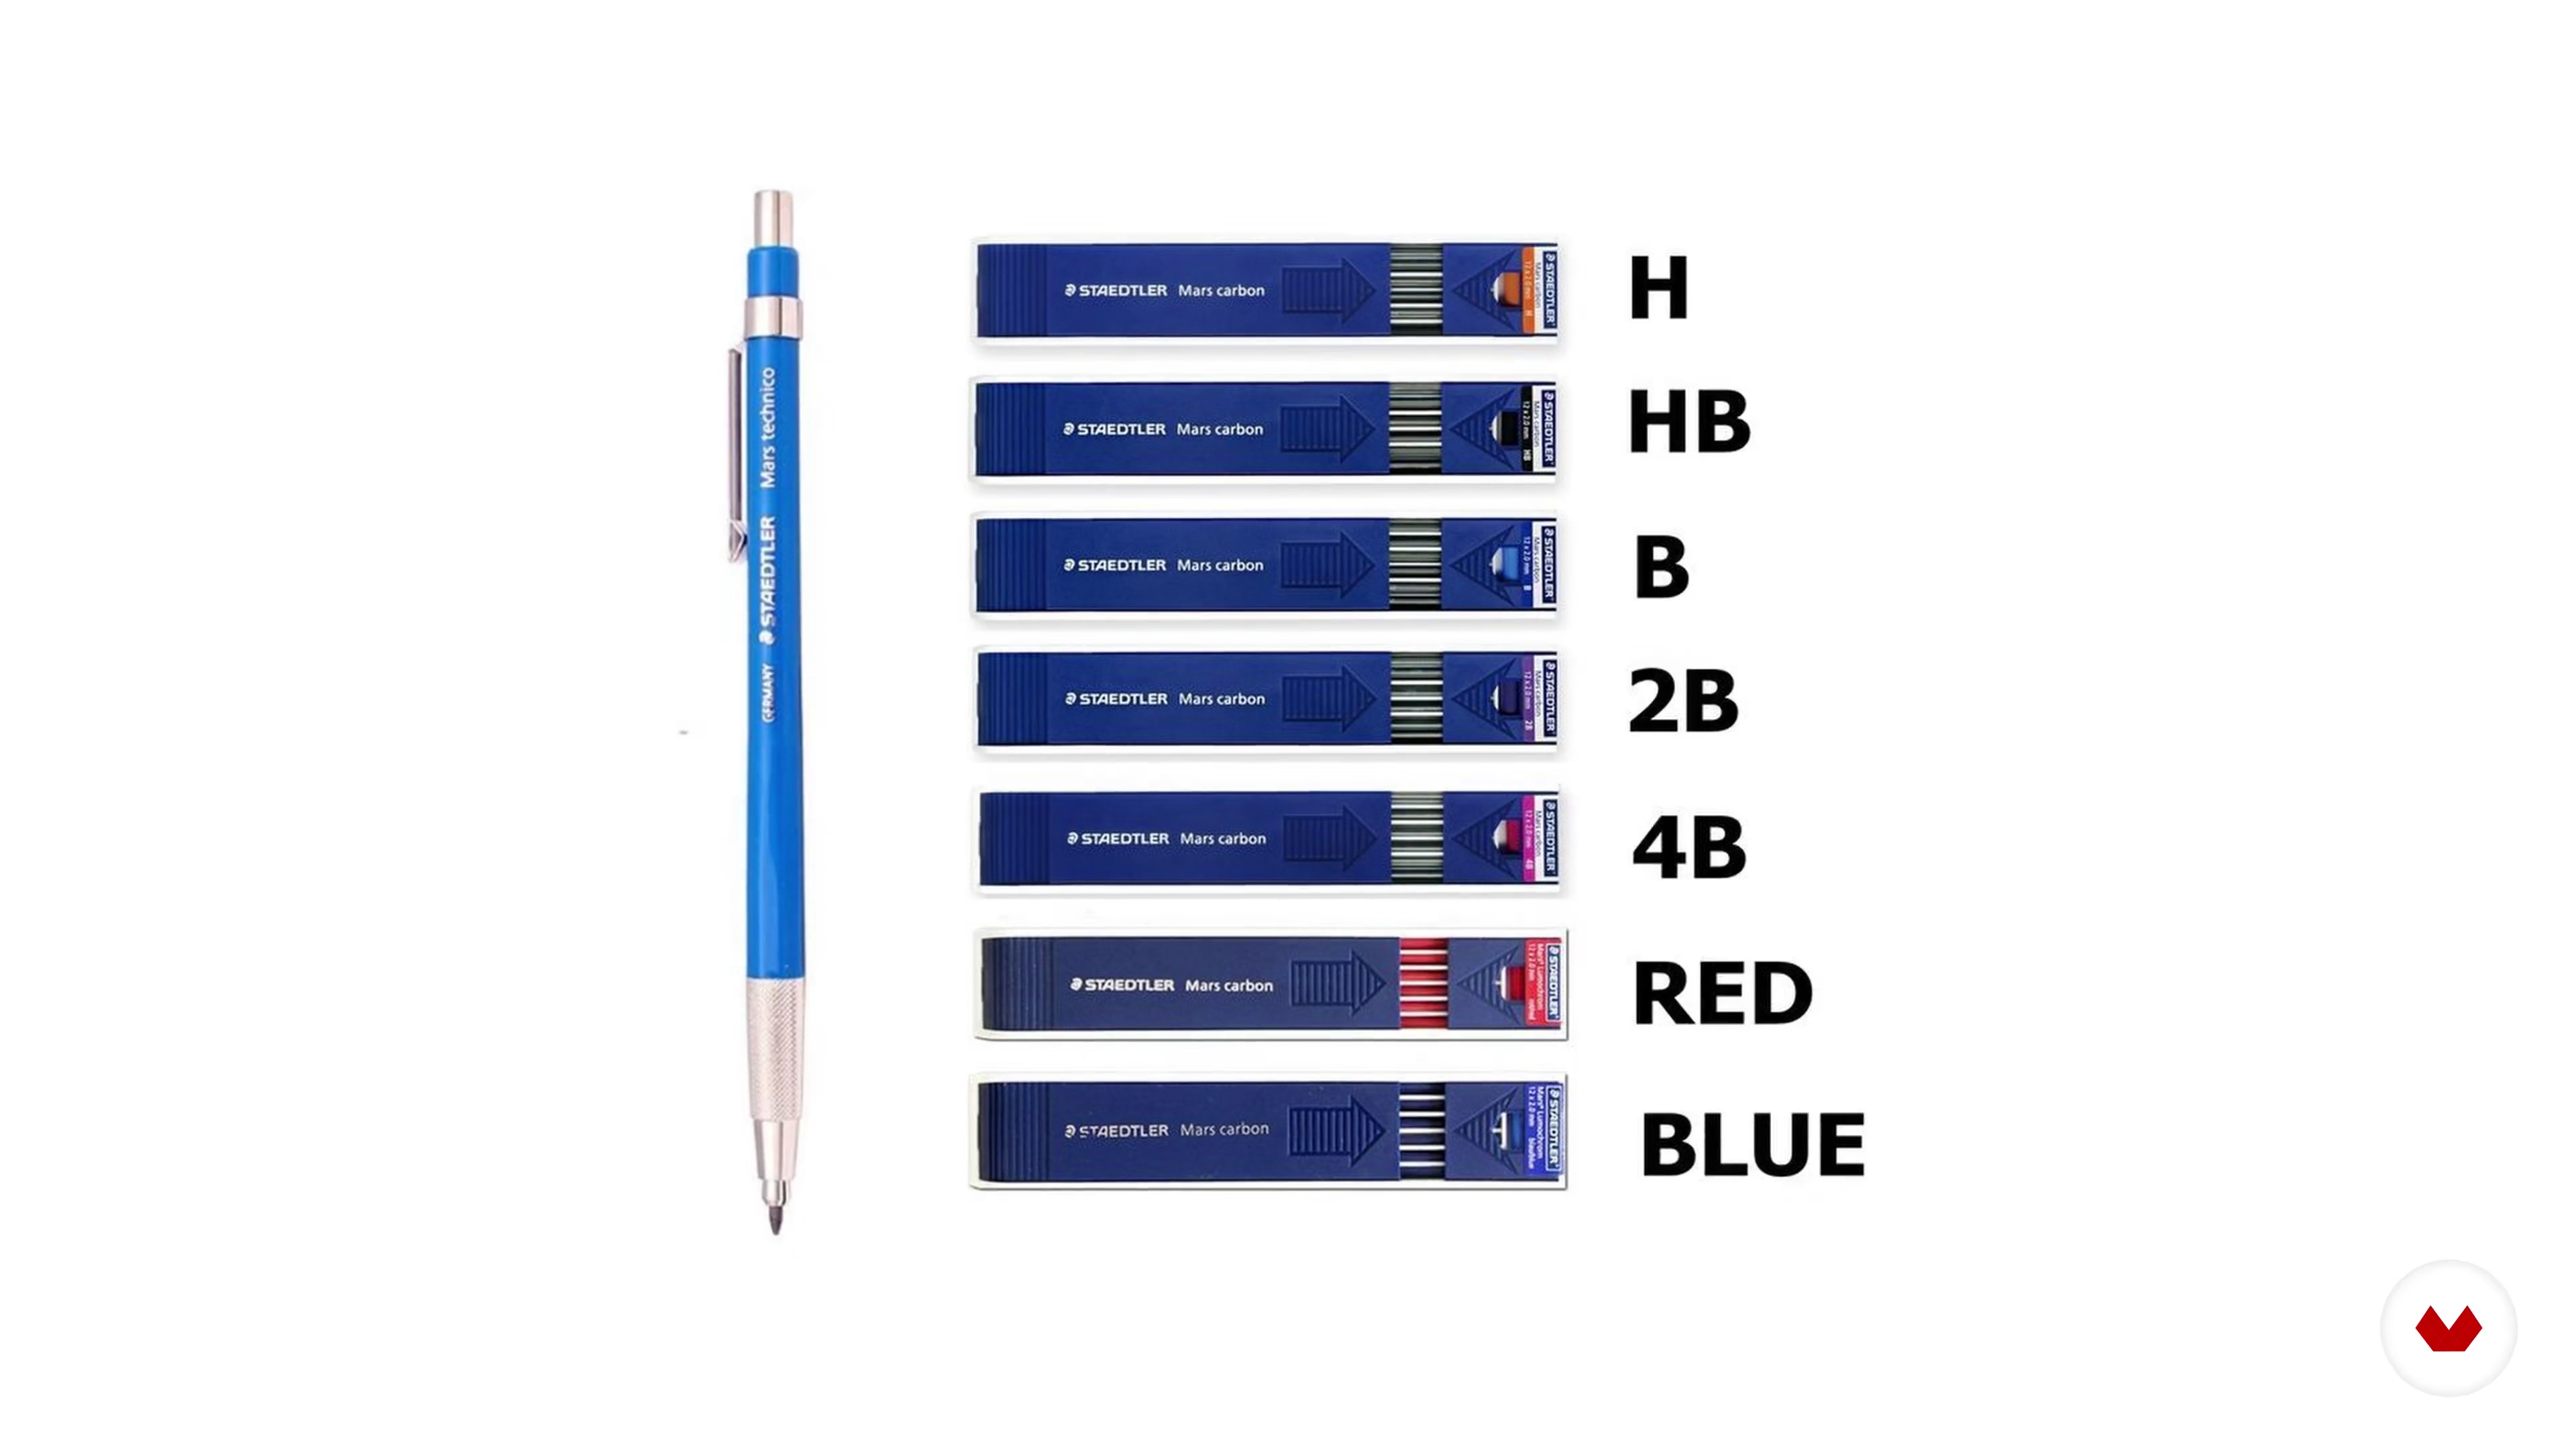
4Materials and Tips
Here I discuss all the materials I use to draw and how to take care of the drawing while working on it.
3m
 5
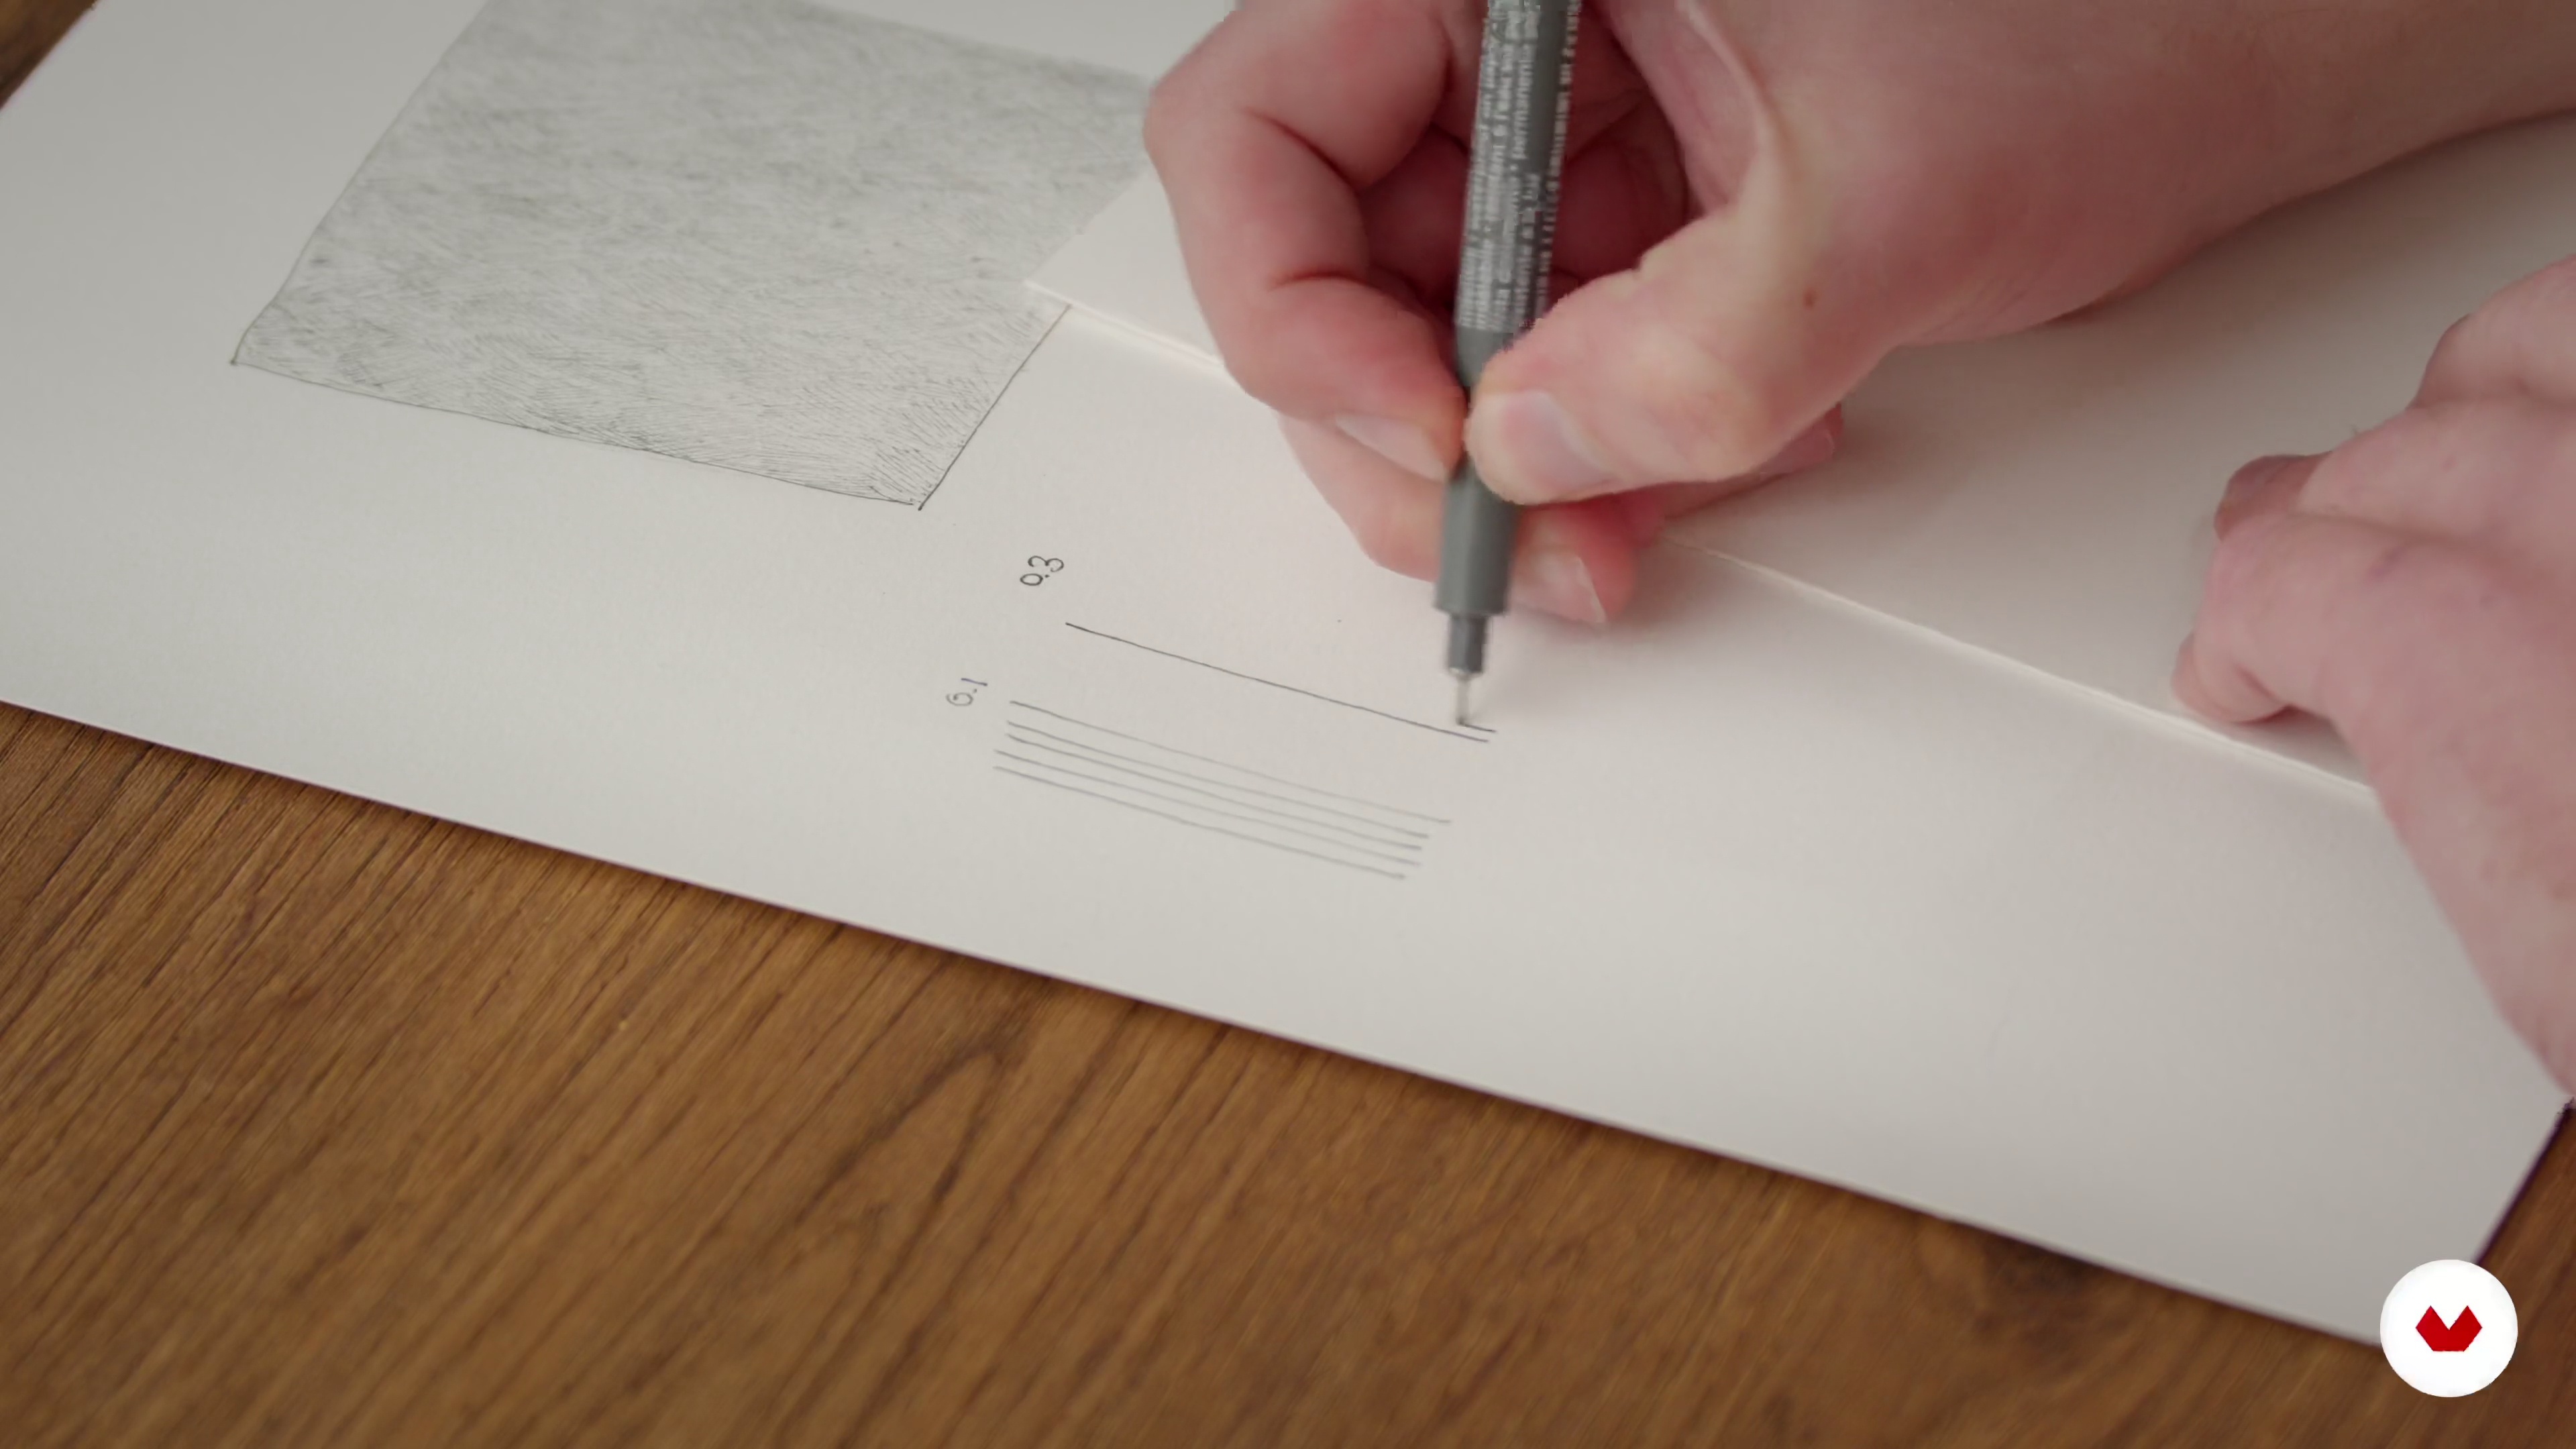
5Hatching
In this lesson, I will show you how to use fineliners and their characteristics.
5m
 6
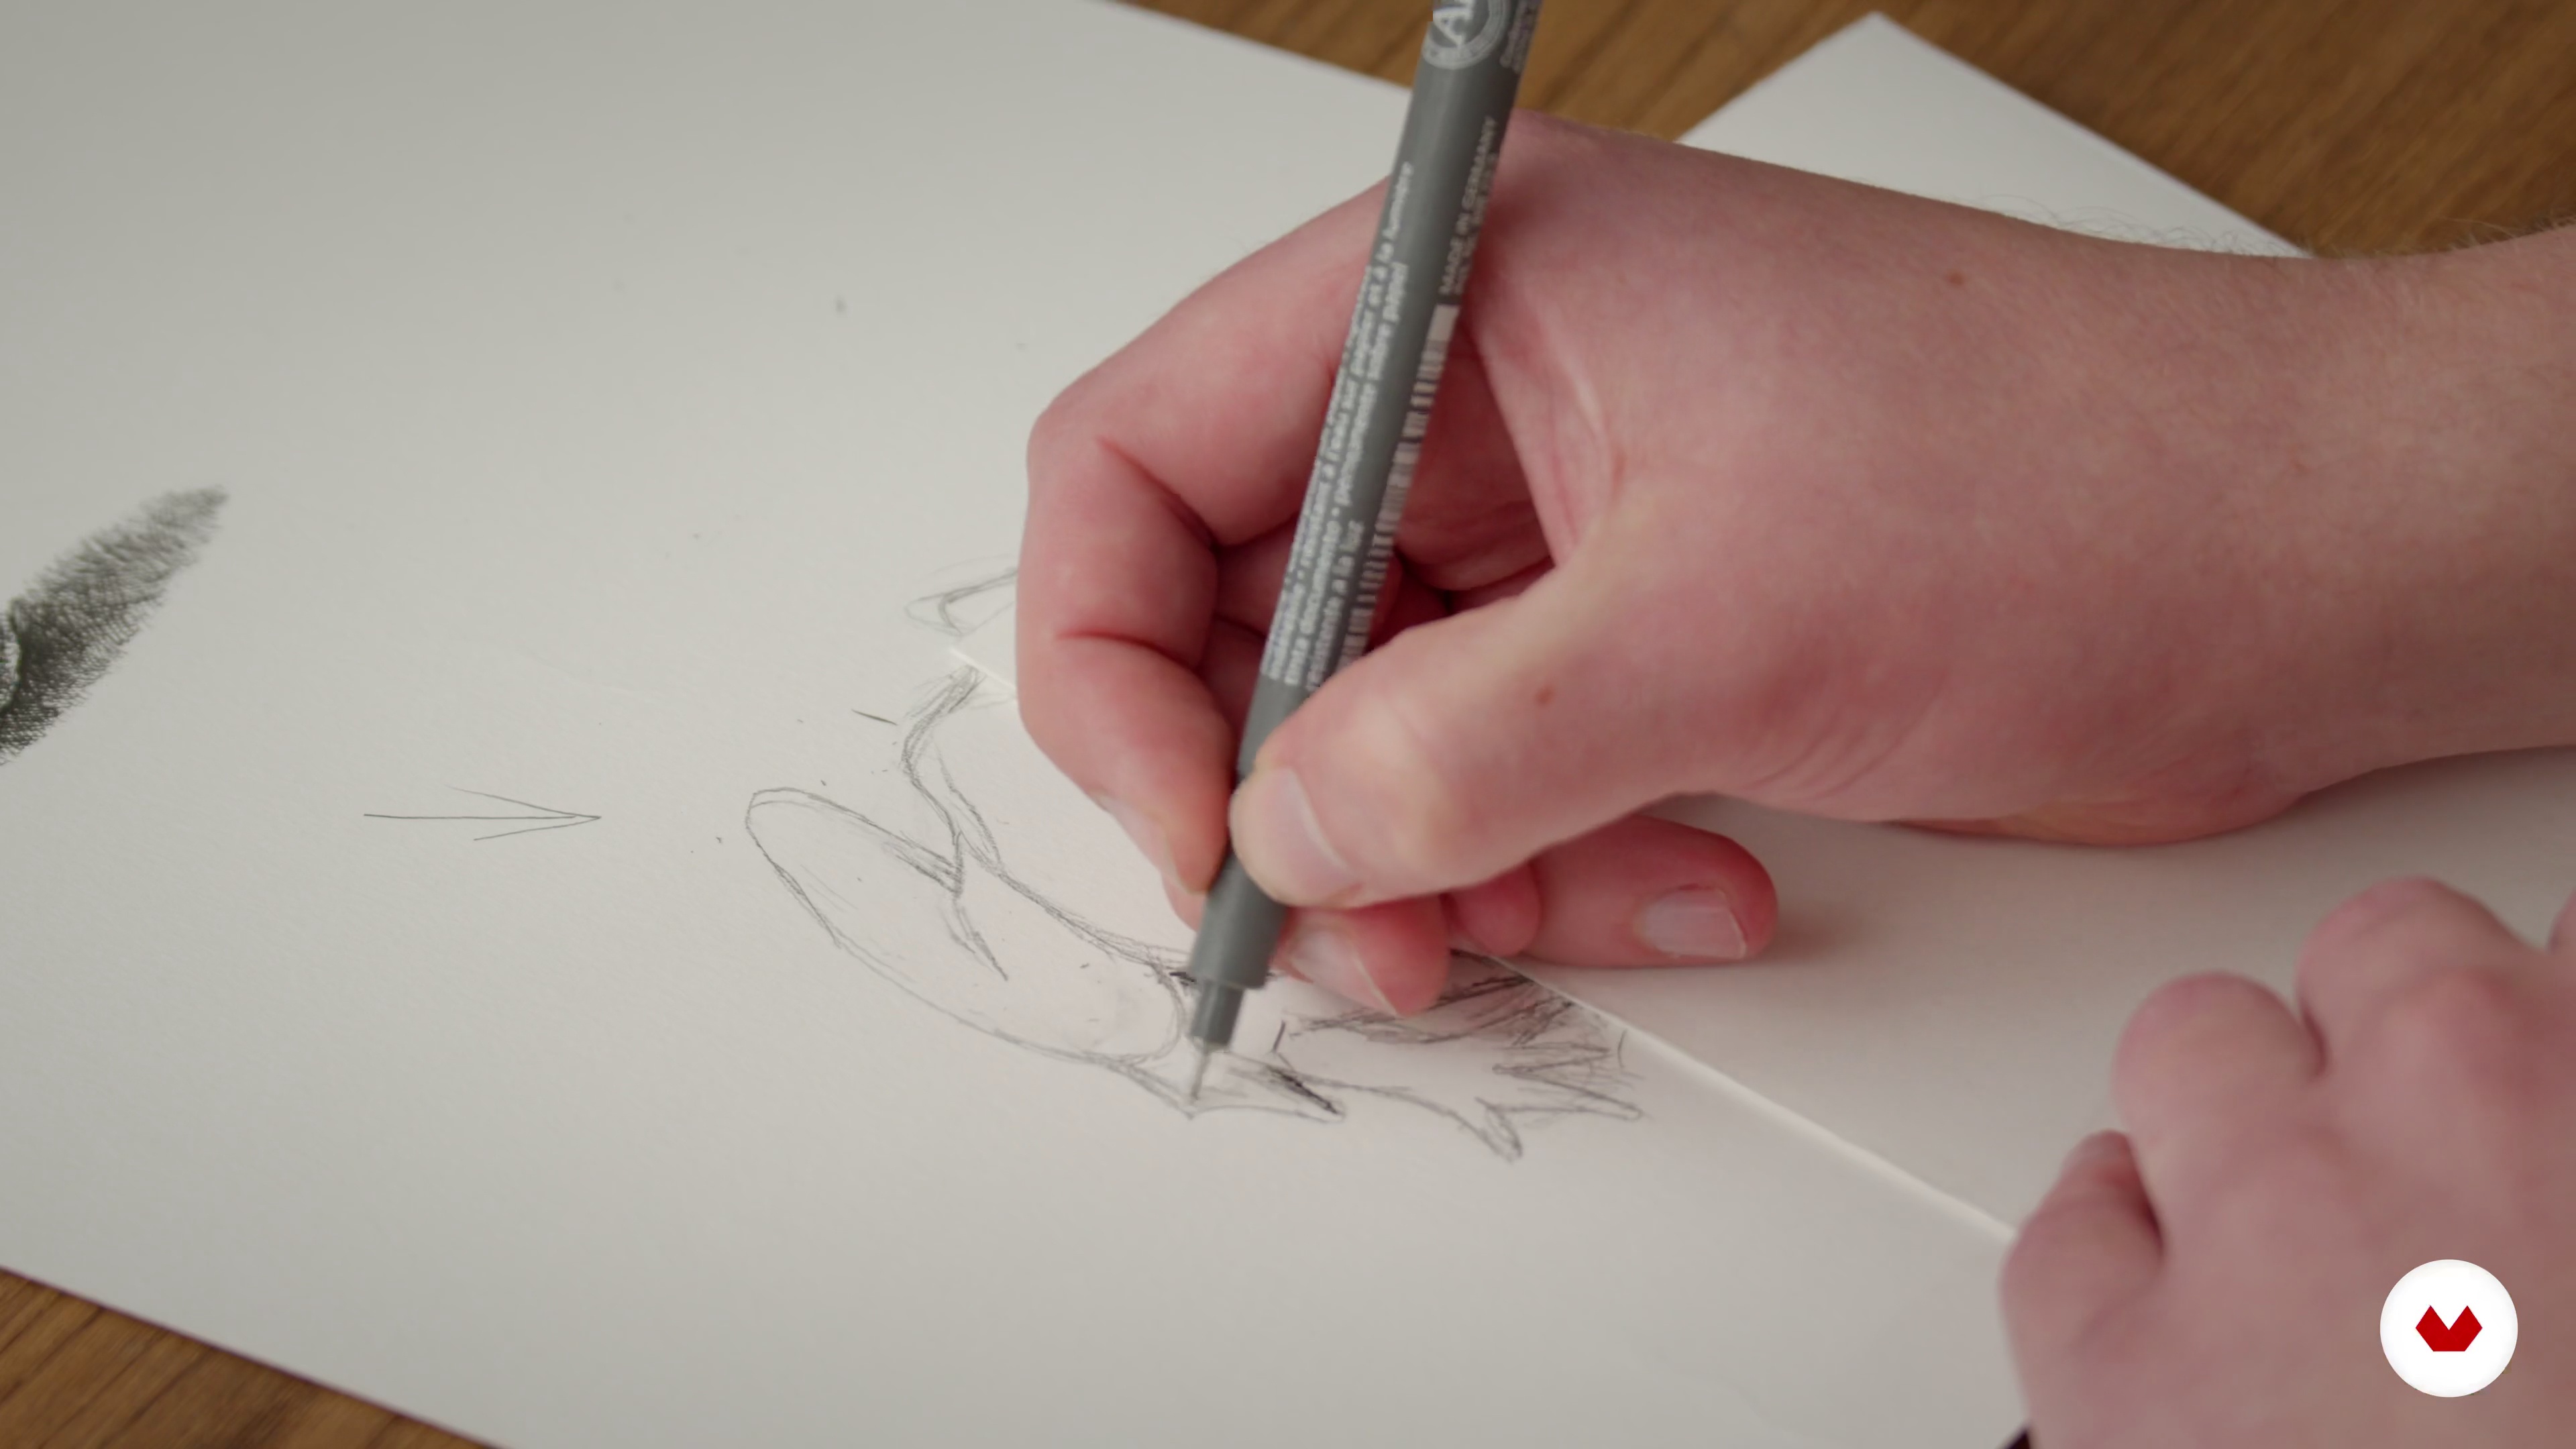
6Light and Dark
In this lesson, I will show you how lights and shadows make your drawing feel alive and give it a 3D feeling.
19m
 7
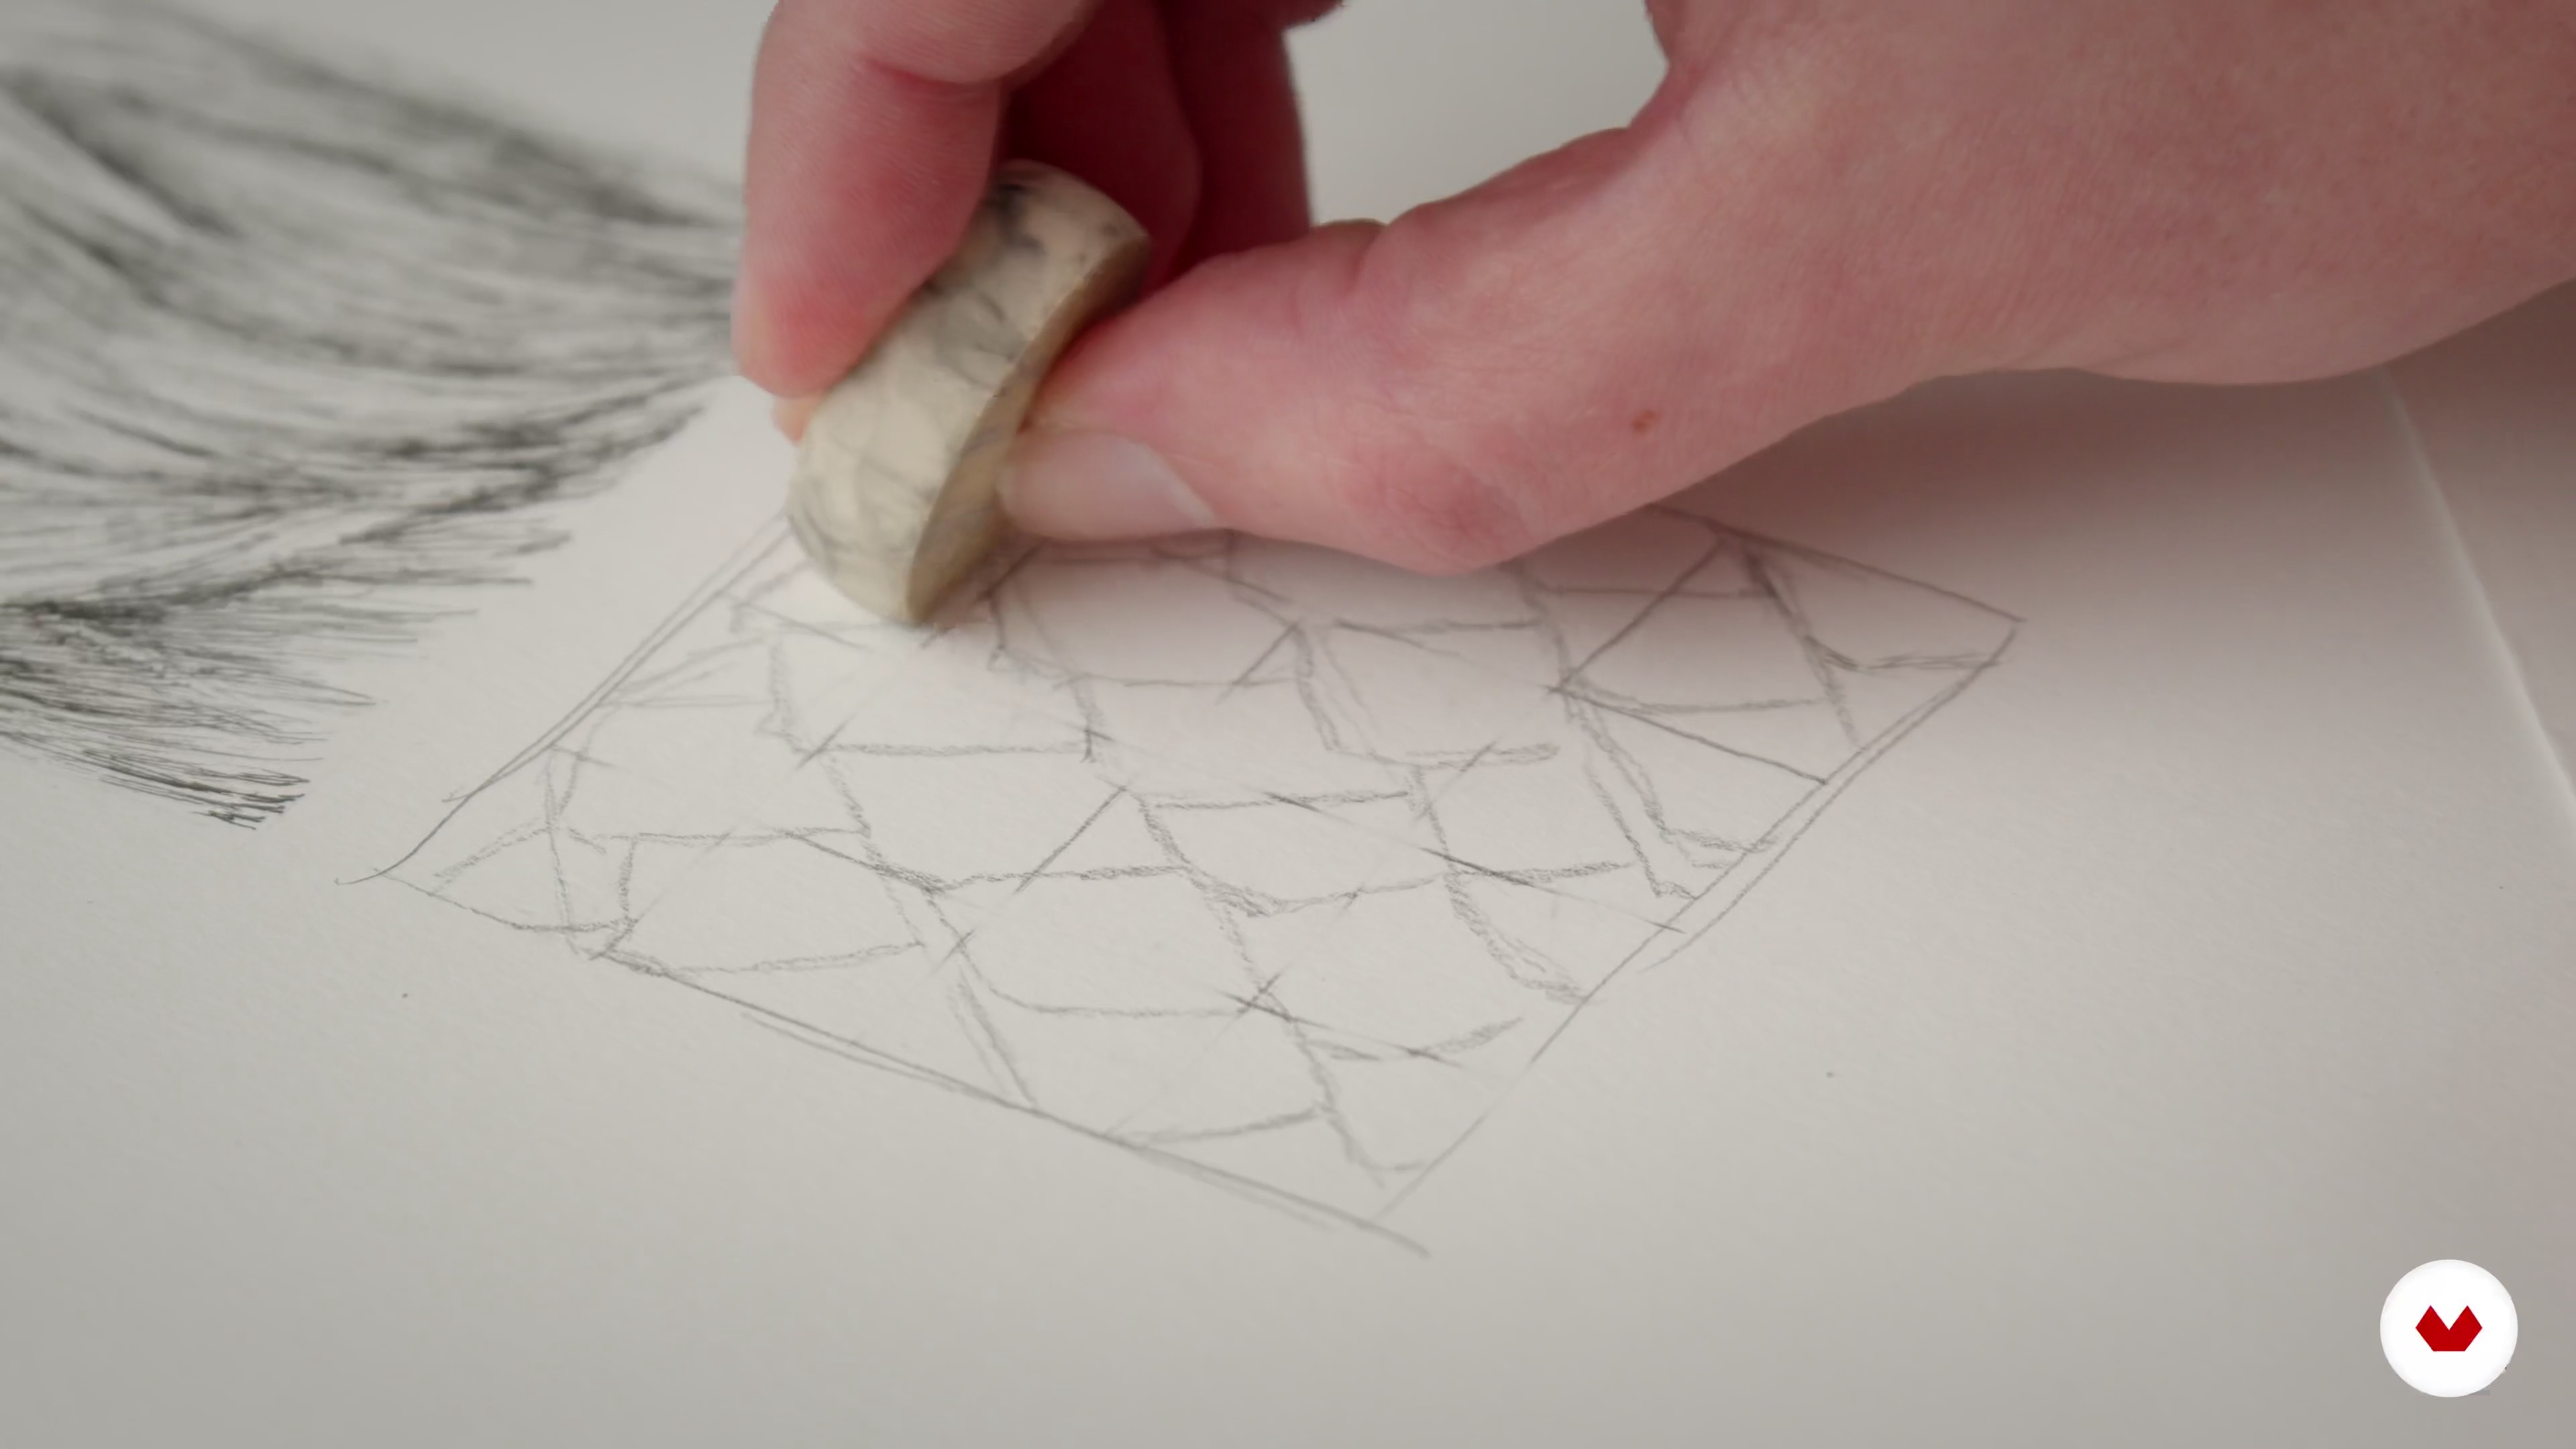
7Drawing Textures
In this lesson, I will show you how to draw different types of structures. This will help you get better at drawing what you have in front of you. In turn, it will contribute to refining your dexterity with the fineliners.
18m
 8
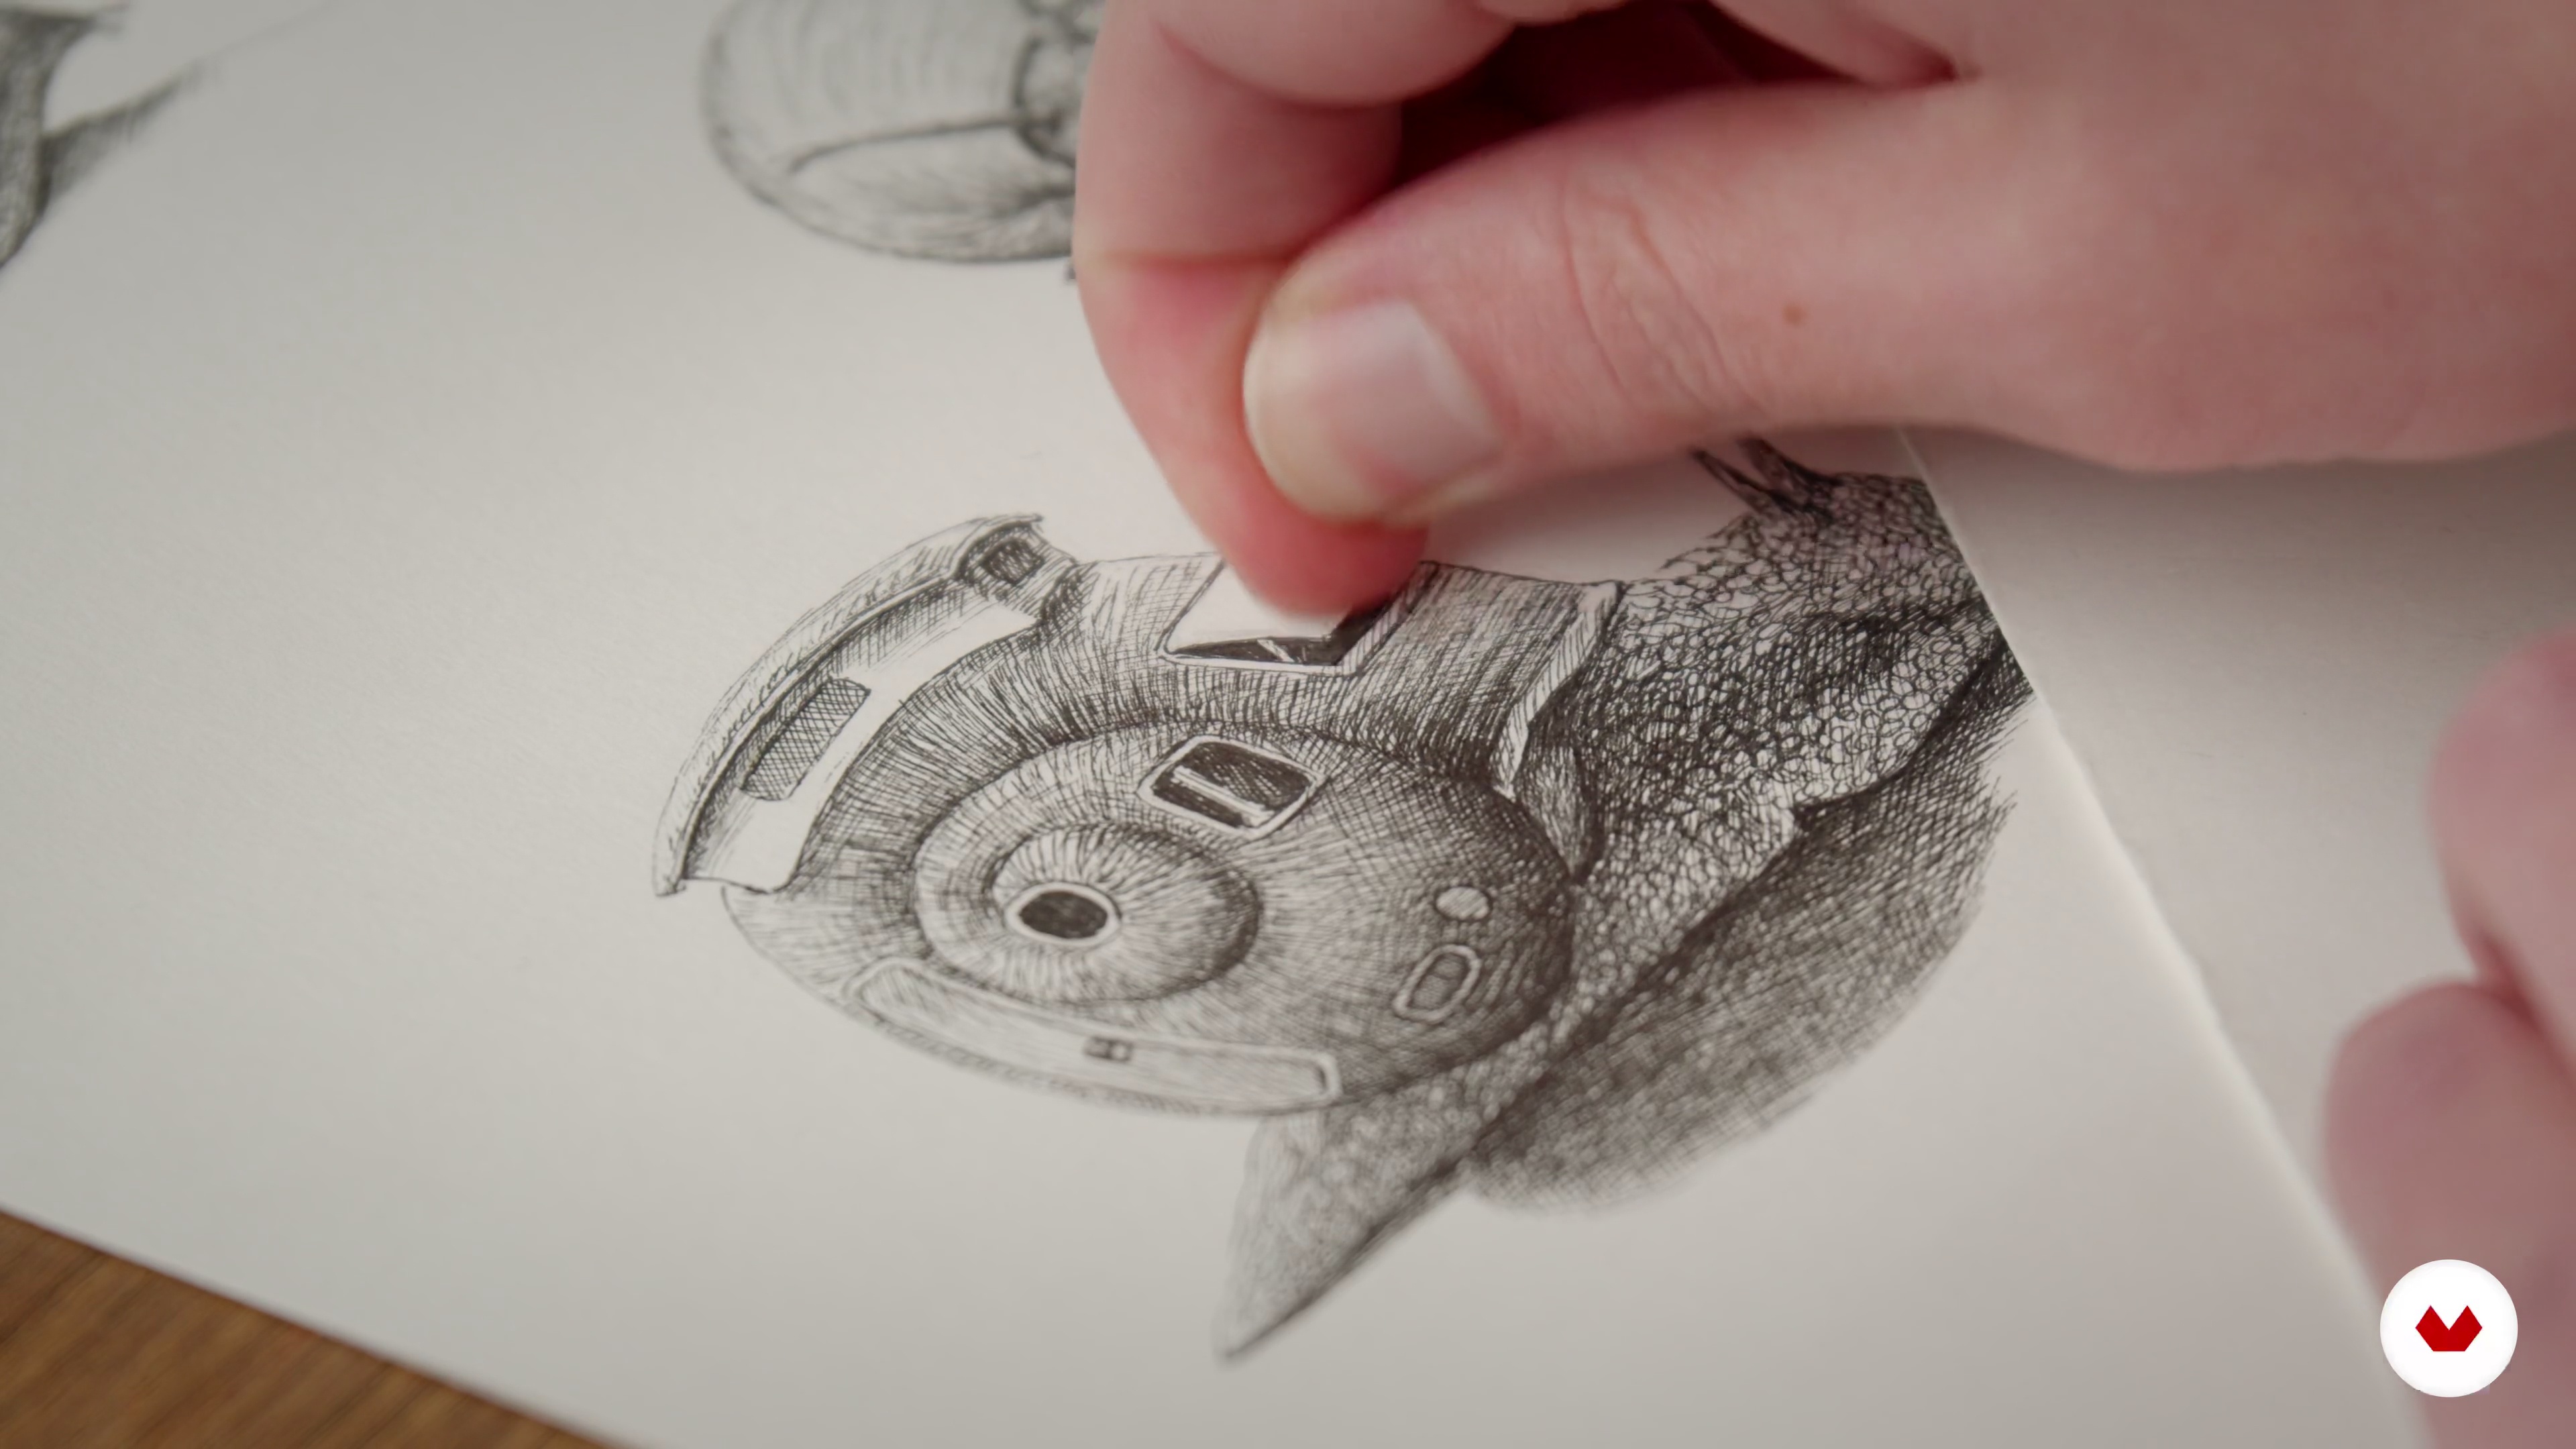
8When Ctrl+Z Is Not An Option
In this lesson, I want to address what to do when something goes wrong during the ink phase. For this, I have a few tips and tricks that can spare you from having to start over.
6m
 9
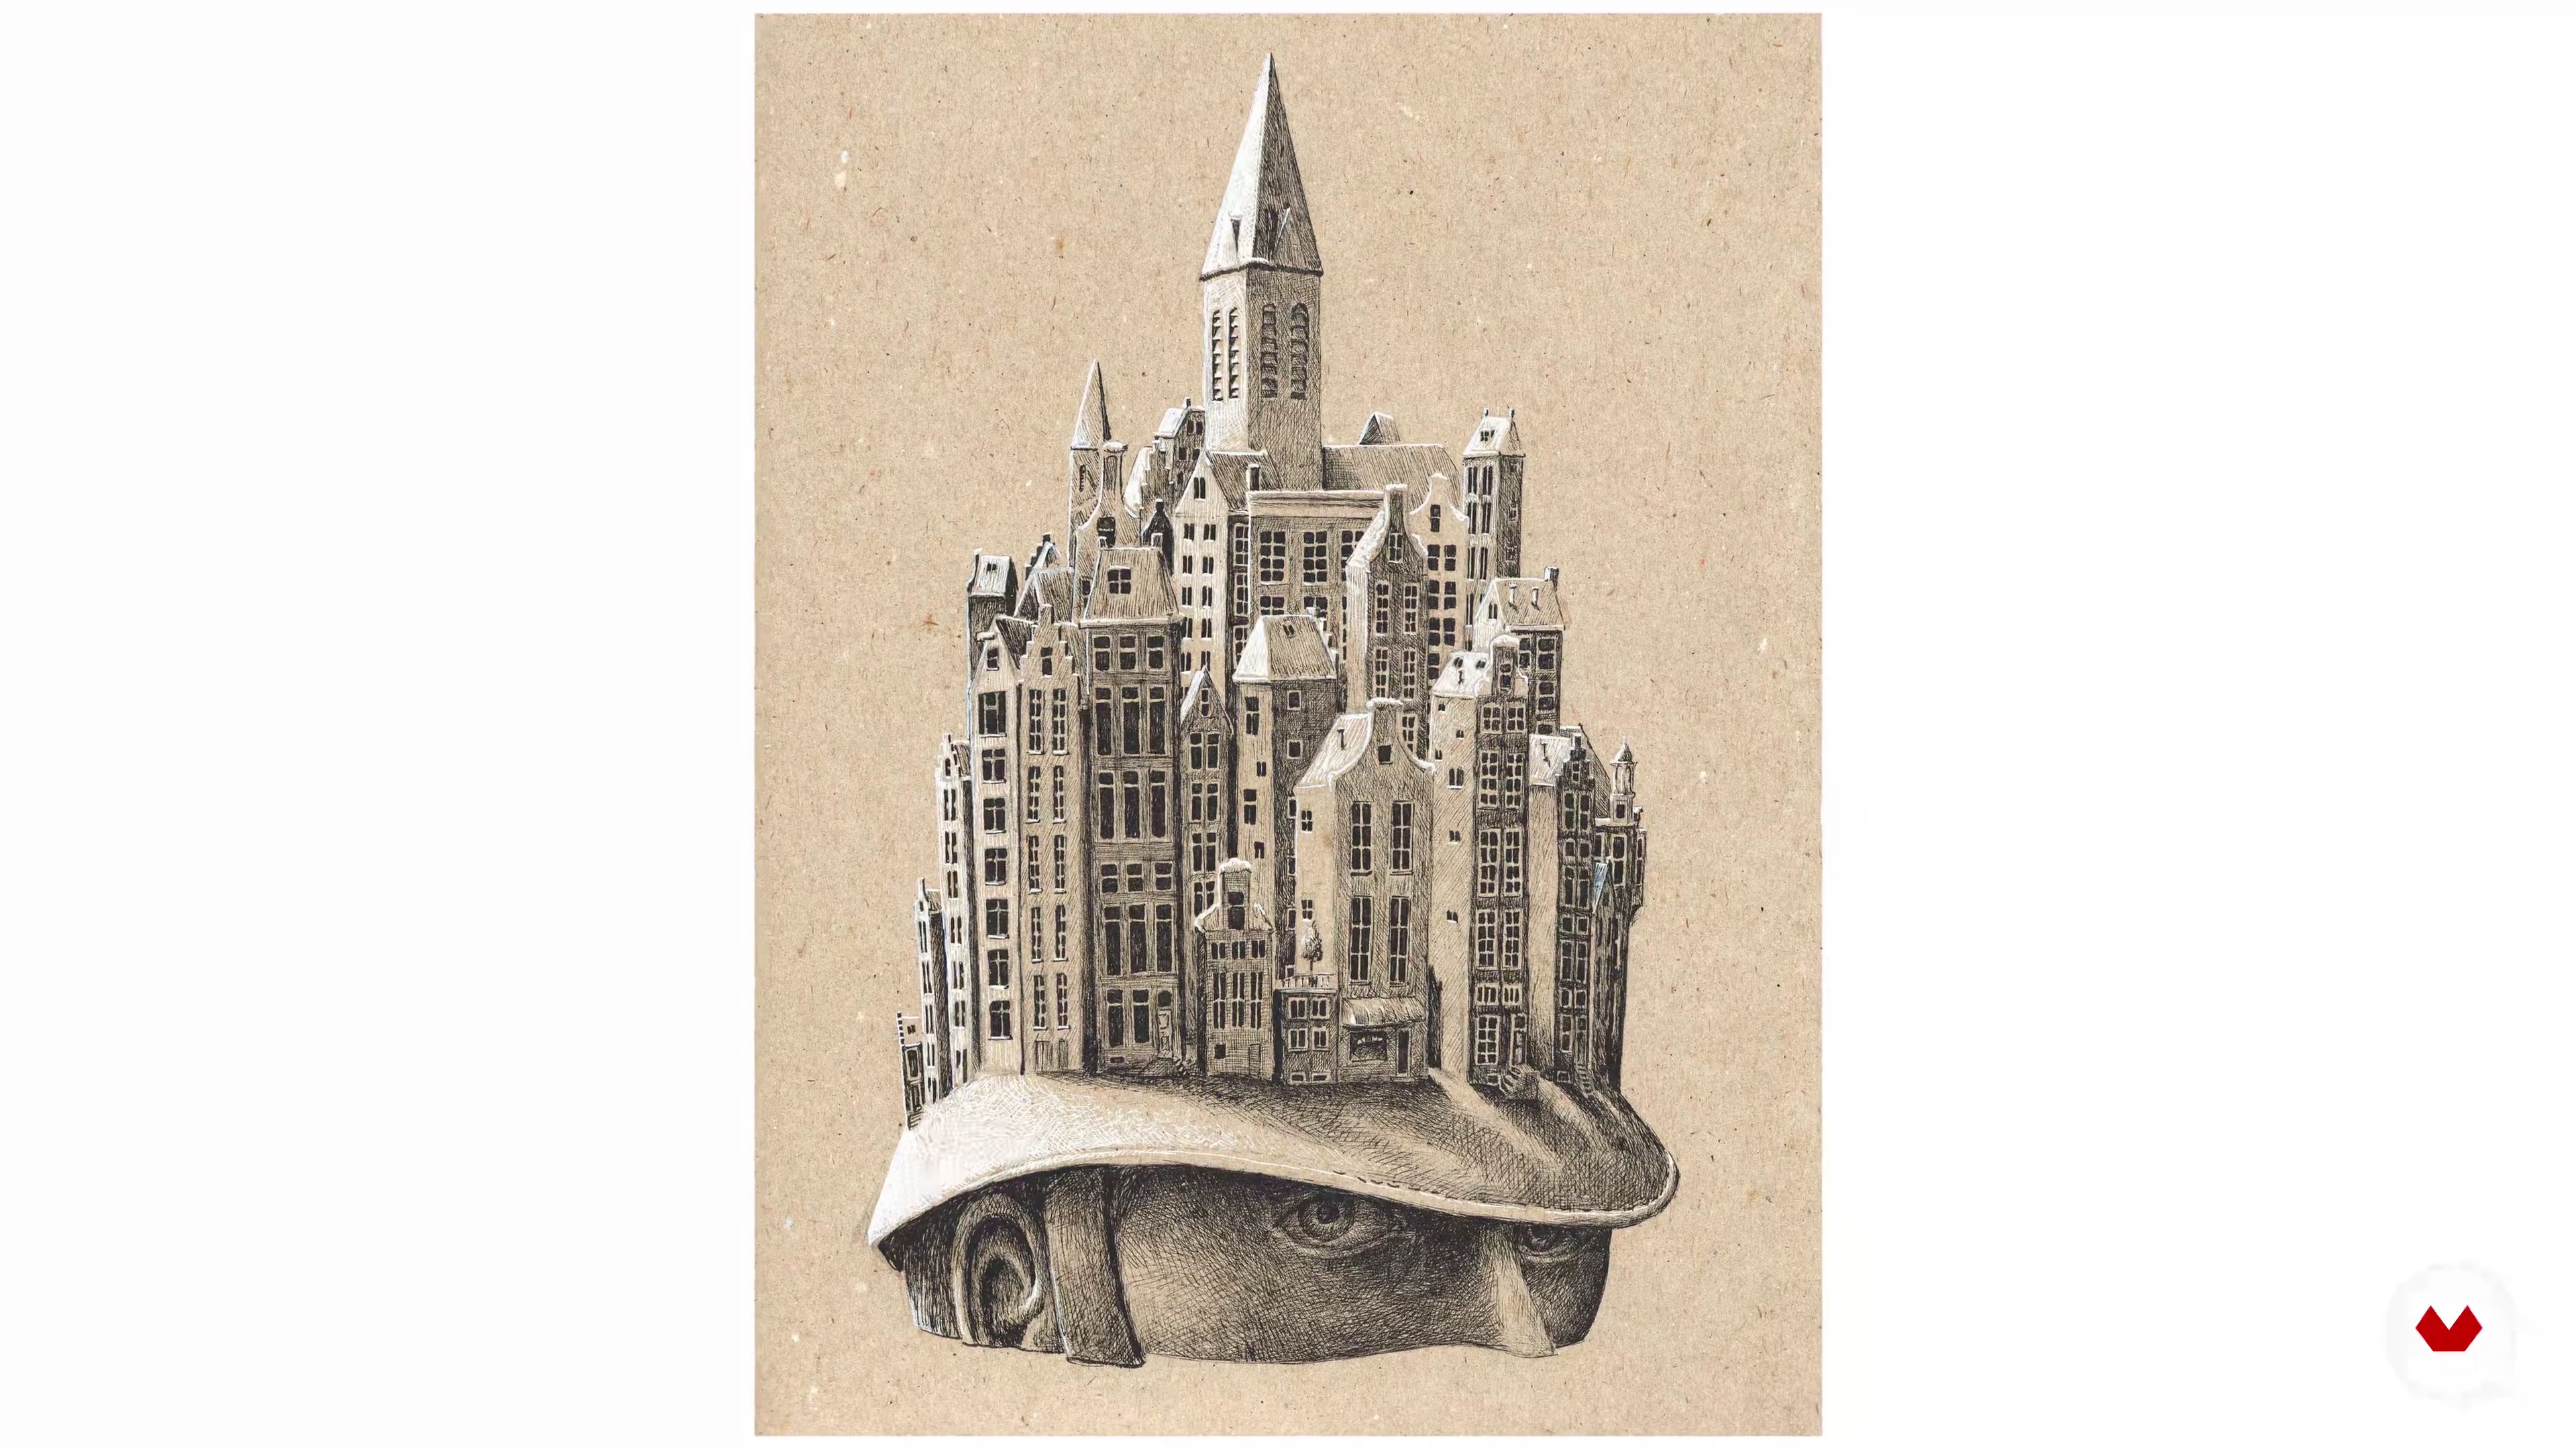
9Planting the Seeds
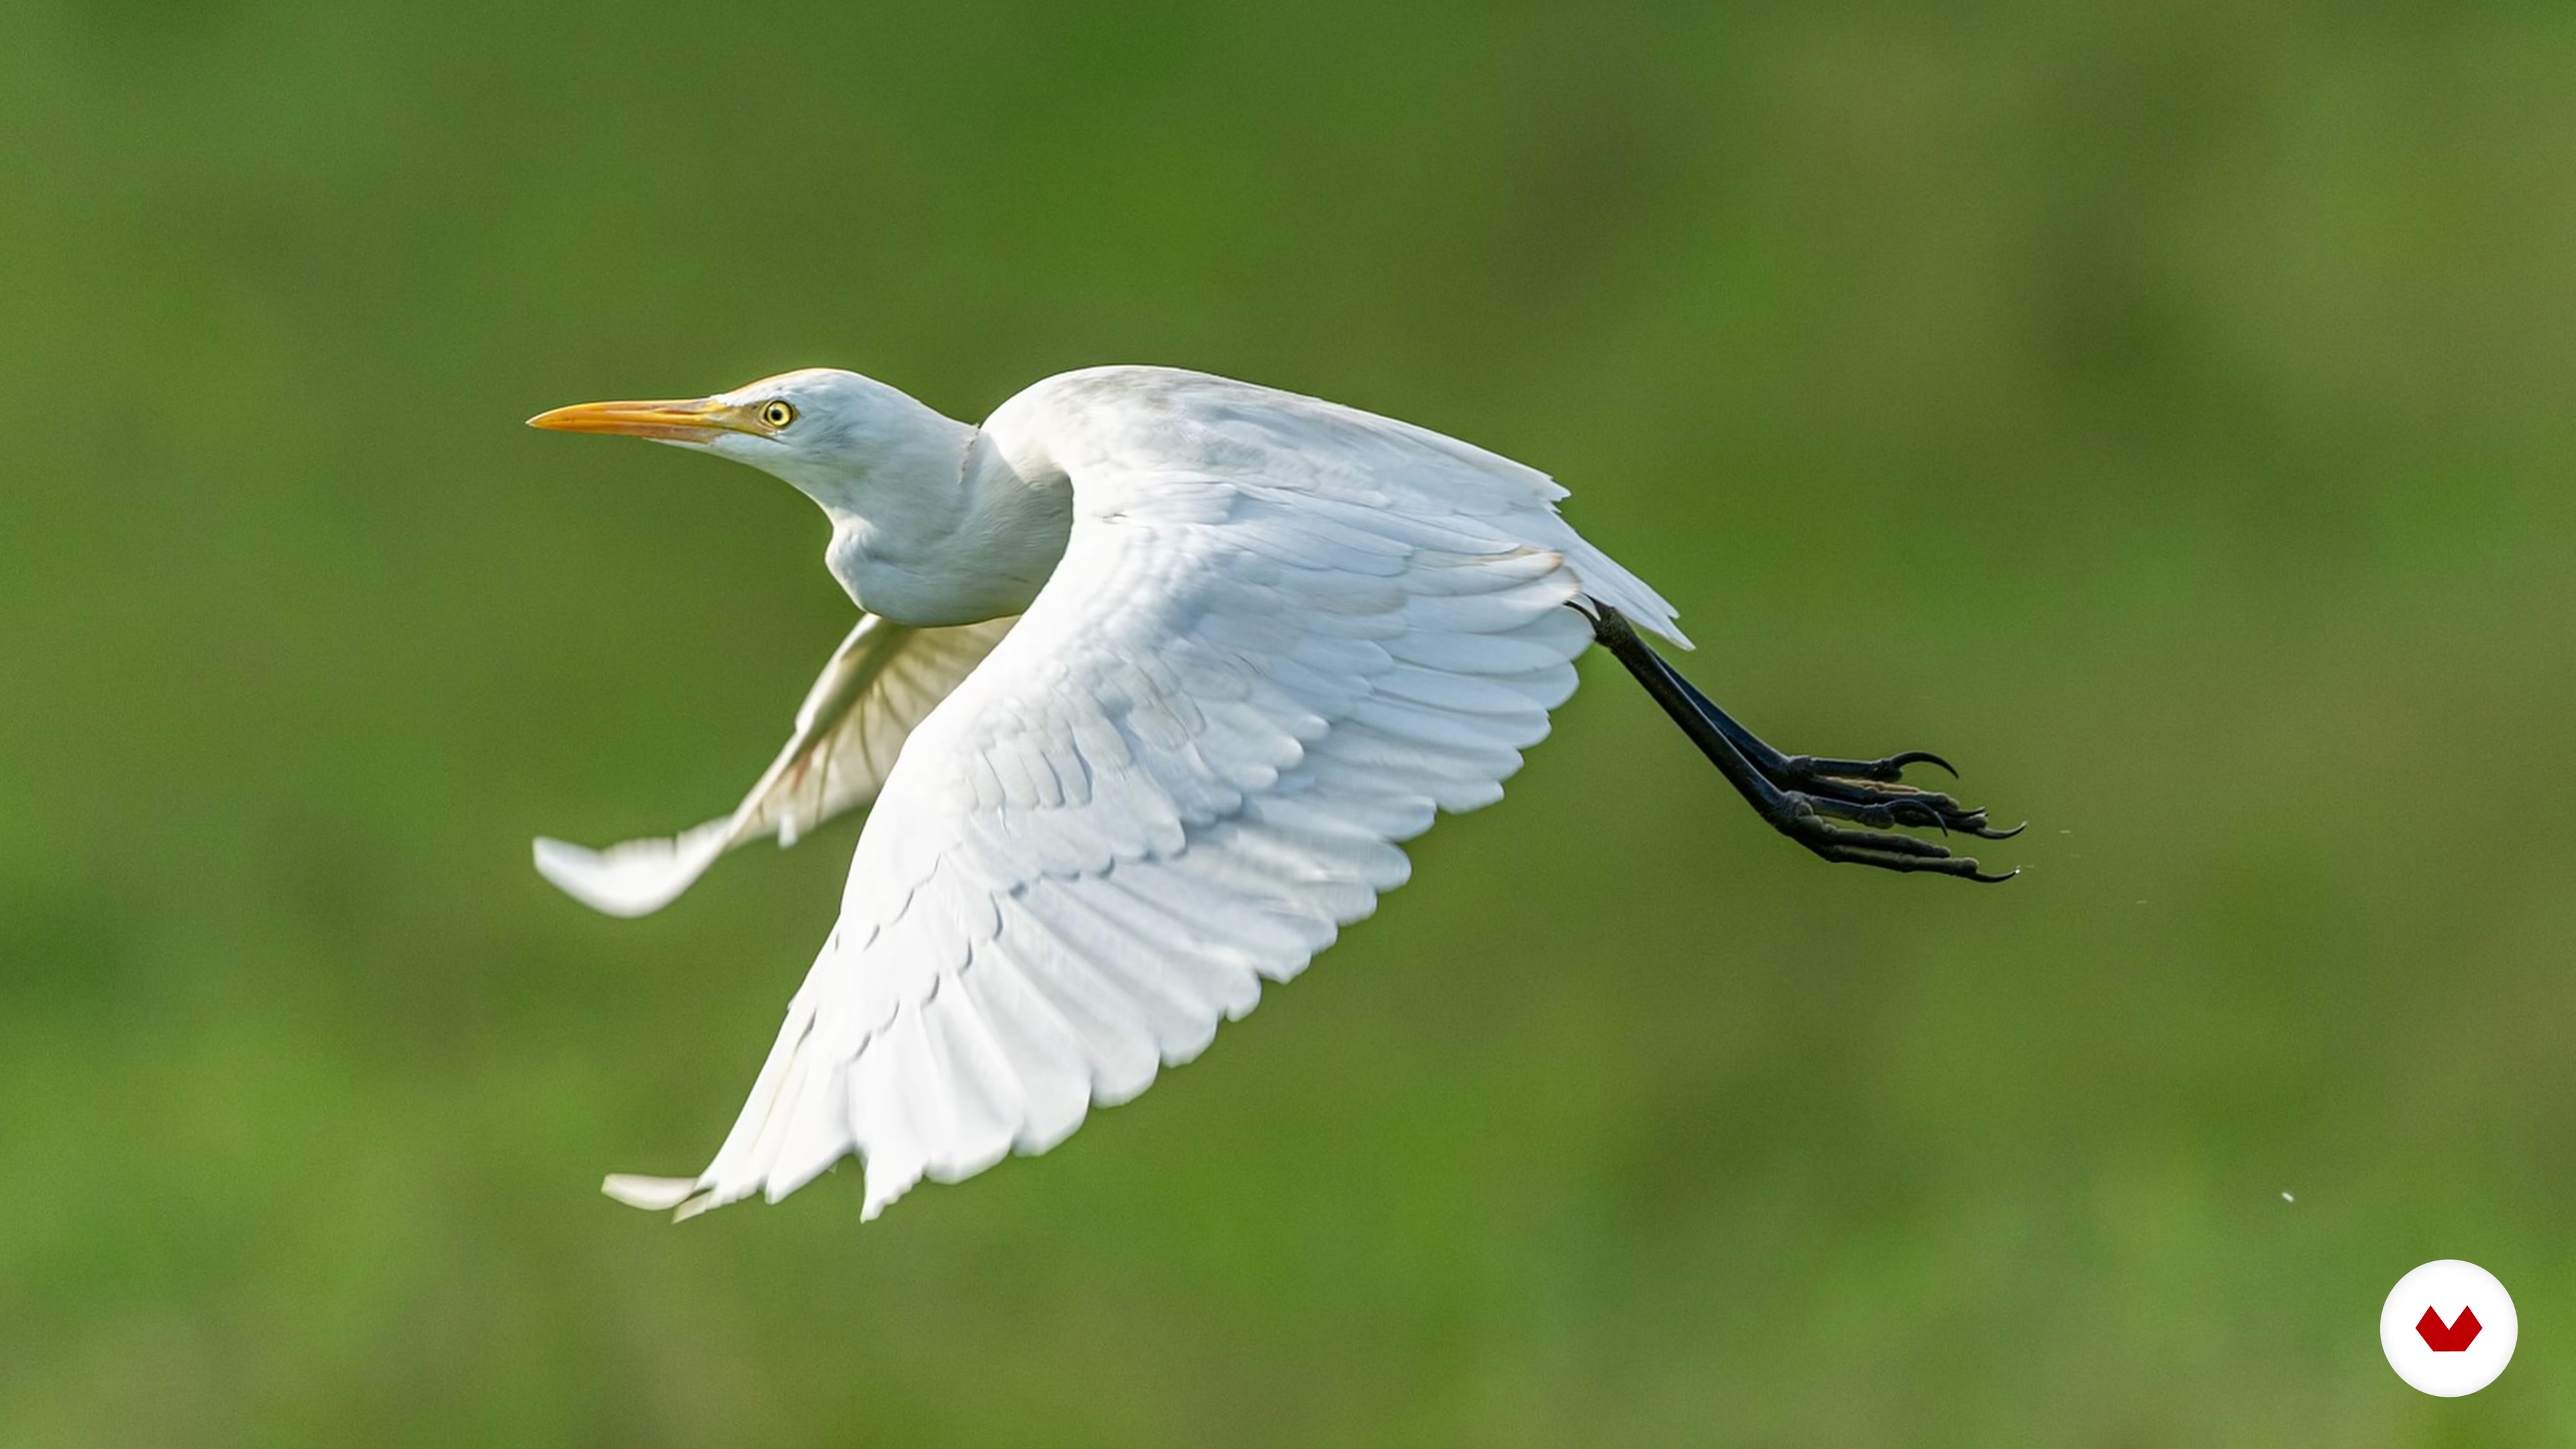
In this lesson, I will give you some ways to come up with an idea. Get your mindset right and get the creative juices flowing.
9m
 10
10Weeding and Watering
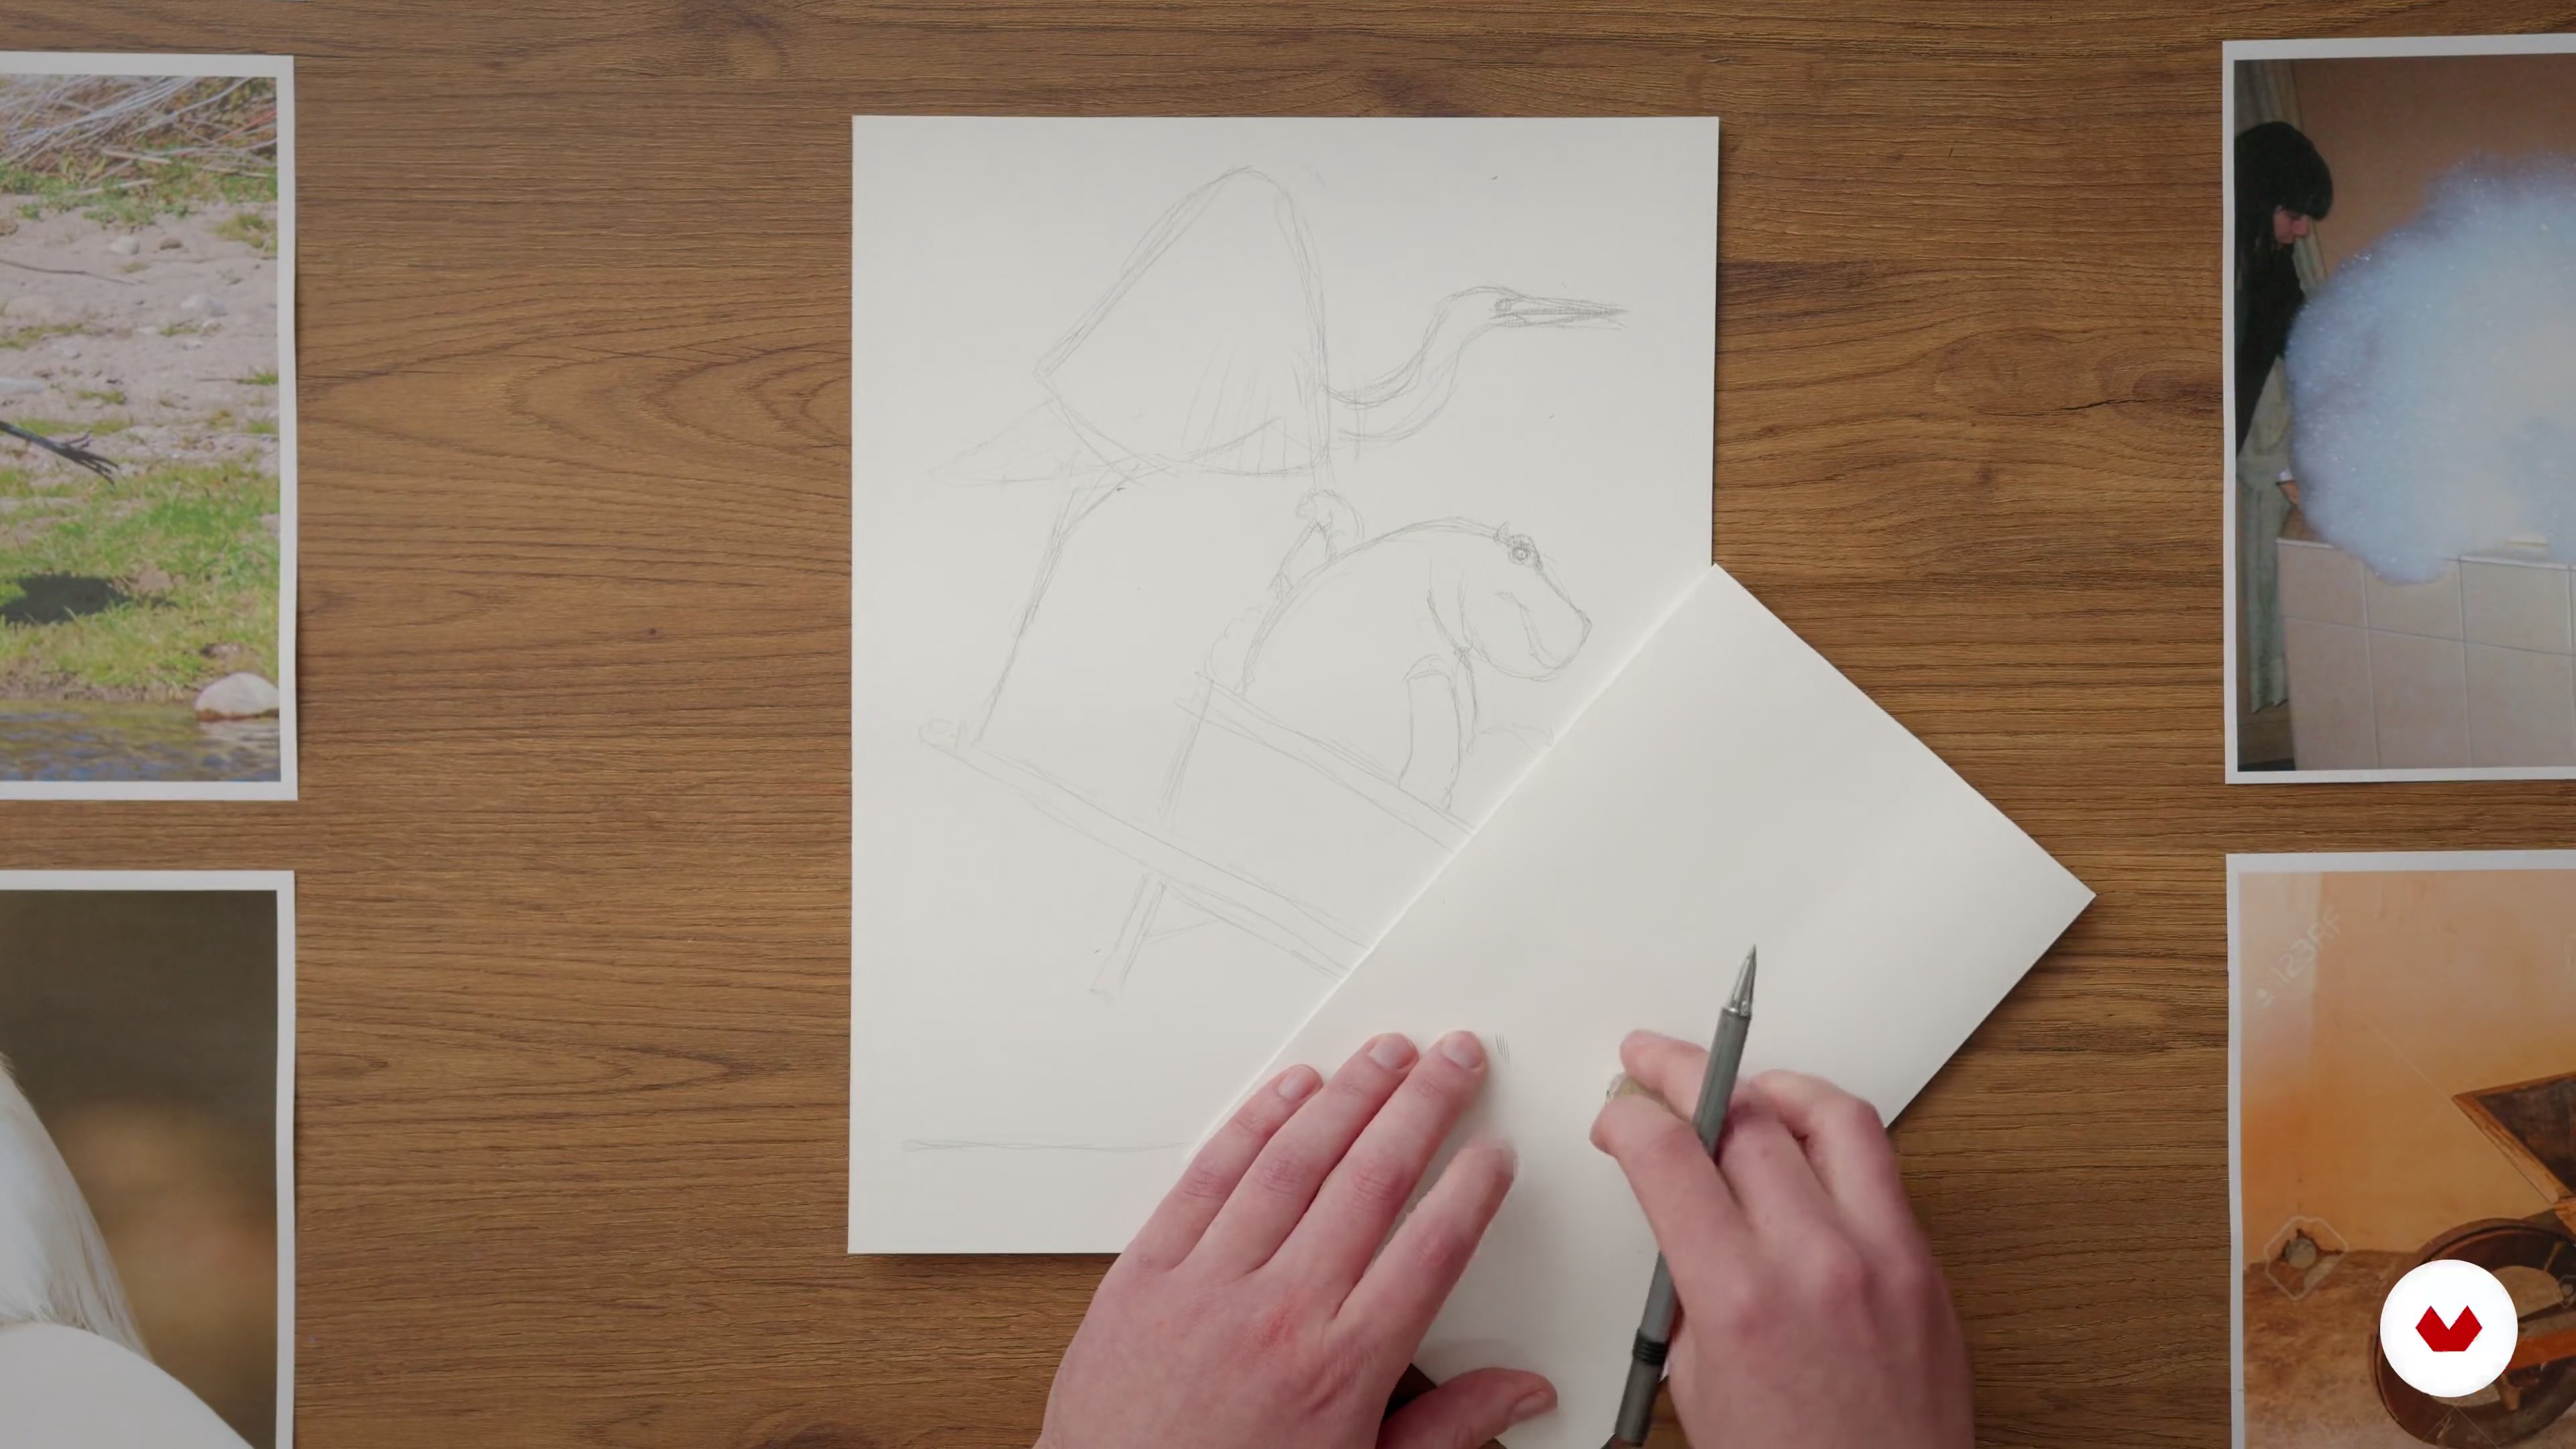
In this lesson, I talk about discerning between ideas, how to tell apart the good and the not-so-good ideas.
2m
 11
11Giving All Your Attention to the Right Plant
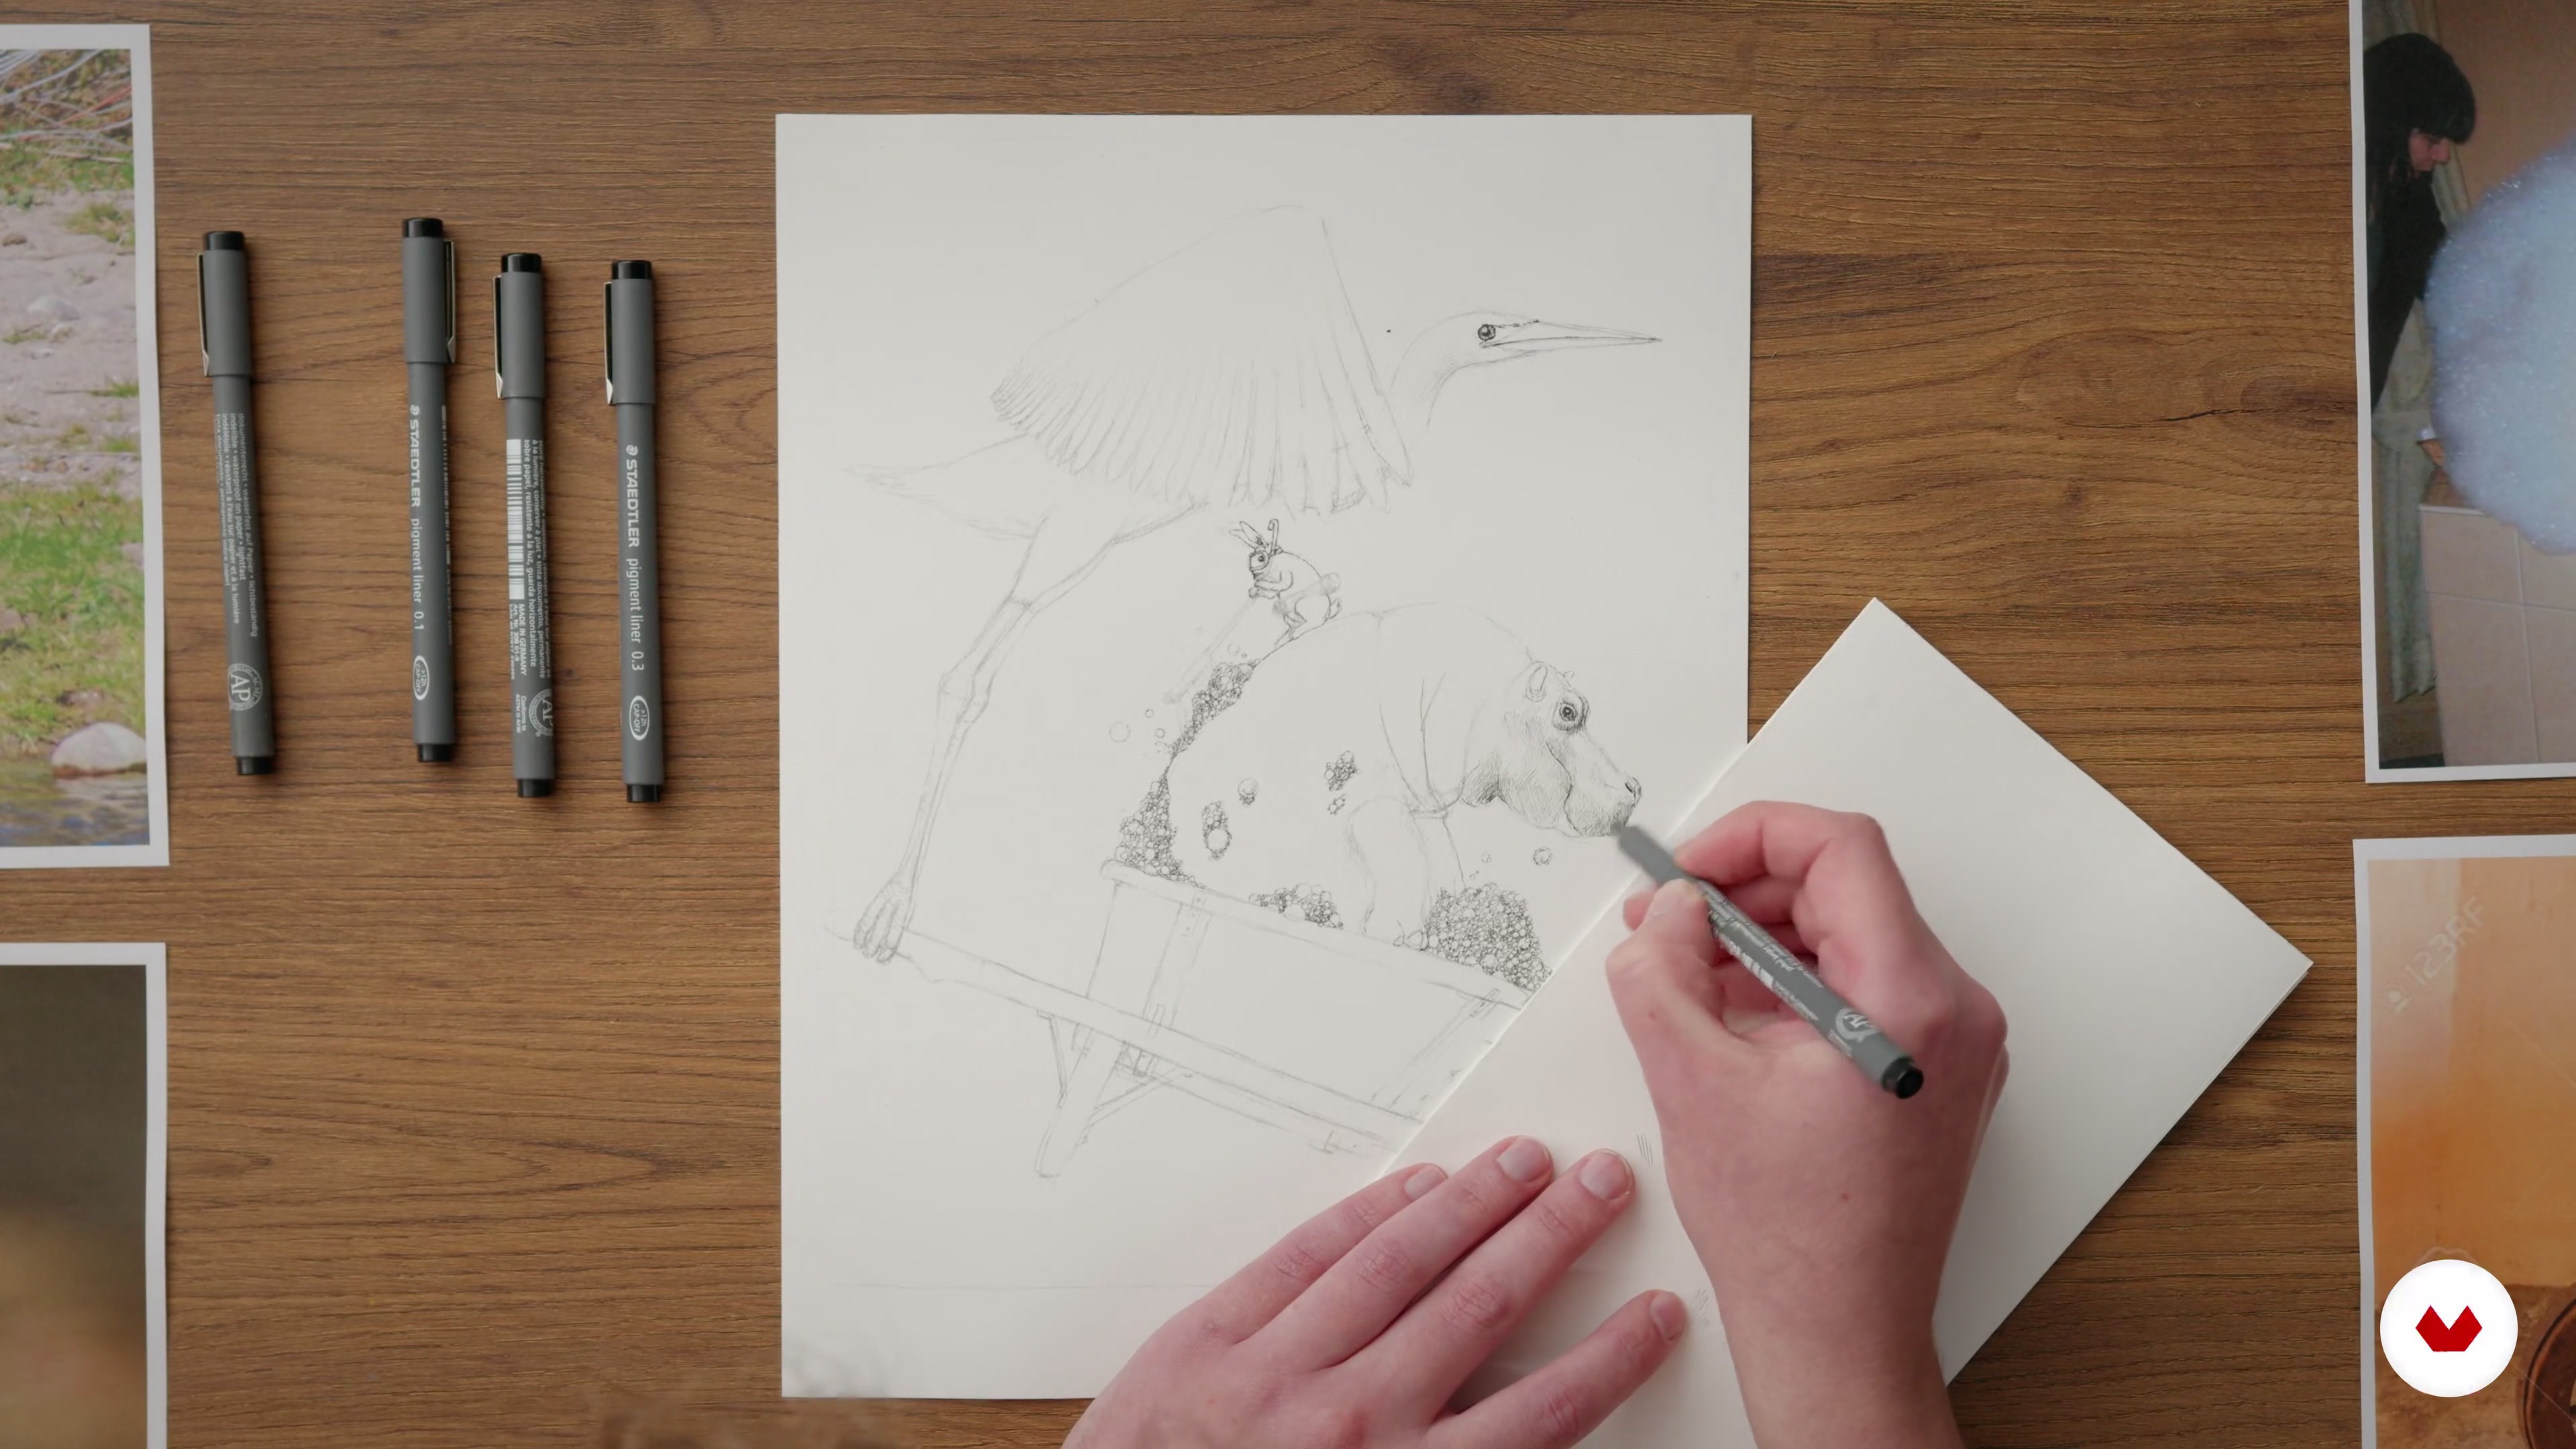
In this lesson, I will show you how to set up the final drawing with a pen. At this stage of the process, it is best if you take your time and work carefully. The more careful you are now, the fewer mistakes and fixes you will make later.
9m
 12
12Bloom and Pollinate
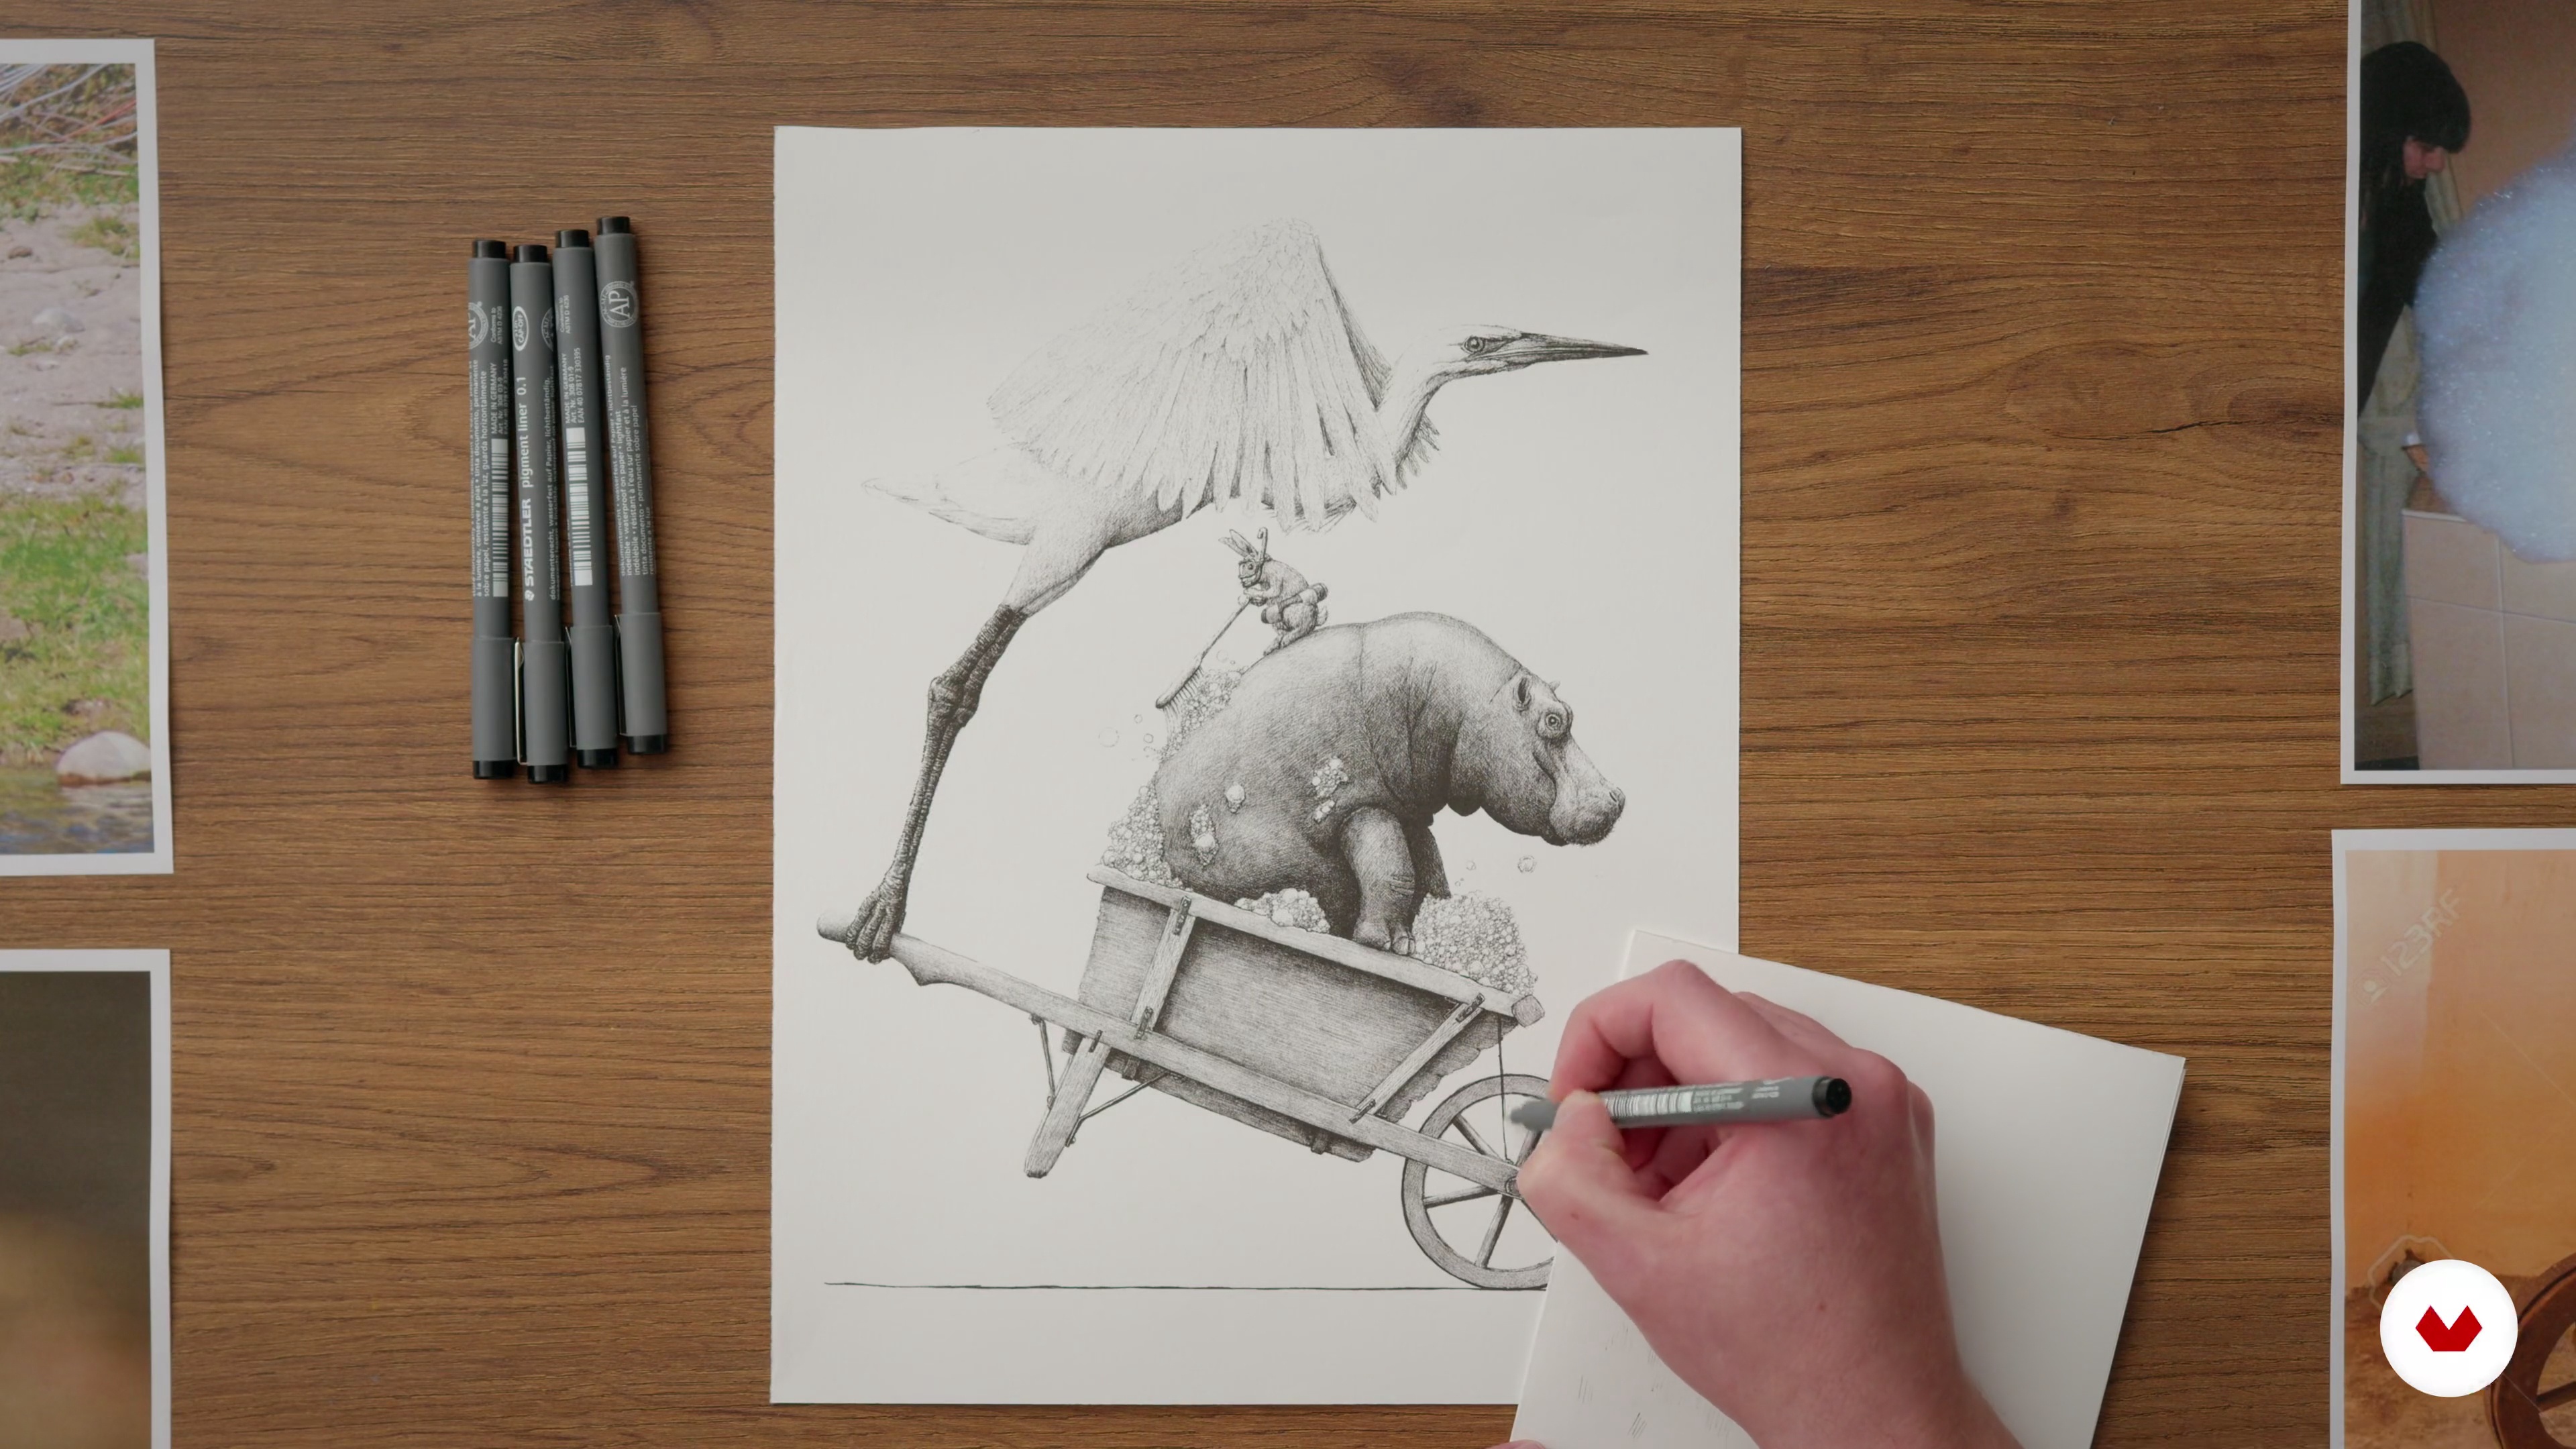
In this lesson, I talk about how to deal with the most difficult bits of the process and how to manage your time efficiently.
8m
 13
13Watching It Bear Fruit to Harvest
In this lesson, I will take you through the final phases of the process. The point of this lesson is to show you tools to overcome the burdens you might find at this stage, namely knowing when to take breaks and when to tell that the work is finished.
15m
 14
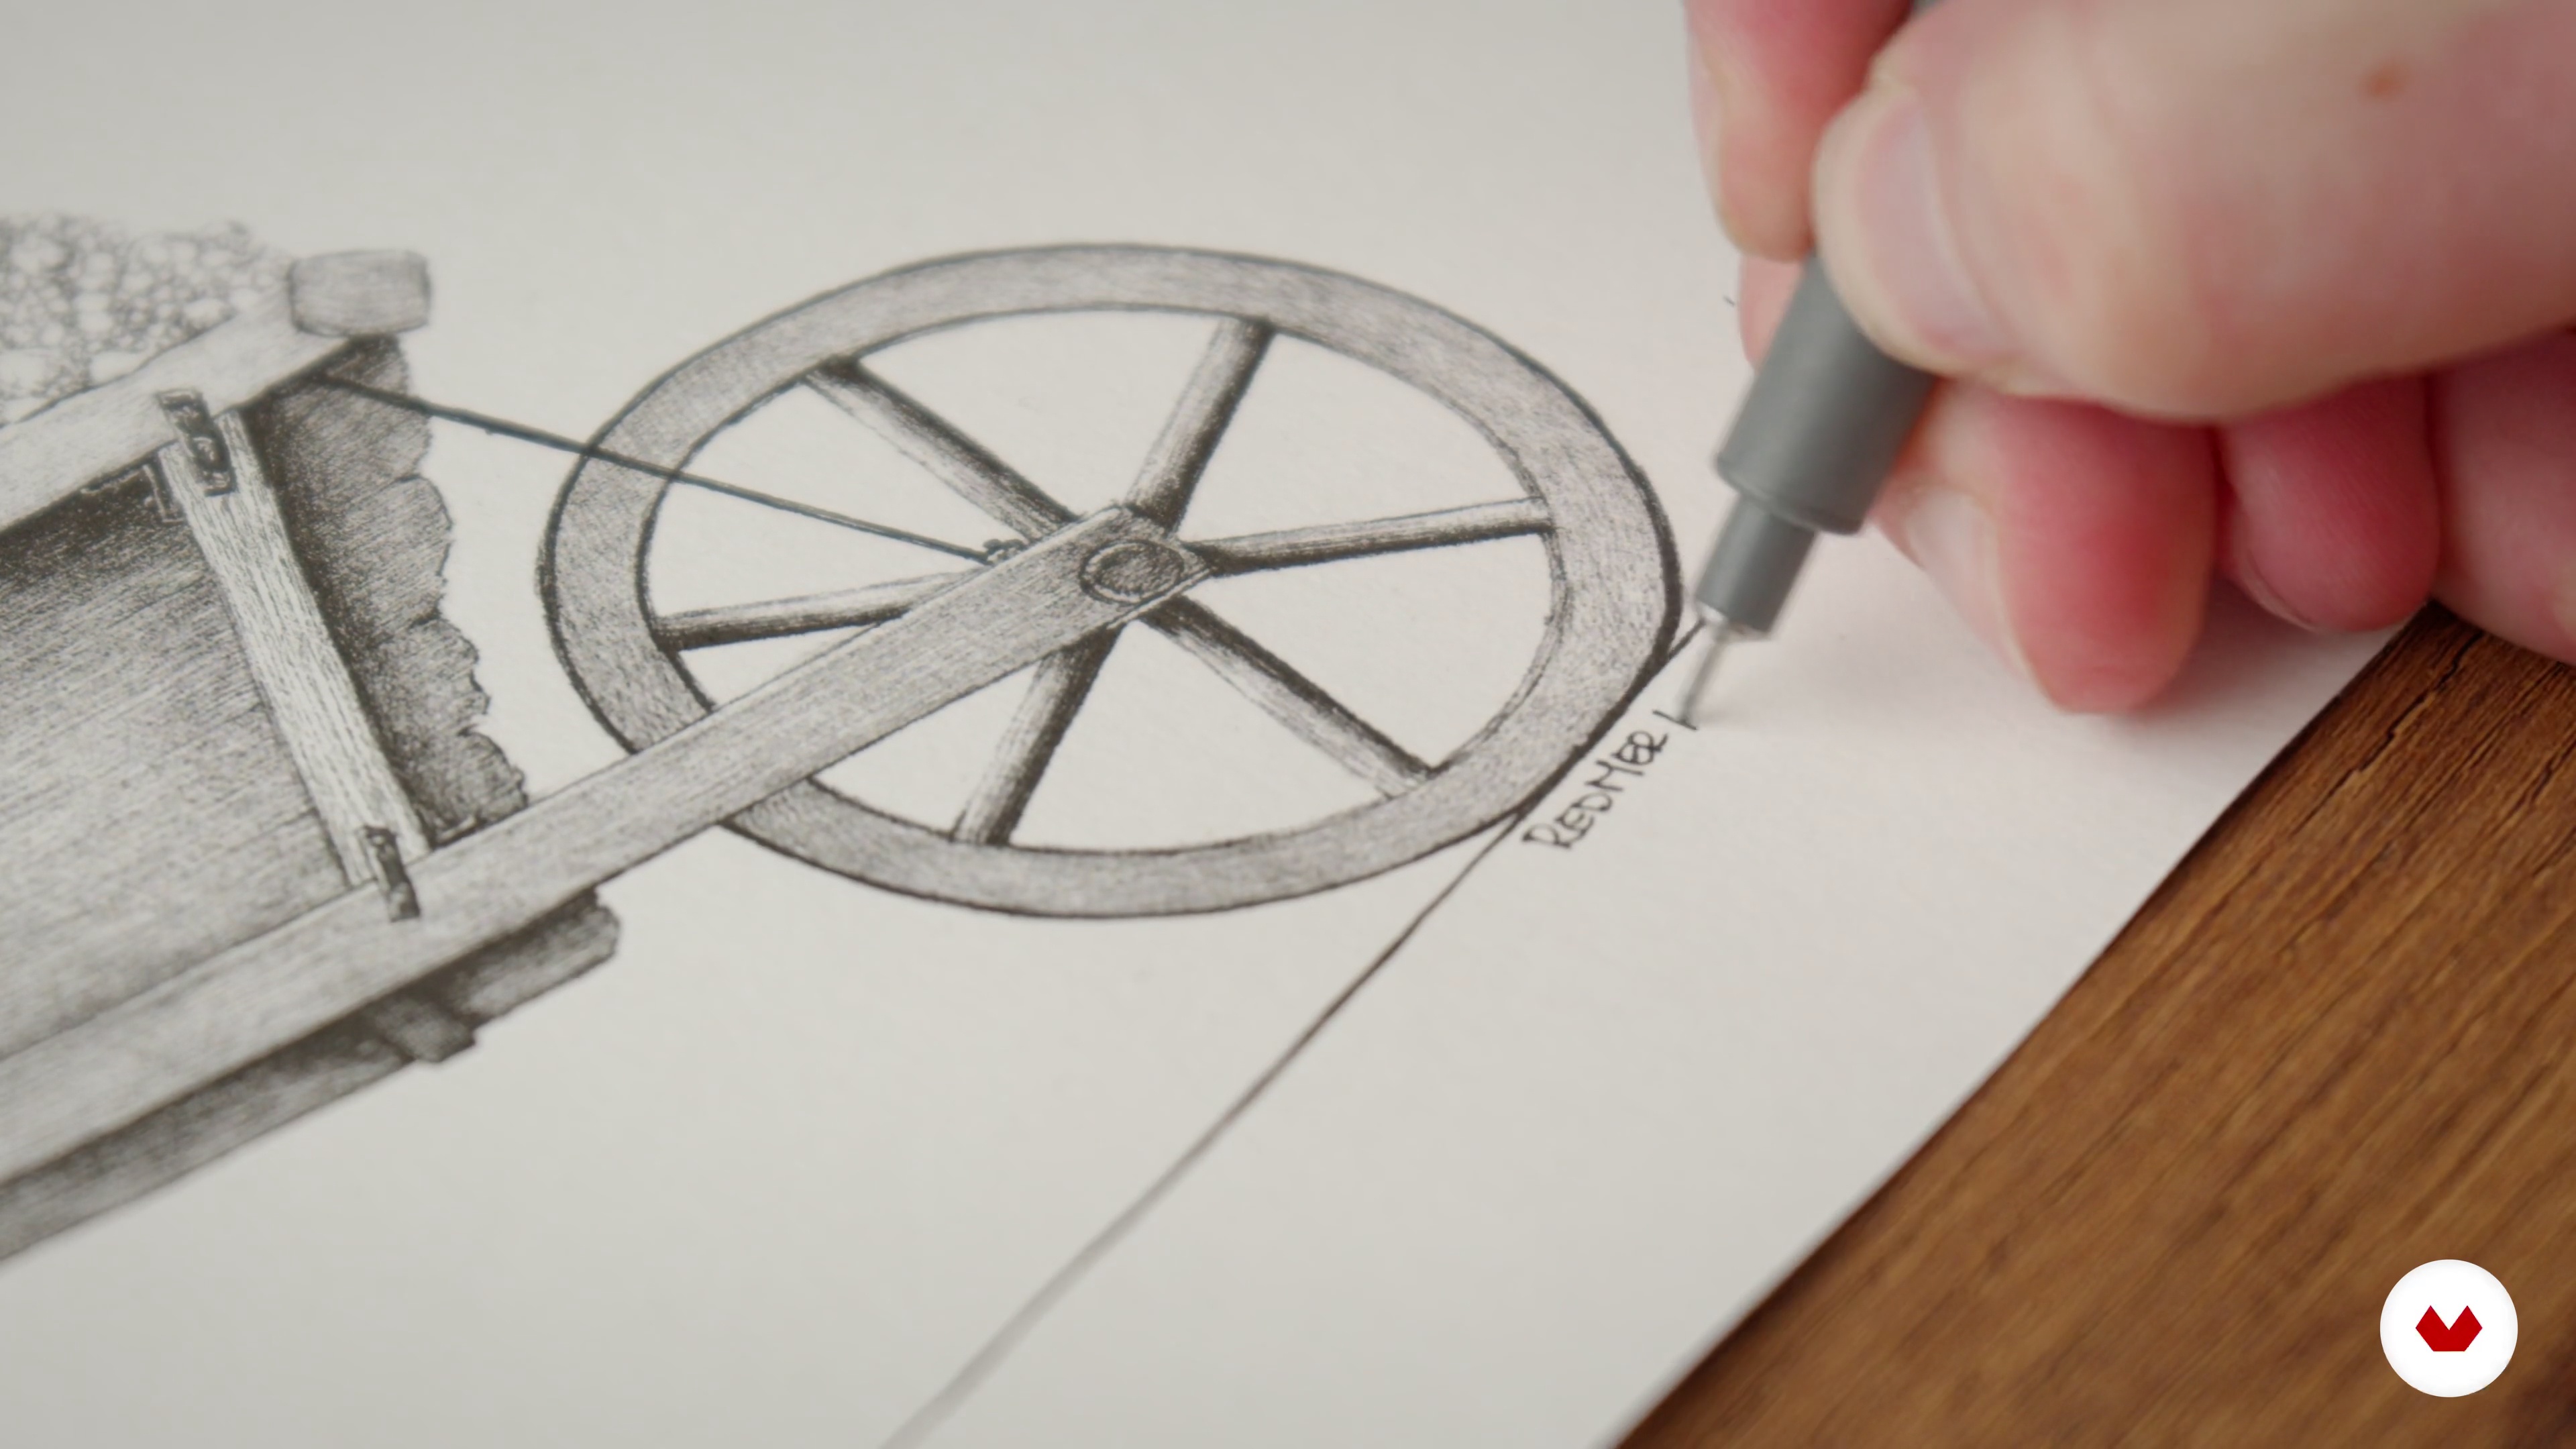
14Leaving the Nest
First, we need to have our drawing web and print-ready.
3m
 15
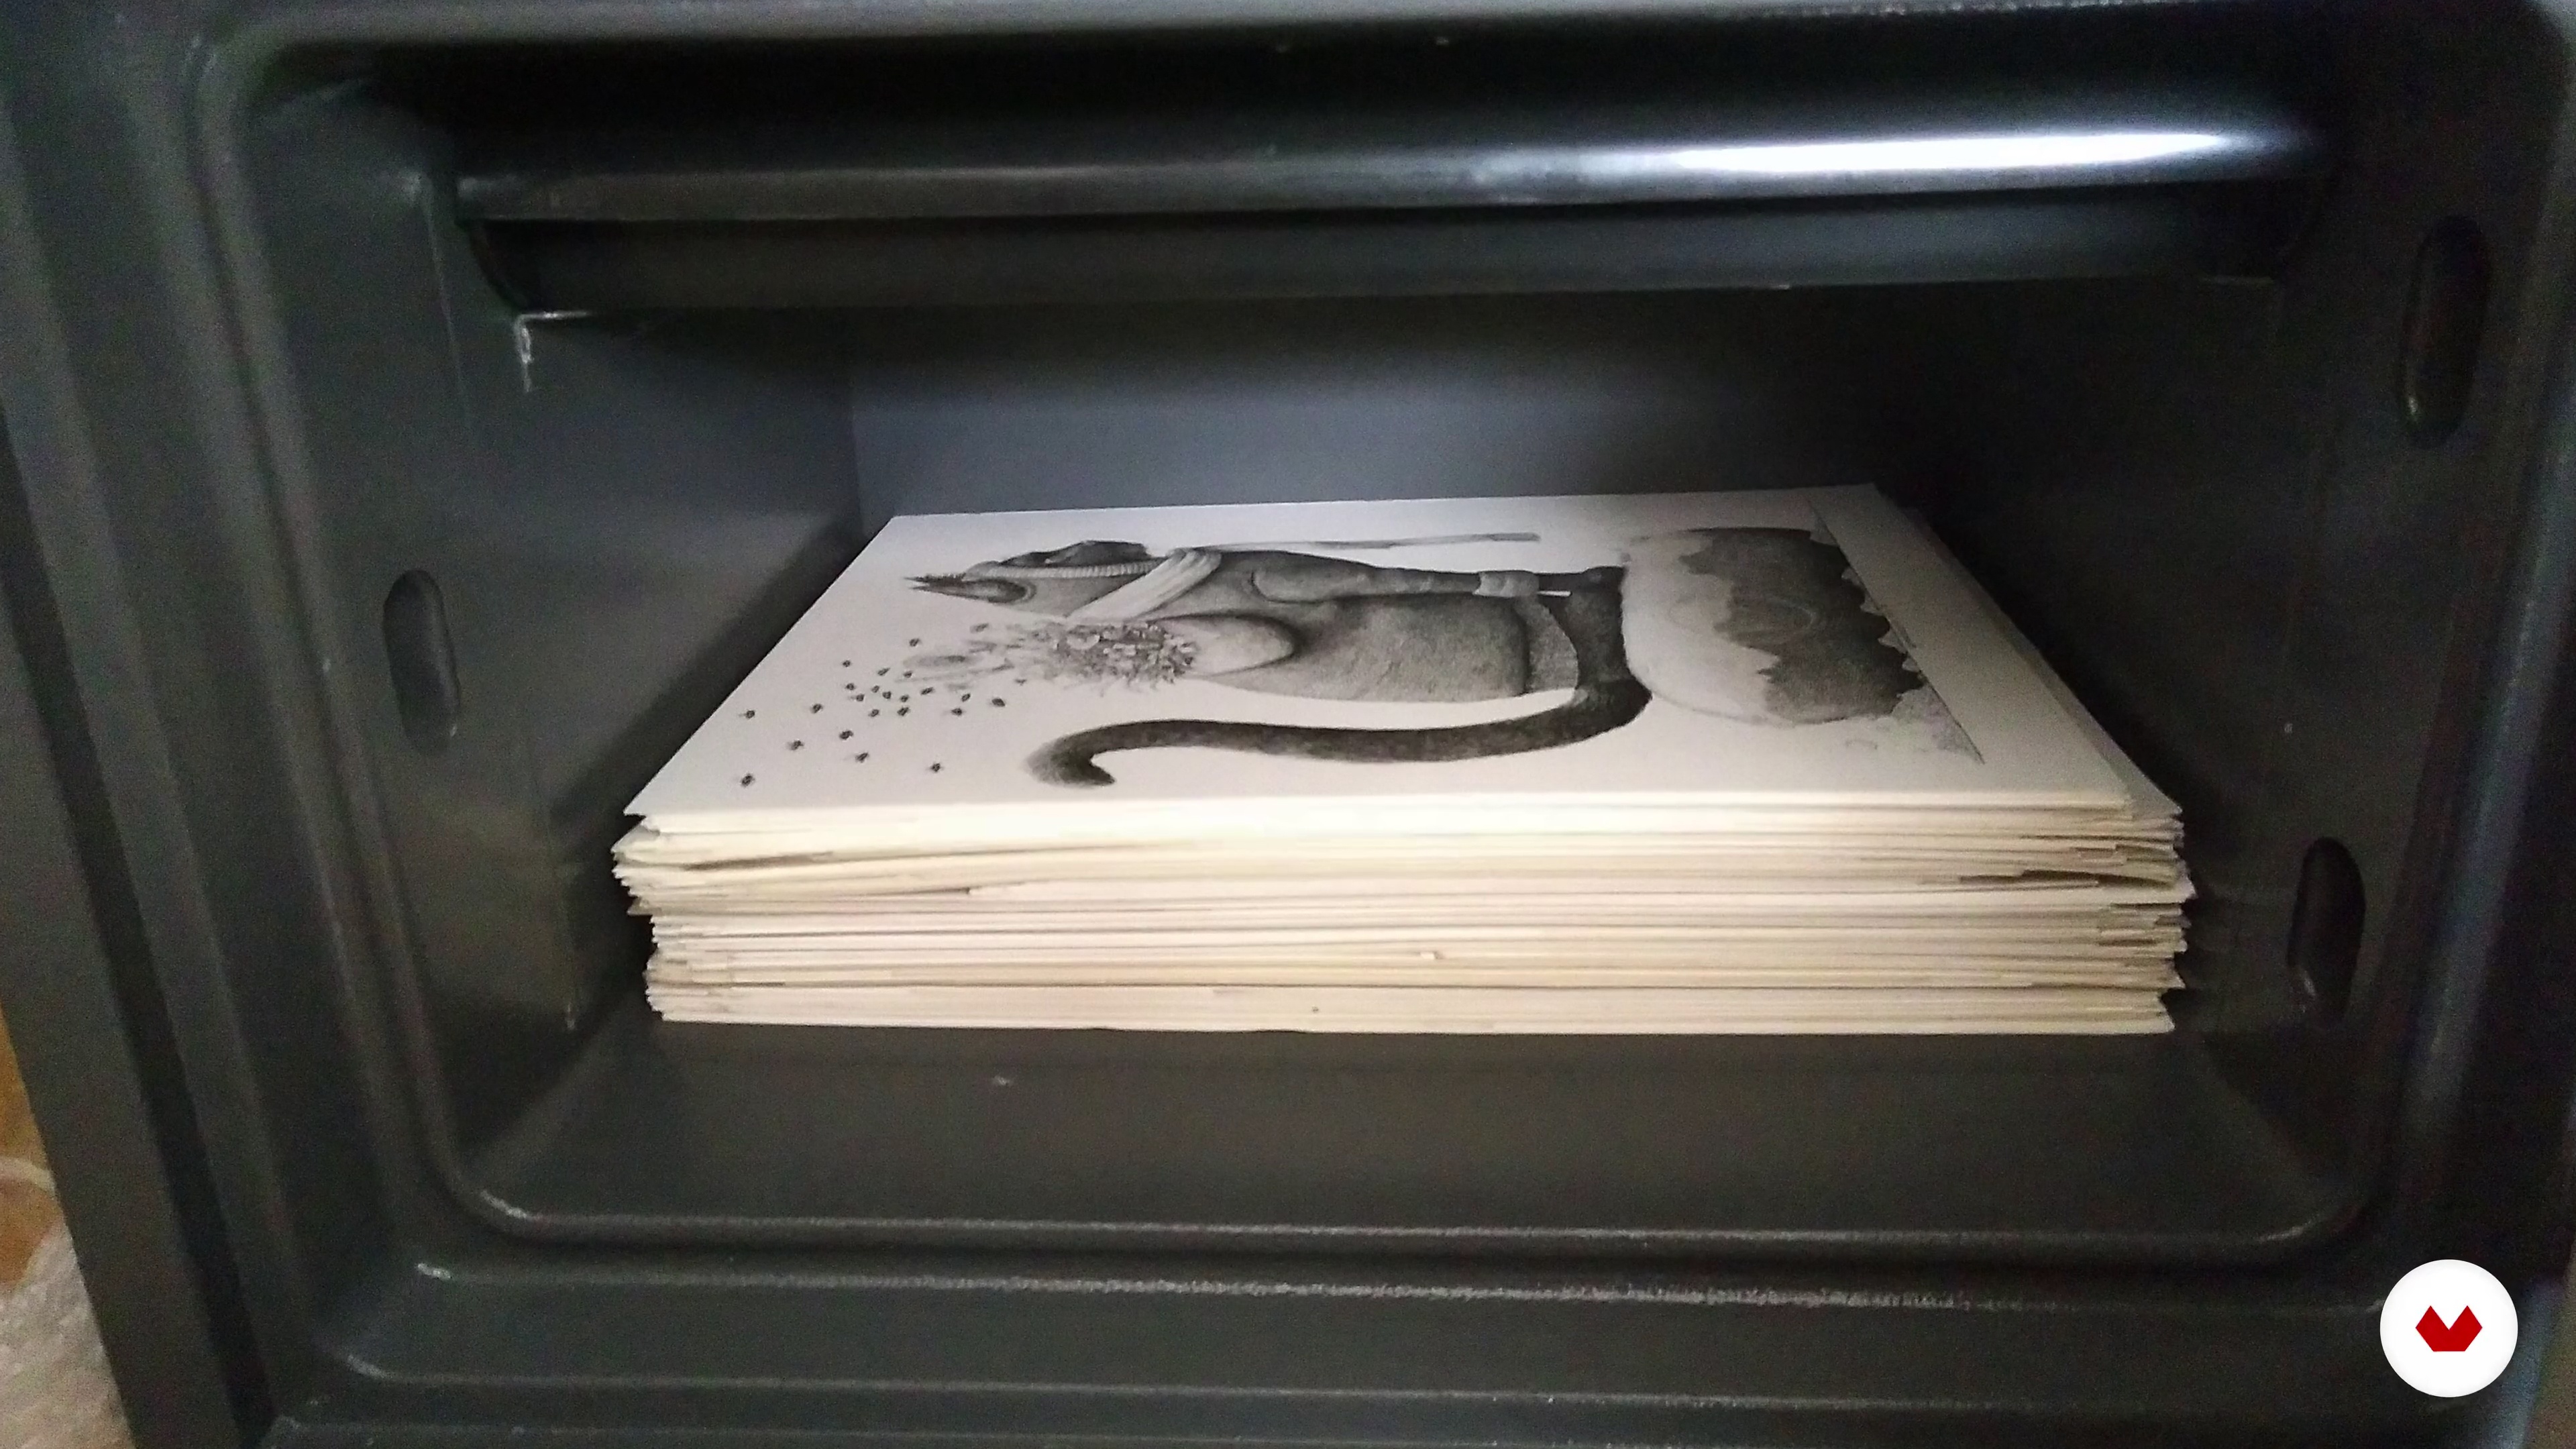
15Hiding and Flying
Now that the drawing is scanned and/or printed, we have to make sure it won't get damaged. I will show you how to store and display your work.
4m
 3
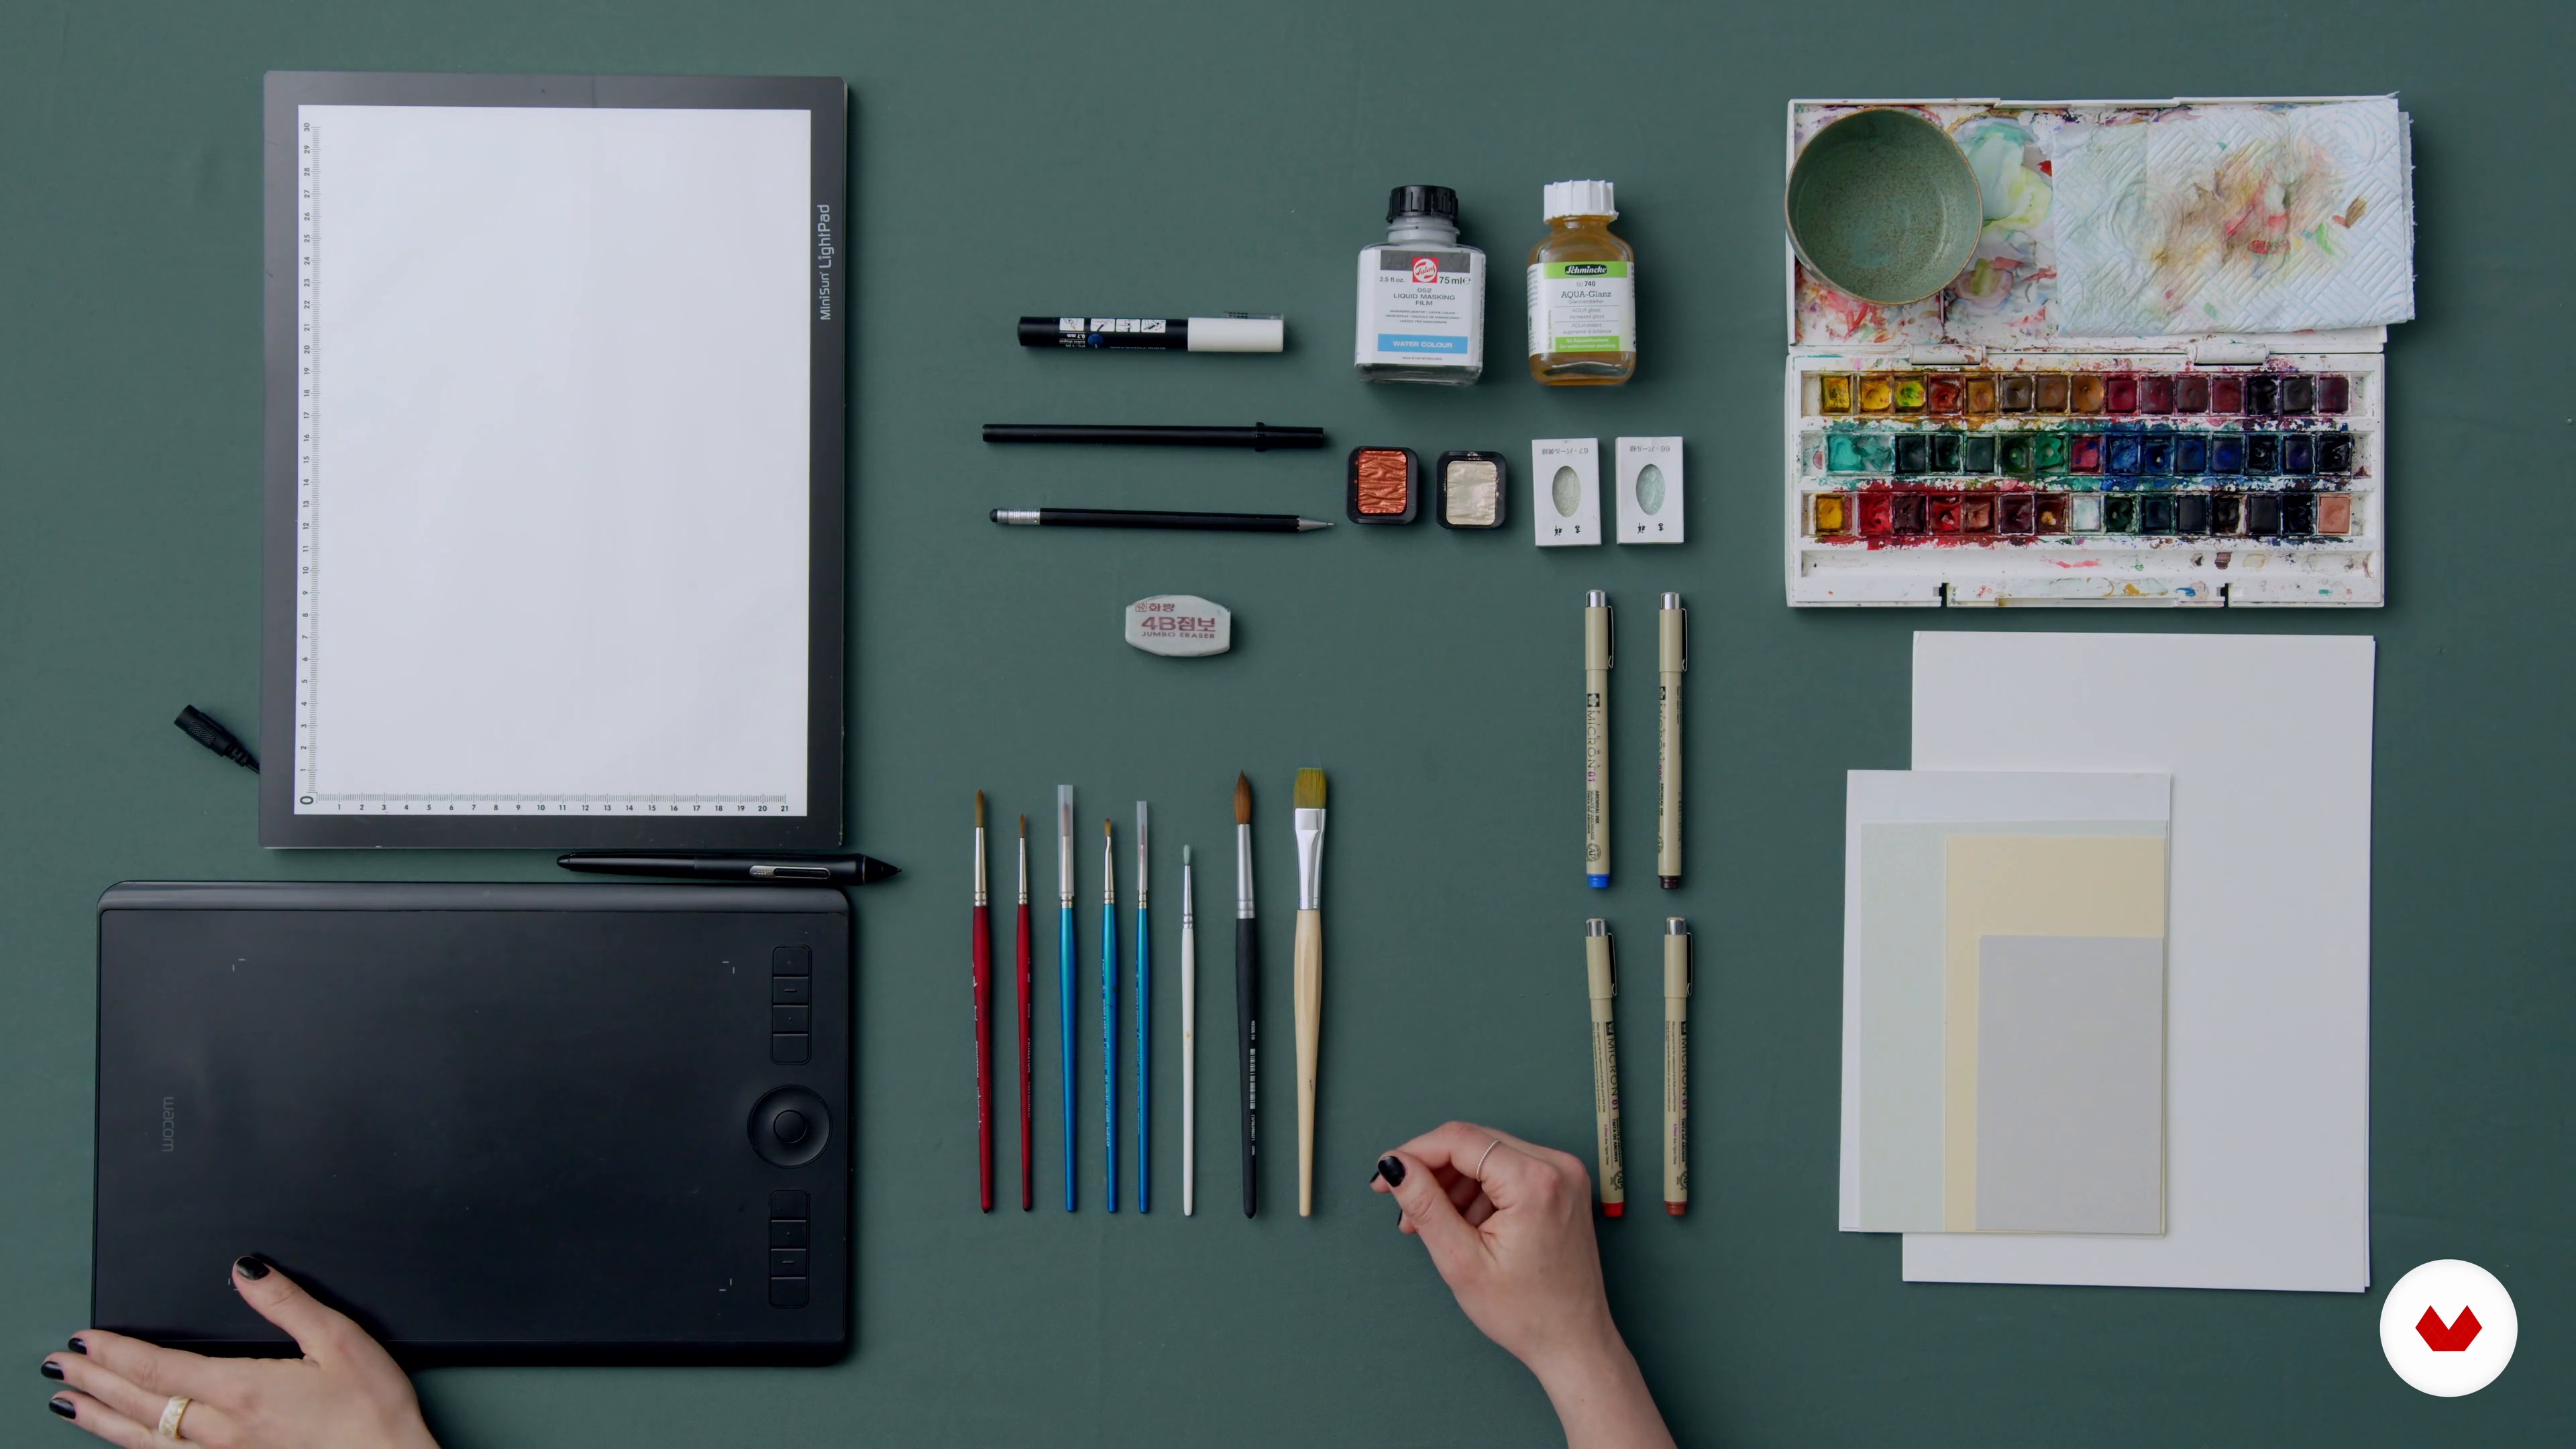
3The Materials
To start with, I'll show you what range of tools and materials you'll need for this course, offering some insight into my personal material preferences along the way.
4m
 4
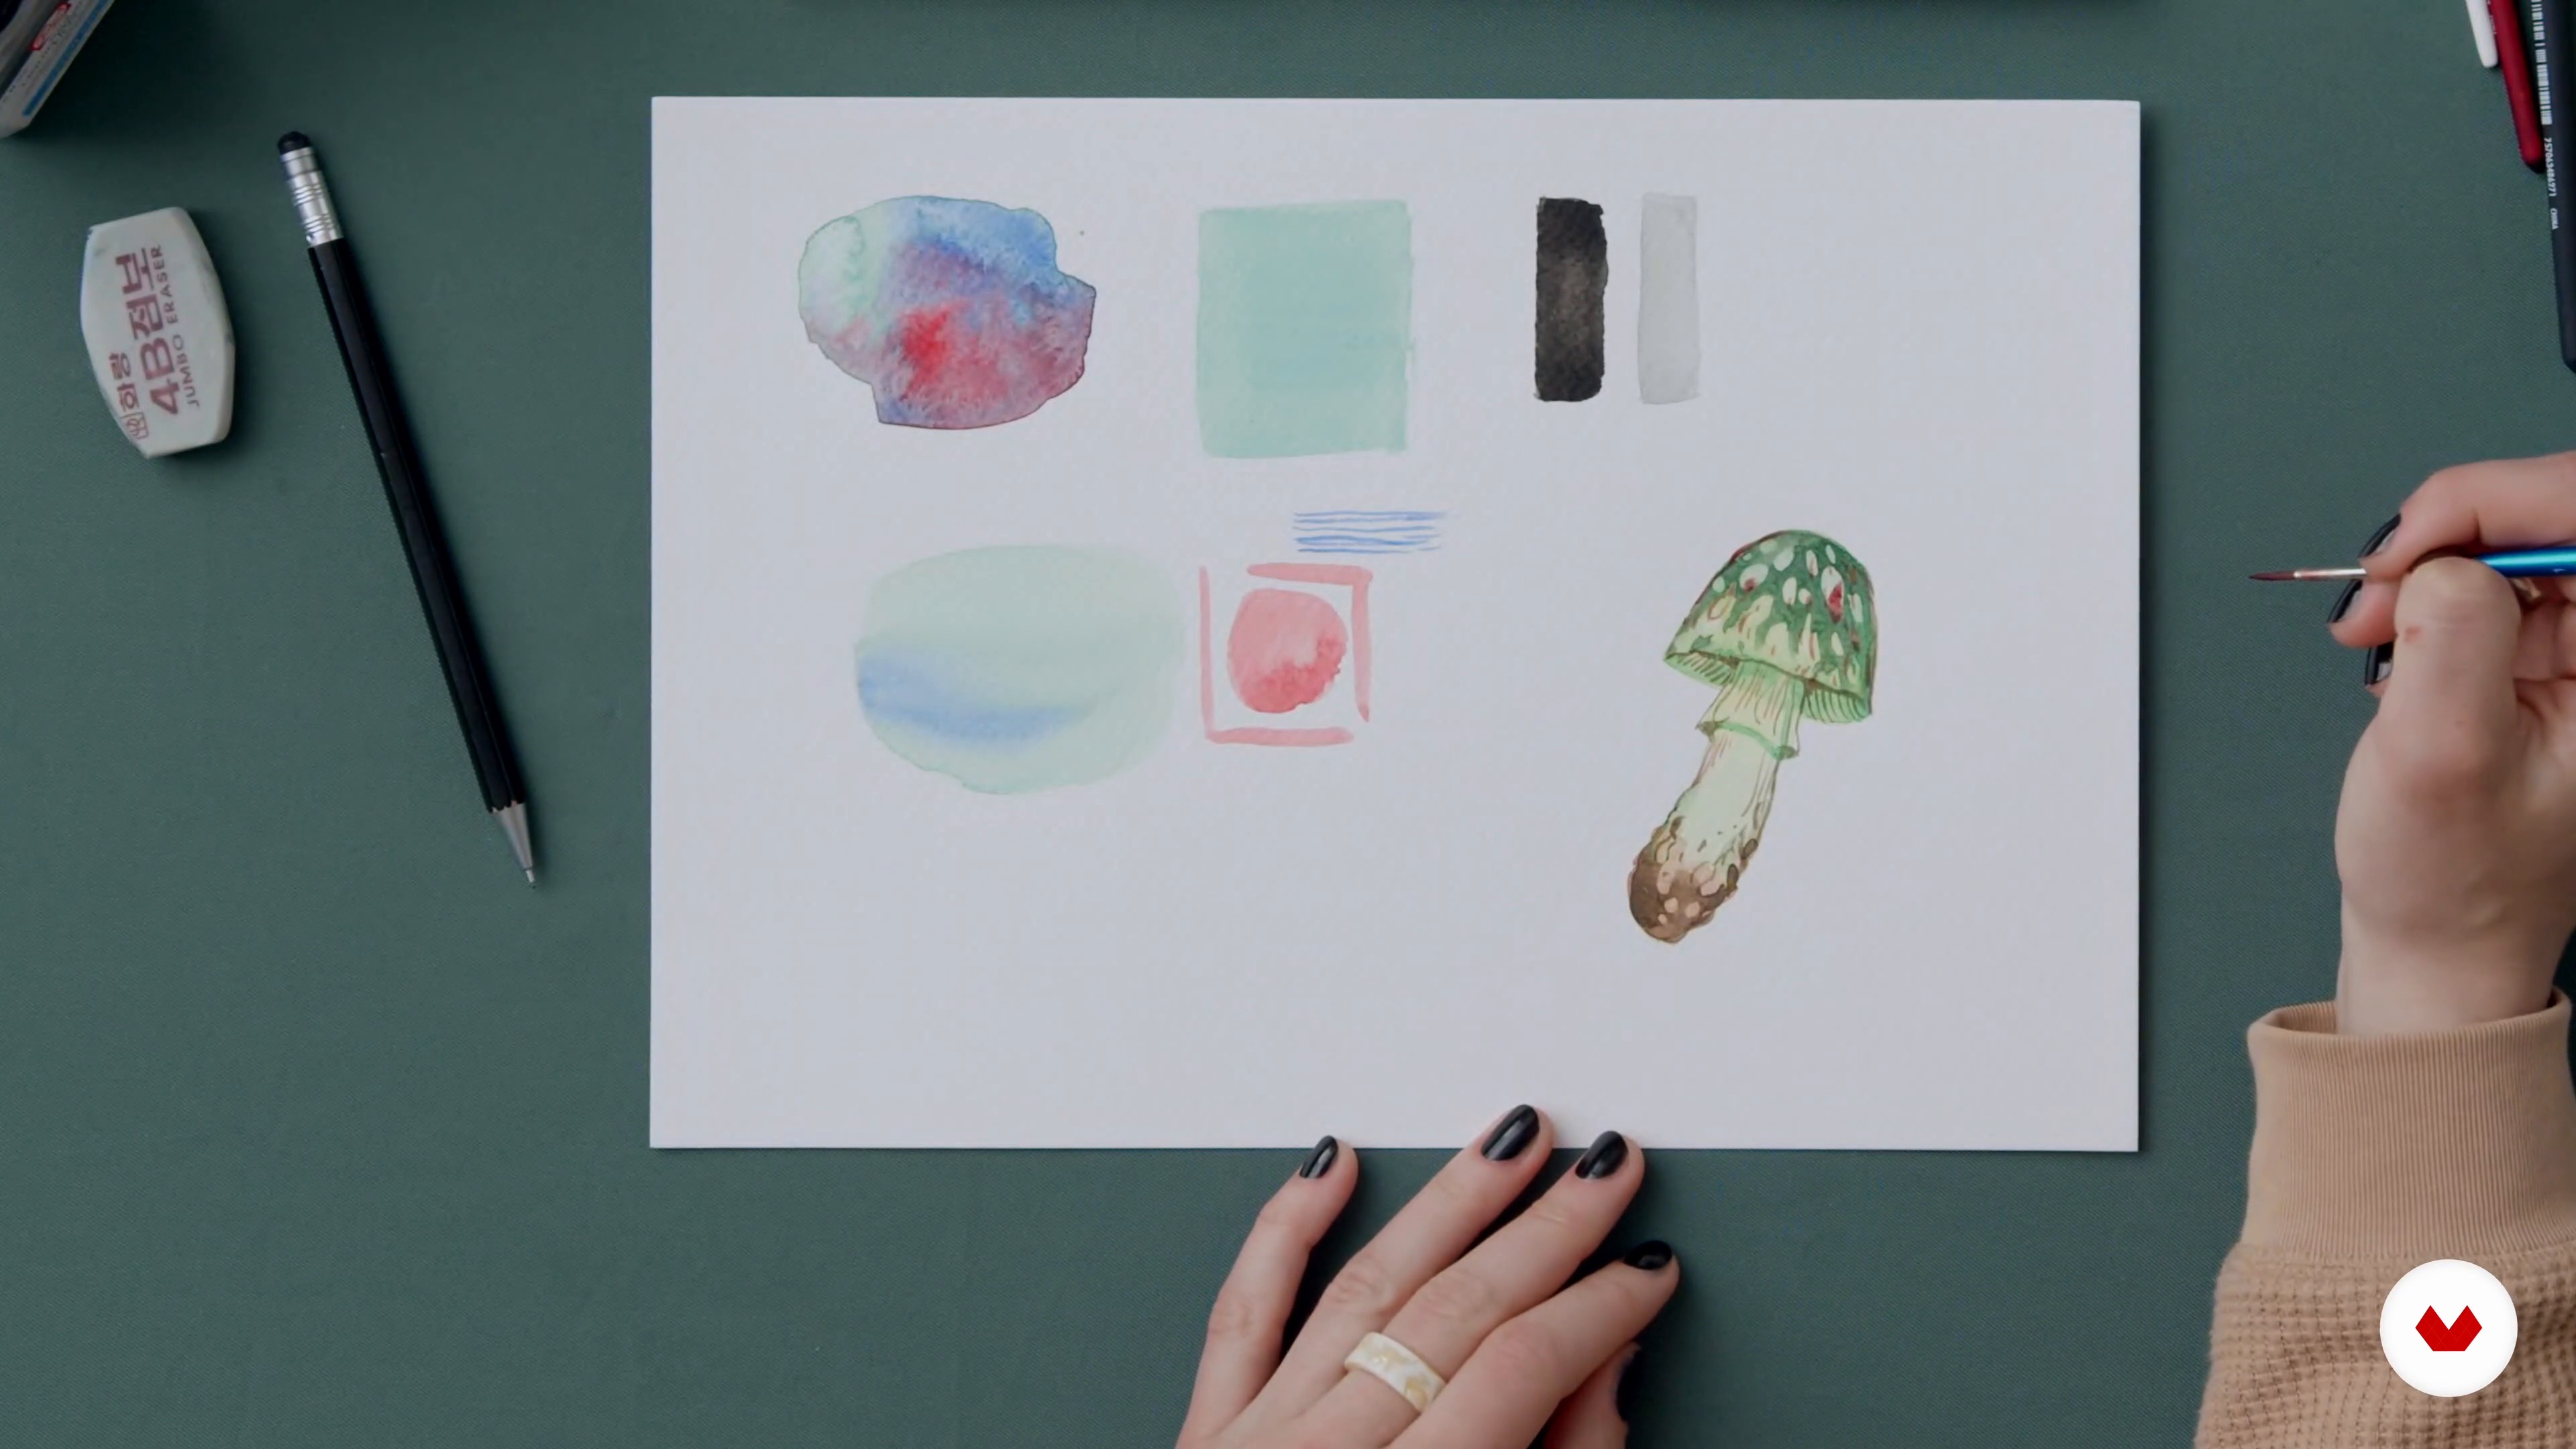
4Watercolour Techniques
You'll be looking at the paper, its relationship with paint, and how much water to use and dilute watercolour. You'll also learn the importance of time (waiting for the colour to be absorbed by paper or for the water to dry) and how to use different brushes for various tasks. I'll combine all these techniques by demonstrating how to paint a simple mushroom!
18m
 5
5Experimenting with Colour
In this lesson, I'll paint two simple flowers, one using lighter and another using darker colours. I'll demonstrate gradients and how to blend two colours through water, lighter to darker. How to prioritise lights before darks as watercolour is an additive technique, how mixing specific colours will impact them and what effect that might create.
15m
 6
6Surreal Inspiration
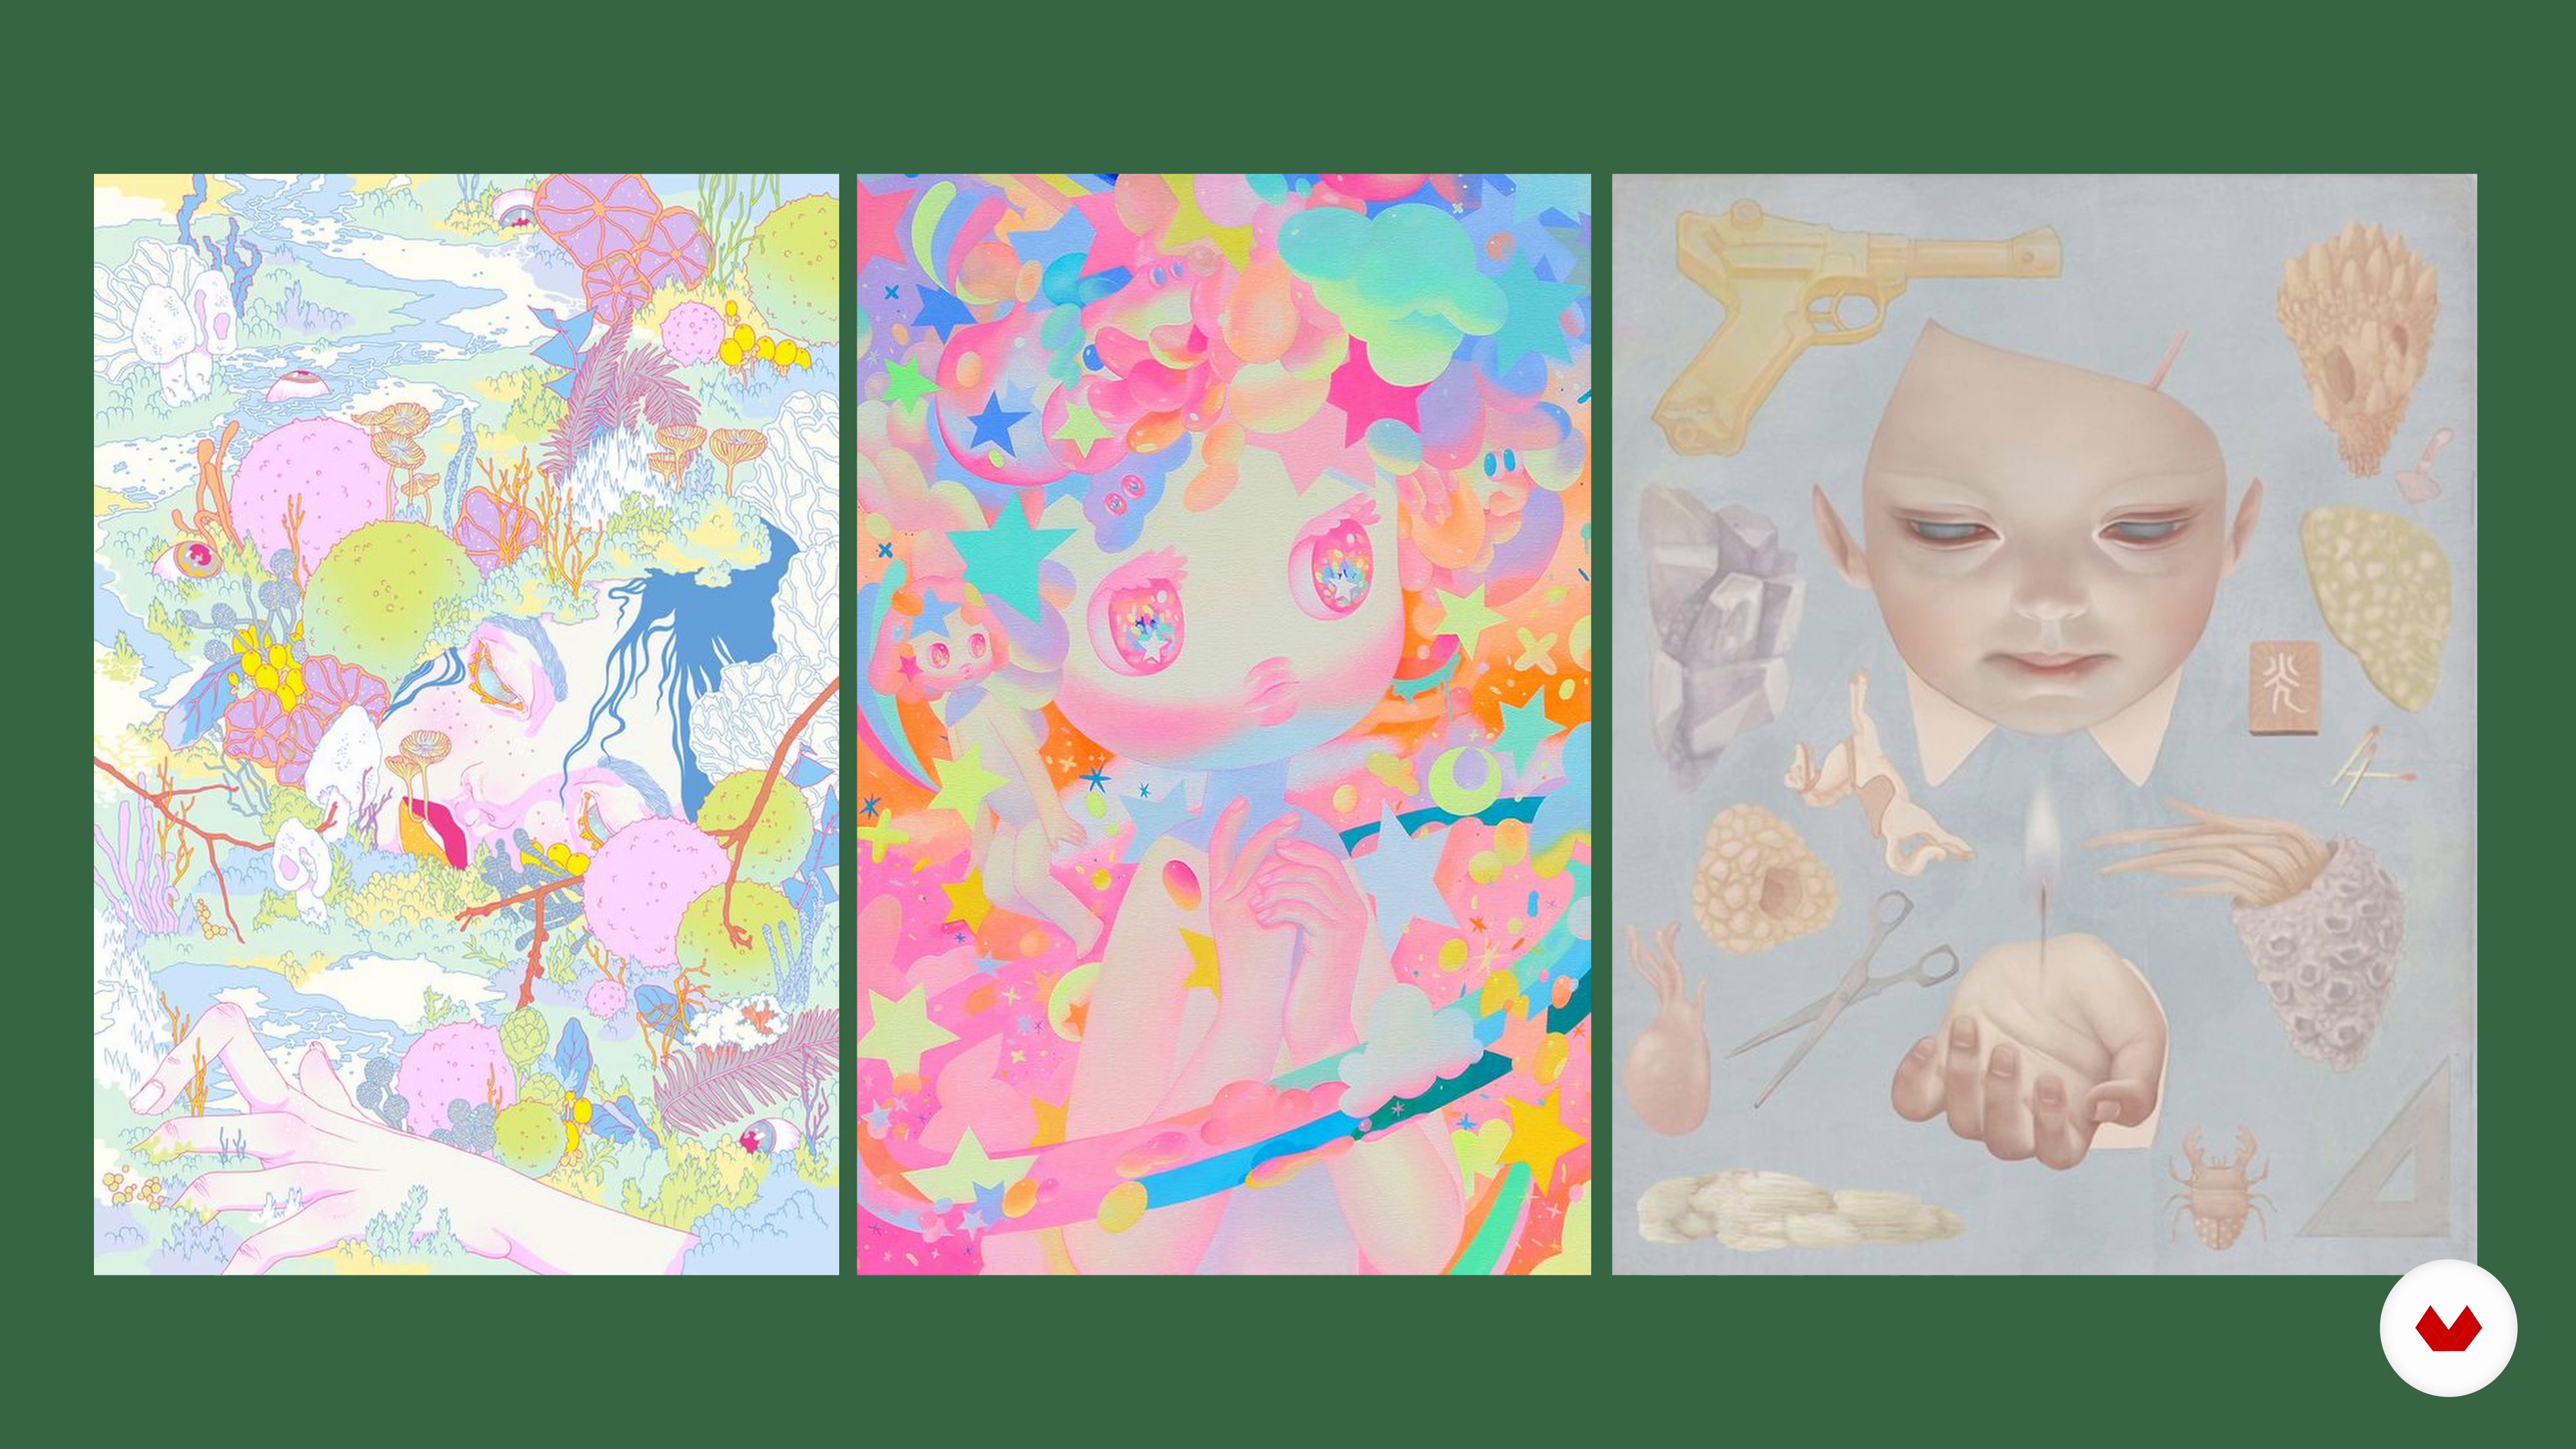
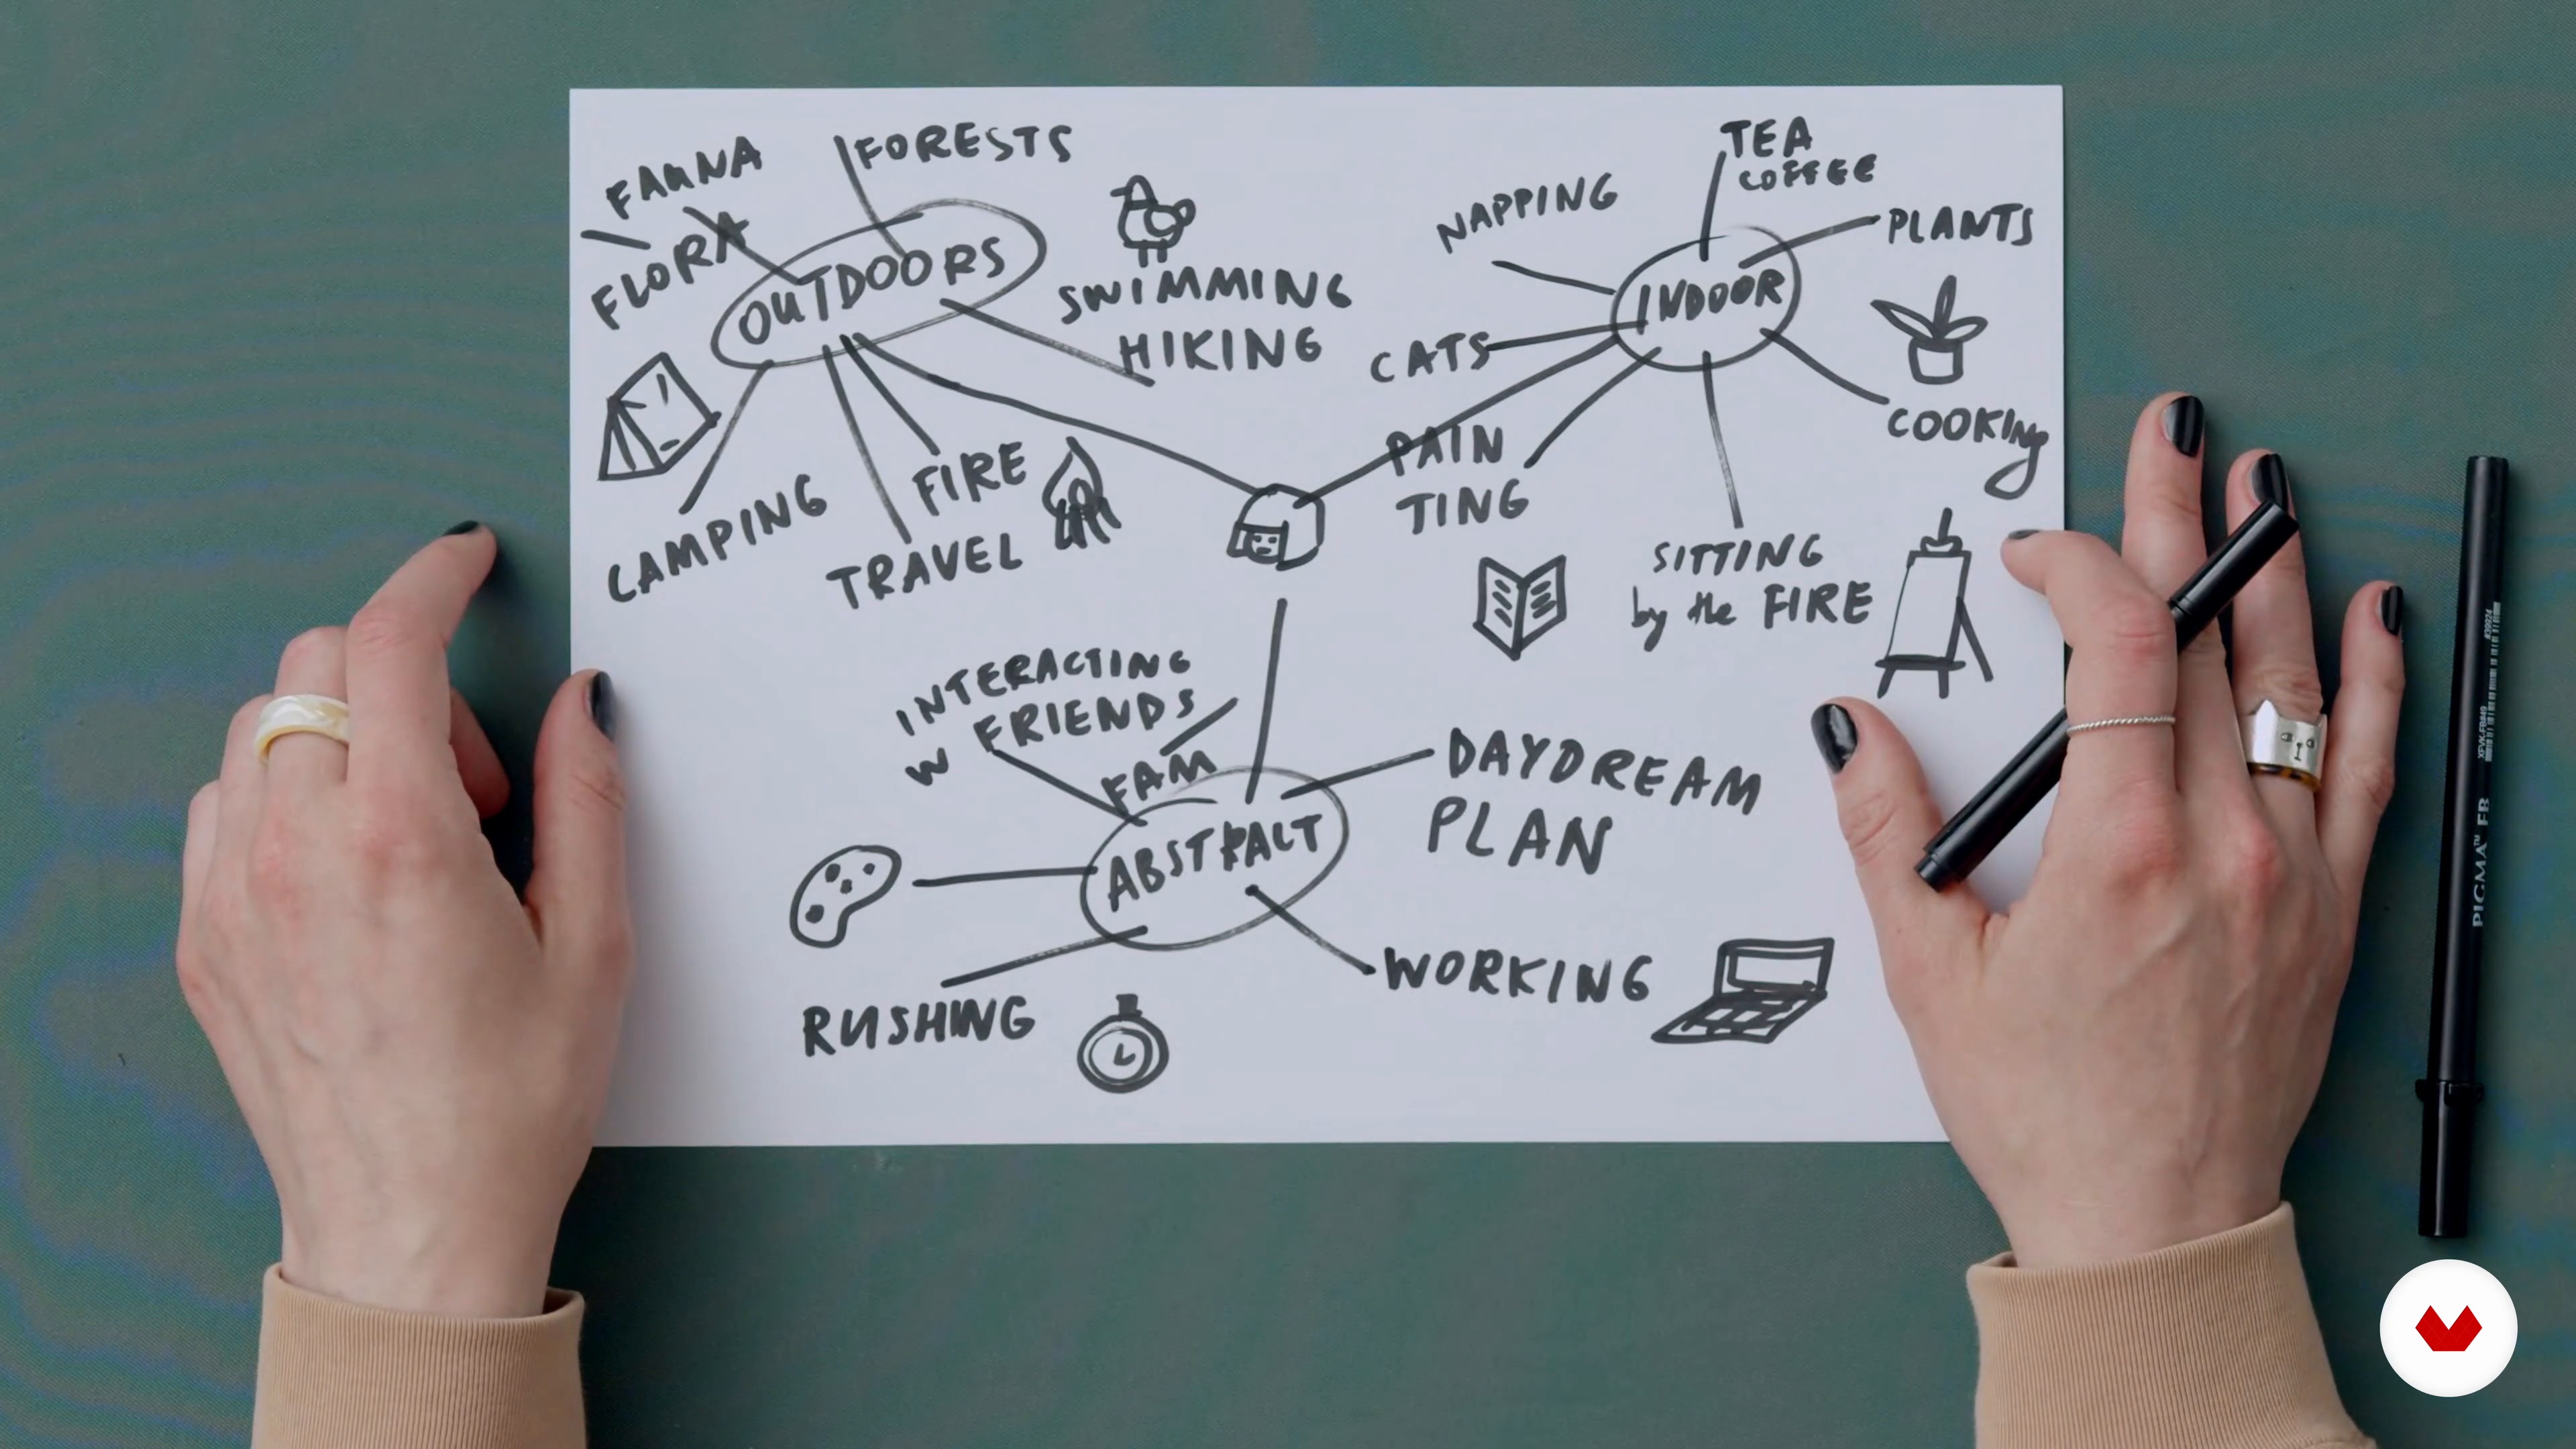
Now, you'll take a surrealist approach, and I’ll show you how to find inspiration from around you. You'll look at my Pinterest board named “Surreal Self-Portrait” for initial inspiration, before turning introspective and sourcing inspiration from our own self-analysis.
9m
 7
7Sketching Forms
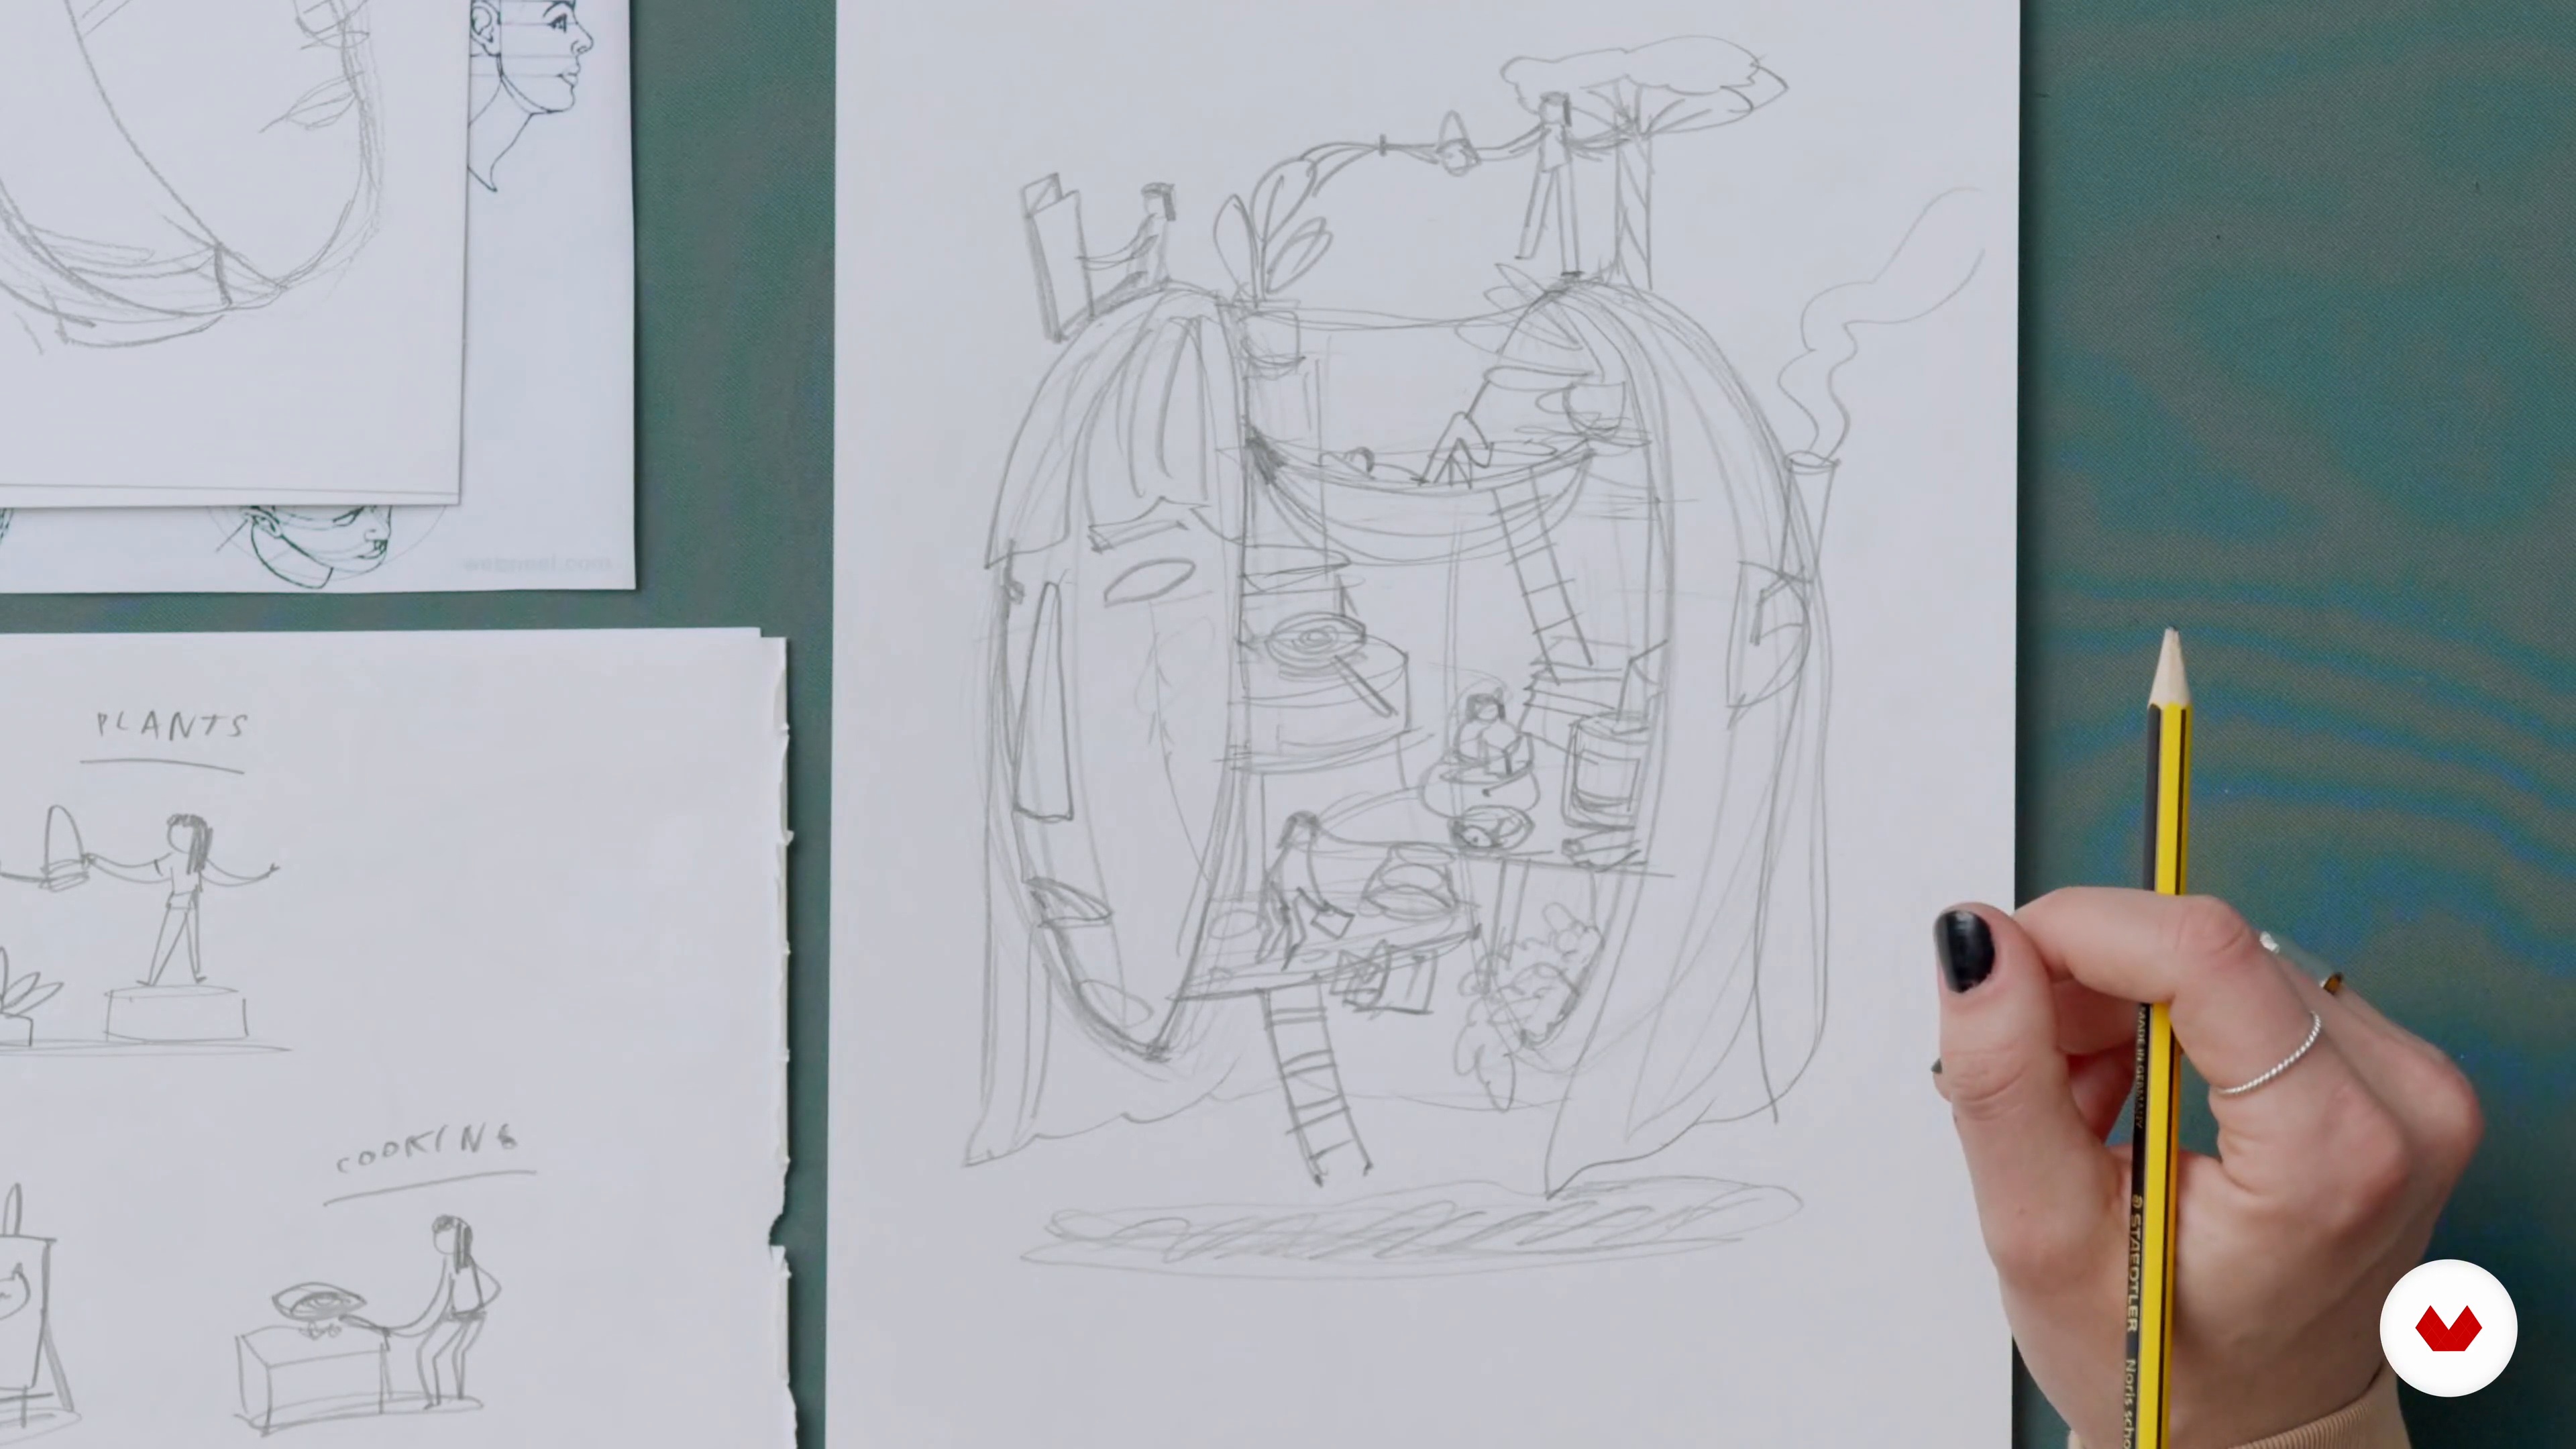
You'll see how to do some sketching in order to find the right foundational forms and composition for your self-portrait. You’ll do this over three stages, first through drawing the angle, position and shape of your head. Secondly, you’ll sketch out some thoughts and activities to populate this with. And finally, you’ll combine the first two steps of sketching into a single rough composition.
20m
 8
8Rough Sketches: Concept and Composition
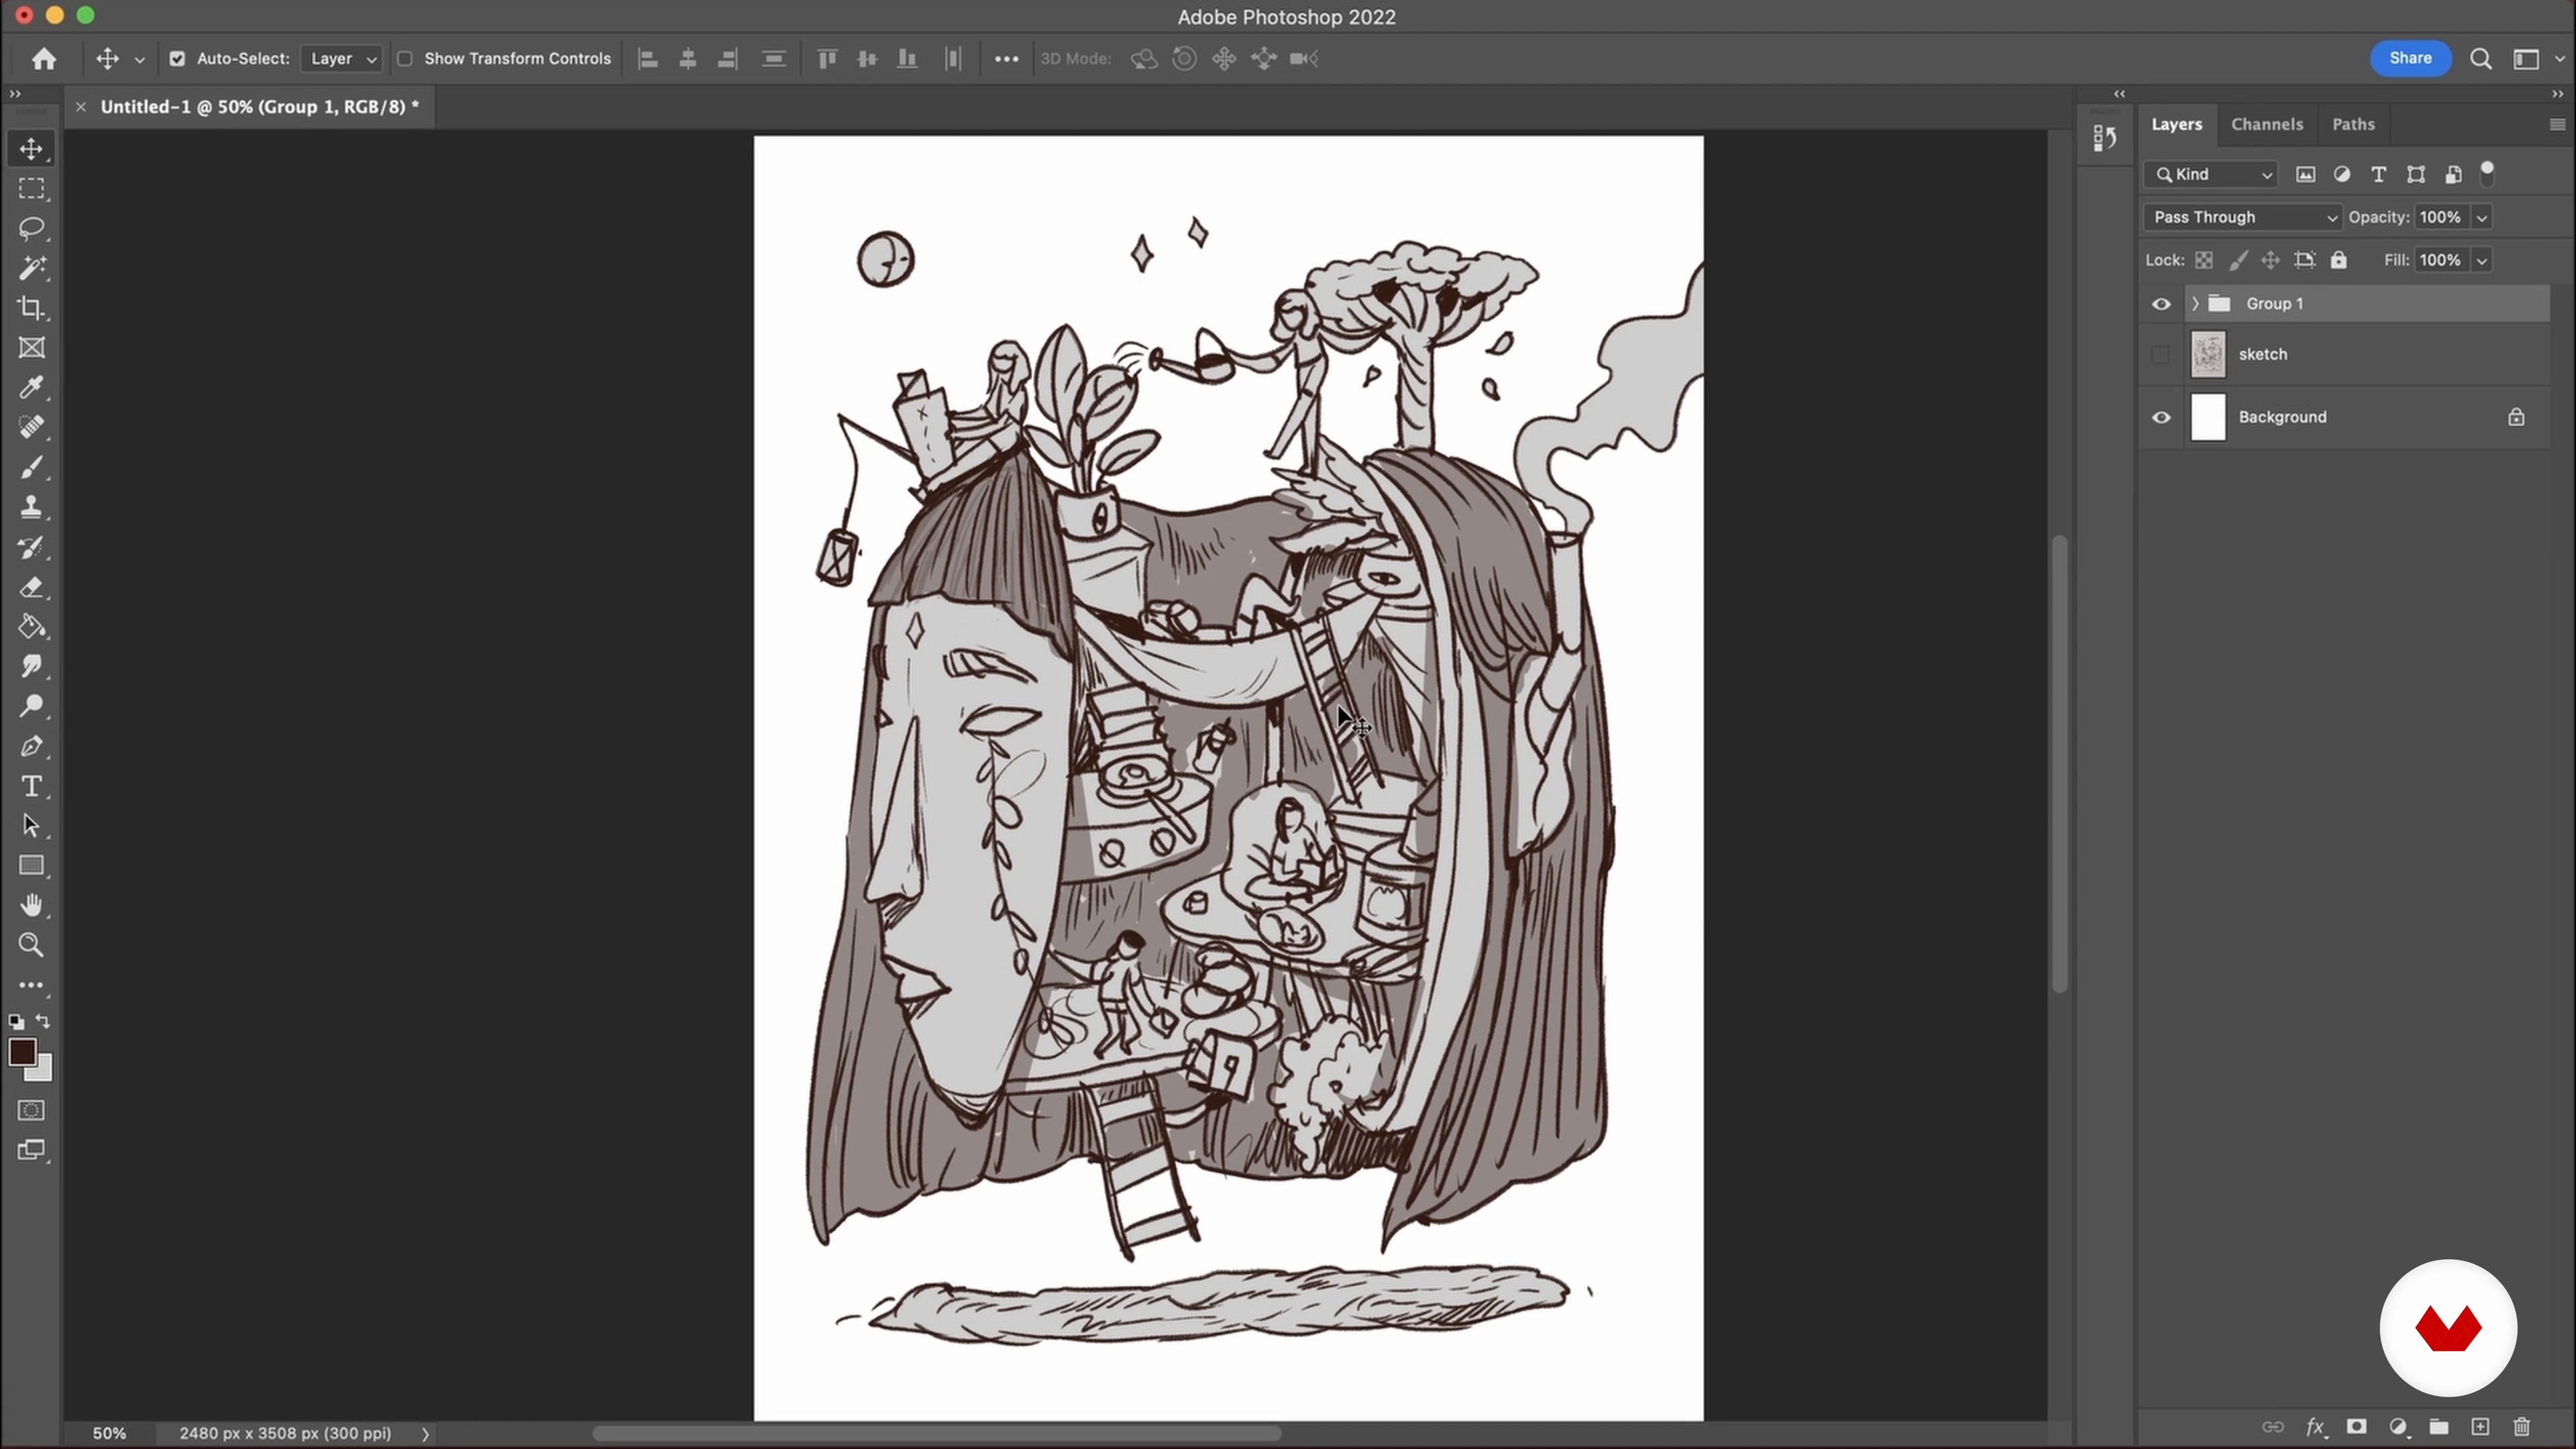
So you’re ready to start! You'll take the rough form discovered in the previous lesson and bring it forward by defining its structure and contents in Photoshop.
19m
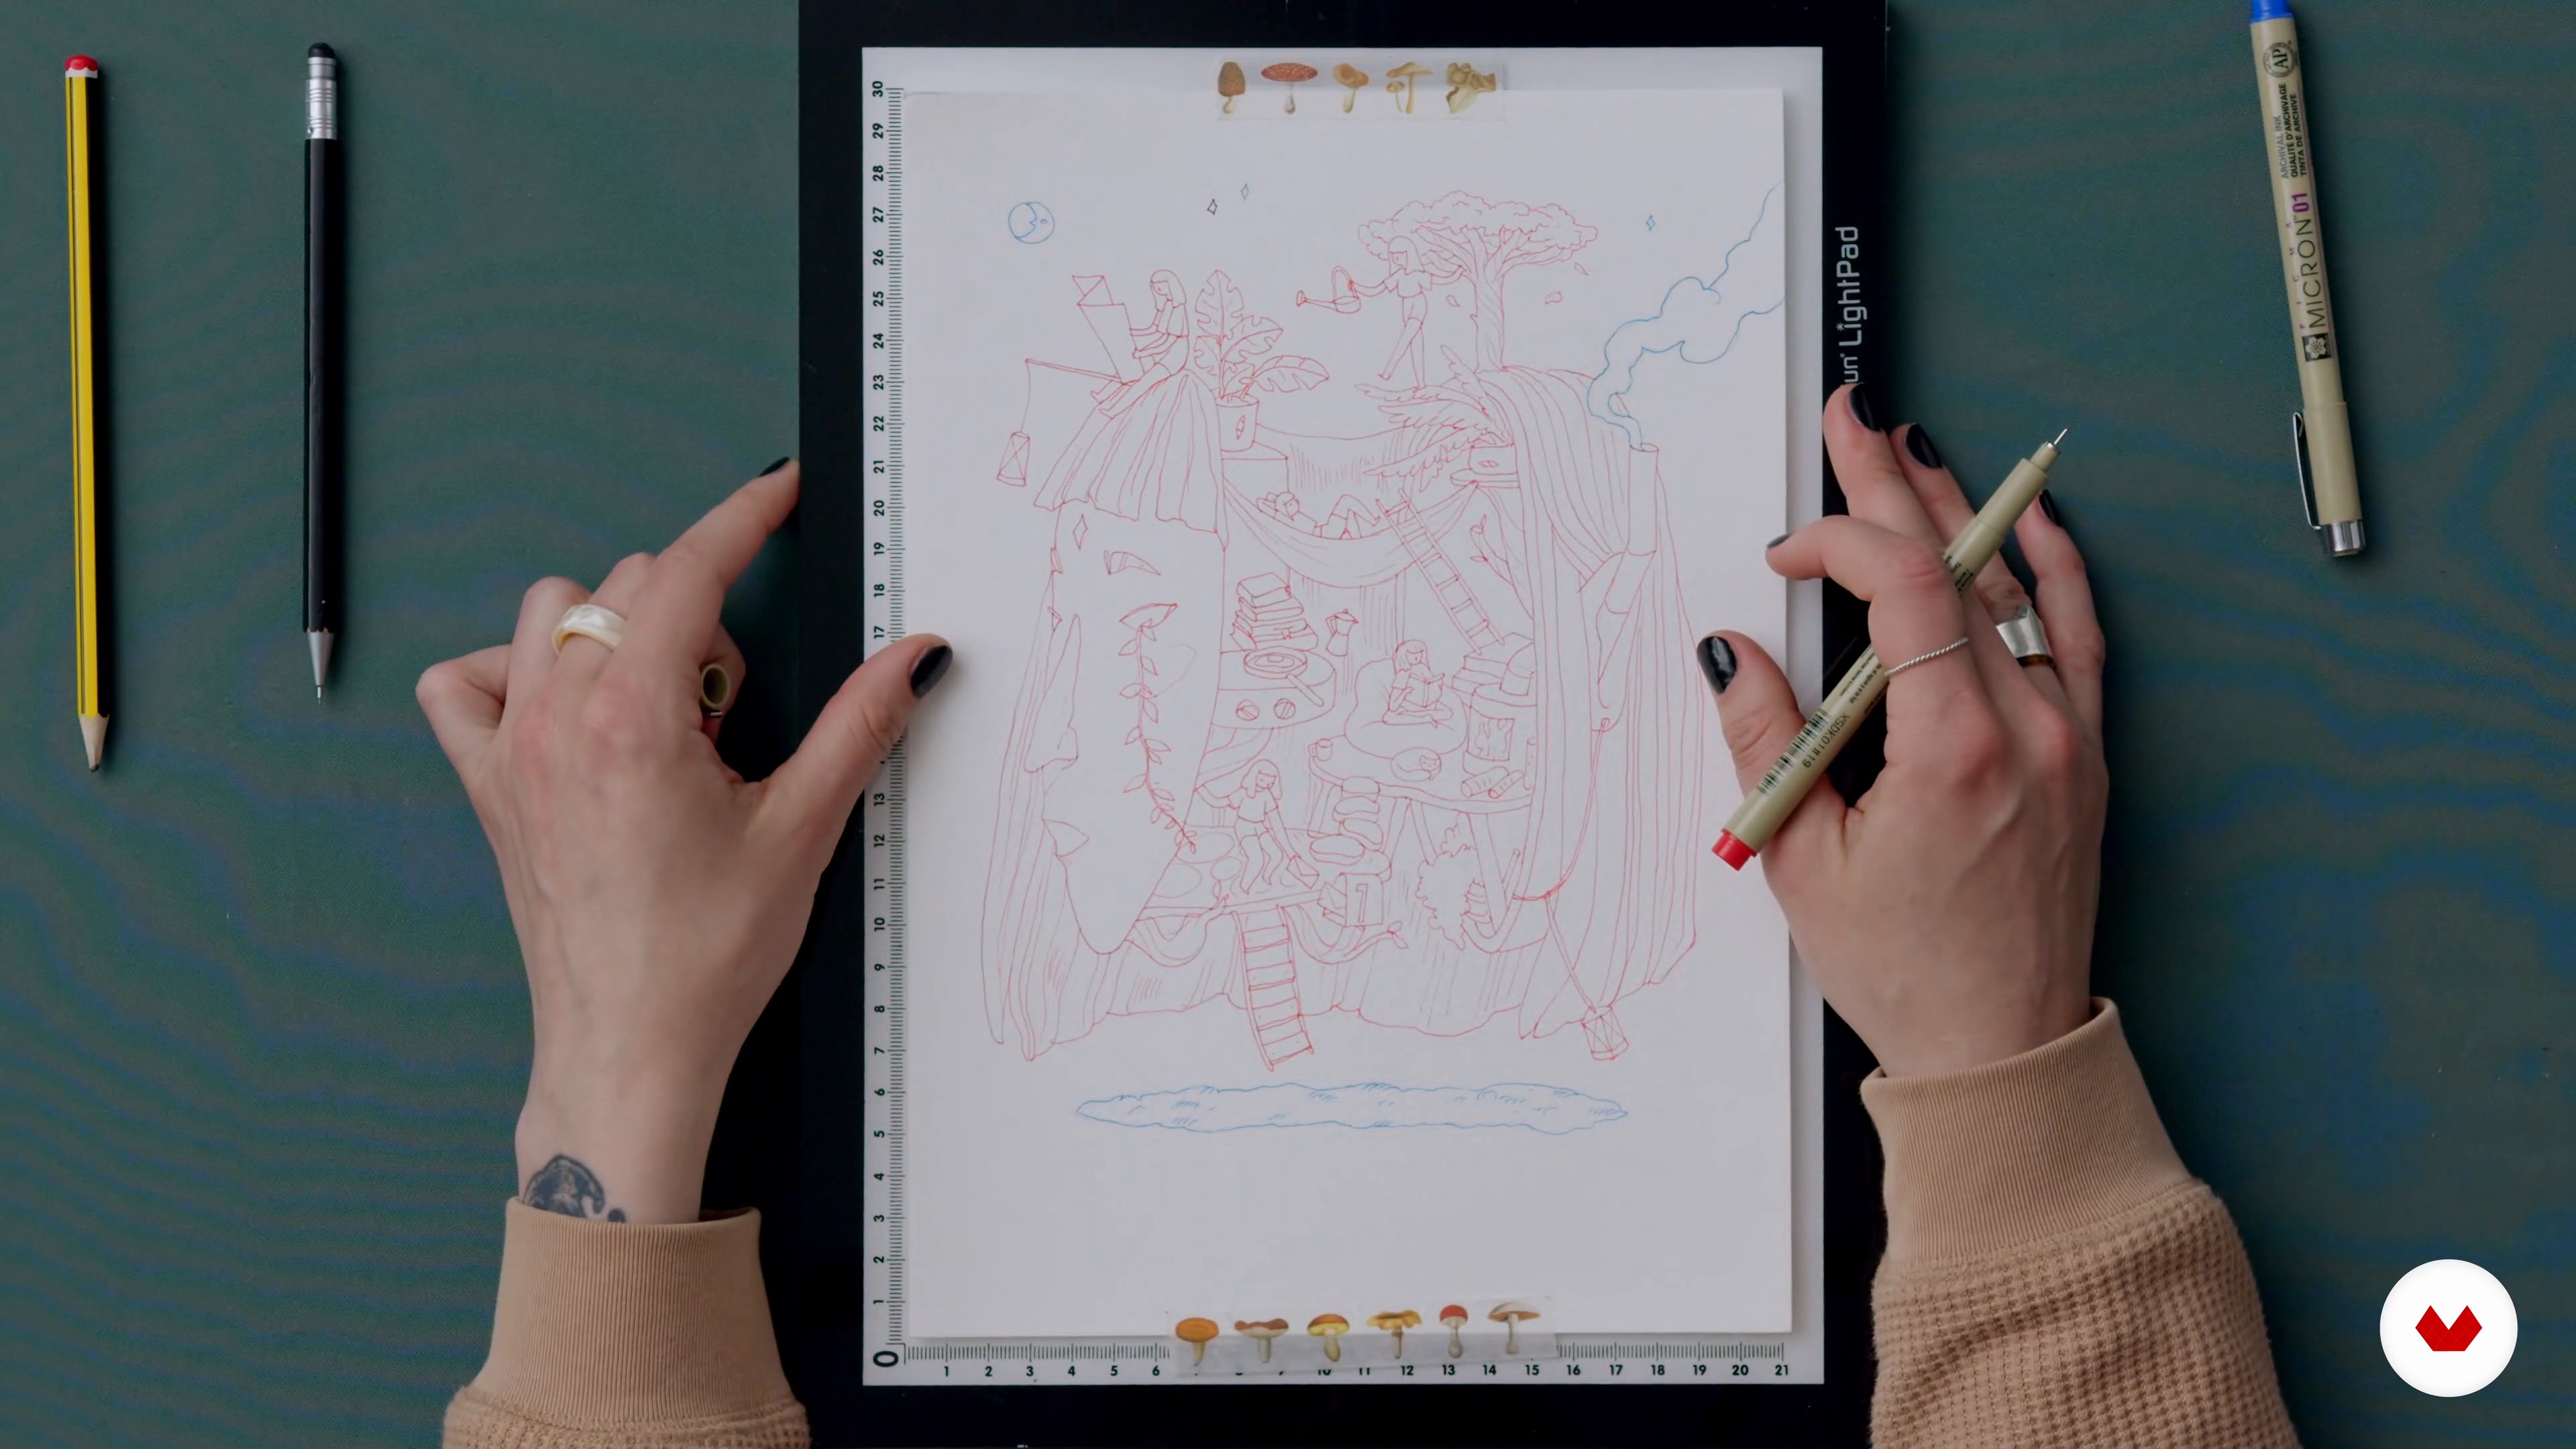 9
9Tracing on Watercolour Paper
Now I'll teach you how to transfer the drawing to watercolour paper before getting it ready to paint. I’ll show you the importance of why this is worth taking time over, as it is tricky to make adjustments once you start painting.
14m
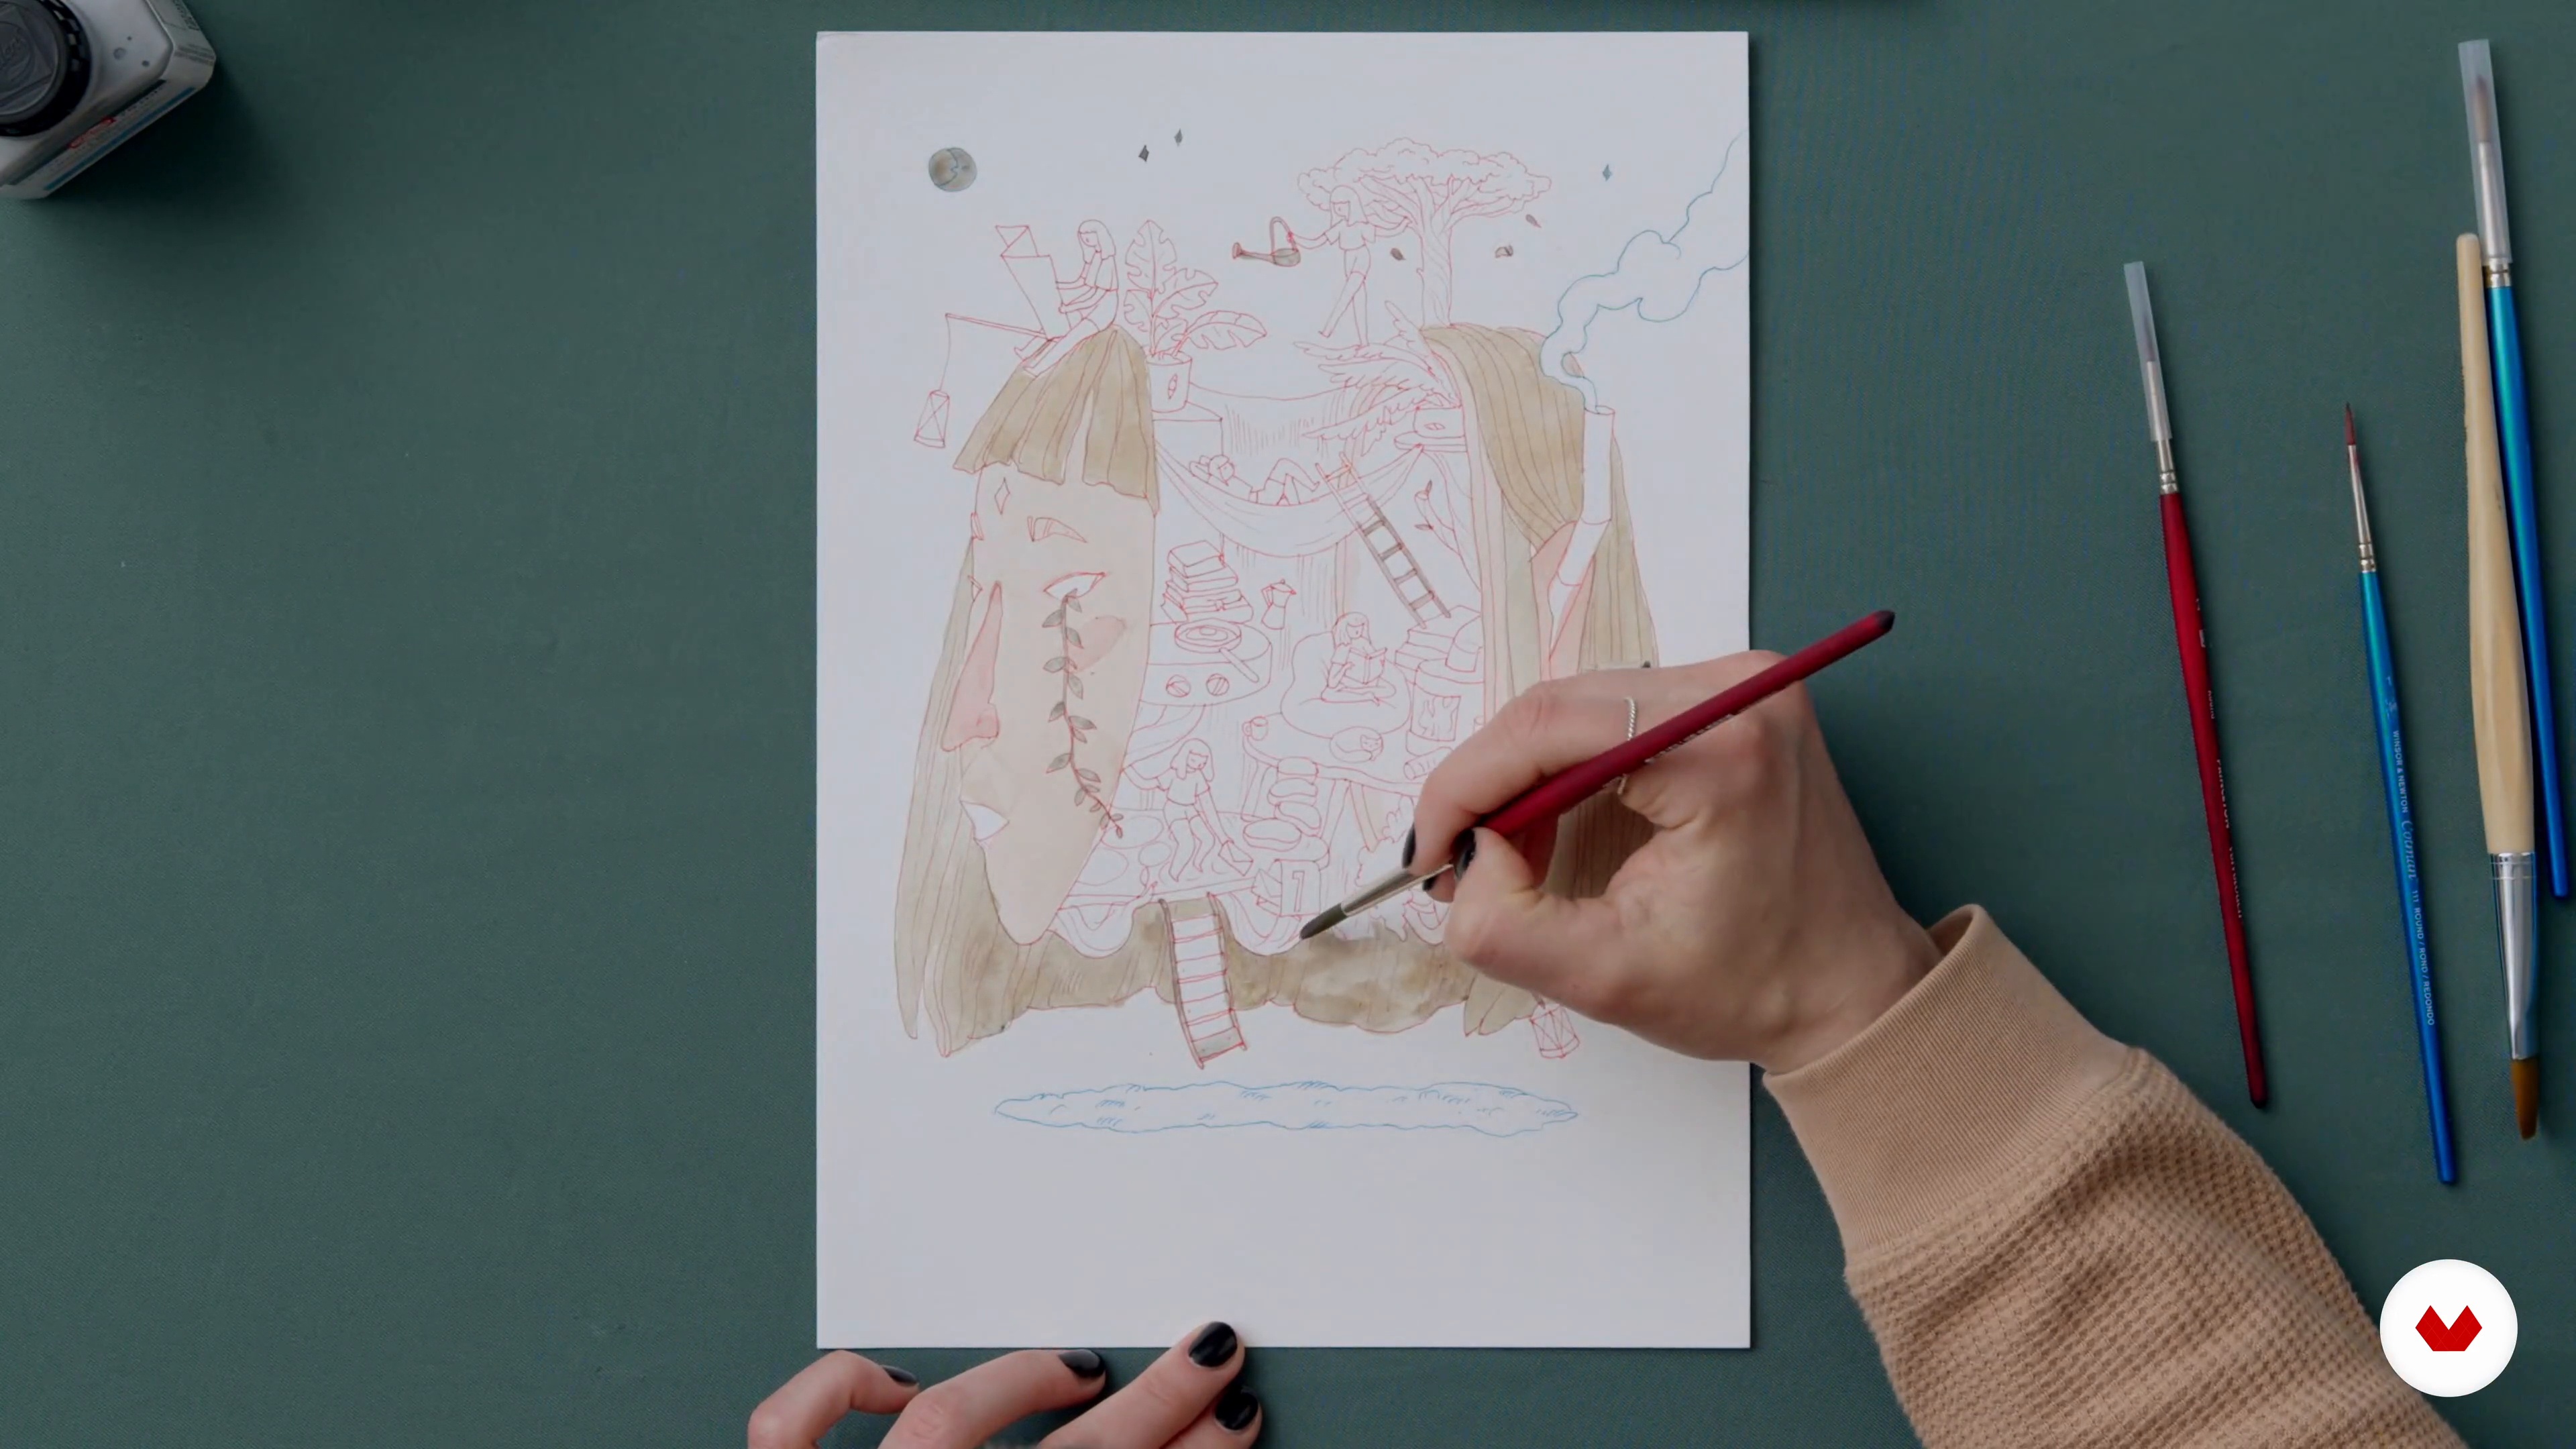 10
10The First Watercolour Layer 1
Let me show you how to begin to work on filling in the outline of the illustration. I’ll also add masking fluid to certain areas I want to protect from watercolour paint. But I’ll predominantly focus on filling the various shapes with the base colours until there are no blank elements left.
17m
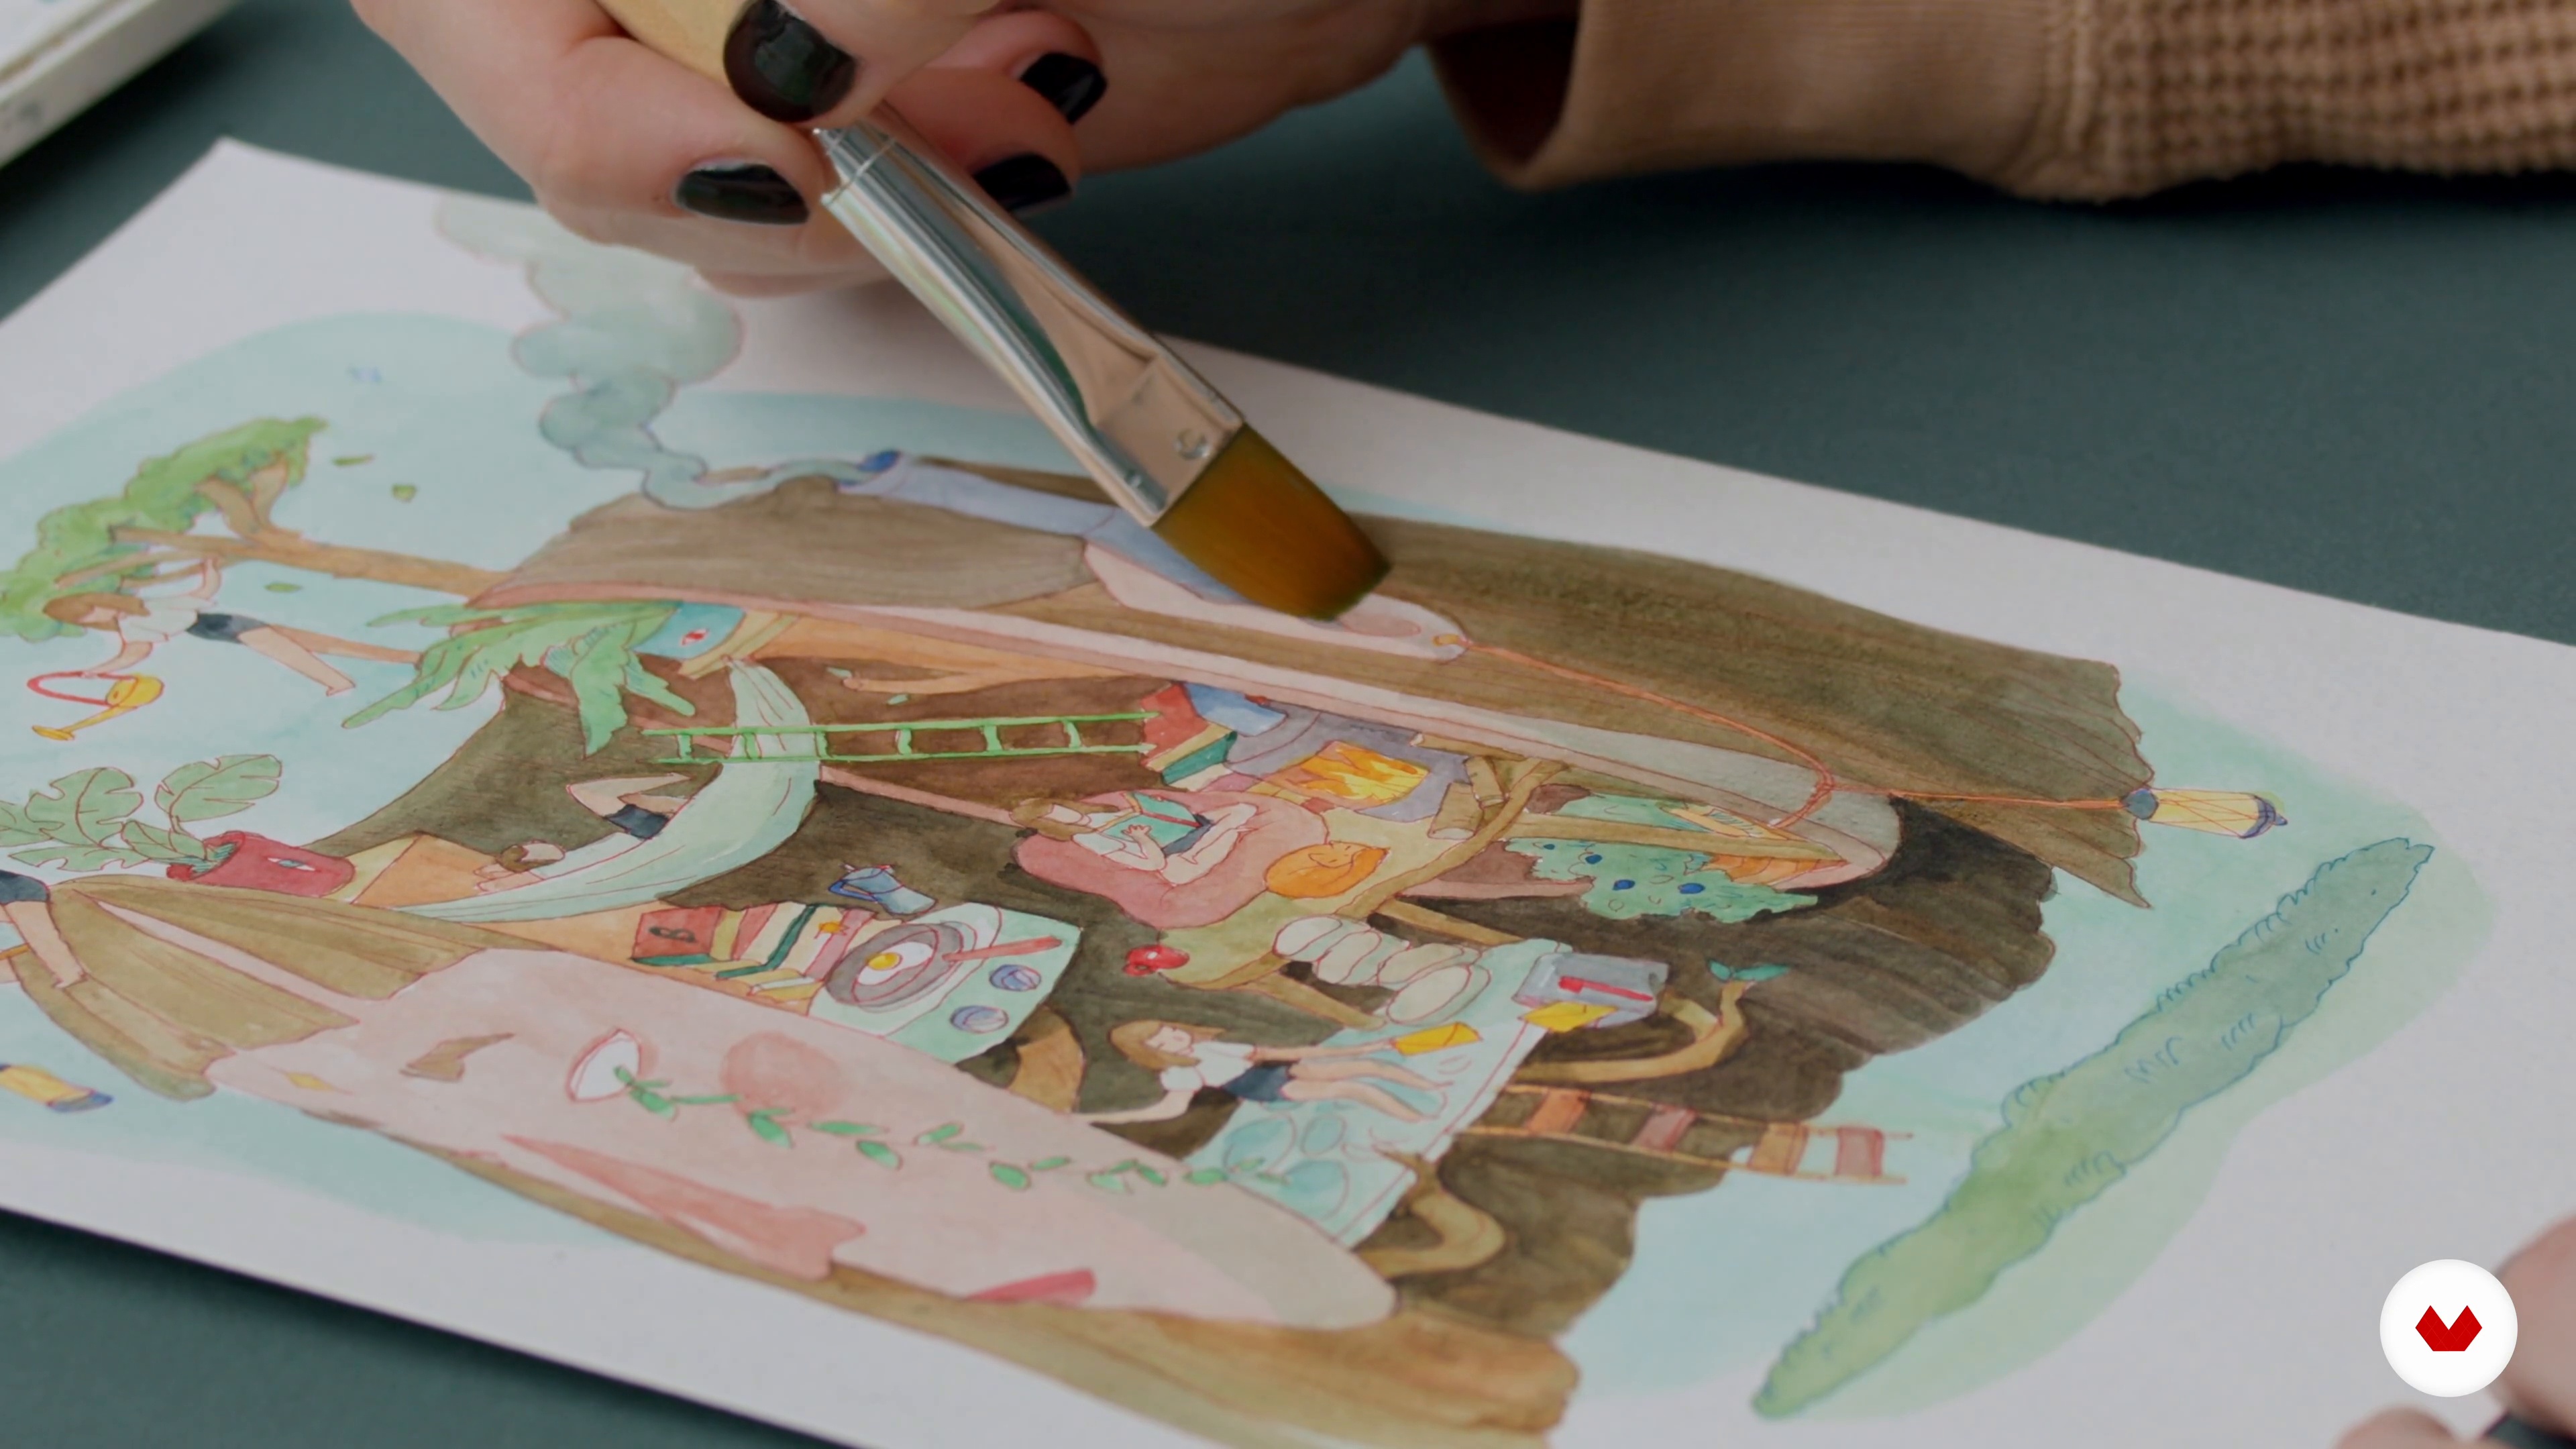
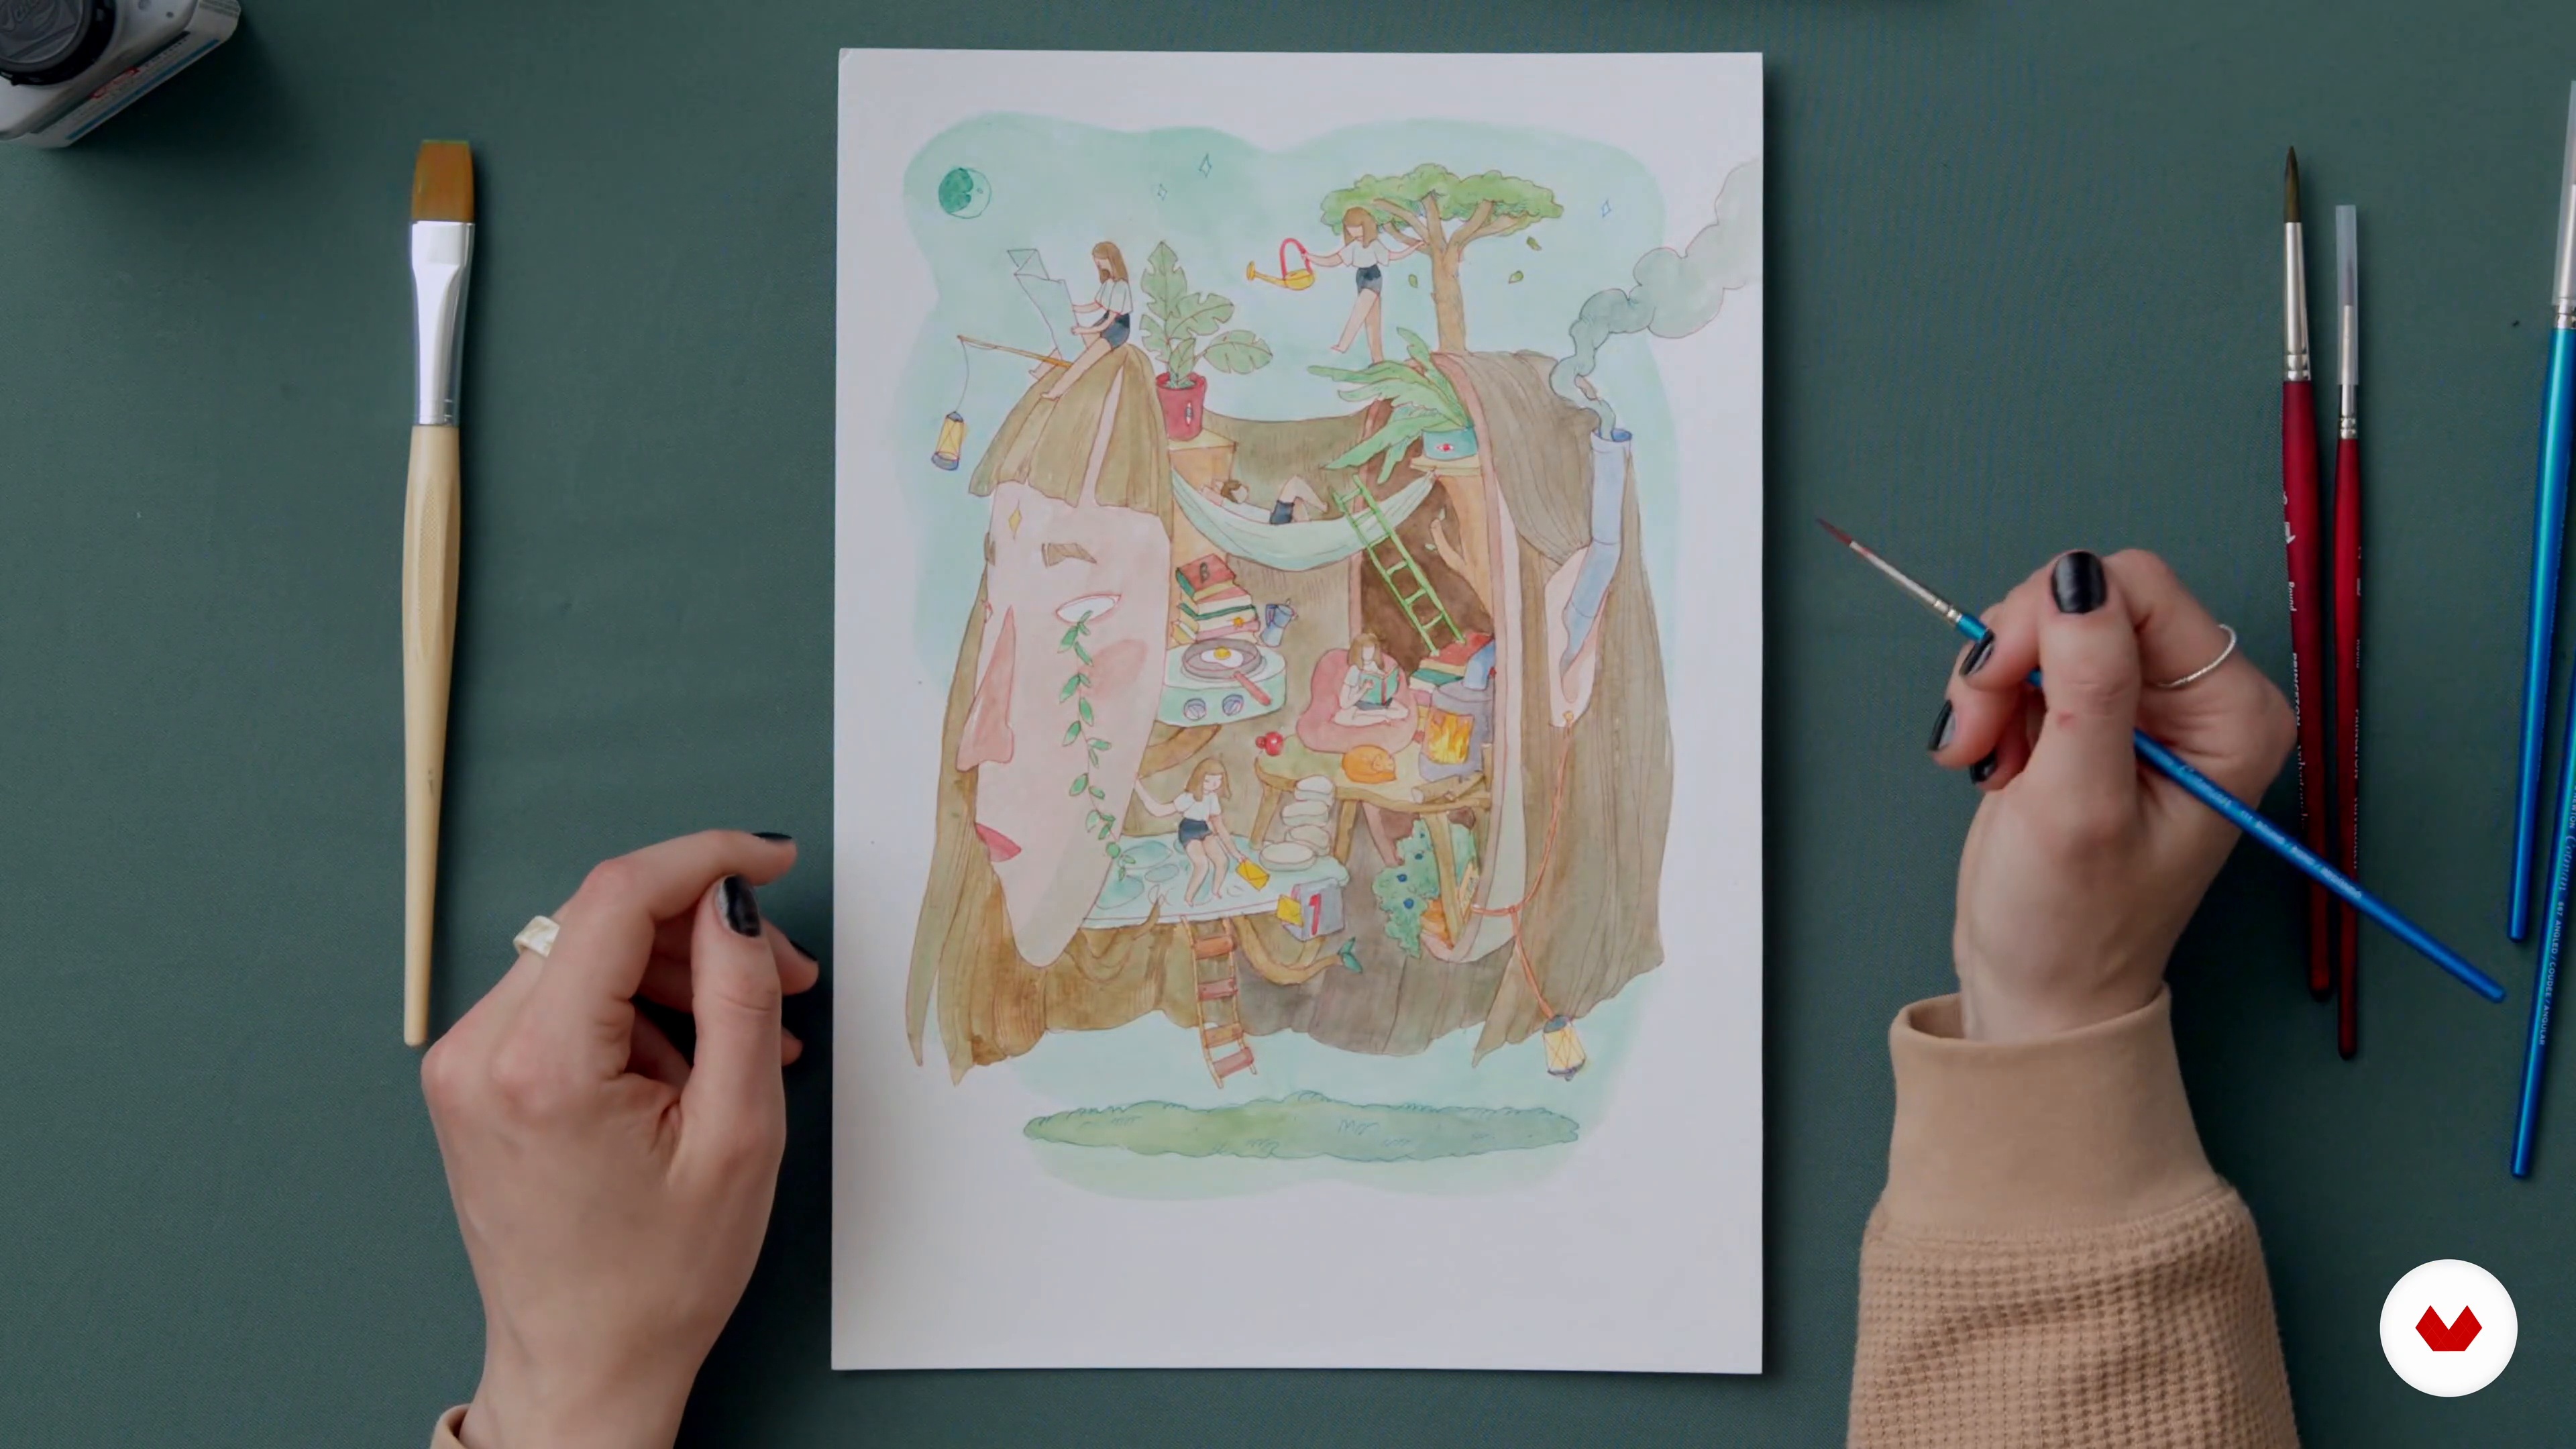 11
11The First Watercolour Layer 2
During this second part of the lesson, I'll continue showing you how to work on the first watercolour layer. I'll share the best tips and tricks to make this part of the process easier for you!
16m
 12
12Additional Watercolour Details 1
It’s now time to elevate the watercolour image further by adding shadows and details. You’ll learn to do this by defining the light source to help inform which areas will benefit from having more depth of colour and tweaking fine details to make it all cohesive.
20m
 13
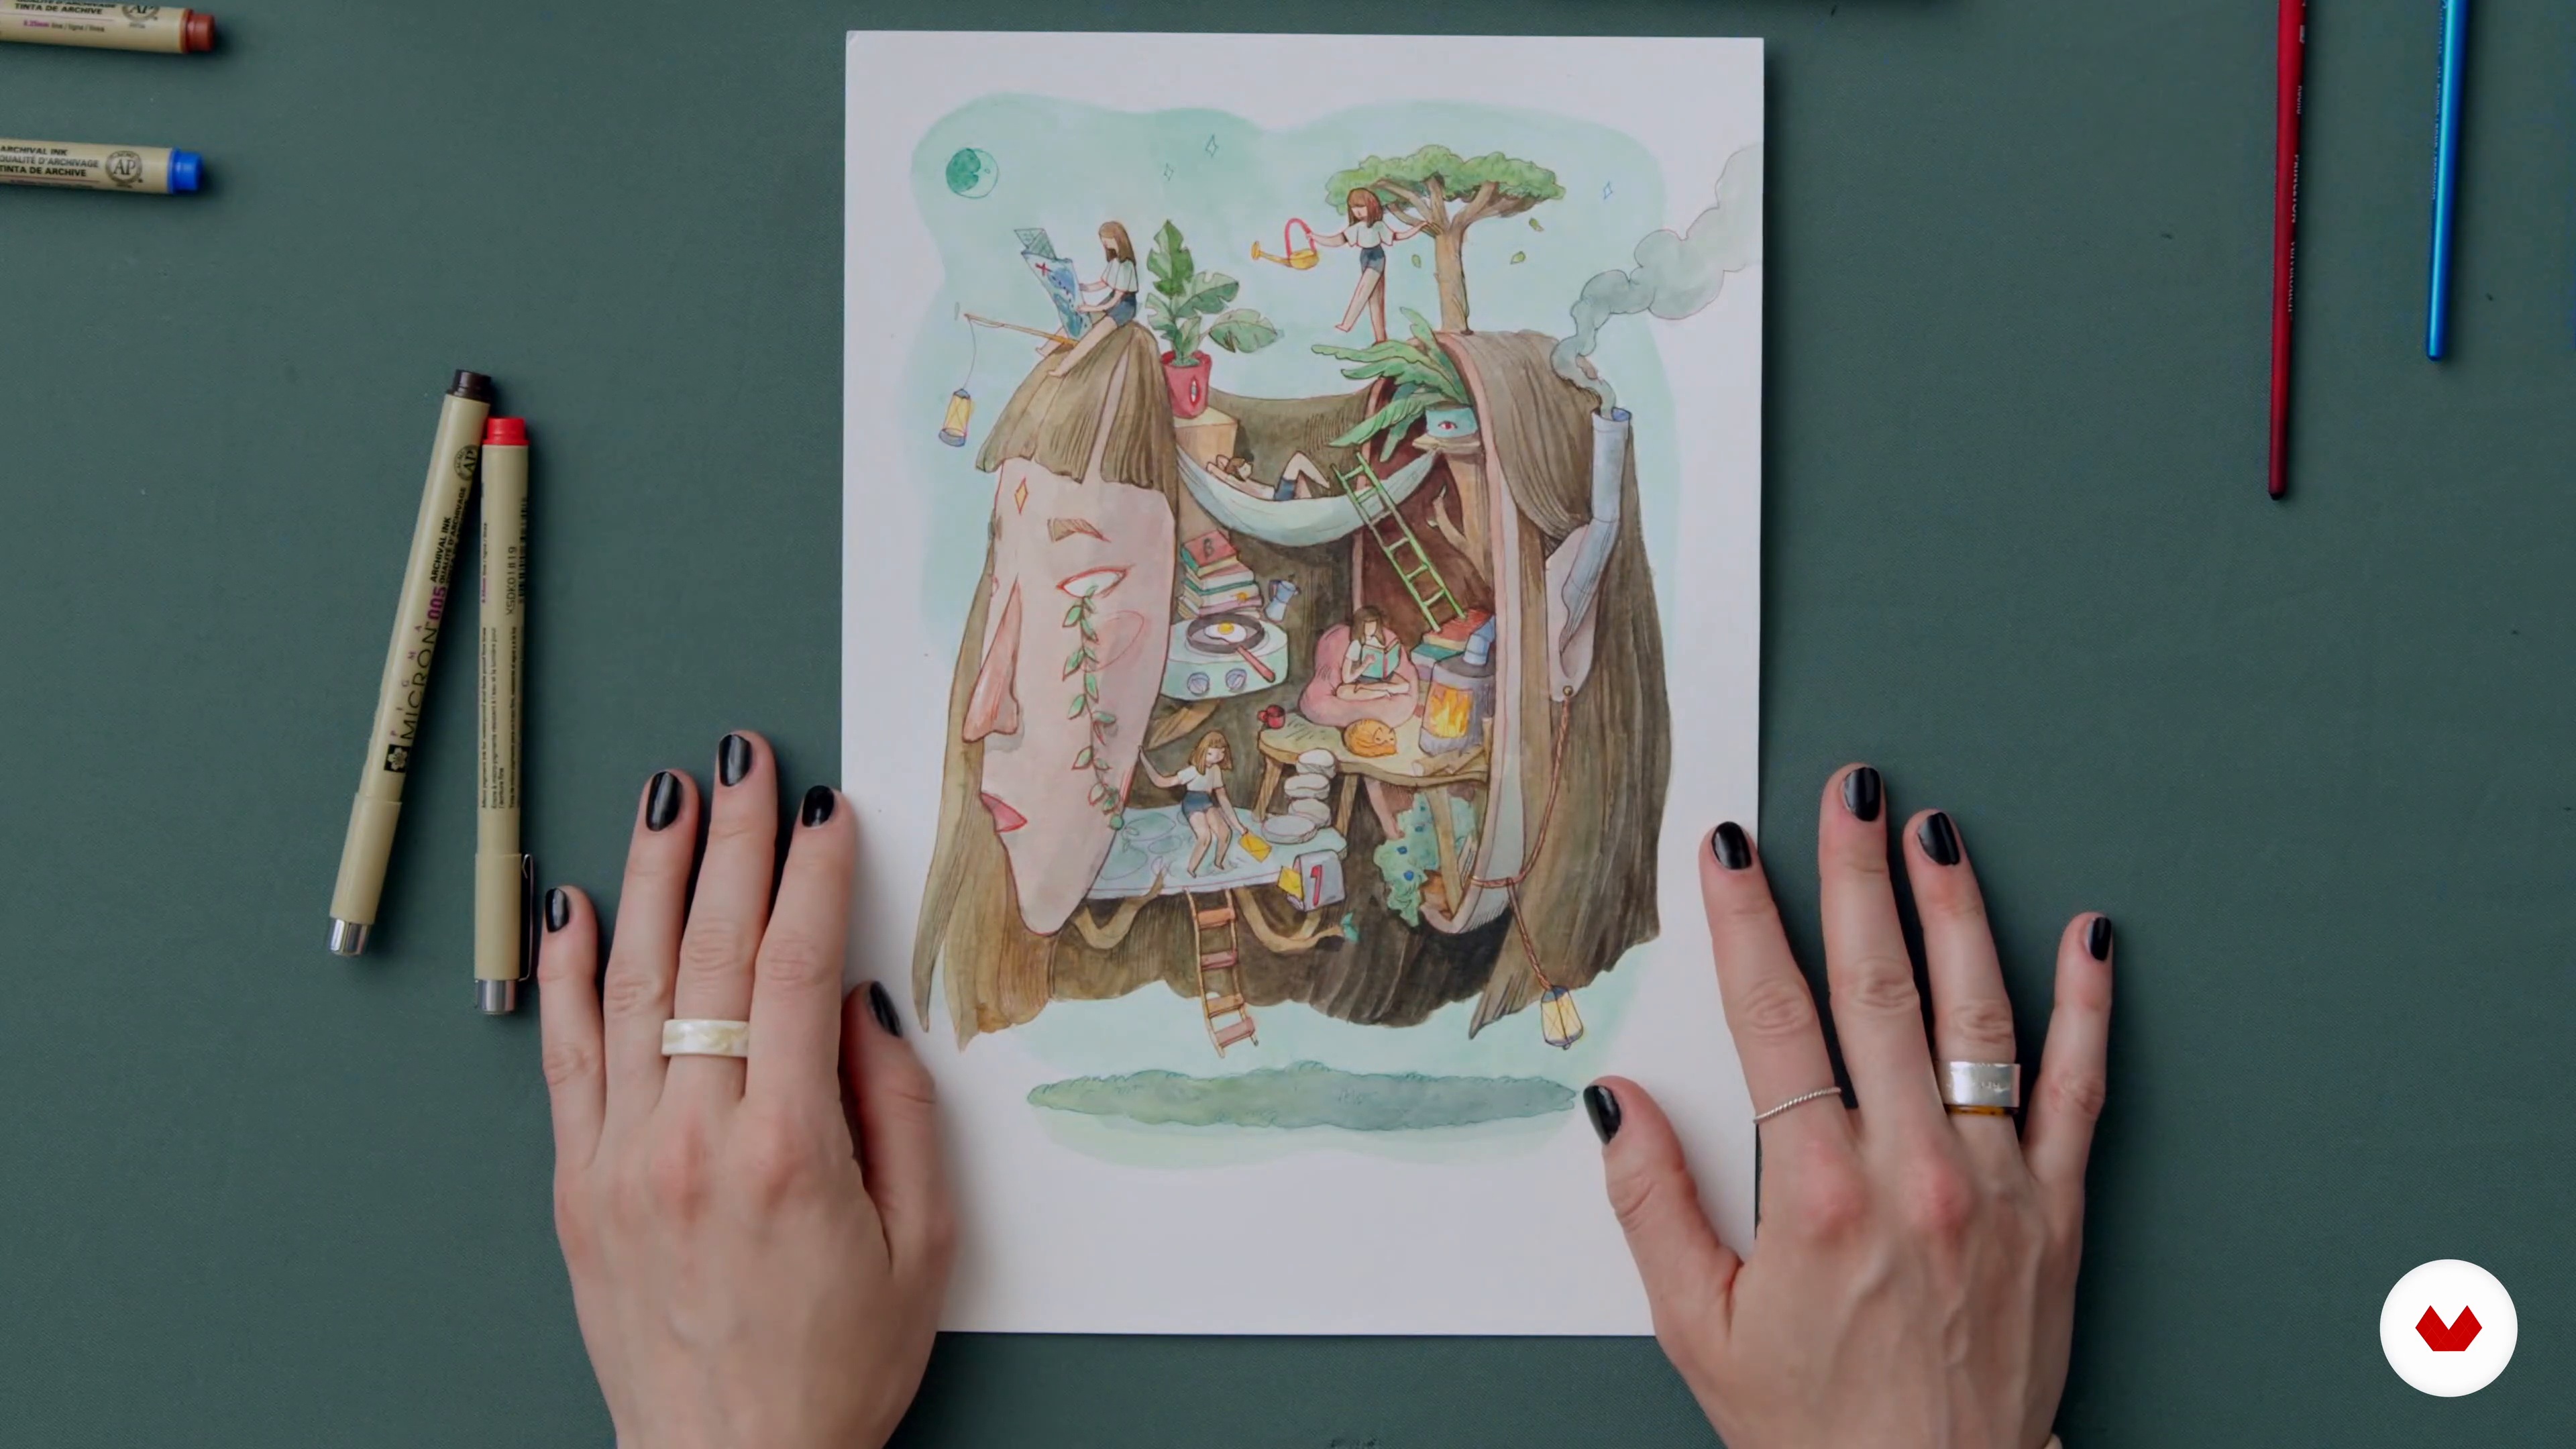
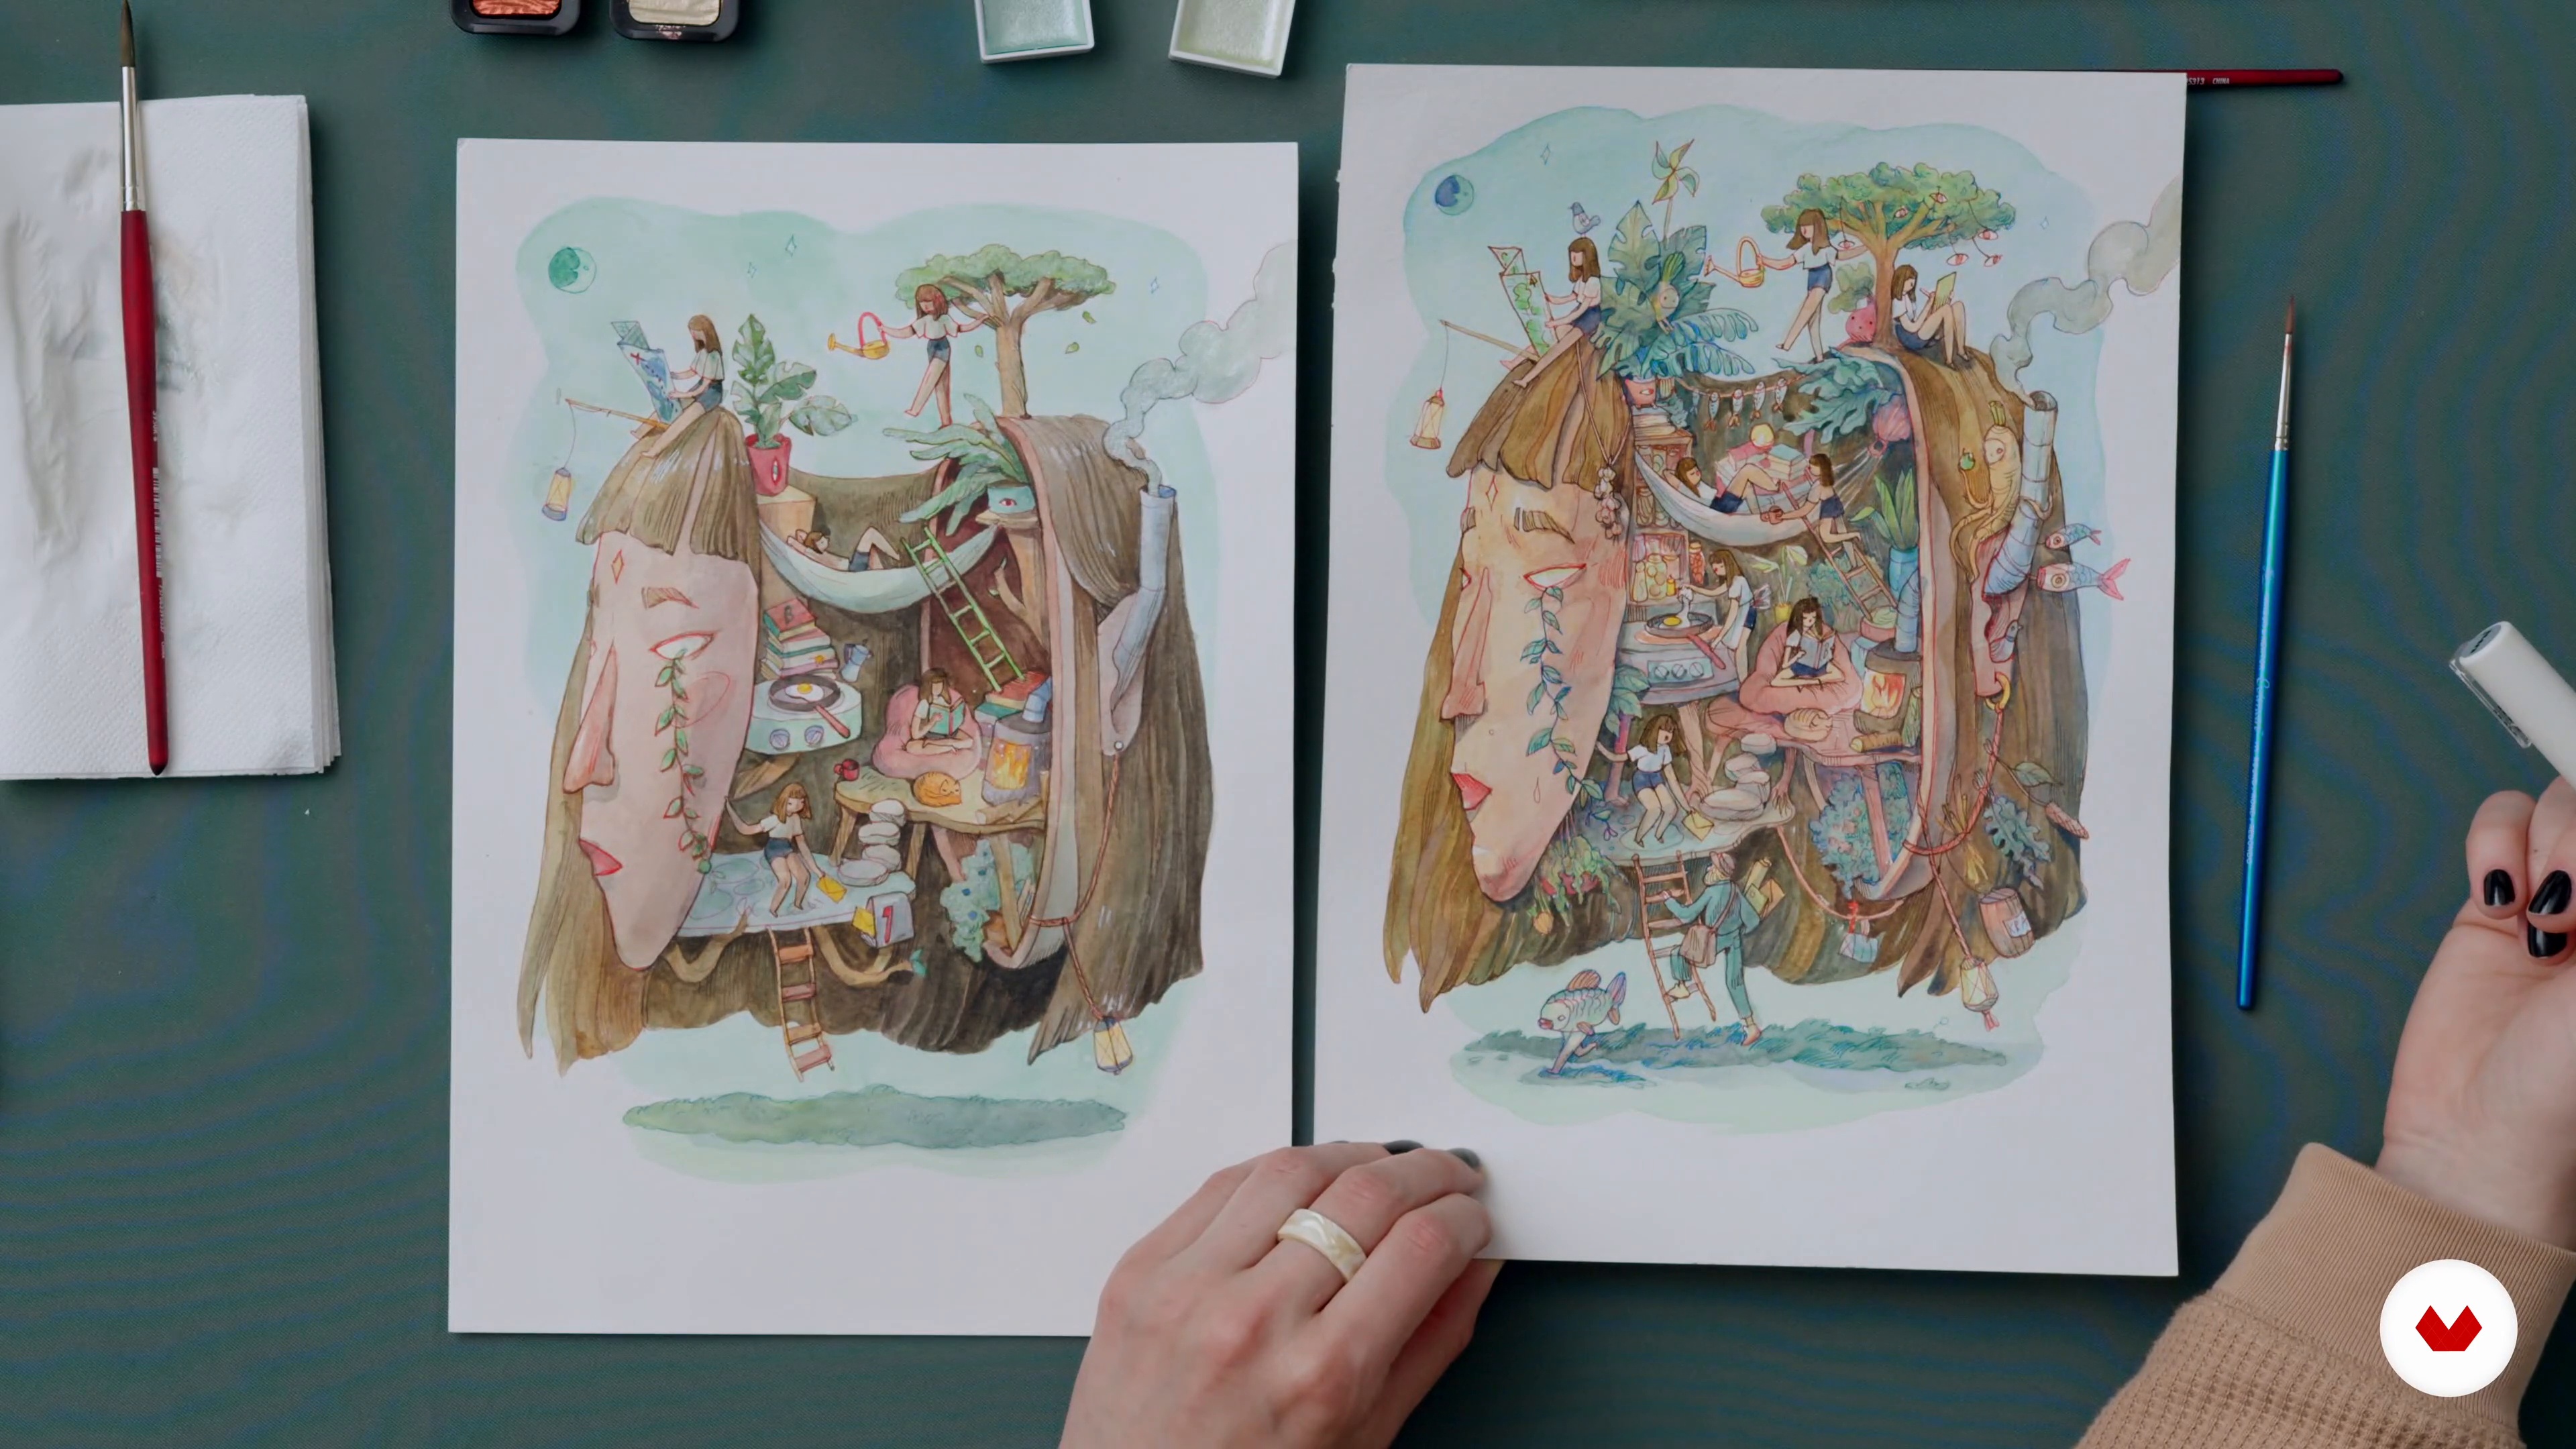
13Additional Watercolour Details 2
Details always matter! That's the reason why I'll show you how to take a final good look at the painting and decide whether you can still improve it by strengthening the shadows or adding more details. I'll also teach you to add colour details with pens.
14m
 14
14The Glitter and Gloss
In this lesson, you'll learn to choose what areas could be highlighted, given texture and appeal, by using gloss varnish, shiny paints and markers. I'll show you how to apply those materials to selected areas carefully, let them dry, and demonstrate the effects.
12m
 15
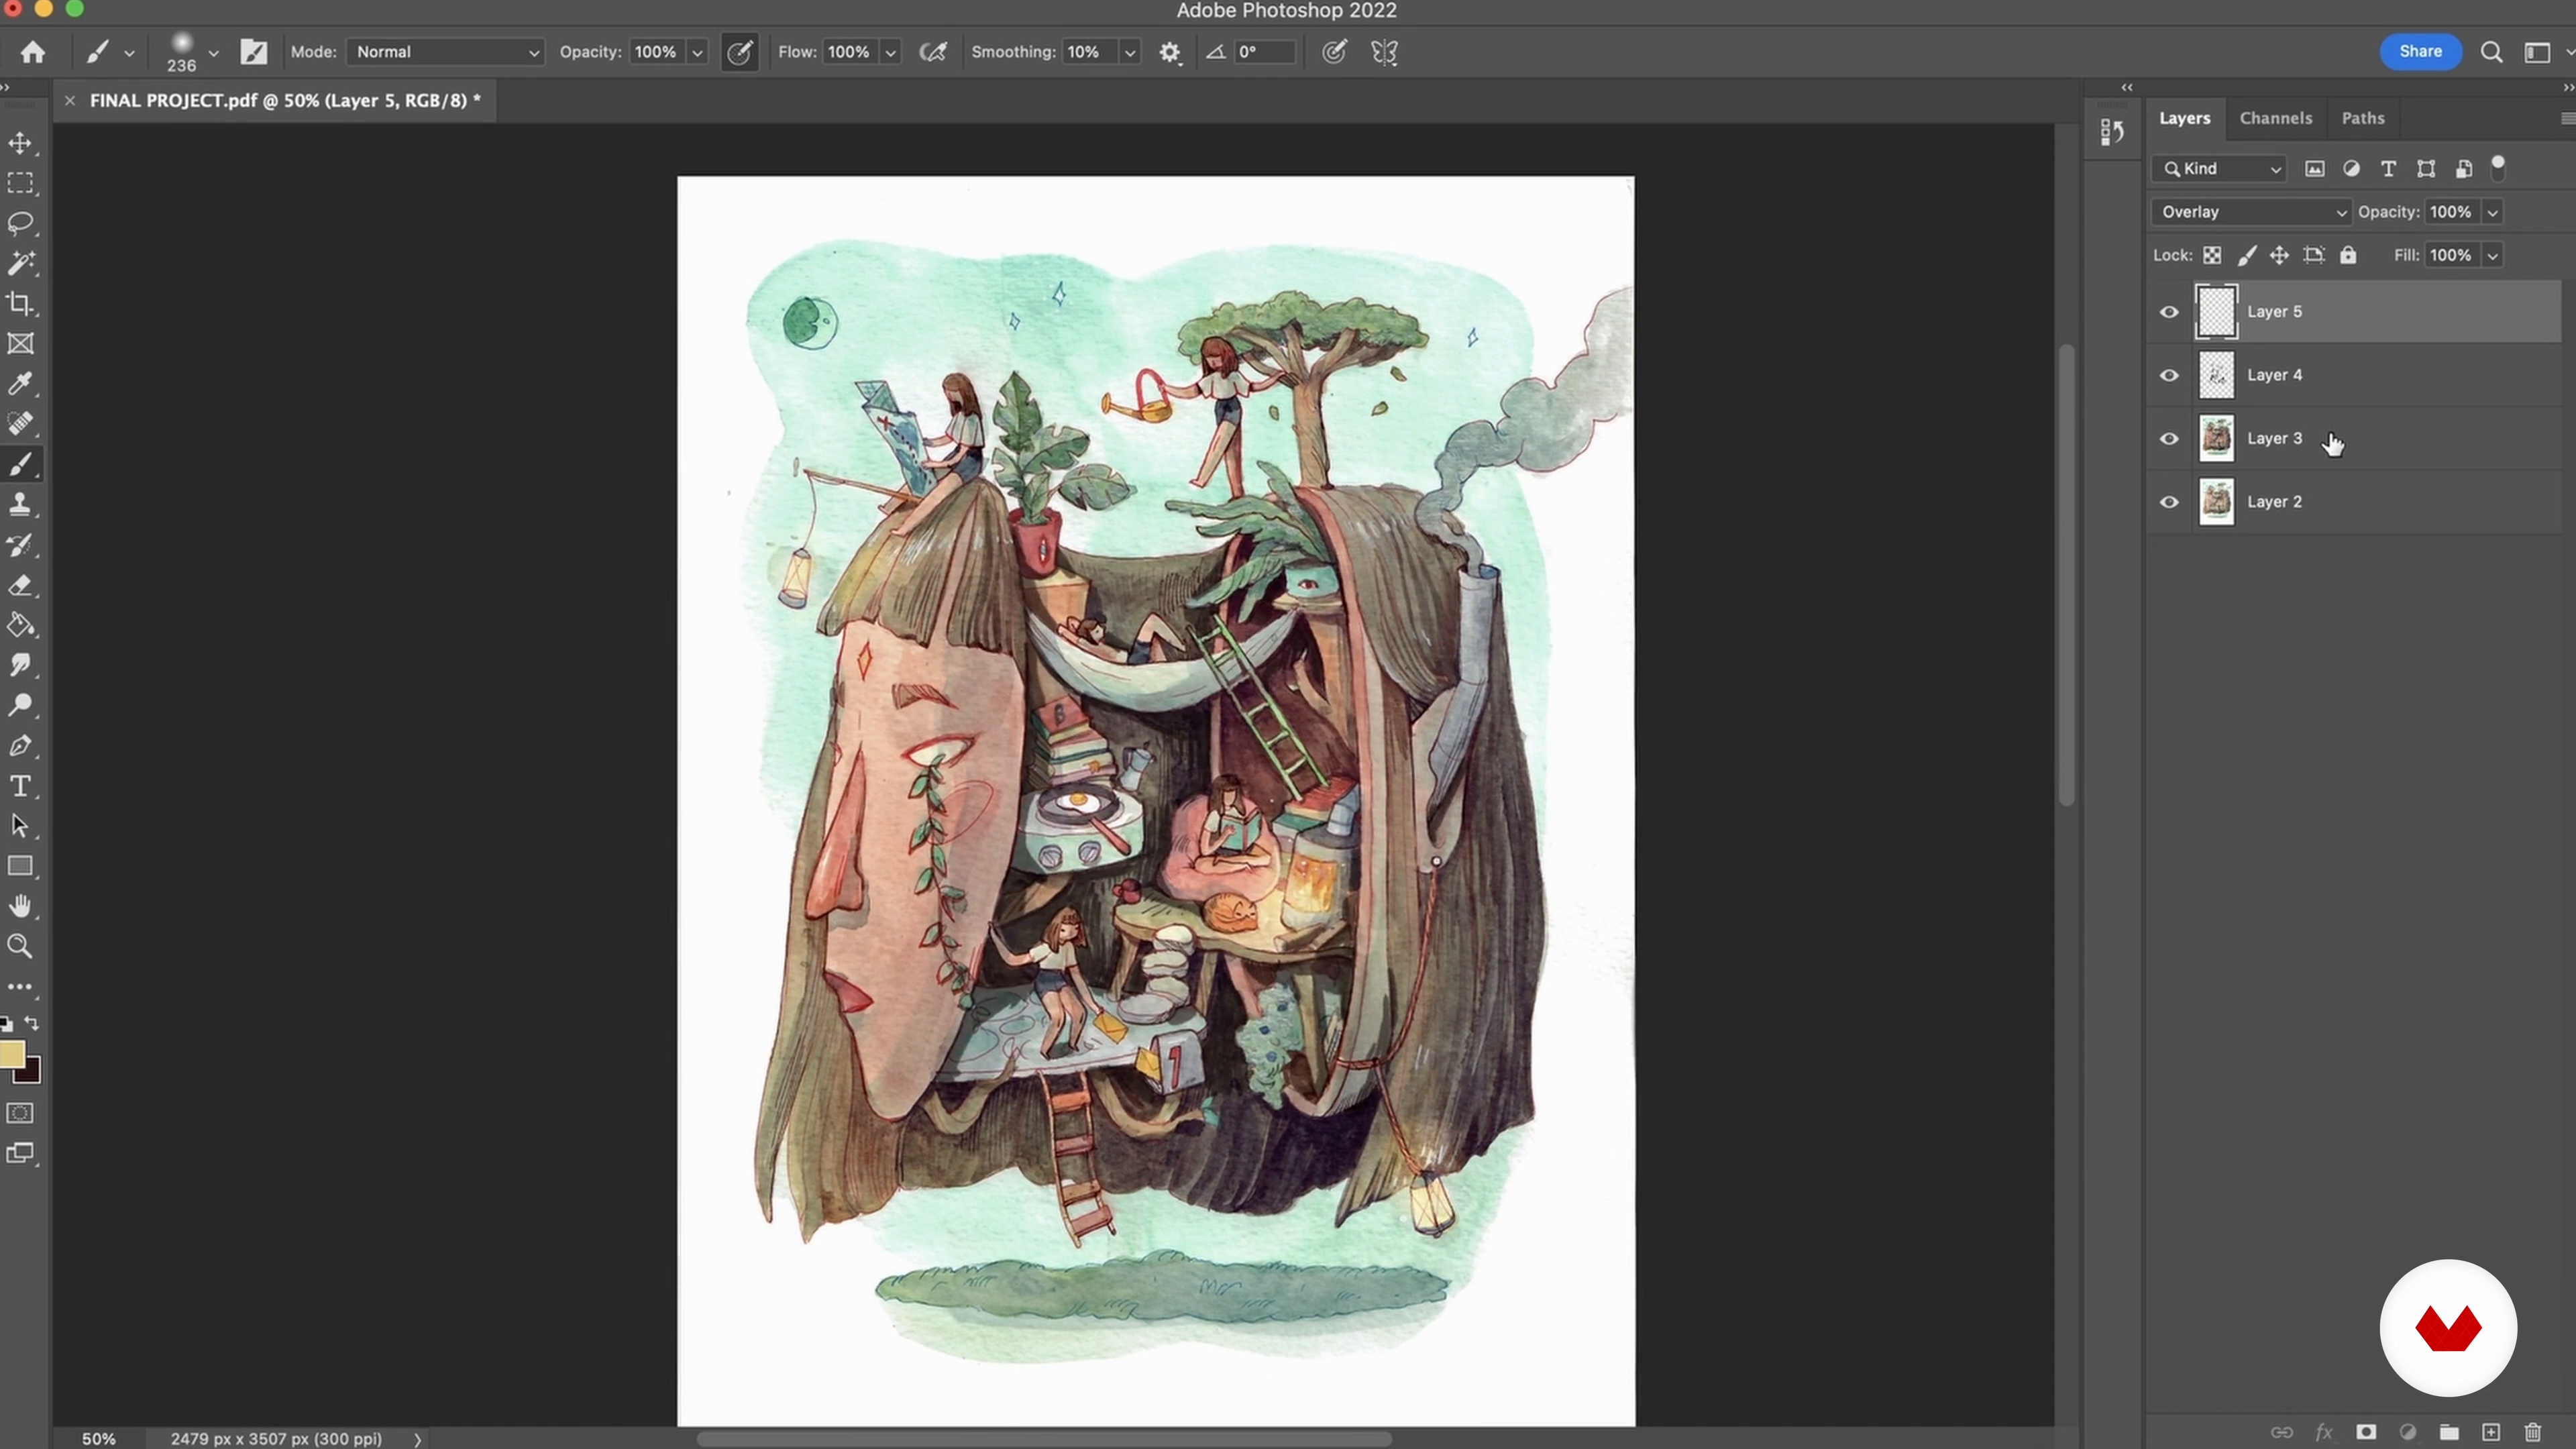
15Scanning and Preparing for Print
I’ll show you my process when creating a digital version of our watercolour portrait. I’ll demonstrate how to clean the scan up in Photoshop. While this step is optional, I often find this stage useful to also remove any marks or tweak the image colour grade.
15m
 3
3What will we do during the course?
In this Domestika course, you will learn the pictorial concepts of volume through oil on canvas on canvas for the elaboration of a surrealist work. The idea is that through the course exercises, you can progressively progress. Likewise, I must emphasize that, like all artistic activity, perseverance and discipline will be fundamental. Success!
1m
 4
4Character creation part 1
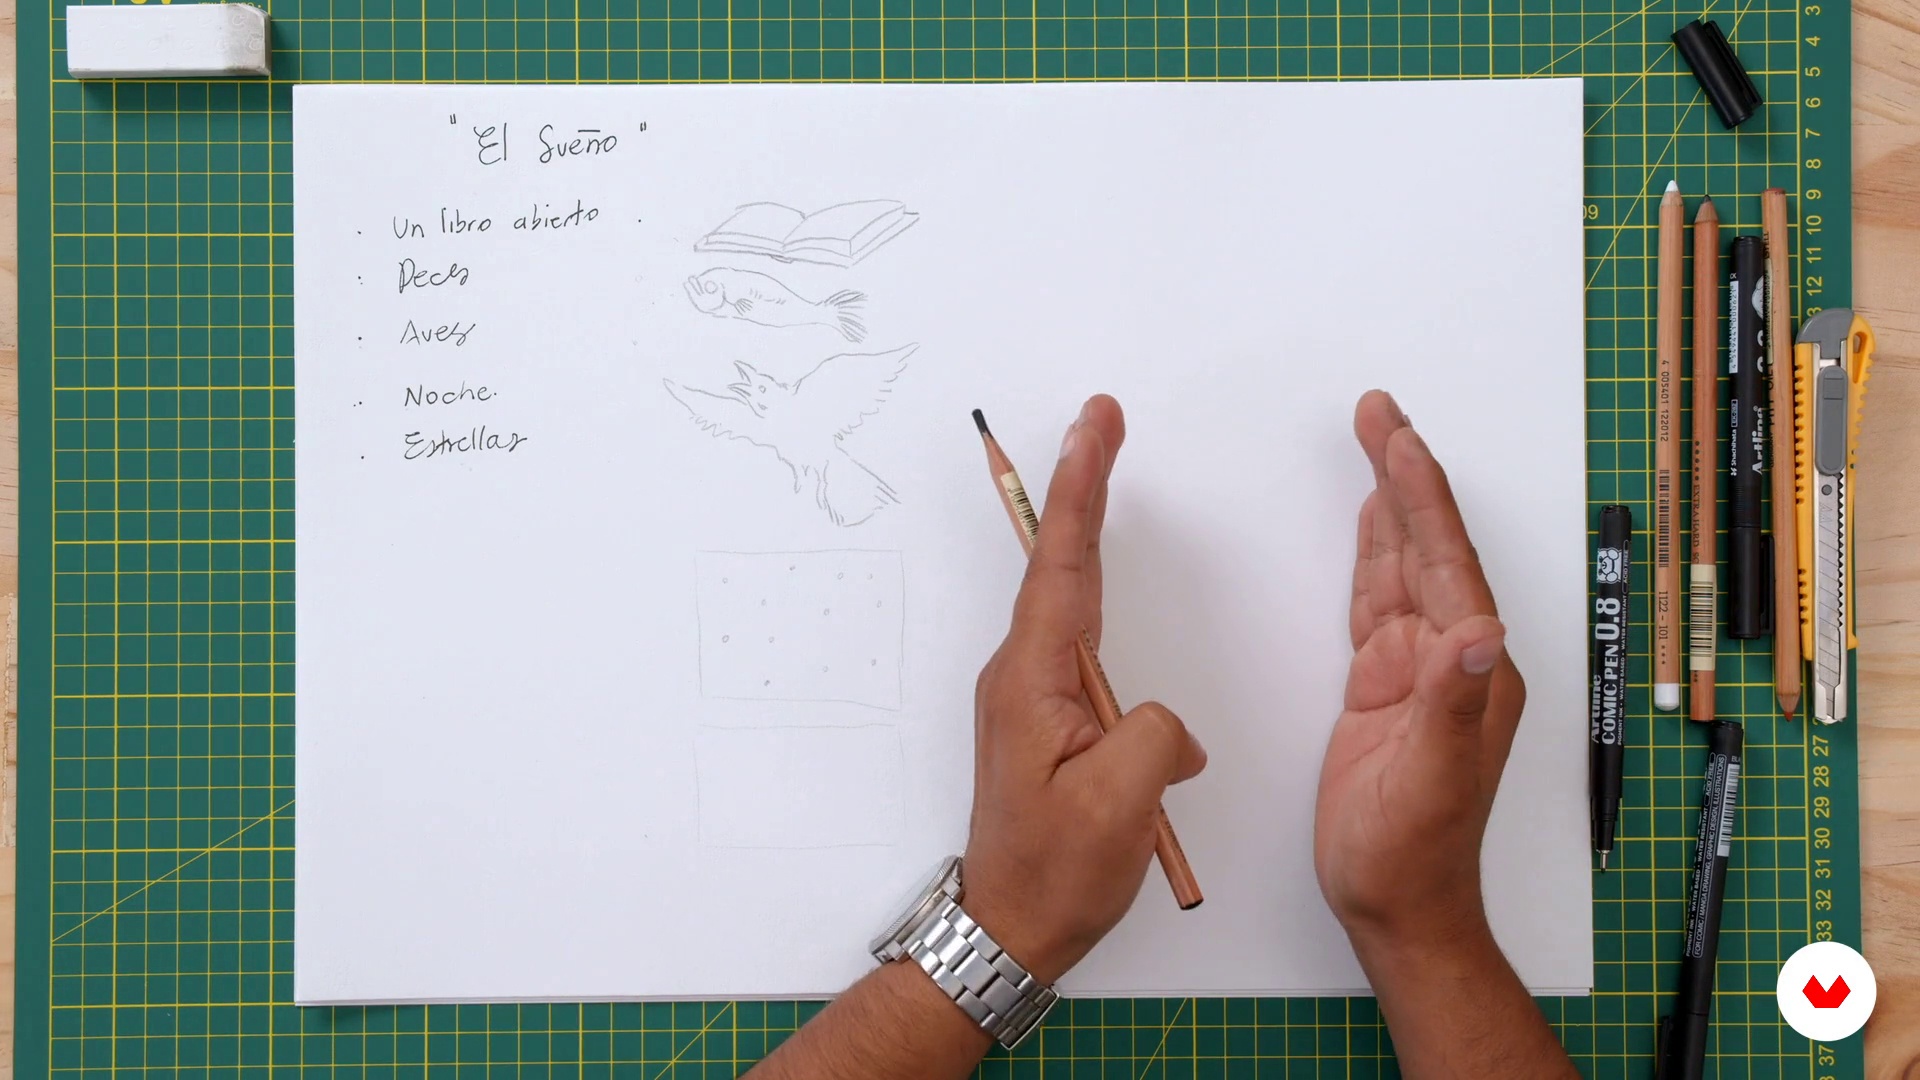
In this lesson I will teach you the method I recommend to objectively capture our free creation. First, choose a topic of interest, whatever you should be sure that it is to your liking and predilection.
11m
 5
5Character creation part 2
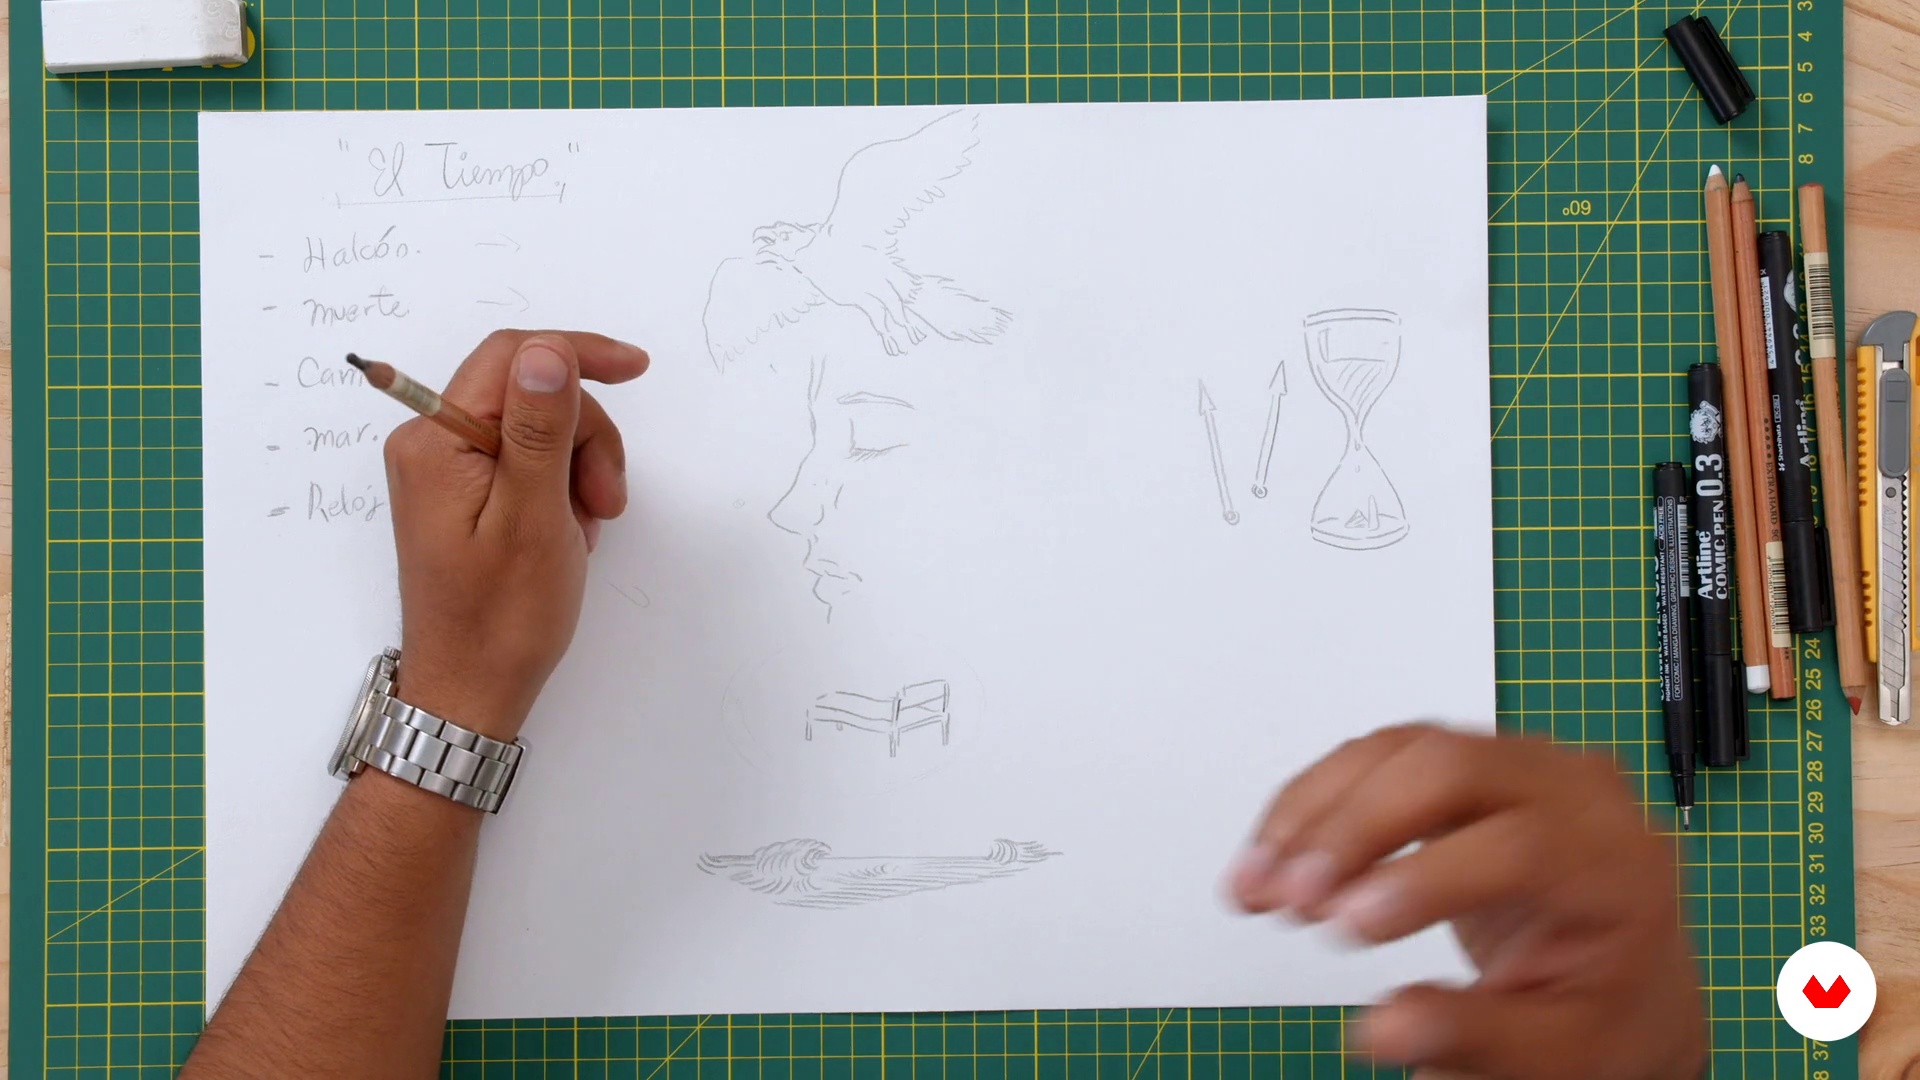
It can also be something that worries or disturbs you constantly, maybe some memory, dream, nightmare, fear or anxiety you have in mind. Whatever this is, we will land it on a theme and turn it into elements. It is necessary to review the references I postulated at the beginning and study their characters, to realize what elements they added to create these works.
10m
 6
6Surreal character
In this second lesson, we will continue working on our main character, which is a hybrid of all the objects that we have each defined.
13m
 7
7Stage Construction
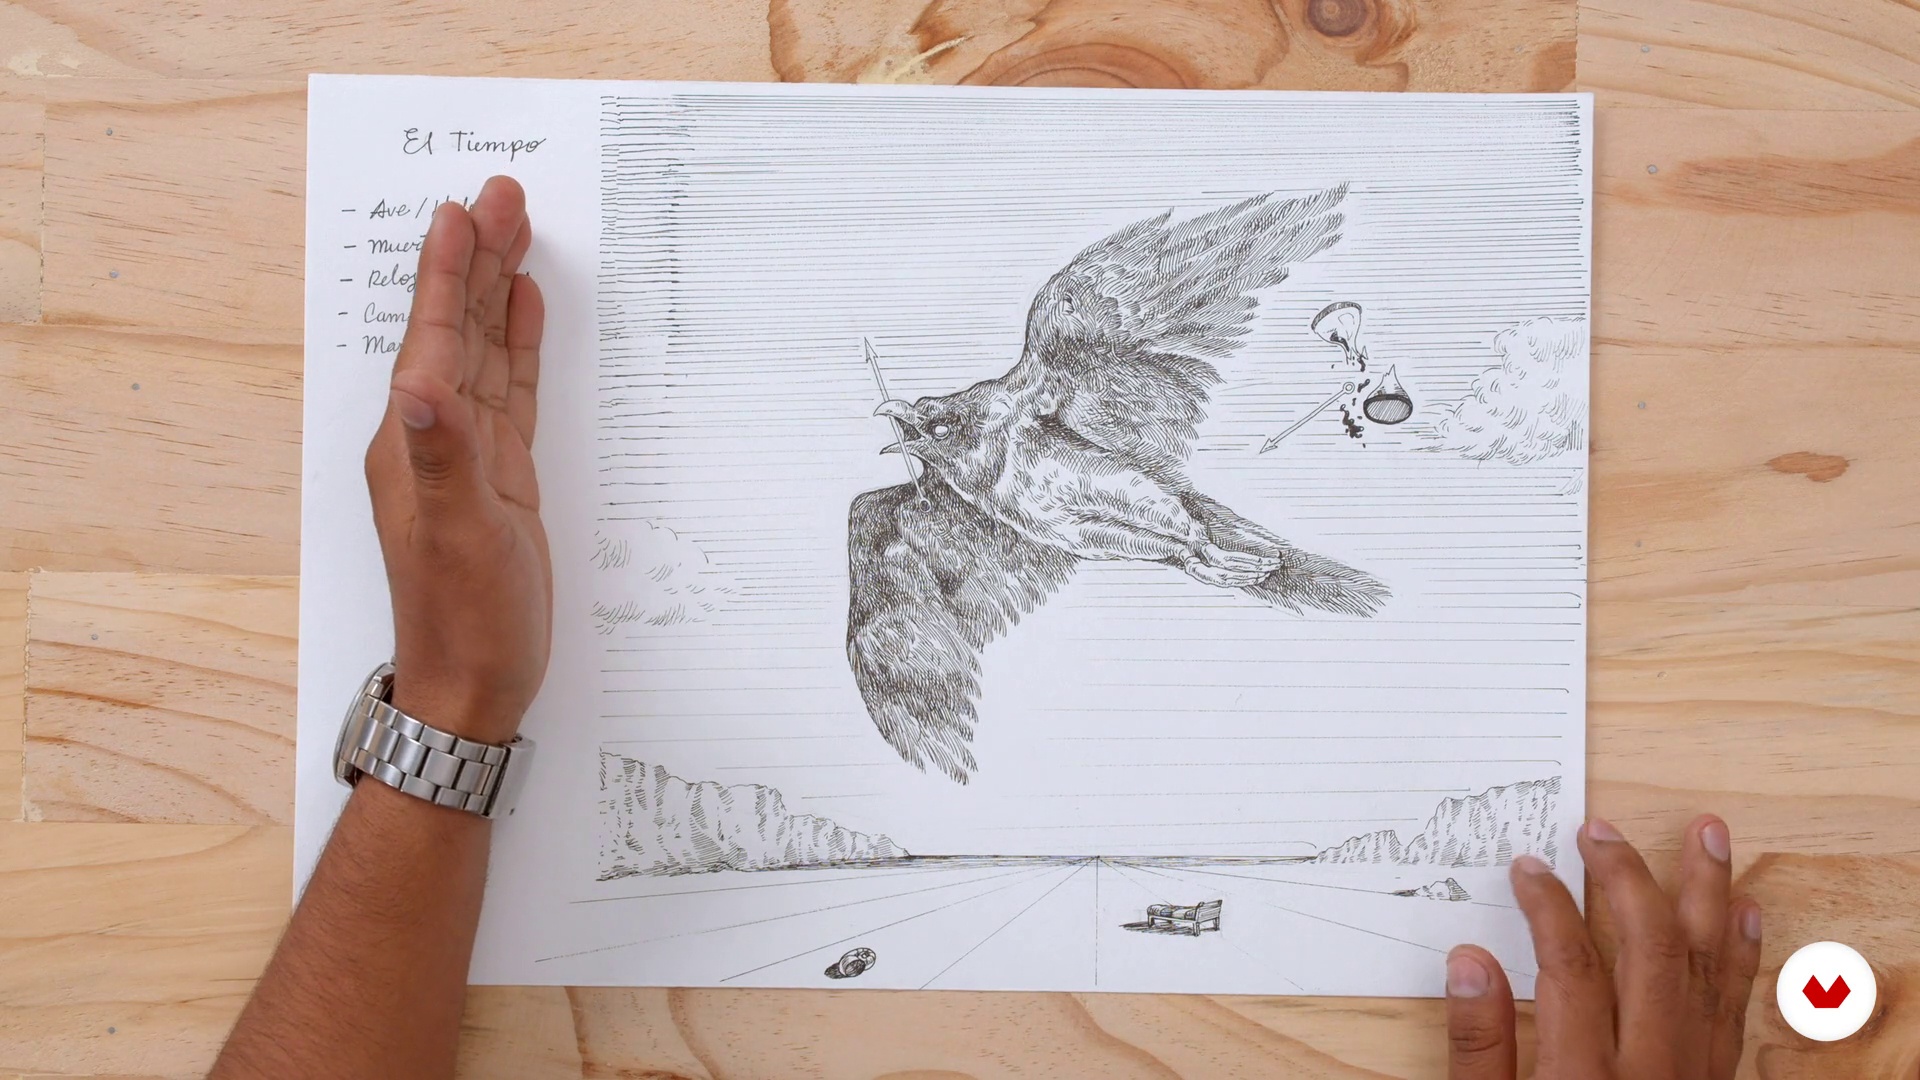
In this lesson we will delve into the construction of the surreal scenario and how it relates directly to the main character. Remember that here is a moment of choice based on the characters outlined: which of the five elements can provide us with a panorama or relationship with space?
8m
 8
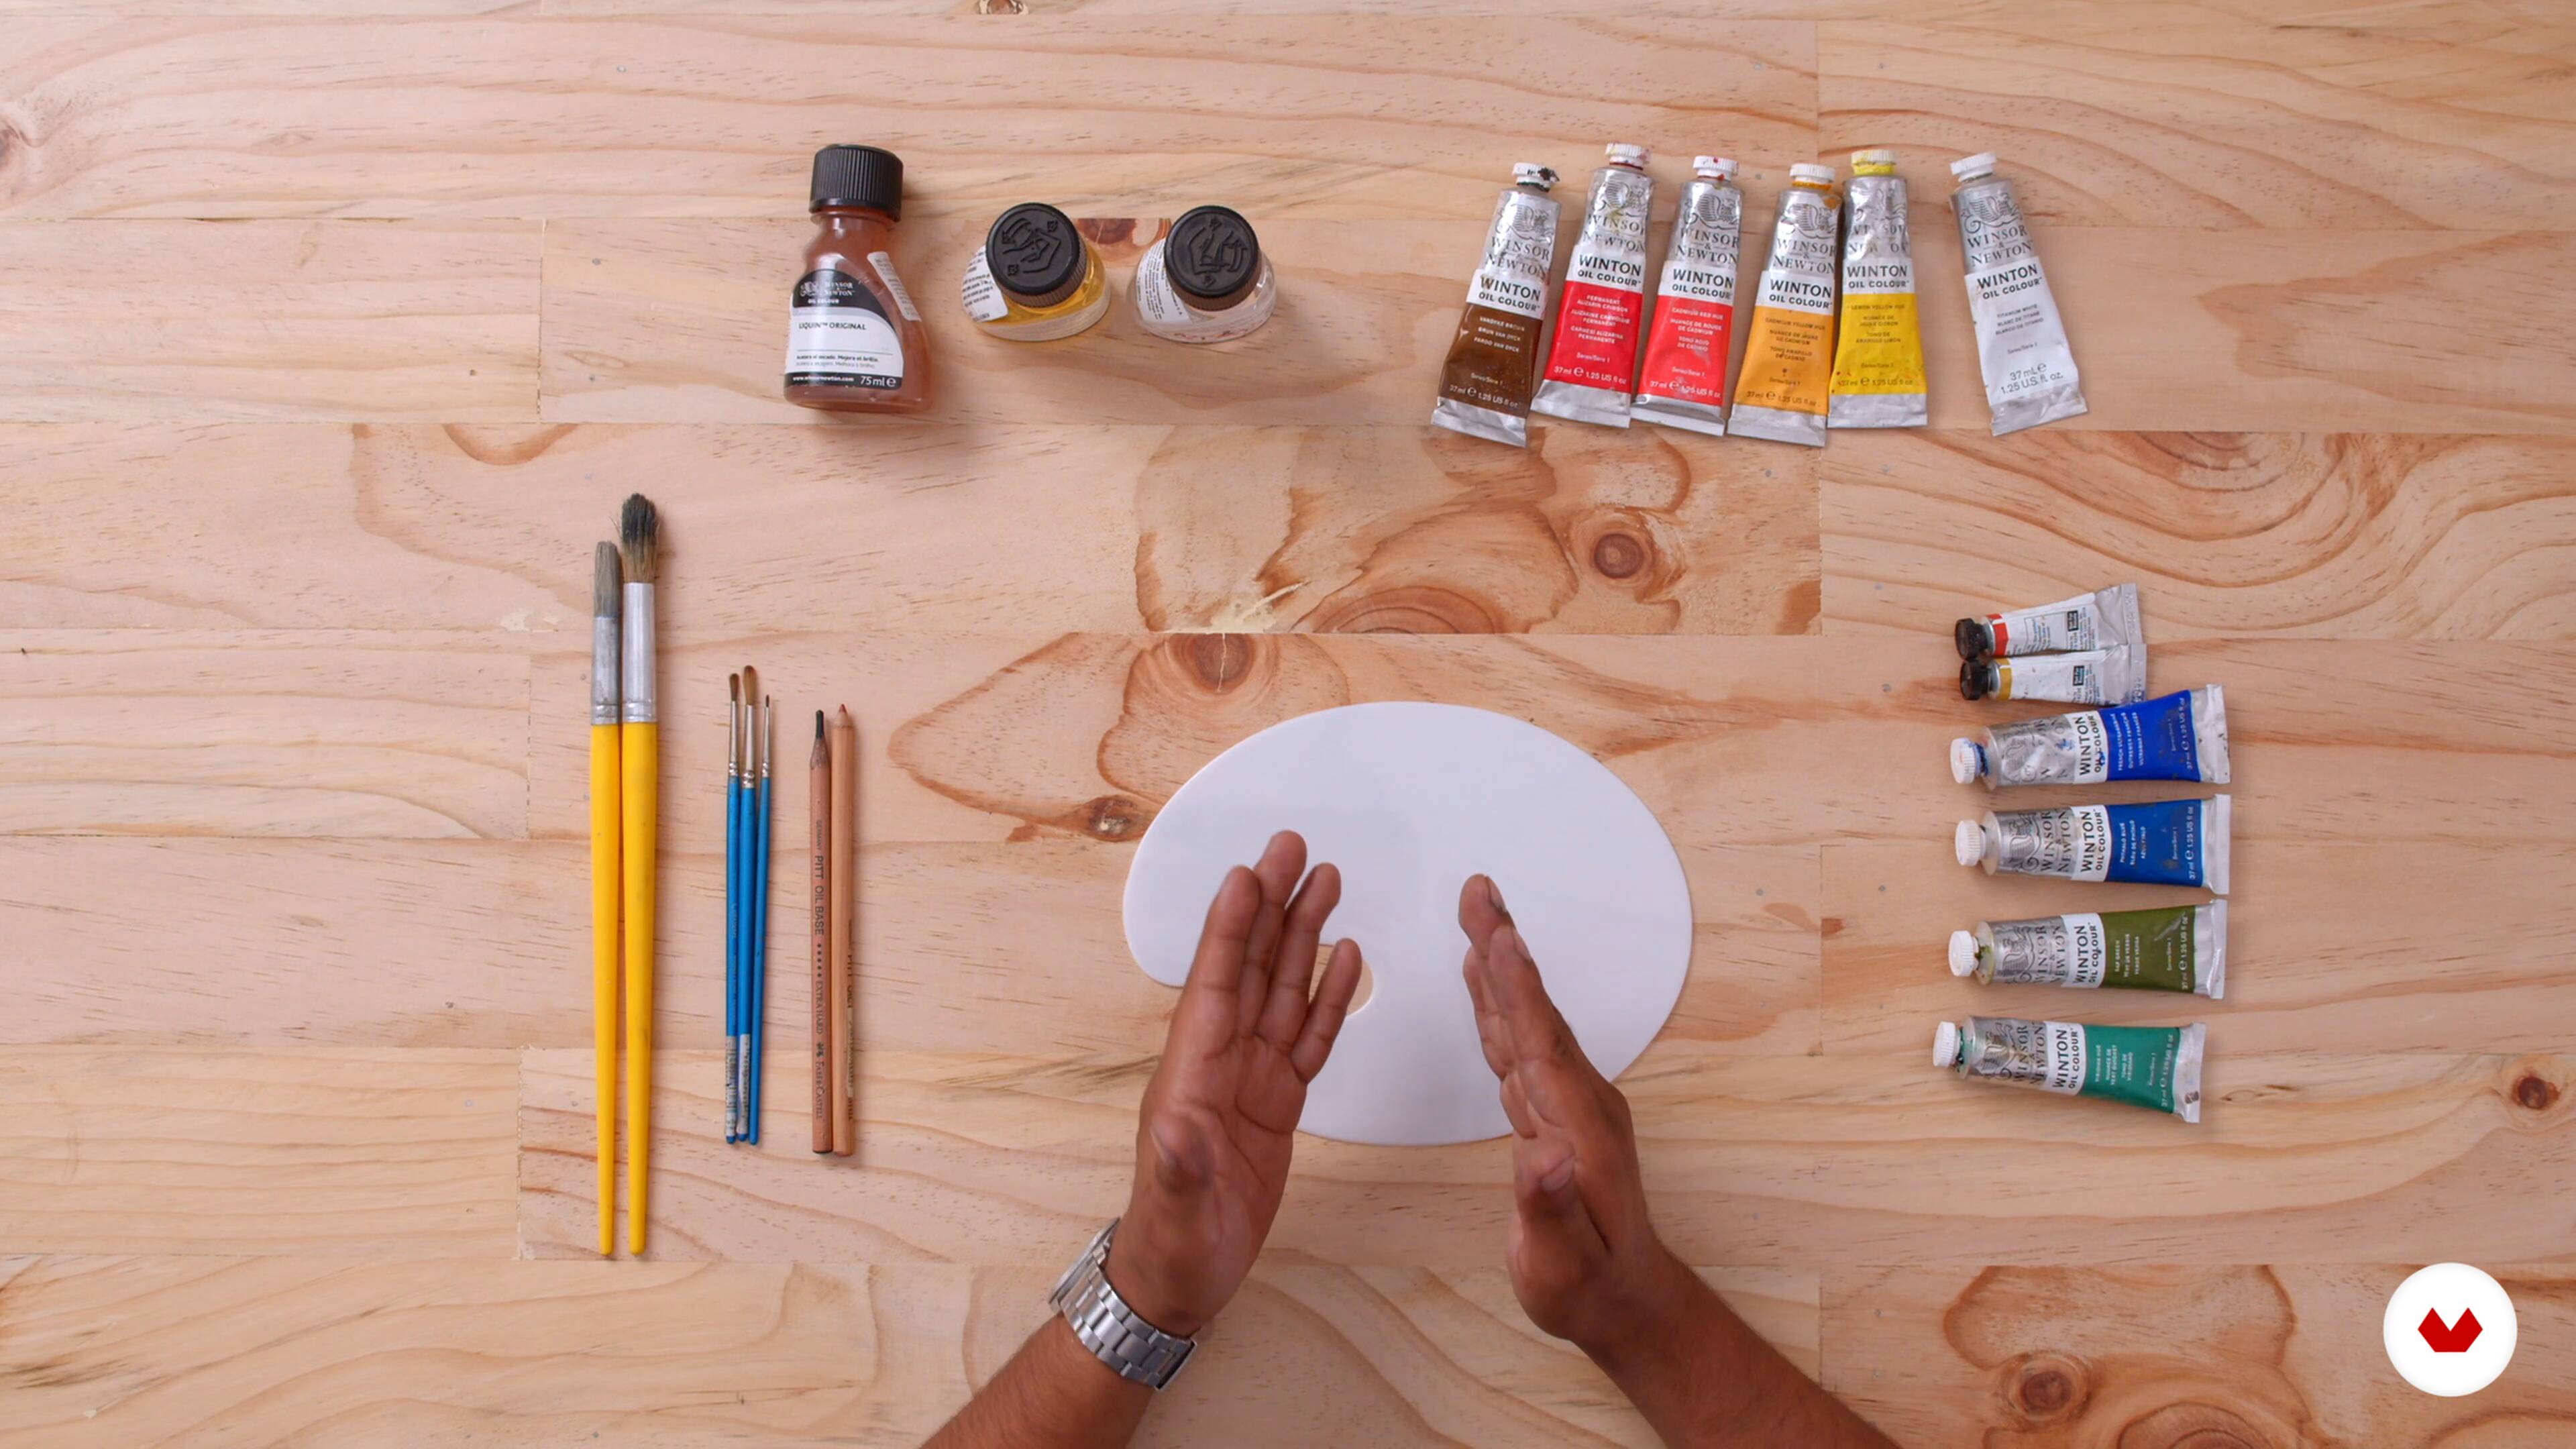
8Use of pictorial tools
In this lesson we will turn to using the technical tools to be able to advance methodically.
6m
 9
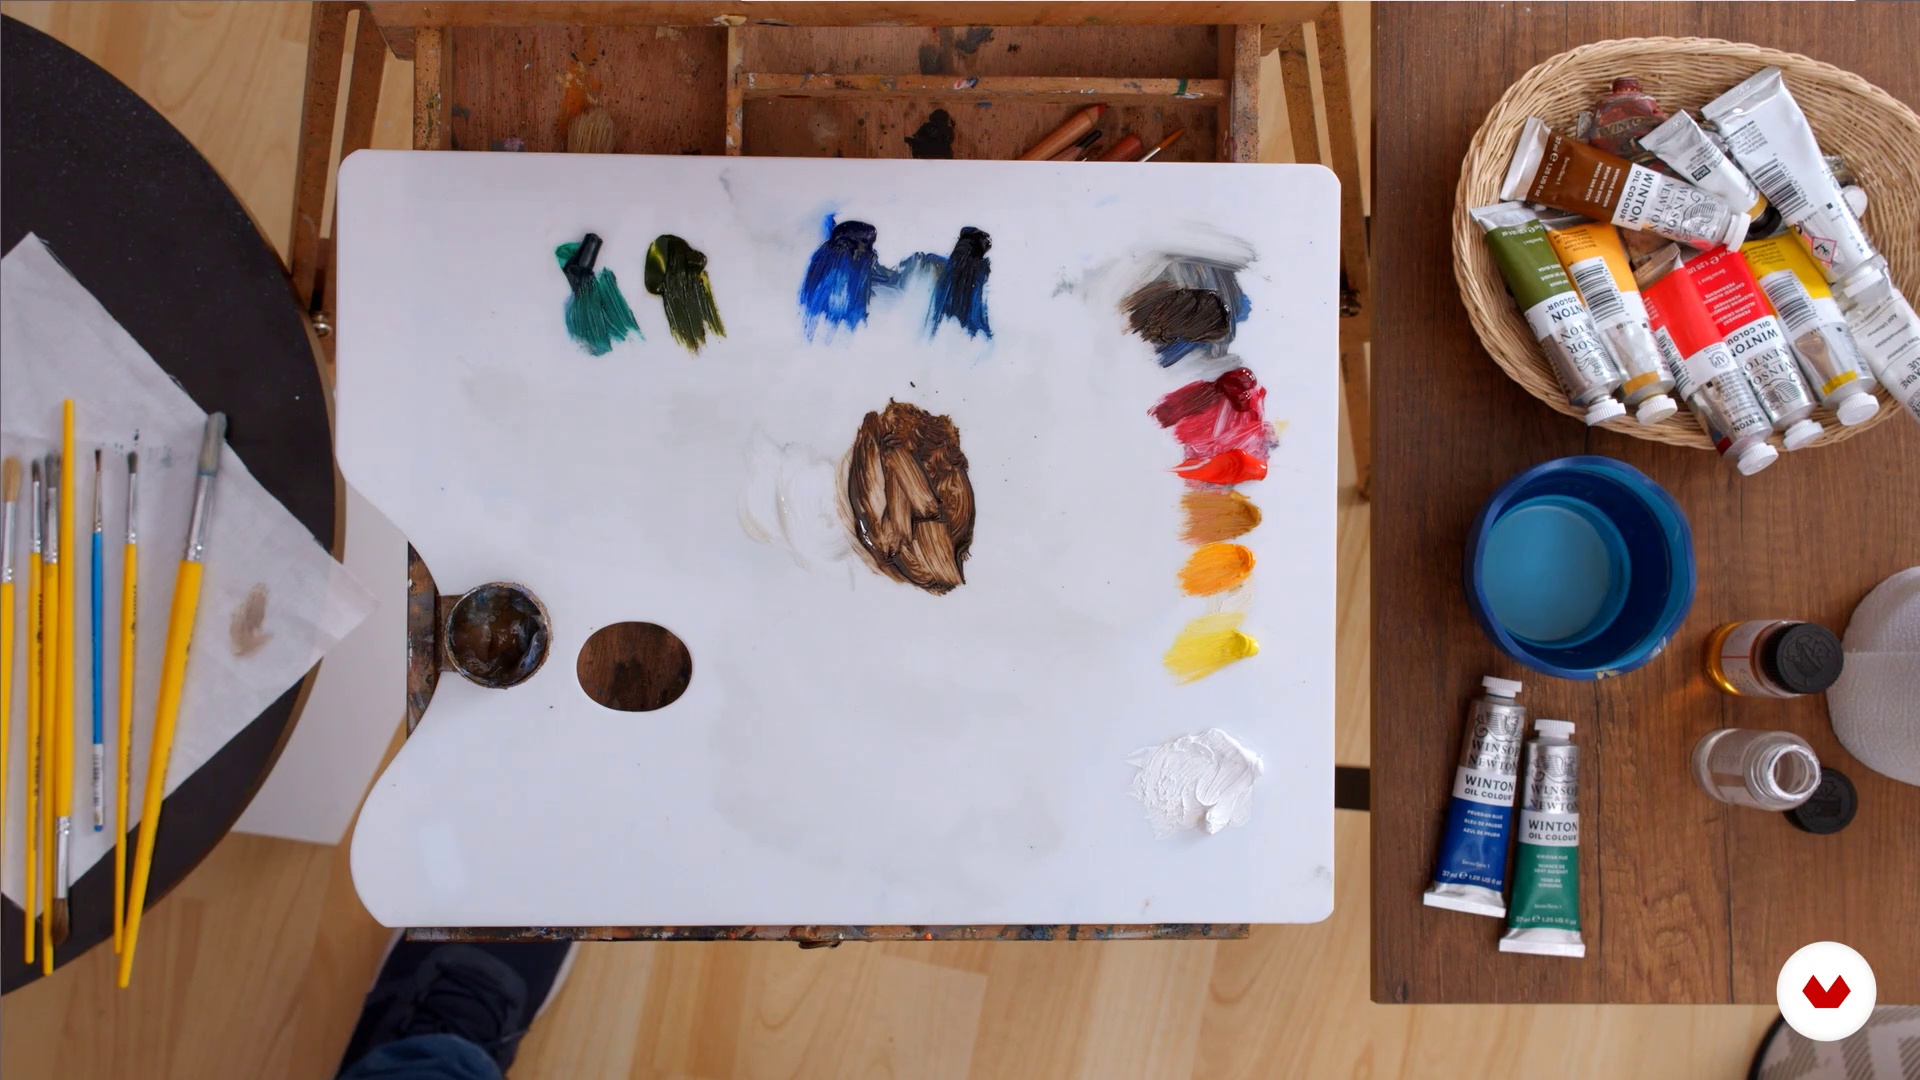
9Tone Identification
In this lesson I will begin to give you the drawing patterns through the shades.
6m
 10
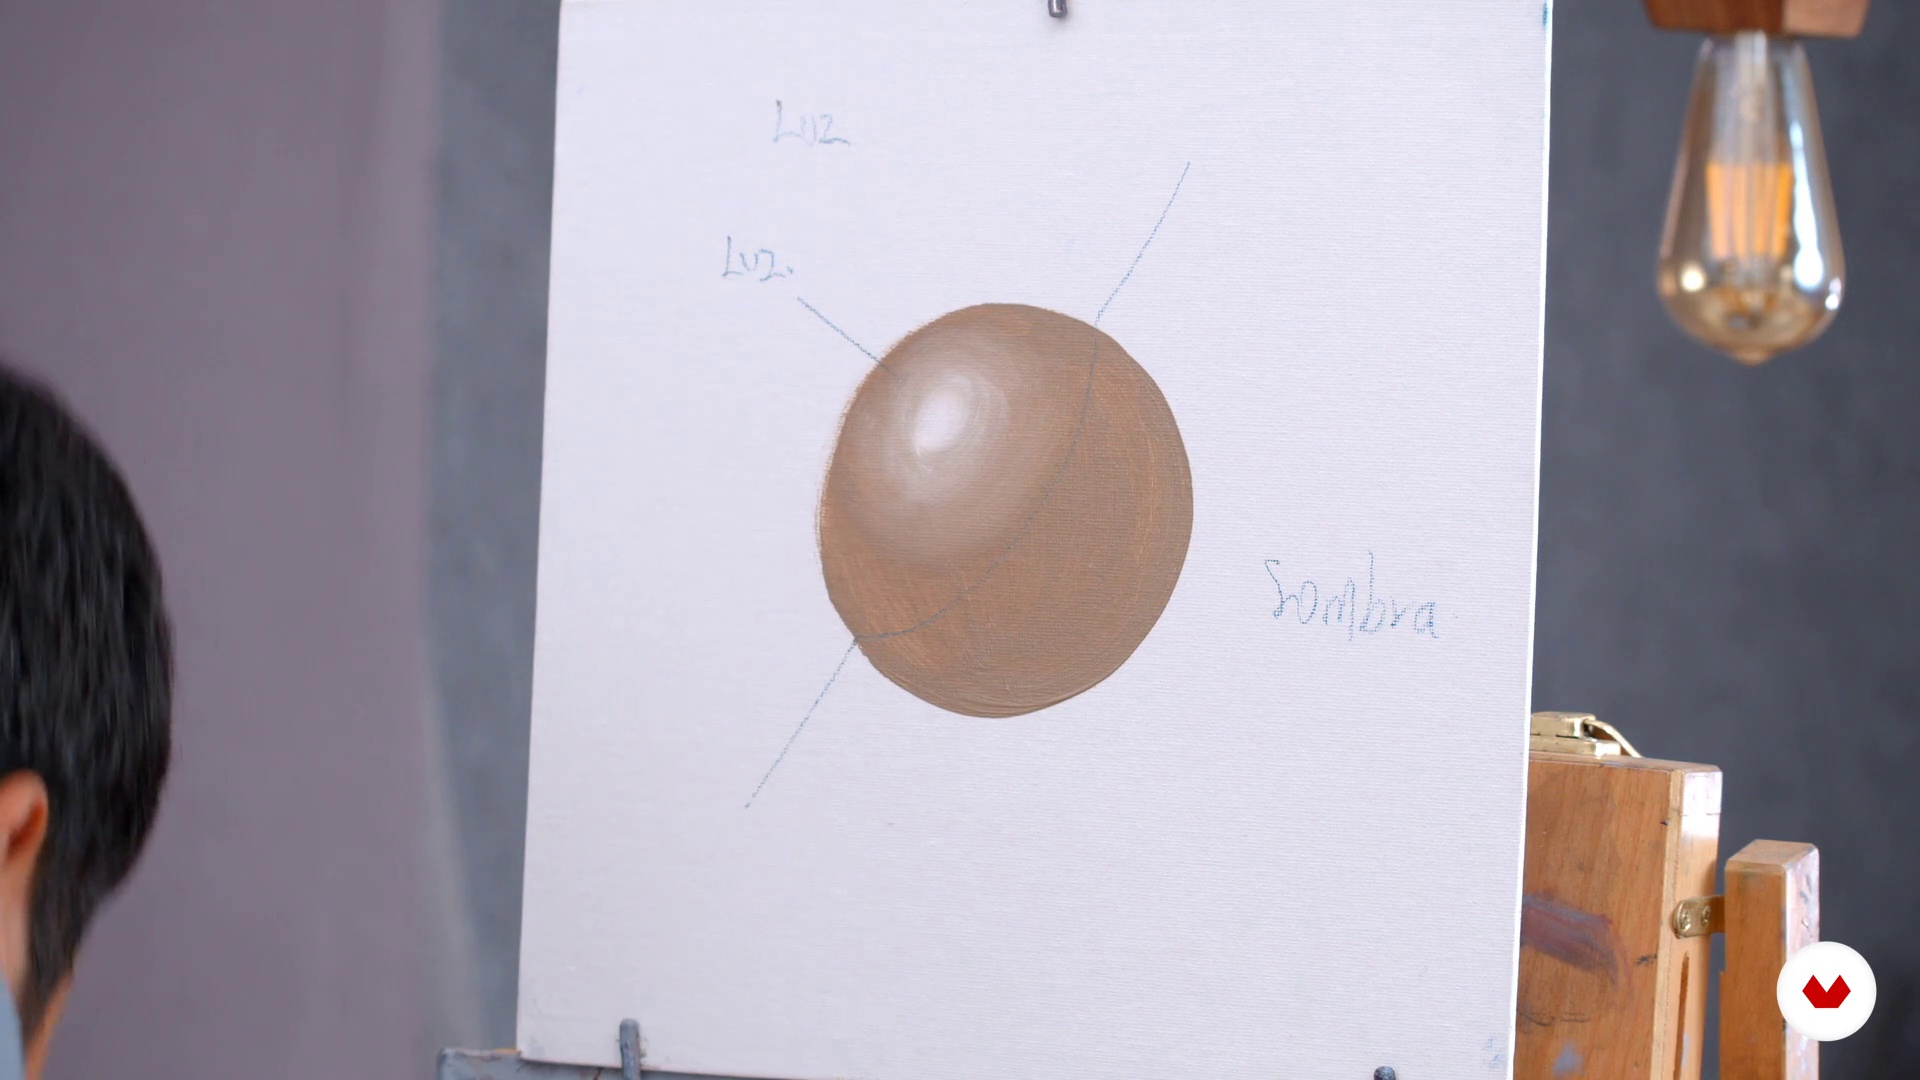
10The volume through monochronous drawing
In this lesson you will learn to draw with volume by following the steps you will have to put into constant practice.
9m
 11
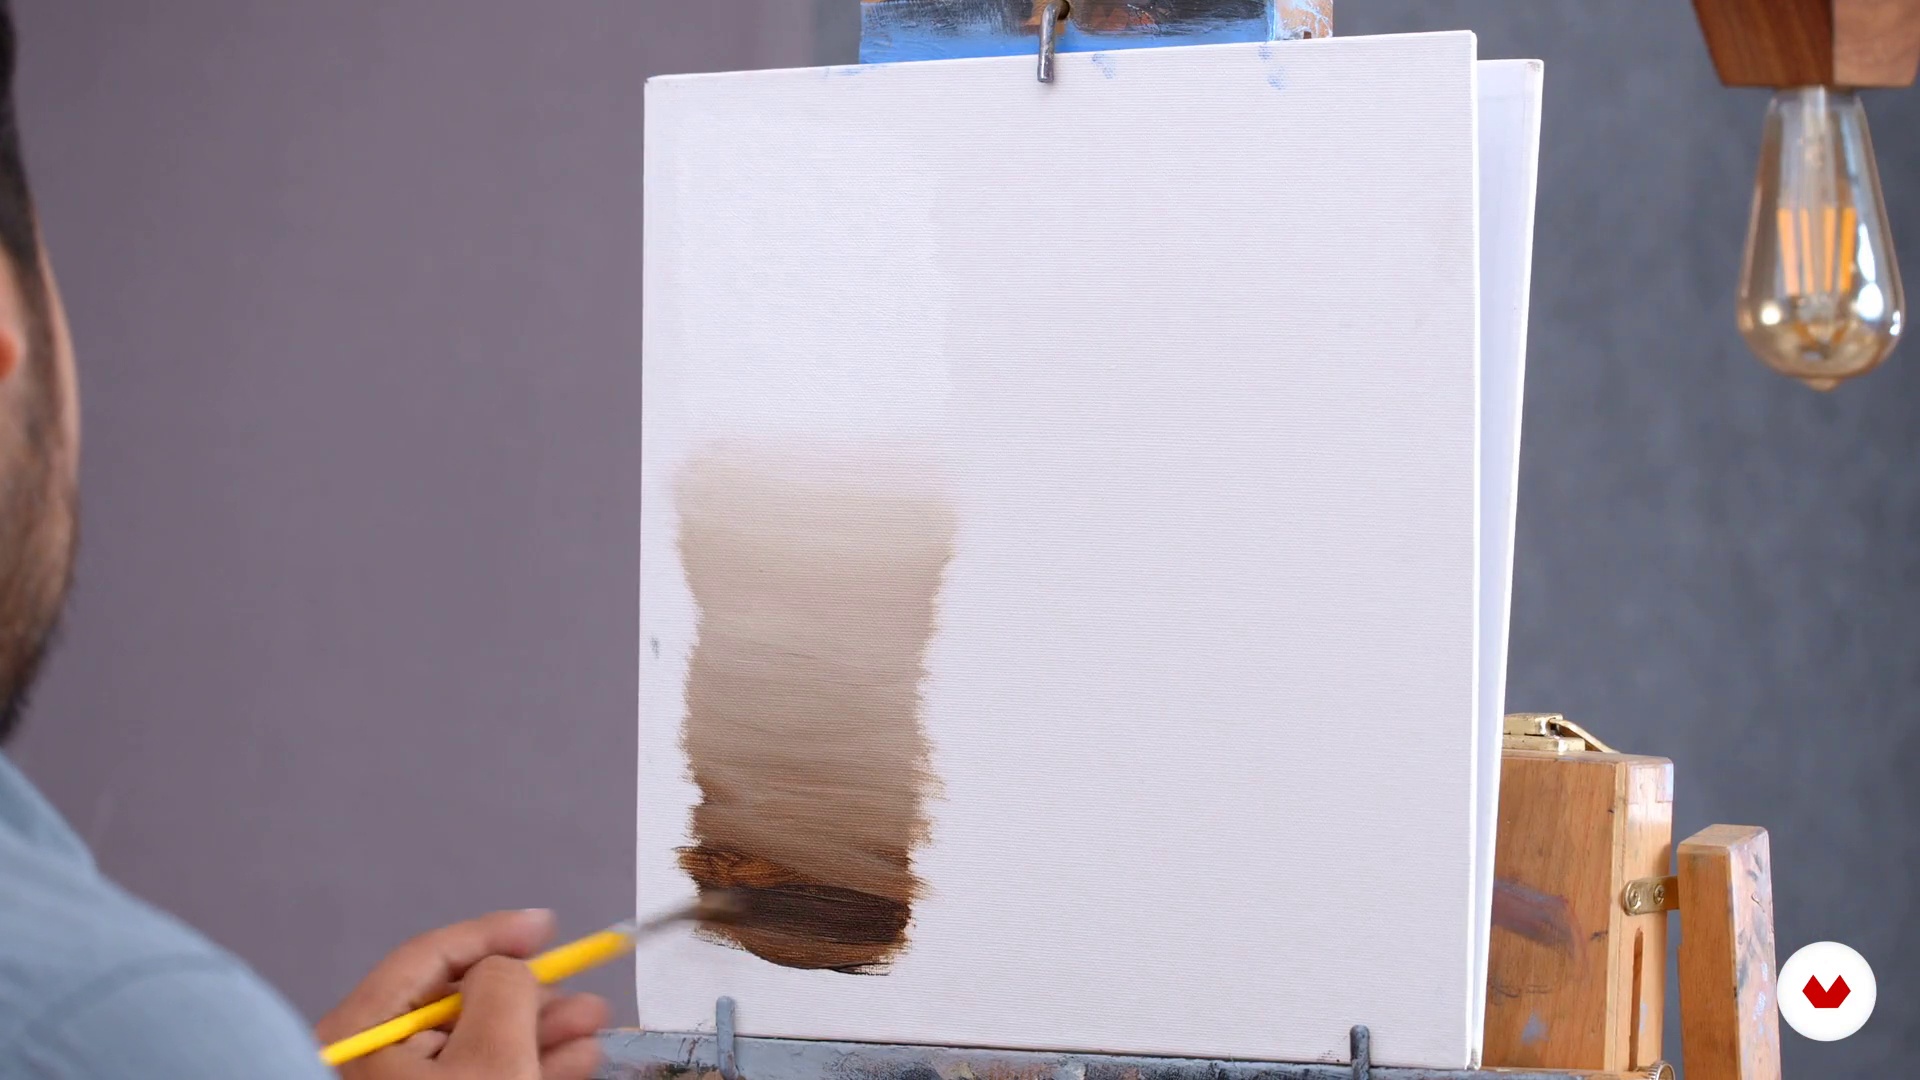
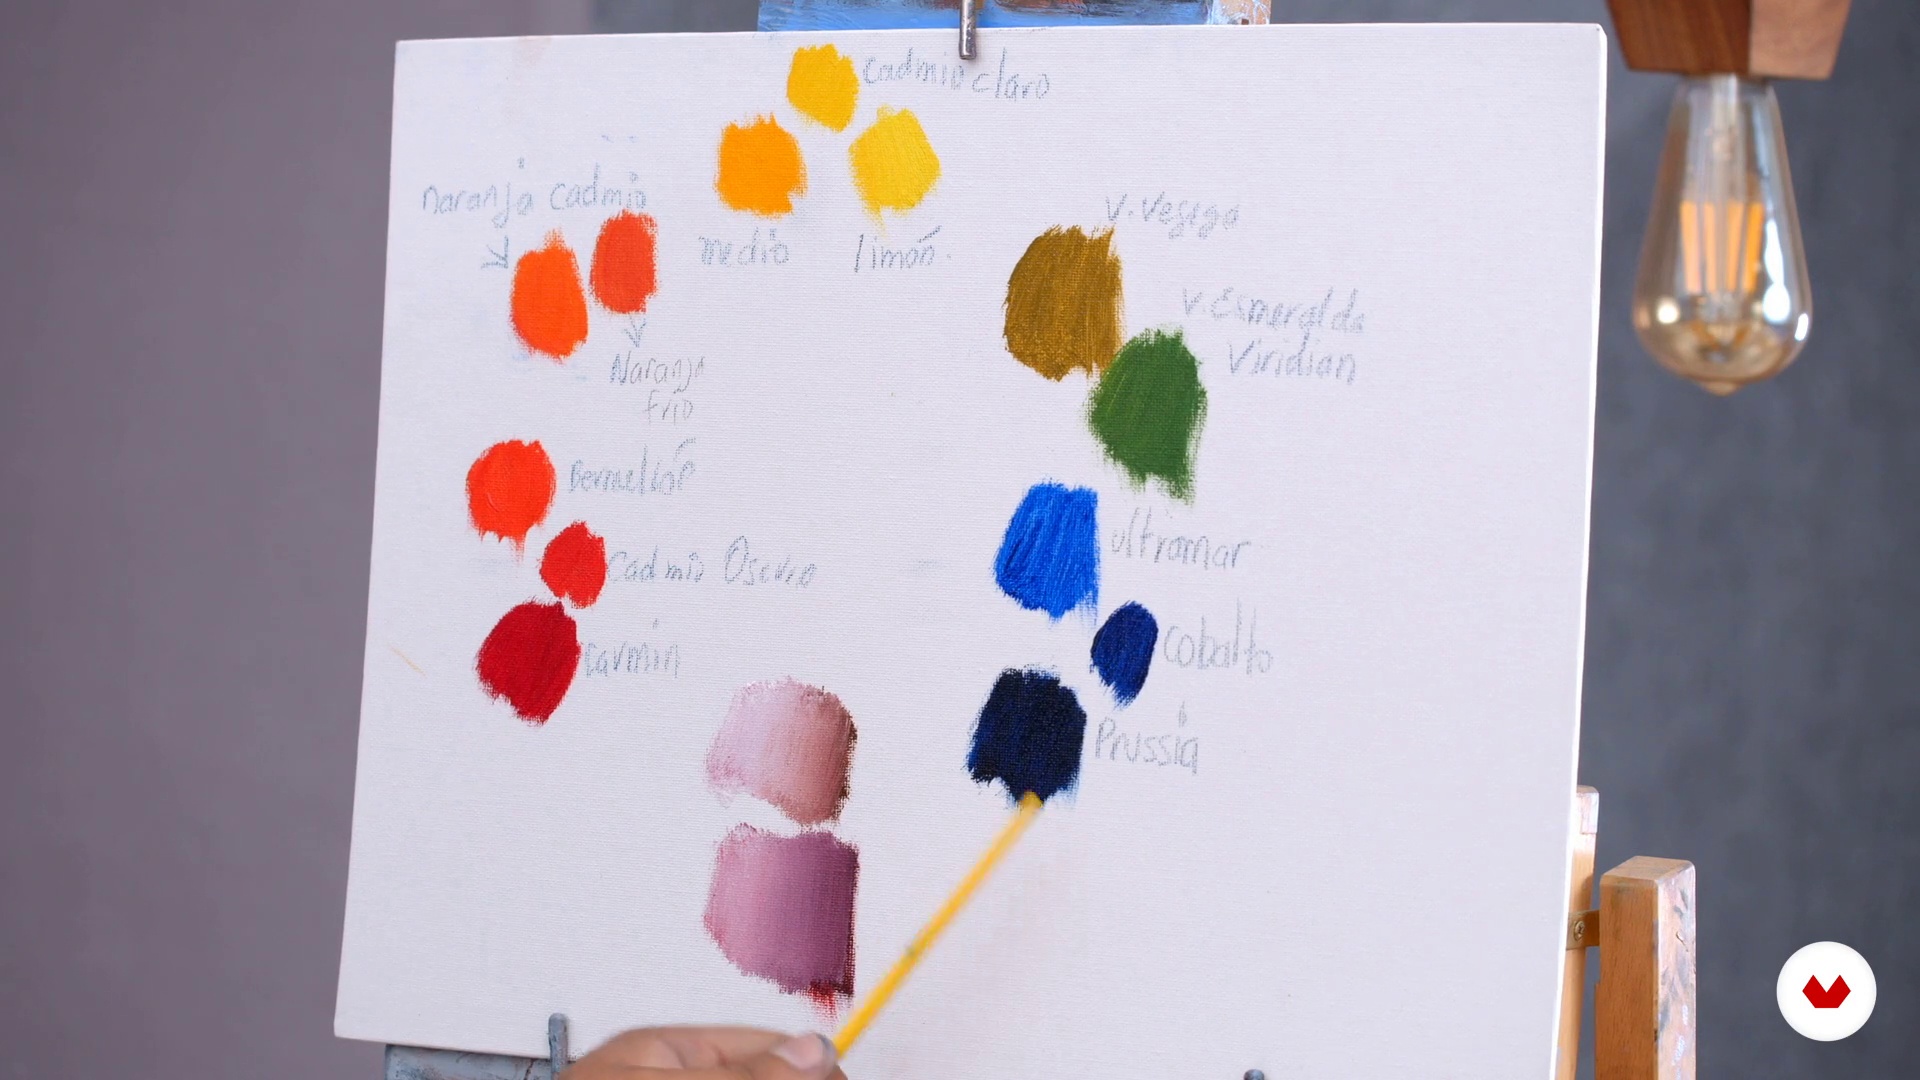
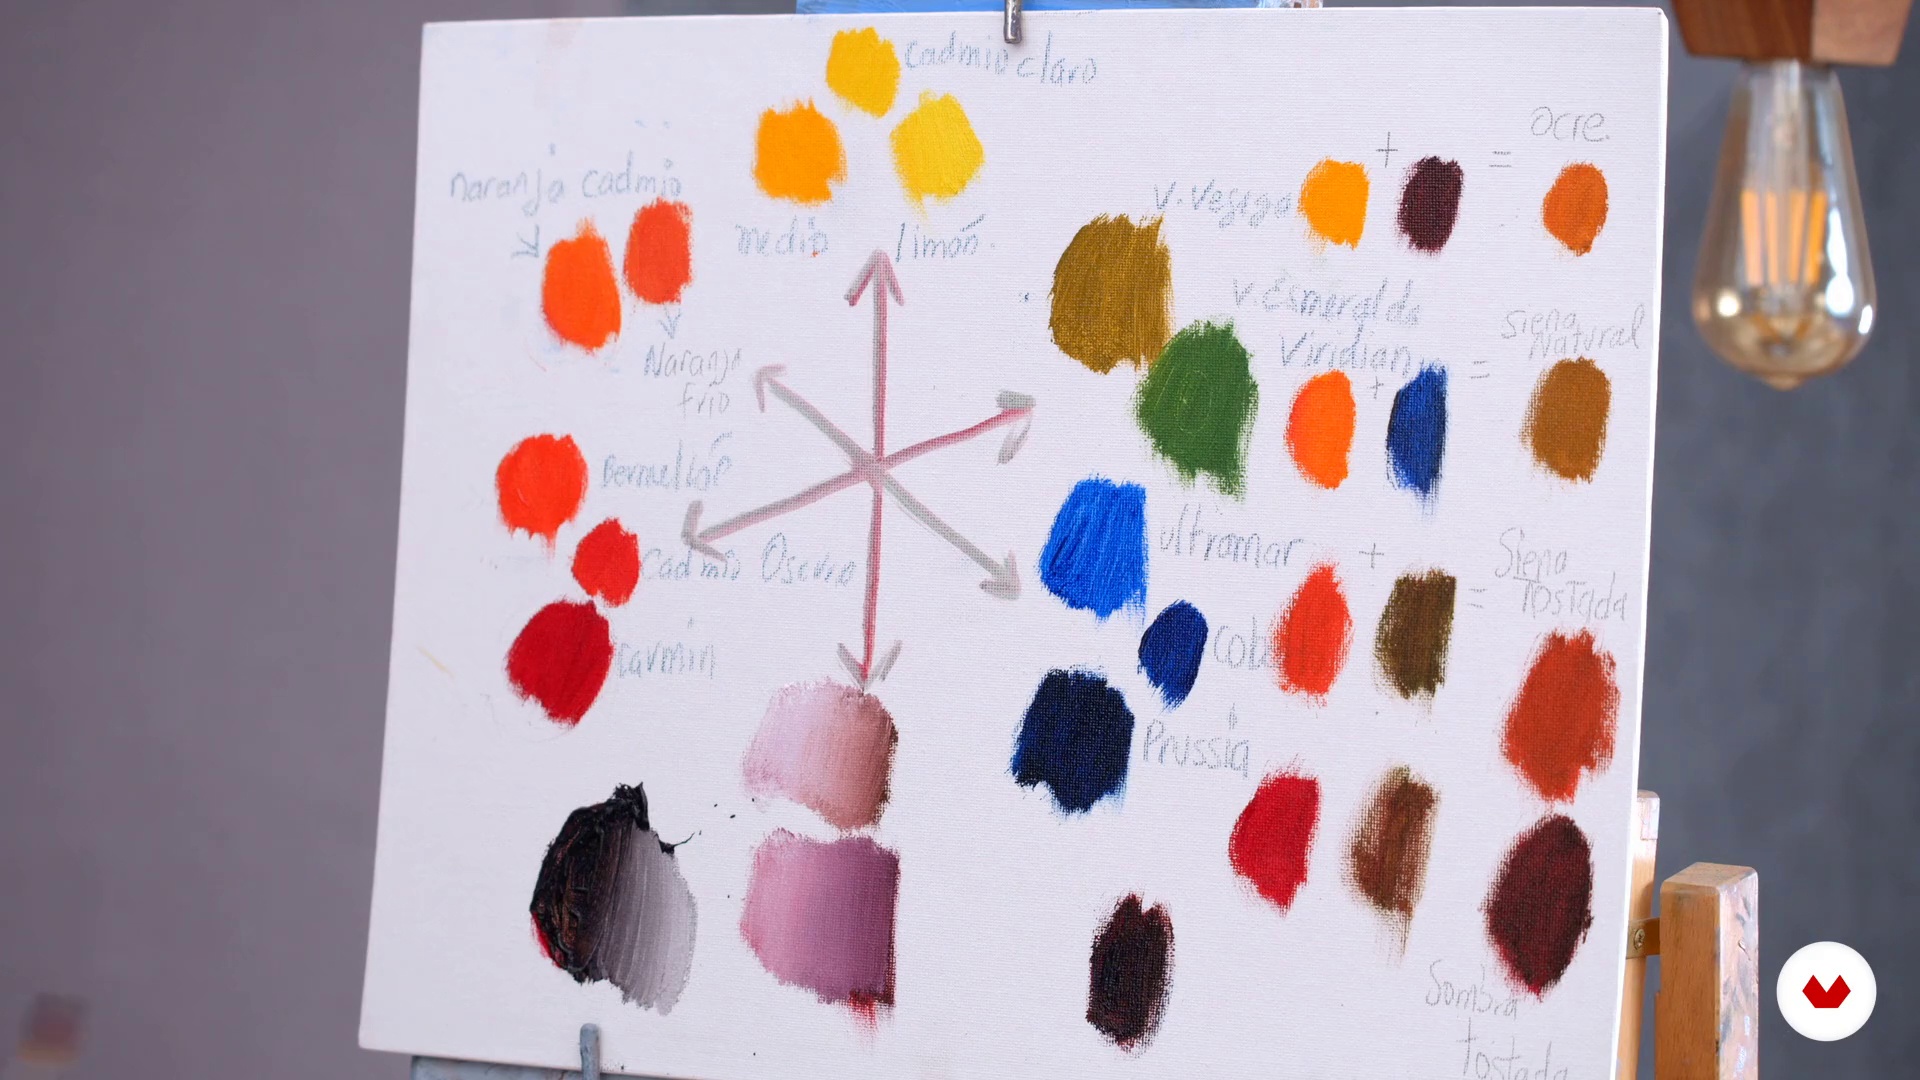
11Color theory applied to oil part 1
In this lesson you will learn to use and recognize pictorial materials, correct use and methods.
12m
 12
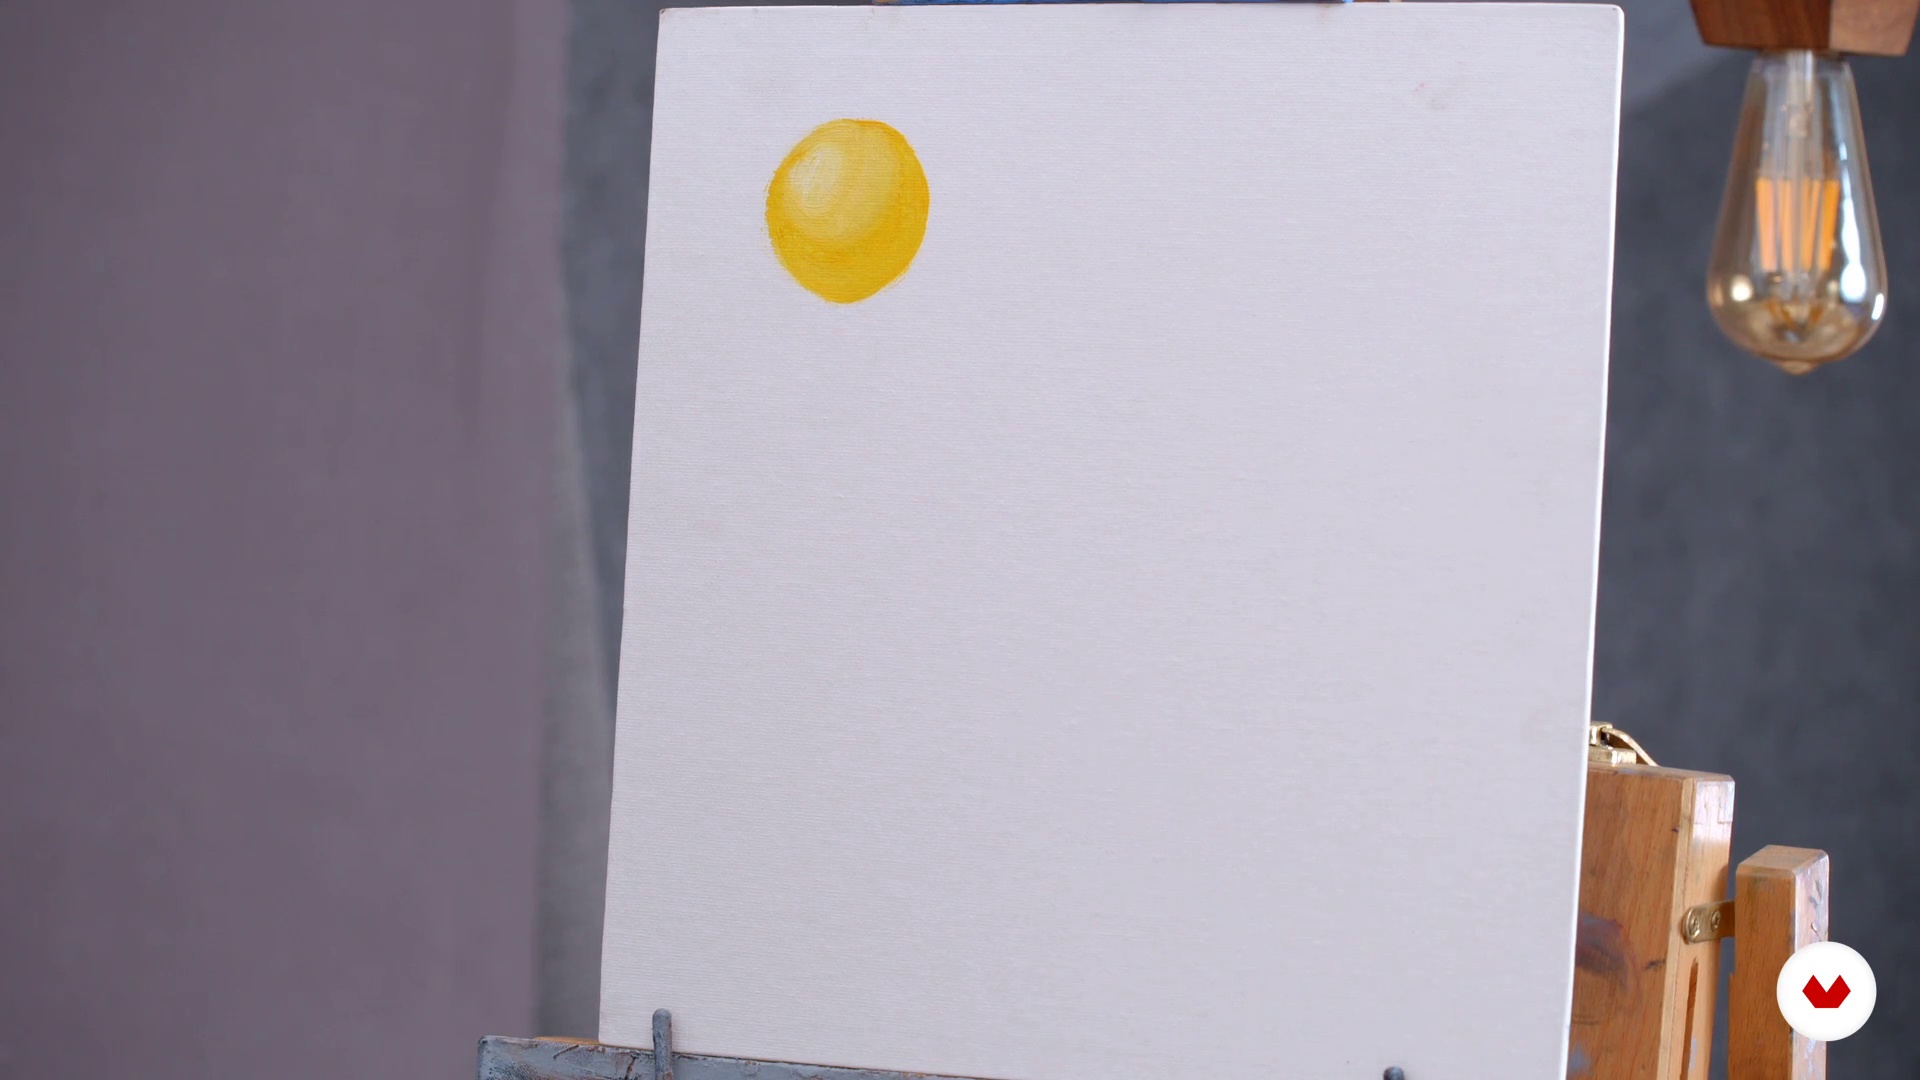
12Color theory applied to oil part 2
10m
 13
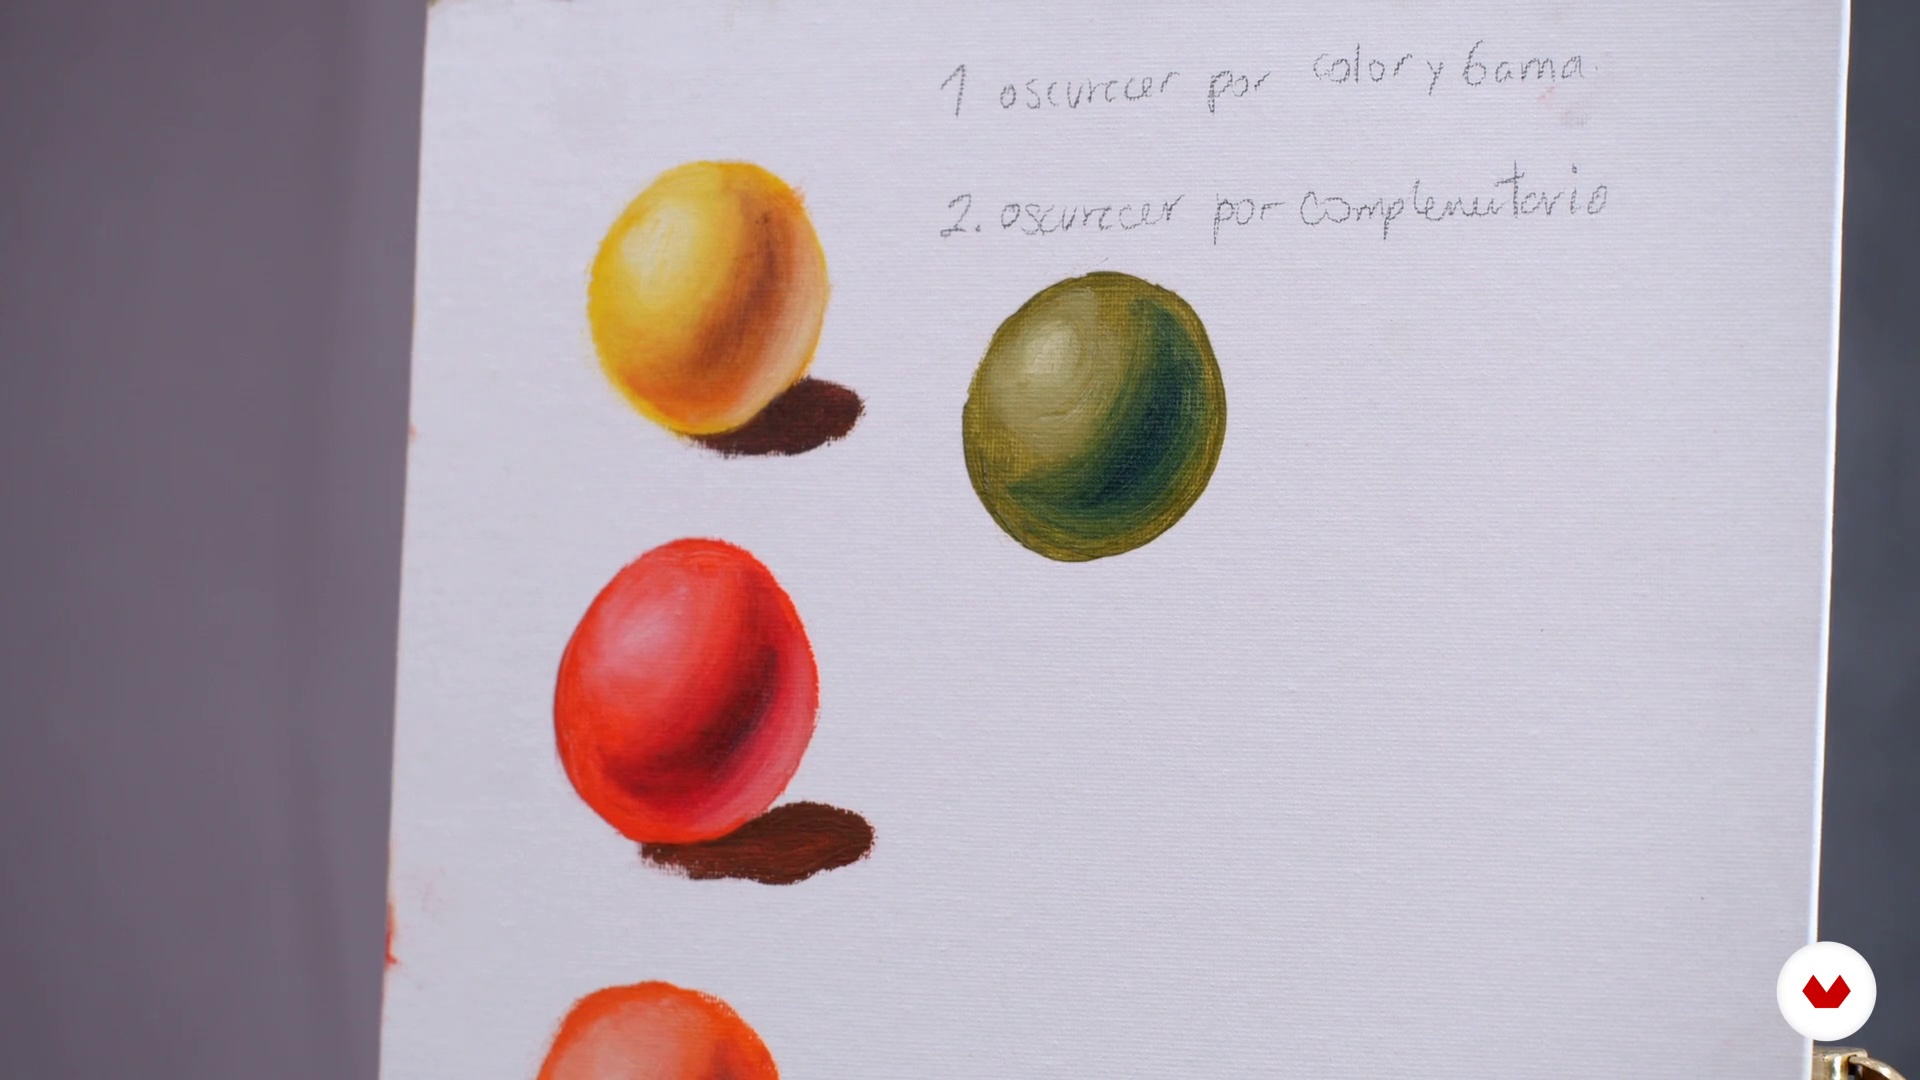
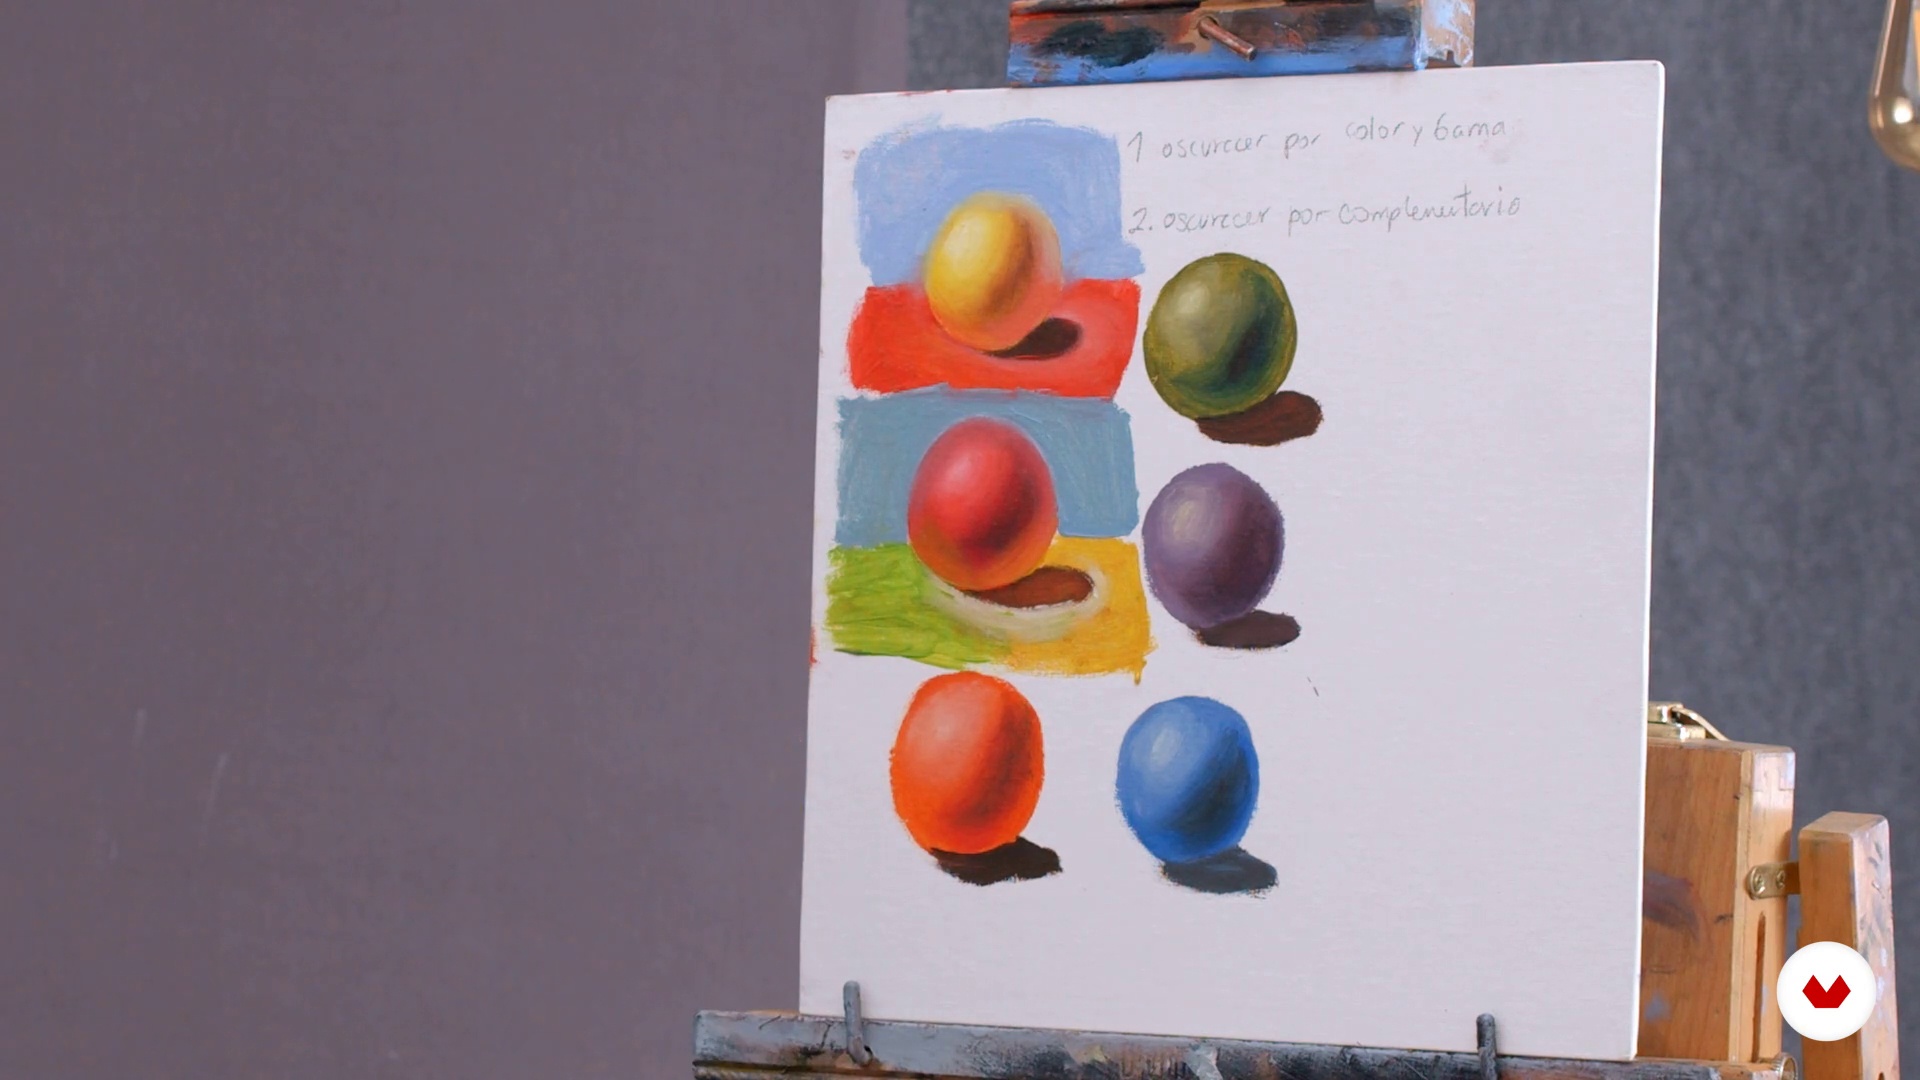
13The volume through color drawing part 1
In this lesson you will have to use color to generate volumes and that these are related to each other, for this I ask you to choose the colors of your preference. I suggest you use gray or similar support.
14m
 14
14The volume through color drawing part 2
7m
 15
15Spatiality and relationship with the environment in oil painting
In this lesson we will end up clarifying some important details for the relationship between form and space.
10m
 16
16Free forms with volume part 1
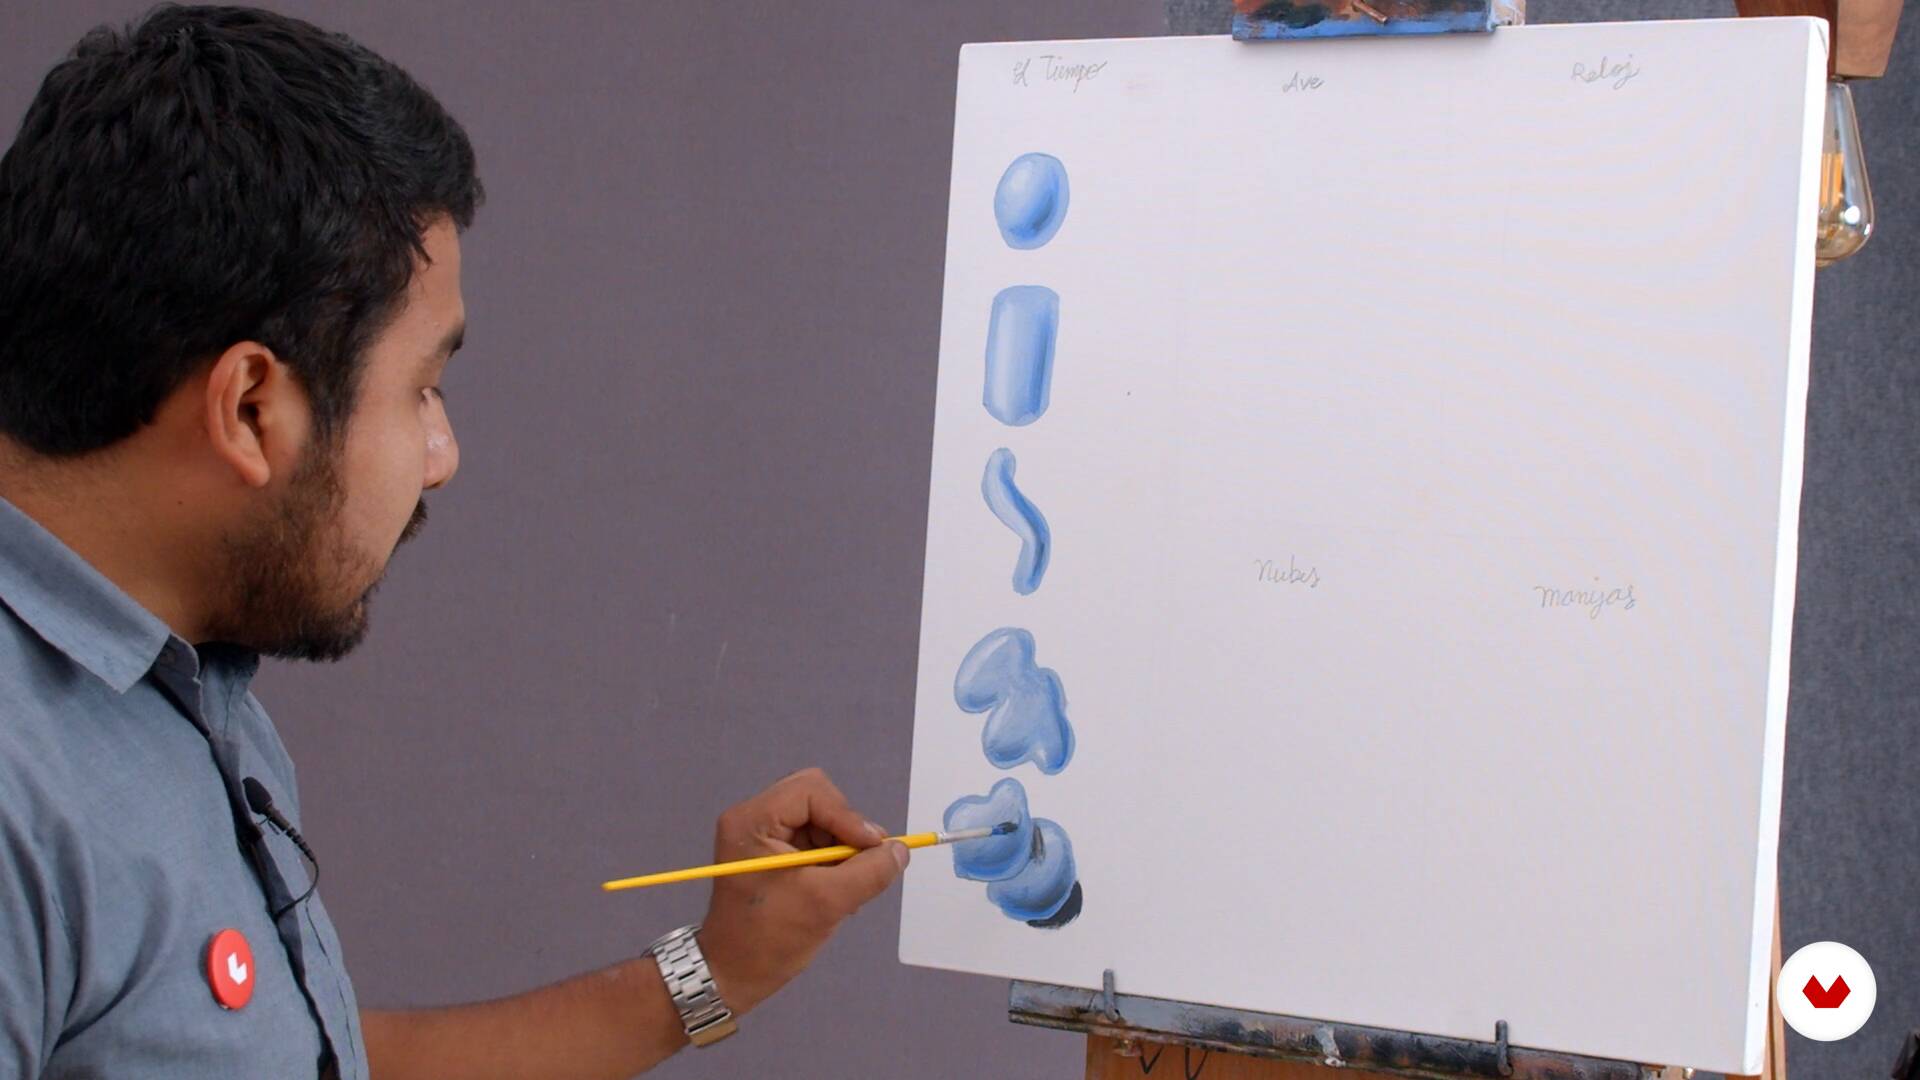
In this lesson we will make the use of volumes with color more complex, adding to it all the technical resources mentioned above such as: halftone, light, own shadow, projected shadow, reflection and spatiality.
10m
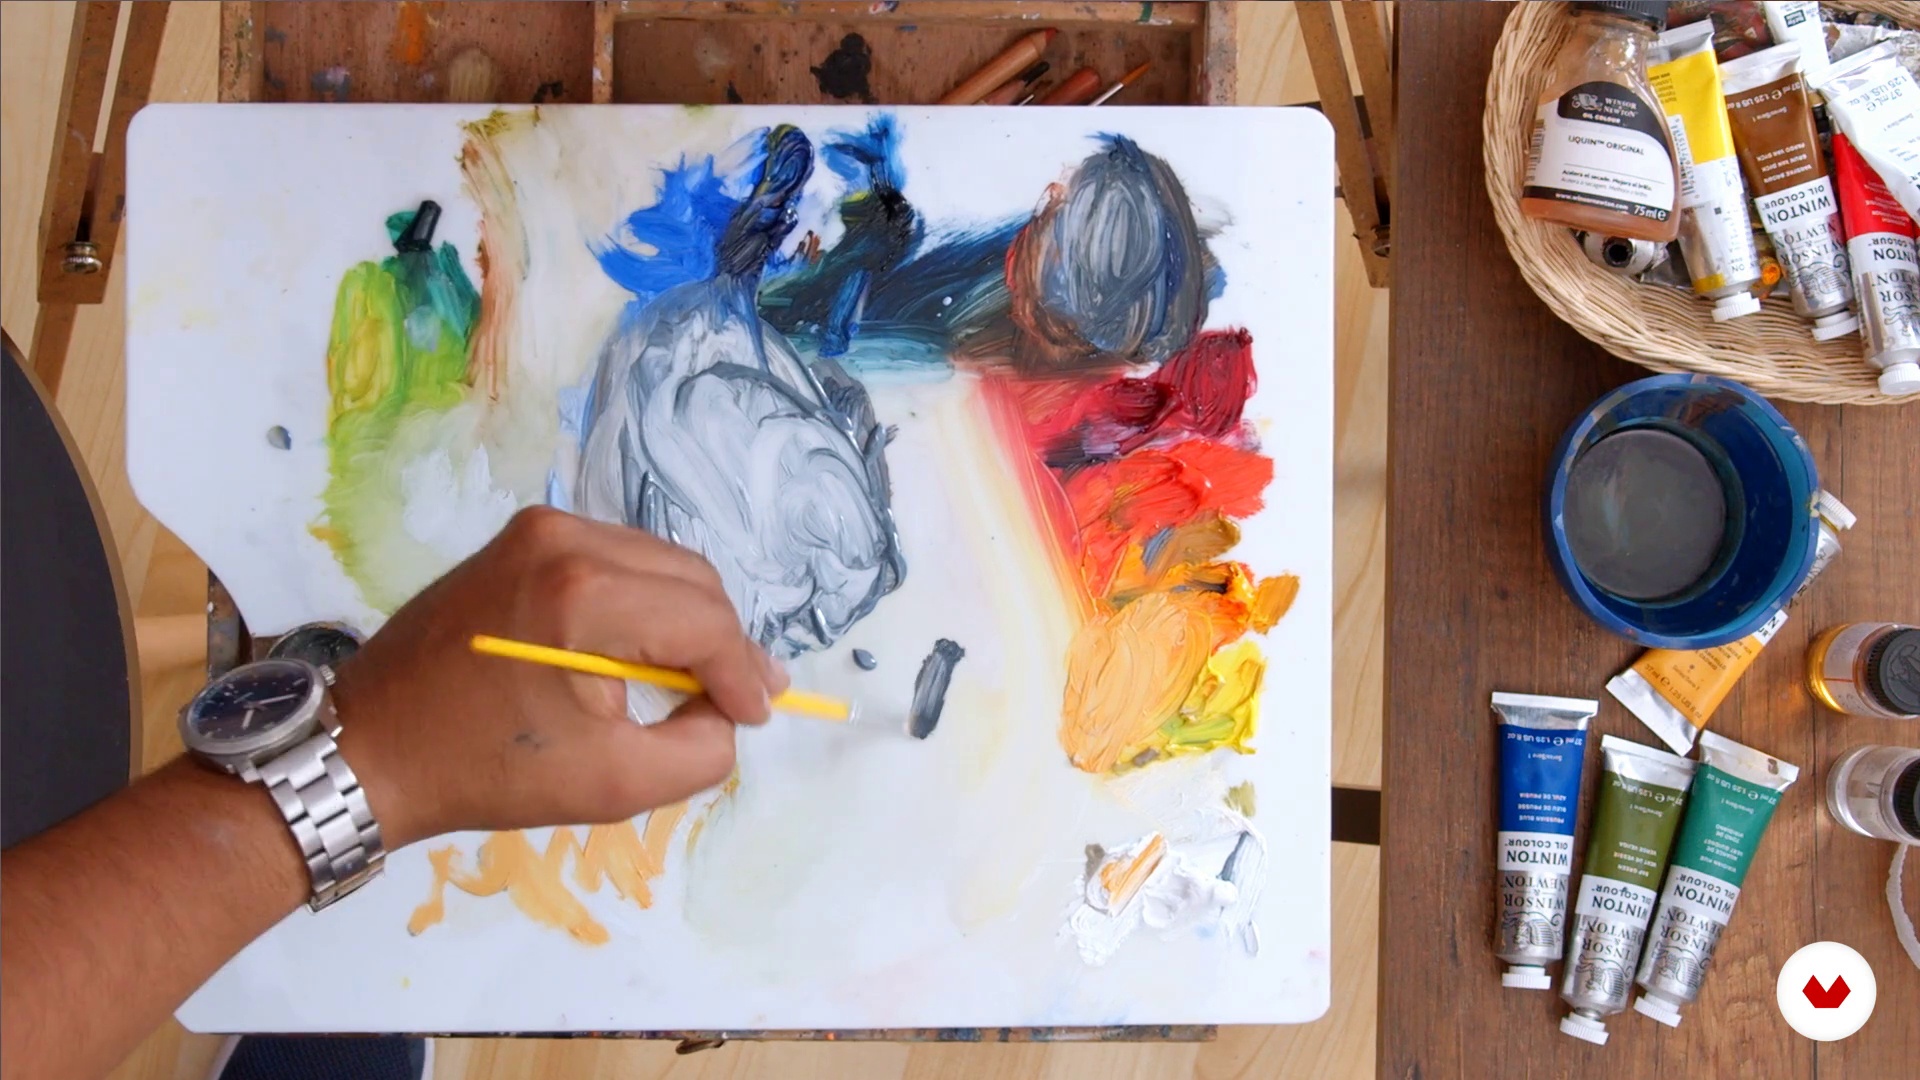 17
17Volume free forms part 2
11m
 18
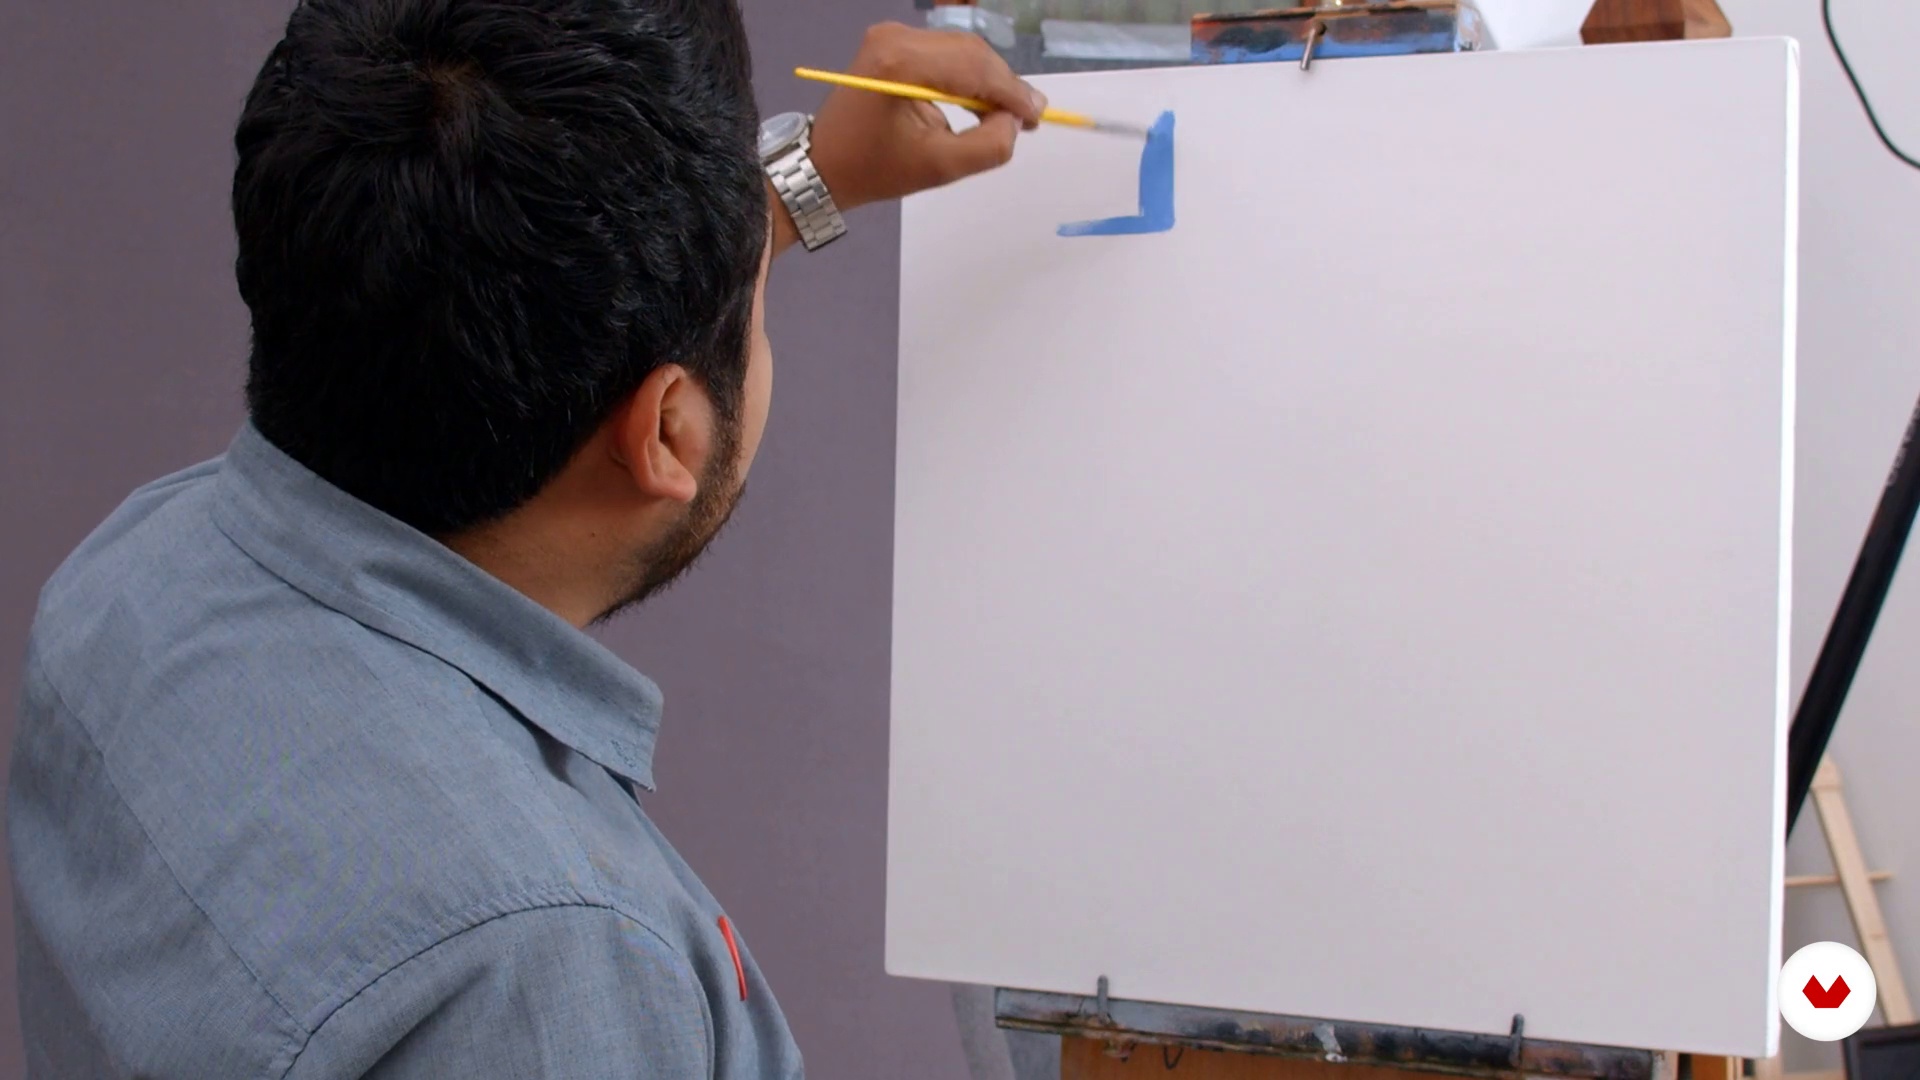
18Large, medium and small
In this lesson I will introduce you to the different ways of composing by size and tone and shape.
6m
 19
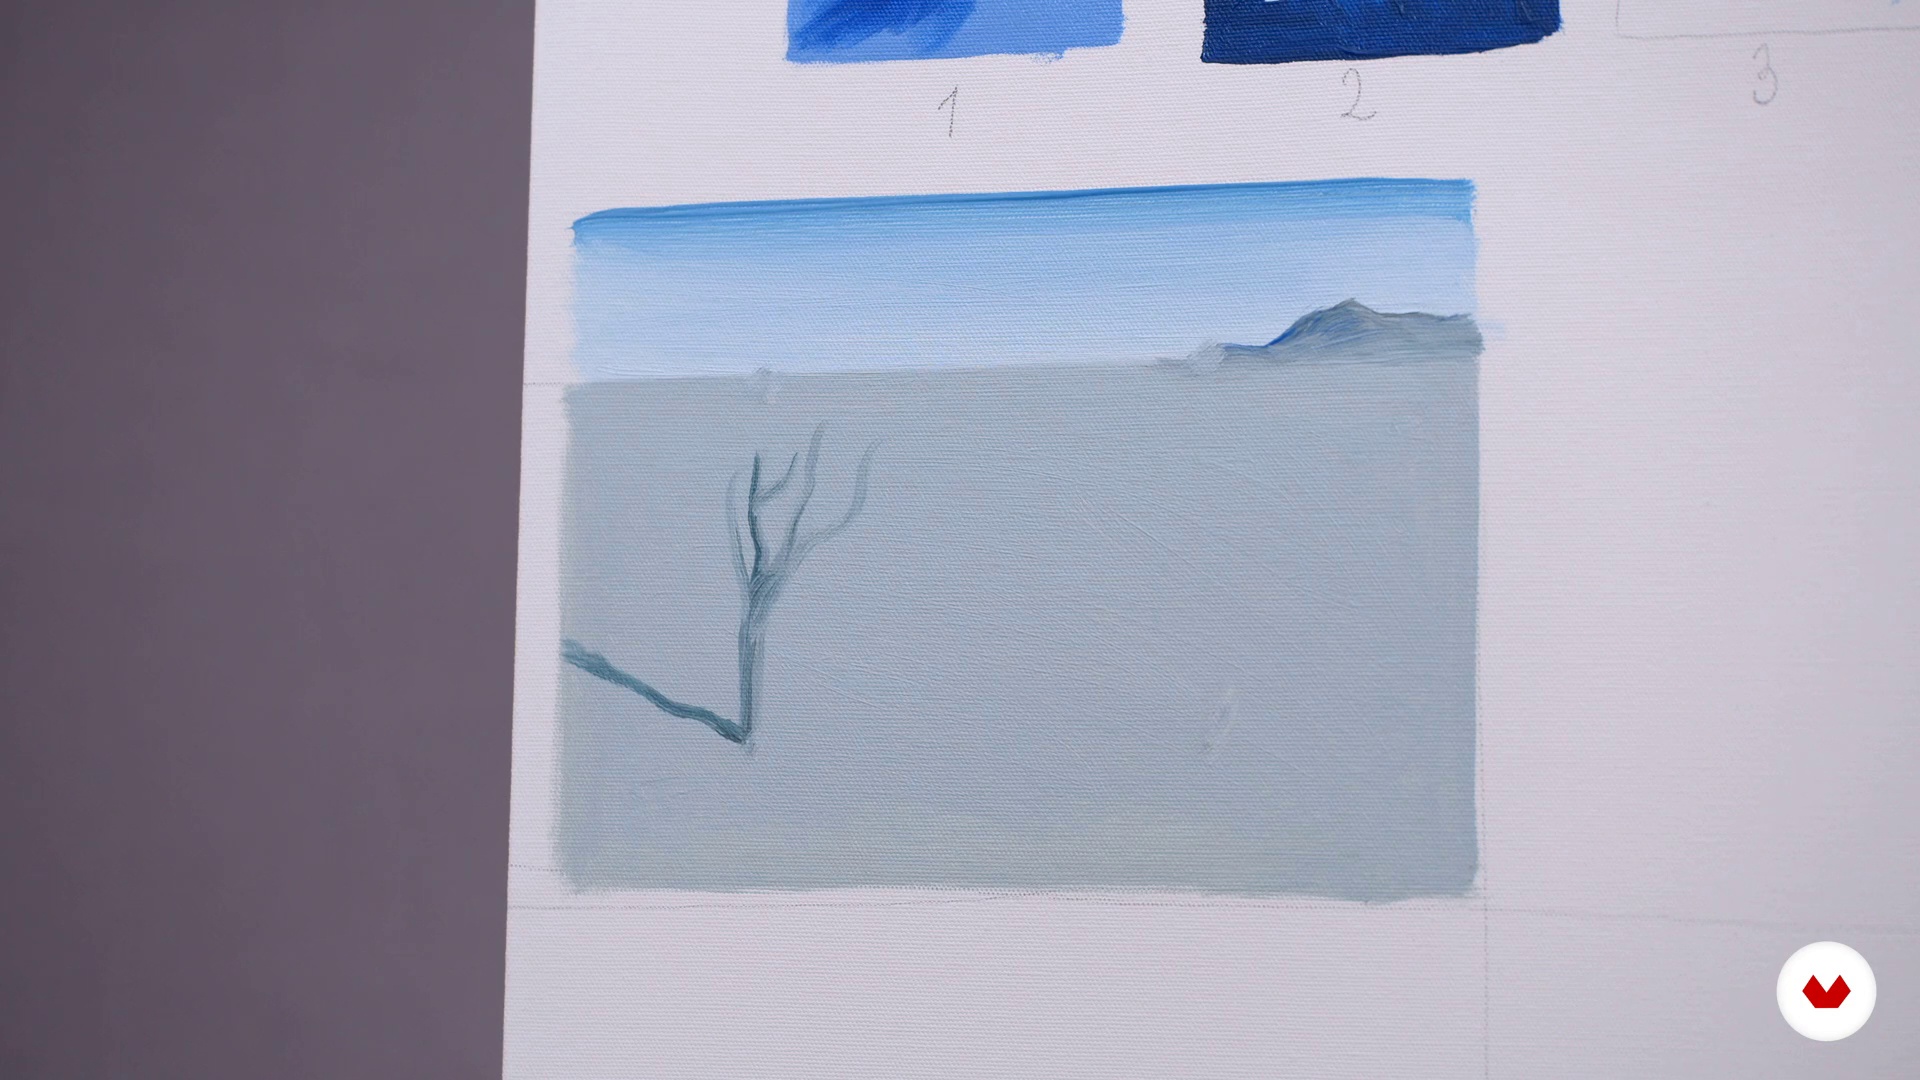
19Composition part 1
In this lesson I will give you the necessary guidelines to compose a pictorial piece on our stage.
12m
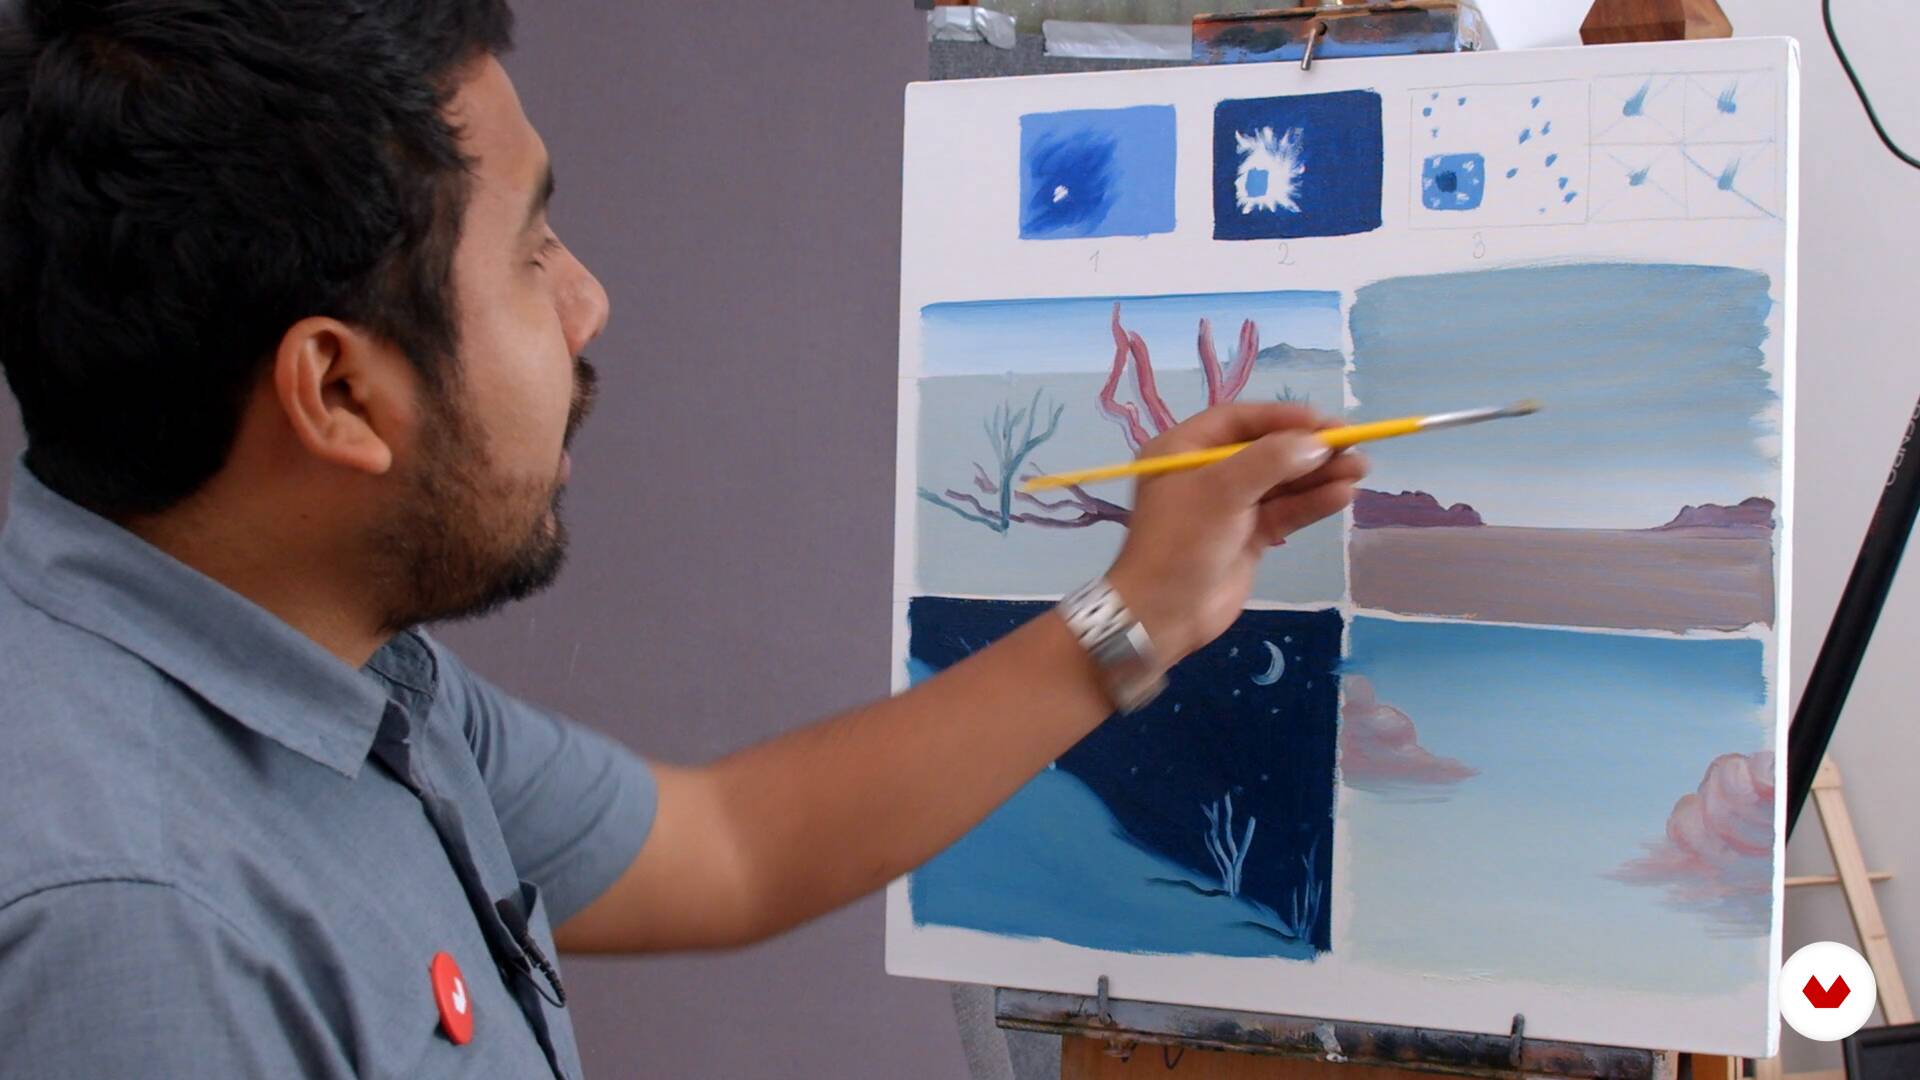 20
20Composition part 2
In this second composition lesson I will help you to give more clarity to our stage by positioning our main character with volume.
9m
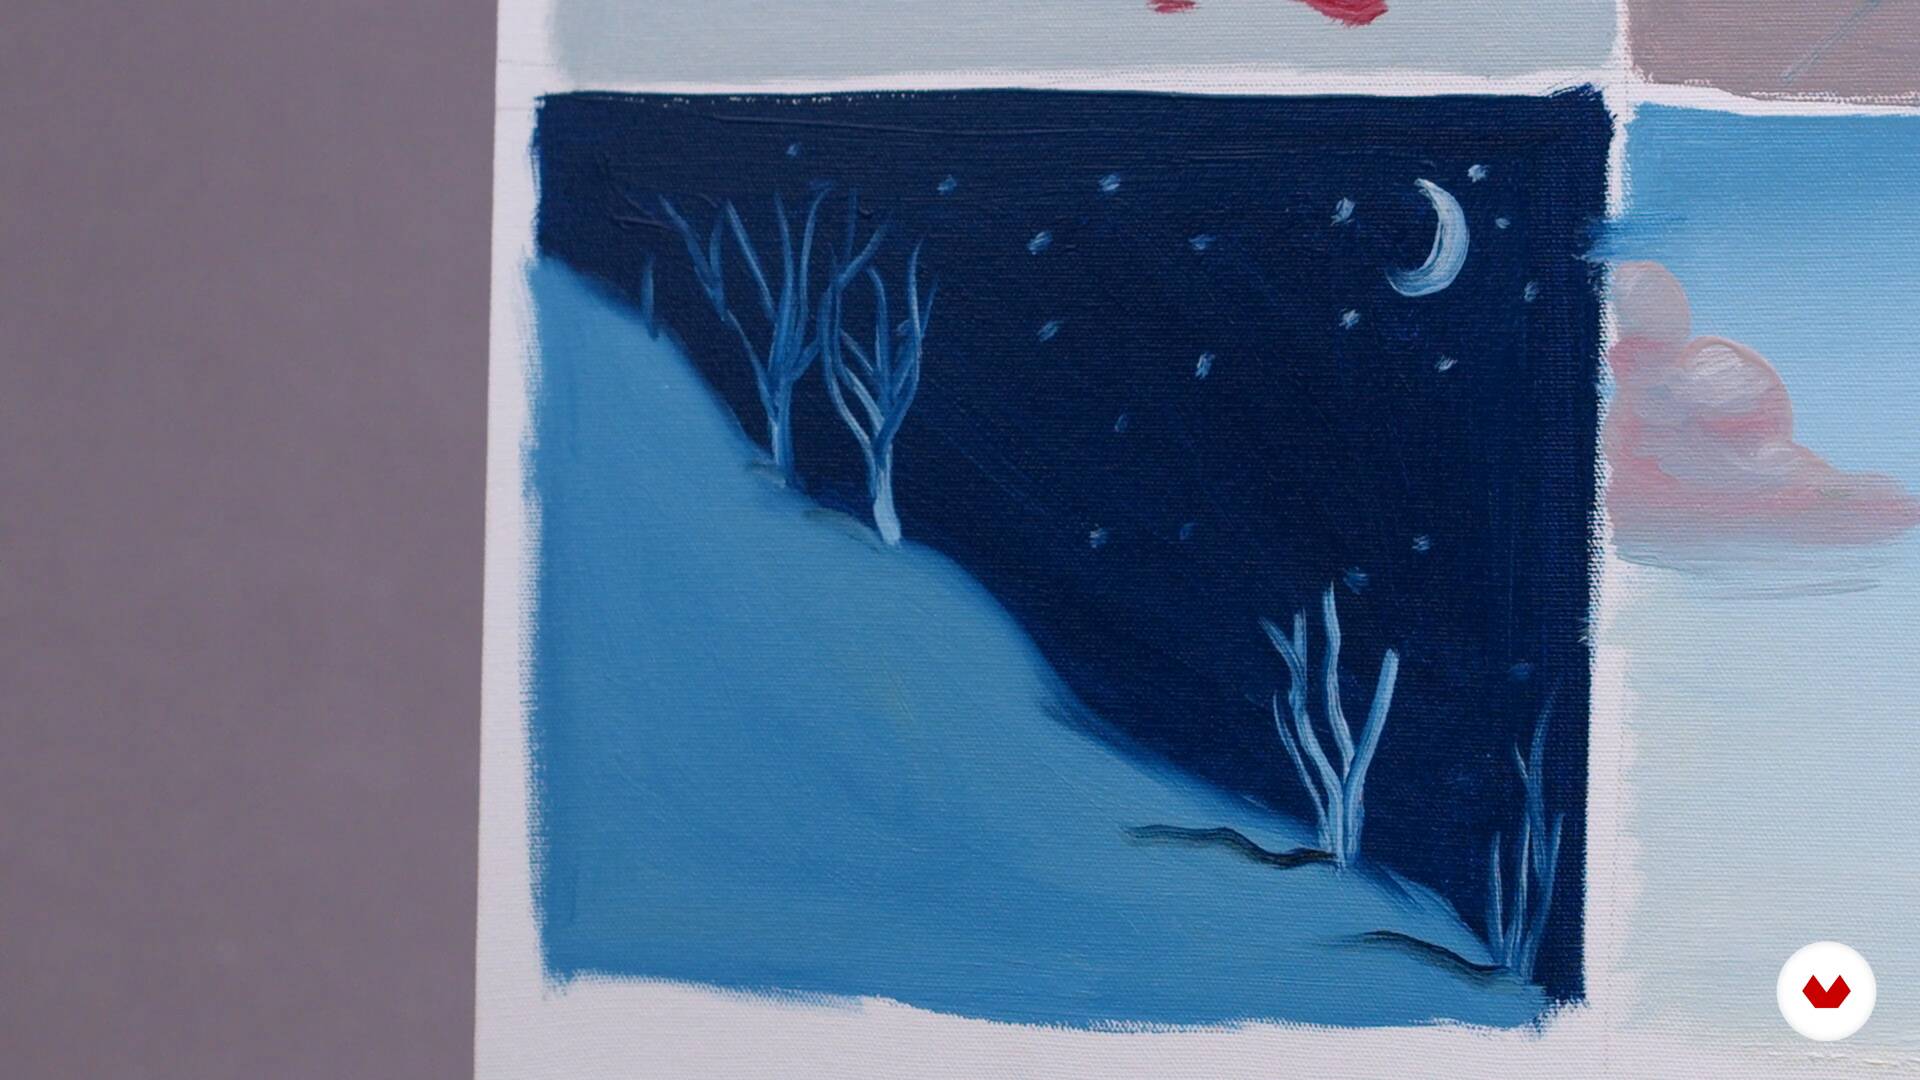 21
21Shape, secondary elements
In this lesson we will delve into the form and within, the harmony and rhythm in relation to the pictorial environment.
7m
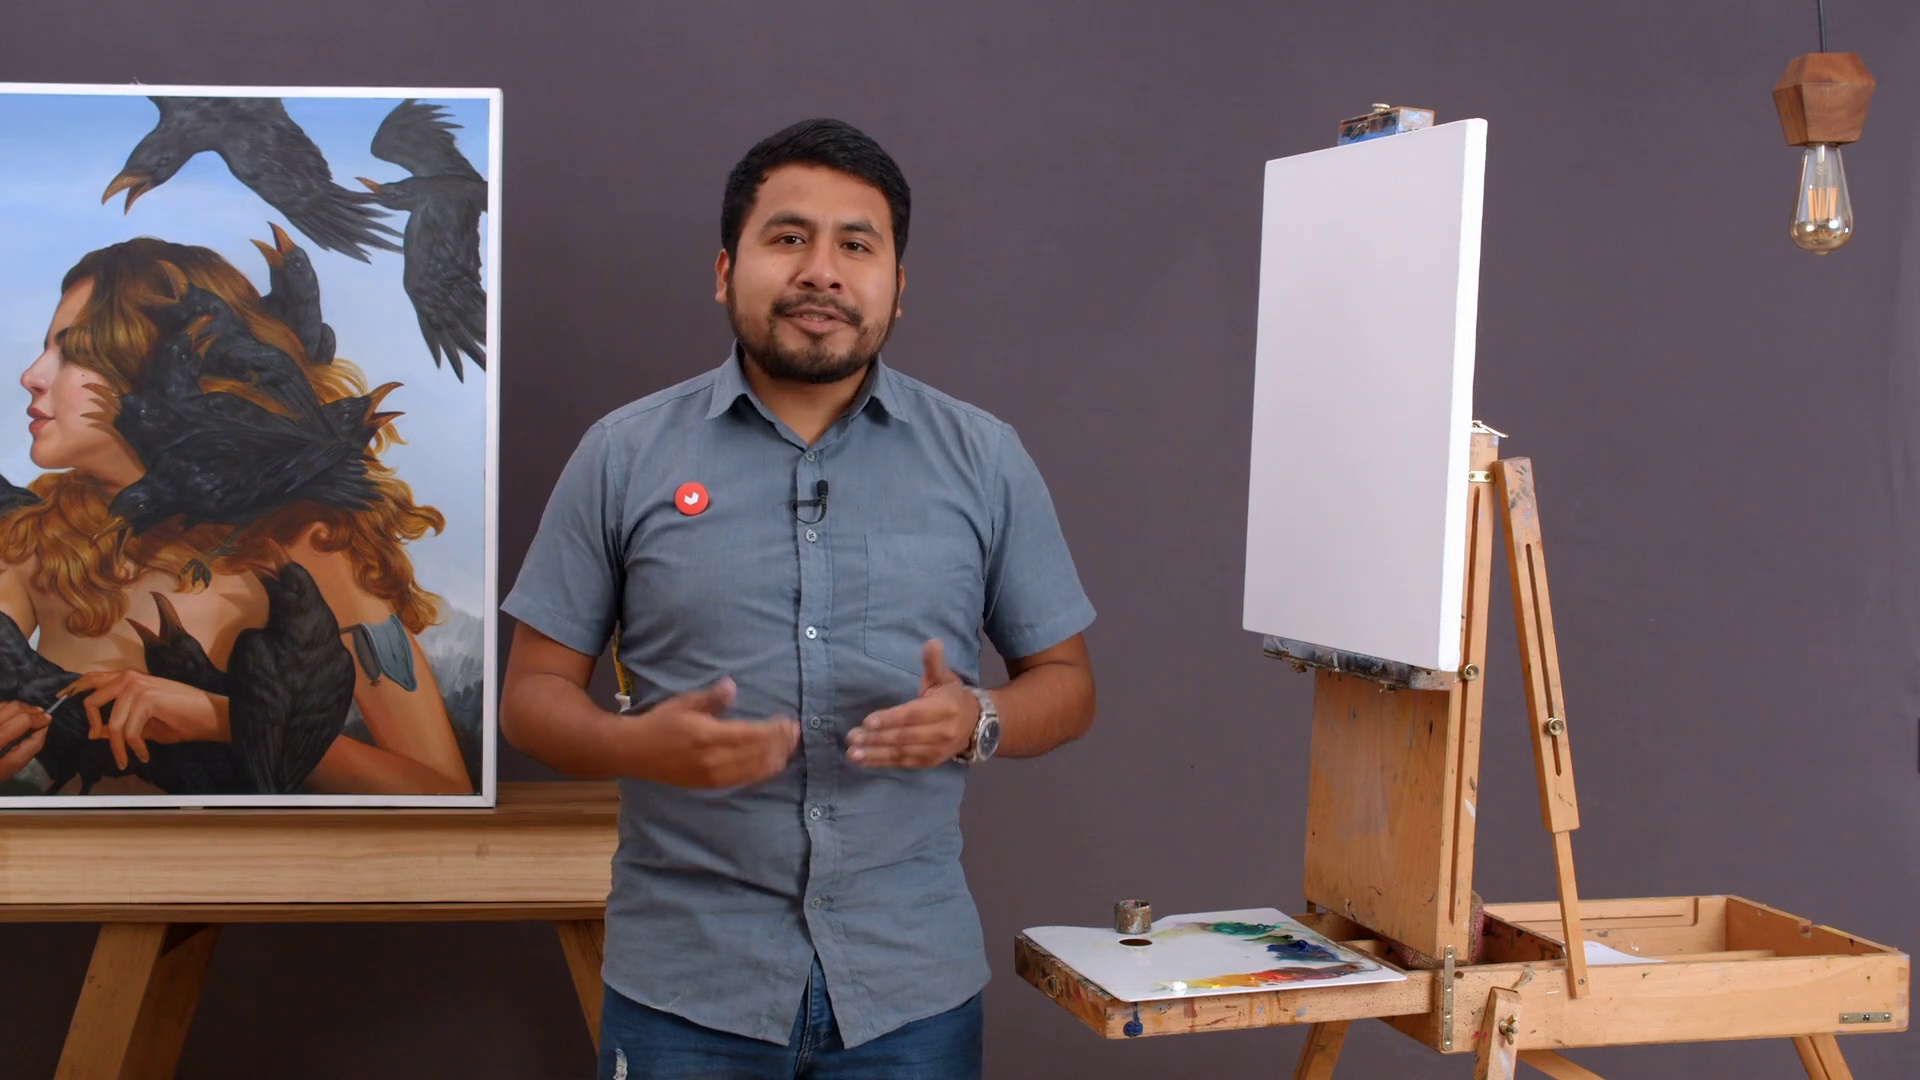 22
22Final development, background painted
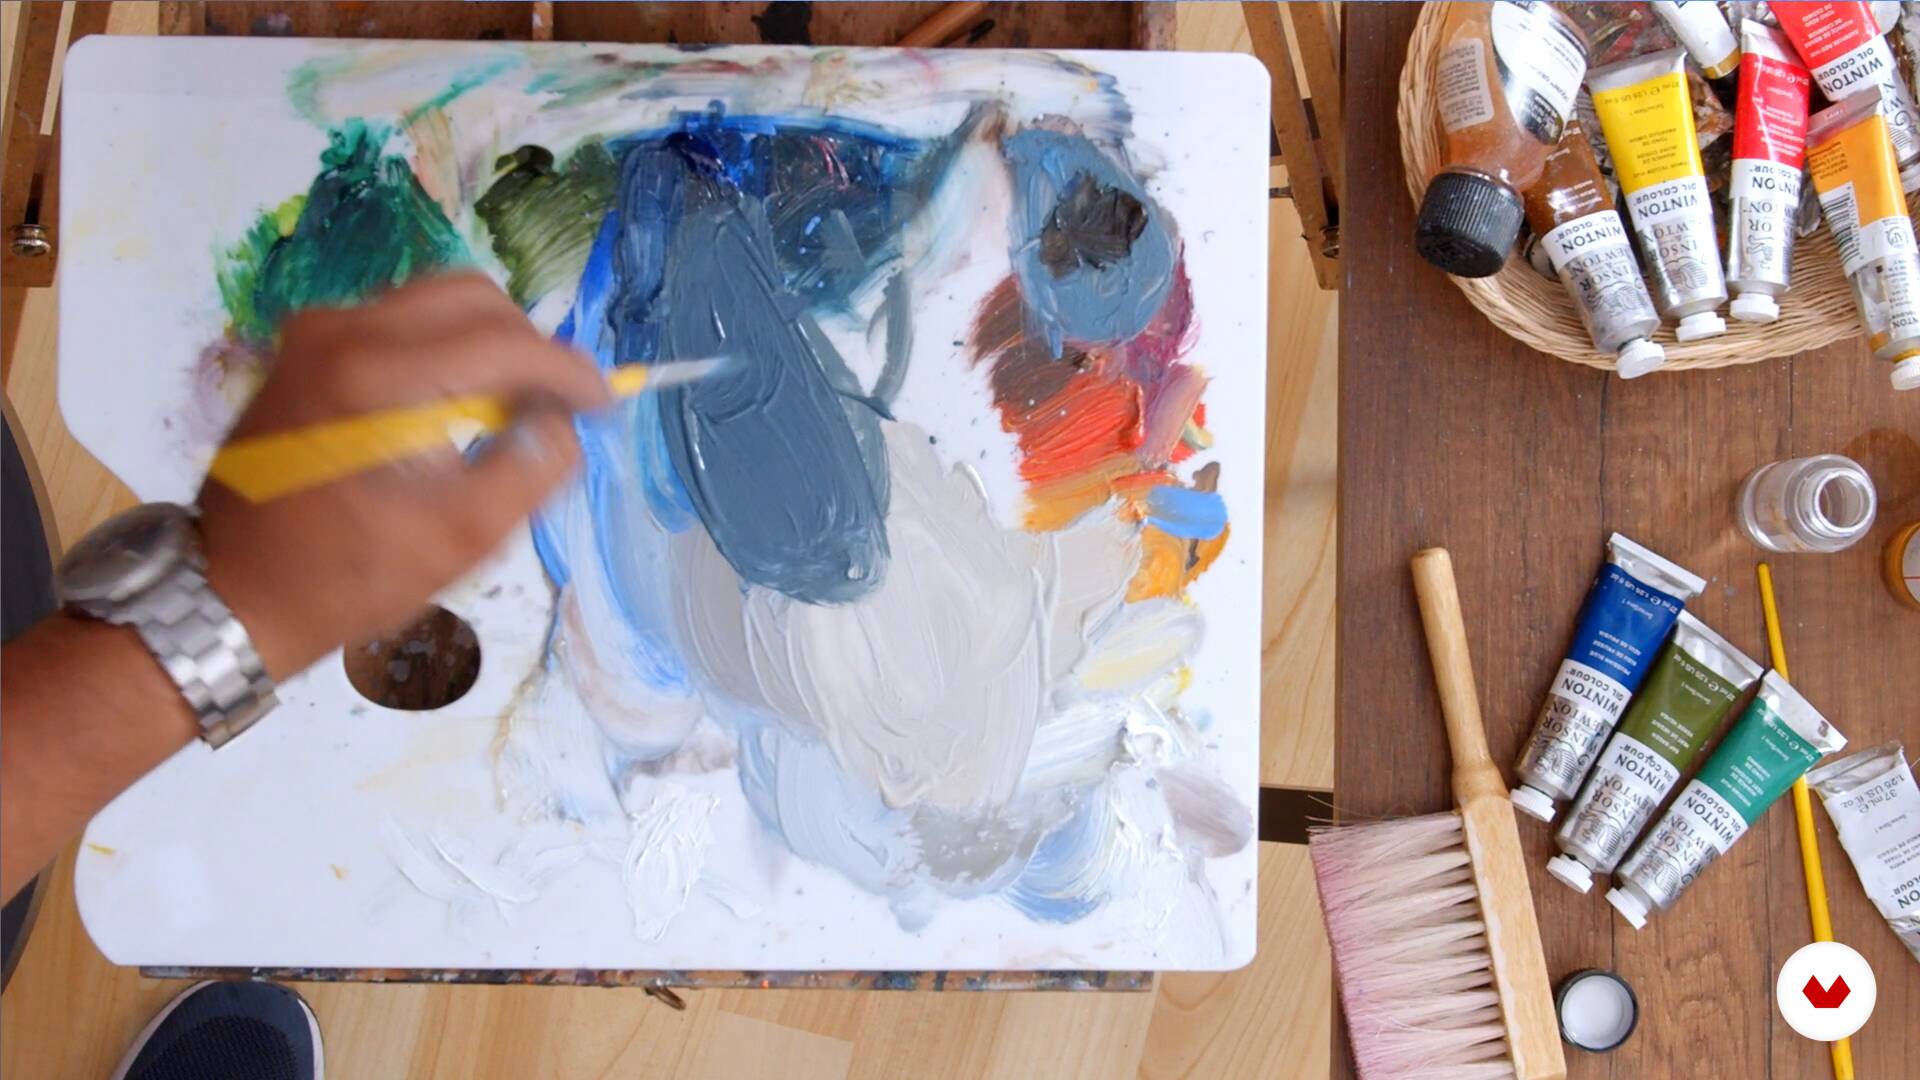
In this lesson we will begin with the development of our final project, starting with the scenario. The idea is that in this part you apply everything learned.
12m
 23
23Final development, painted character part 1
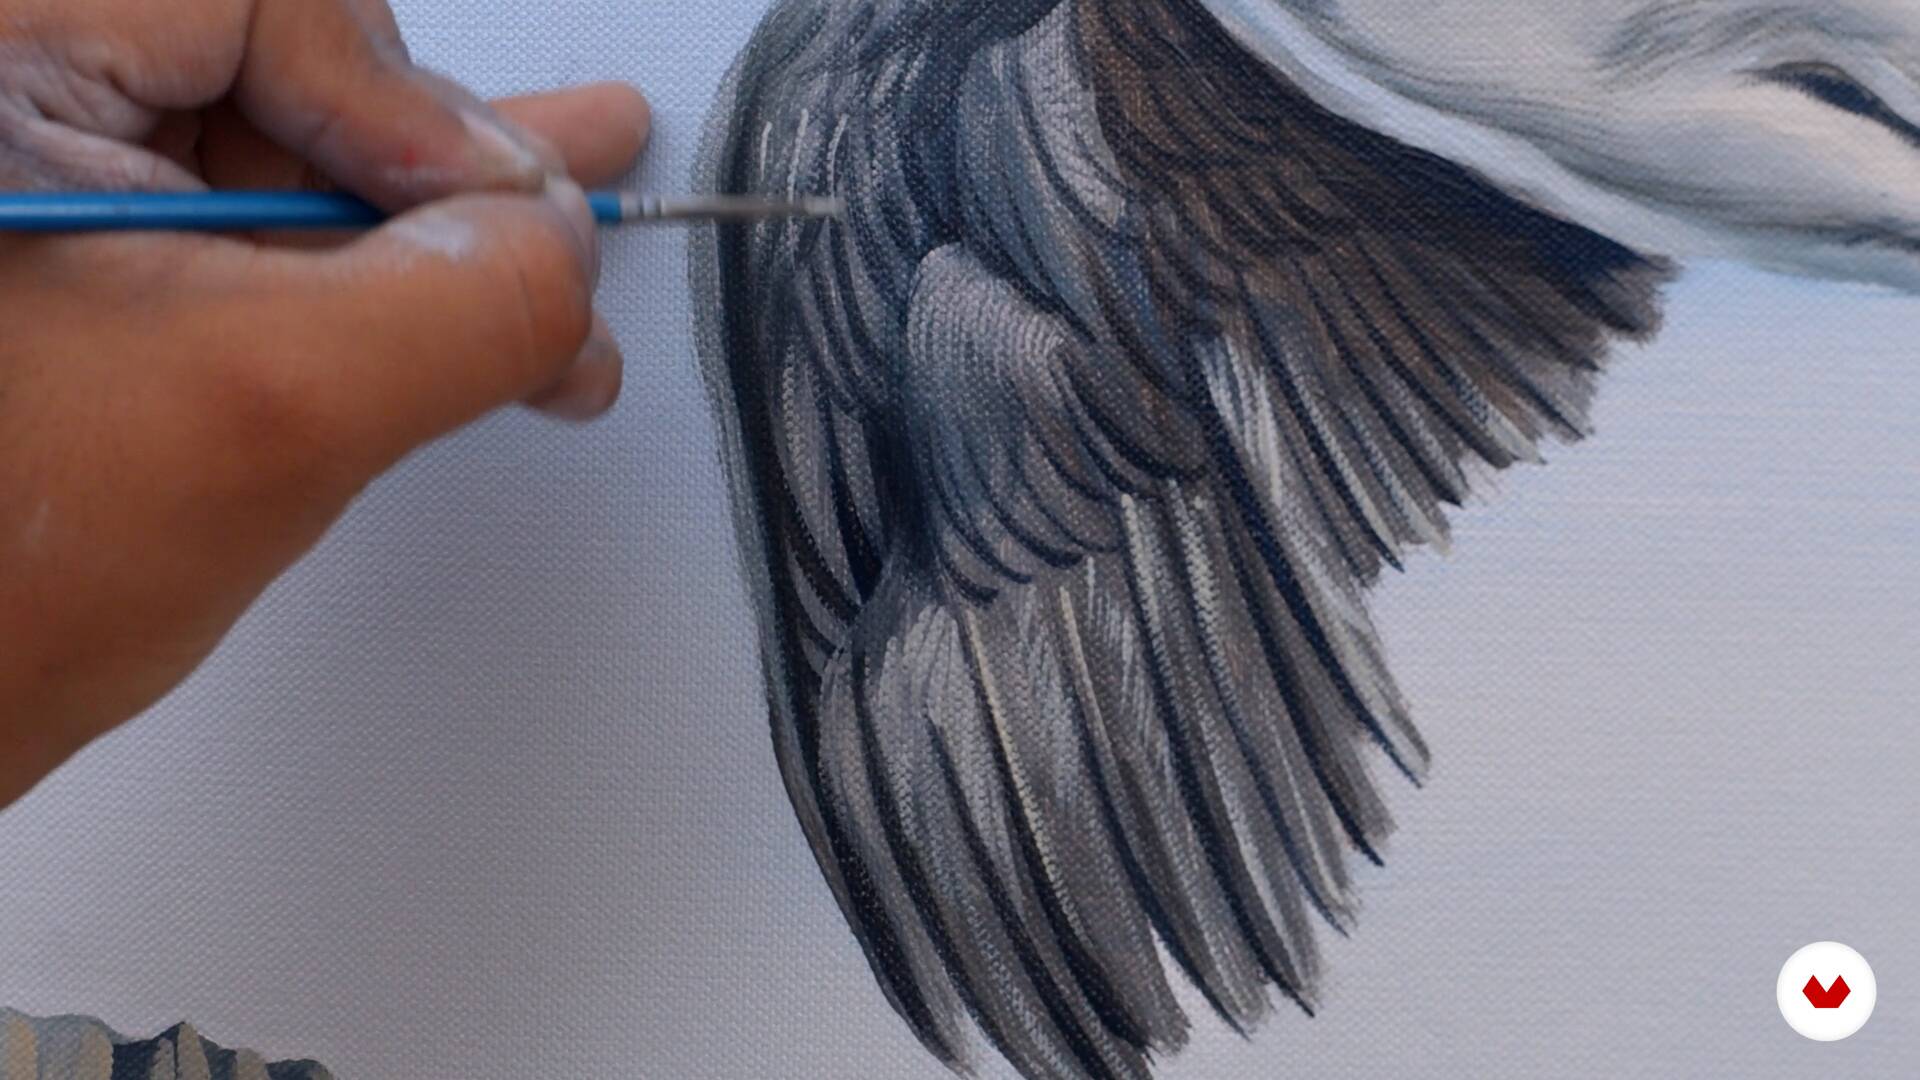
In this lesson we will paint our main character and image by applying volume theory.
9m
 24
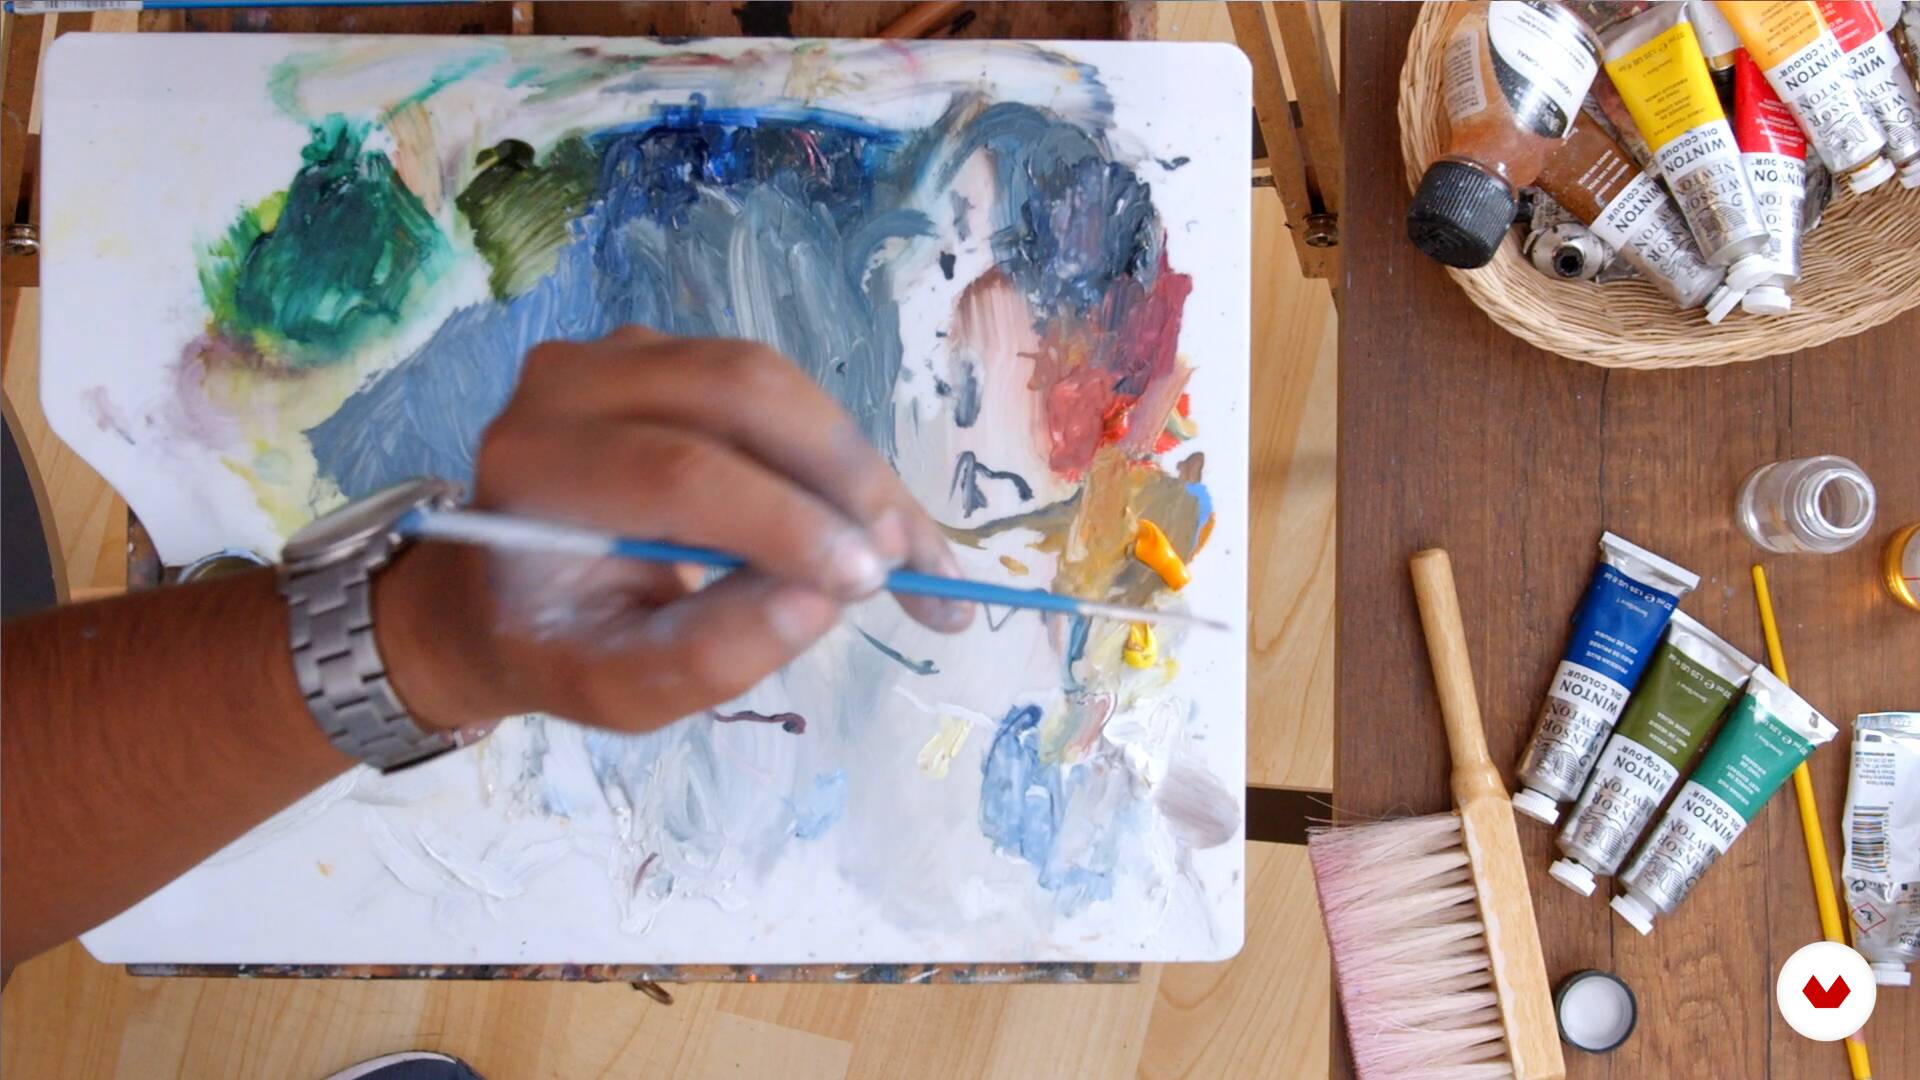
24Final development, painted character part 2
In this video we continue painting the main character.
8m
 25
25Final development, rhythm and harmony
In this lesson we will culminate the work by adding the objects of rhythm and harmony to complement the work, let's try to give it a high level of detail, all this with great patience and perseverance.
17m
What is this course's project?
Create a cohesive series of five surreal works, each in a distinct technique, exploring a unifying personal theme. Demonstrate mastery of colored pencils, pen, fineliner markers, watercolor with ink, and oil painting, showcasing artistic versatility and creative expression.
Who is this specialization for?
This online course is perfect for illustrators, visual artists, and drawing enthusiasts eager to explore surrealism as a personal expression. It suits those wanting to master various traditional illustration techniques, develop a unique style, and enhance their portfolio with diverse works.
Requirements and materials
No extensive prior knowledge needed. Basic drawing skills and an artistic sensitivity are recommended. Gather materials based on the chosen technique, whether colored pencils, pens, fine liners, watercolors, or oil paints. Embrace creativity and explore your surreal imagination.
Select to get to know your teachers in this specialization course


What to expect from this specialization course
Learn at your own pace
Enjoy learning from home without a set schedule and with an easy-to-follow method. You set your own pace.
Learn from the best professionals
Learn valuable methods and techniques explained by top experts in the creative sector.
Meet expert teachers
Each expert teaches what they do best, with clear guidelines, true passion, and professional insight in every lesson.
Certificates
PLUSIf you're a Plus member, get a custom certificate for every specialization course. Share it on your portfolio, social media, or wherever you like.
Get front-row seats
Videos of the highest quality, so you don't miss a single detail. With unlimited access, you can watch them as many times as you need to perfect your technique.
Share knowledge and ideas
Ask questions, request feedback, or offer solutions. Share your learning experience with other students in the community who are as passionate about creativity as you are.
Connect with a global creative community
The community is home to millions of people from around the world who are curious and passionate about exploring and expressing their creativity.
Watch professionally produced courses
Domestika curates its teacher roster and produces every course in-house to ensure a high-quality online learning experience.
FAQs
This is a beginner-level course, so no extensive prior knowledge is needed. However, having basic drawing skills and an artistic sensitivity is recommended to make the most of the lessons.
You’ll need materials based on the technique you want to practice, such as colored pencils, pens, fine liners, watercolors, or oil paints. A suitable sketchbook or drawing paper is also recommended, along with basic drawing tools.
This course is perfect for illustrators, visual artists, and drawing enthusiasts who want to explore surrealism, develop a unique visual style, and enhance their artistic portfolio using traditional techniques.
You will master five distinct artistic techniques, including working with colored pencils, pens, fine liners, watercolor with ink, and oil paints to create surreal, expressive illustrations inspired by nature and dreams.
Yes, the course guides you in developing a personal visual language using associative thinking, symbolism, and techniques for creating surreal images and visual metaphors.
You’ll learn practical drawing exercises, ergonomic practices for long sessions, and how to care for and maintain your drawing tools to ensure clean, precise results.
The course teaches multiple techniques to mask or correct mistakes in ink and pencil drawings, as well as strategies to refine compositions and maintain clean artwork.